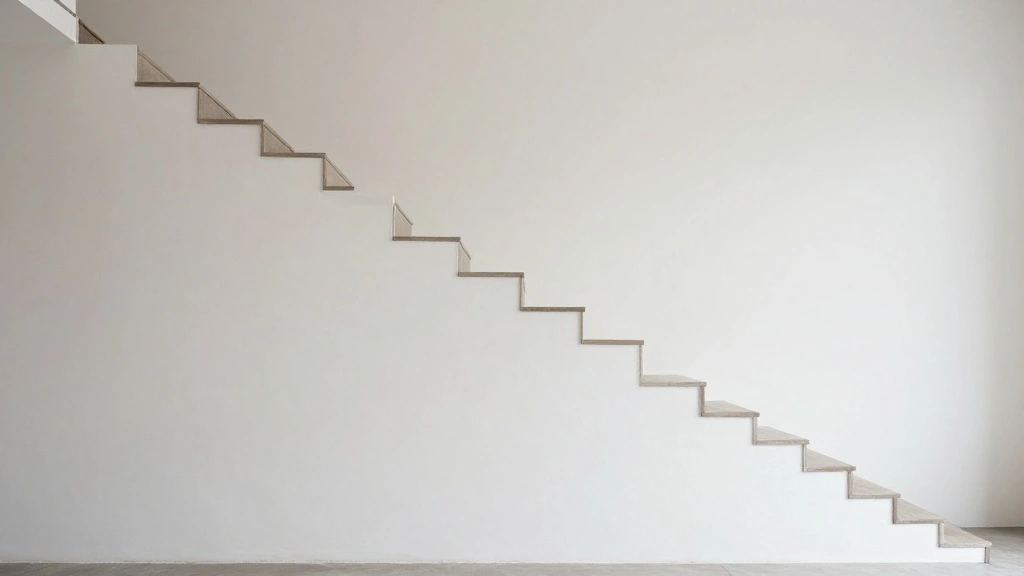
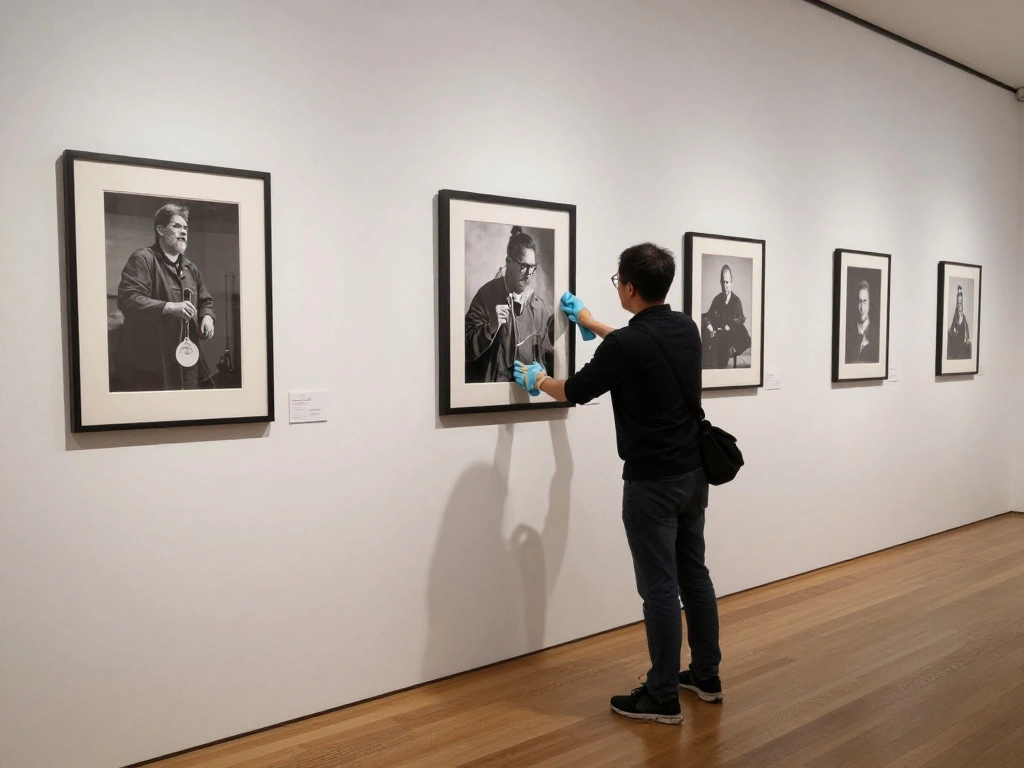
Transforming a blank staircase wall into an eye-catching gallery can seem daunting, especially when considering the unique angles and heights involved. A poorly executed gallery wall can make your space feel cluttered or uneven, diminishing the overall aesthetic of your home. Don’t let your staircase remain bare!
This step-by-step guide will empower you to create a stunning gallery wall that flows beautifully down your staircase. You’ll learn how to choose the right frames, map out your layout, and hang your artwork safely and securely. By the end of this guide, you’ll have a visually appealing display that showcases your personal style and creativity.
This project is rated as beginner level and should take you approximately 2-3 hours to complete, depending on the number of pieces you choose to hang. Let’s get started and turn that staircase into a stunning focal point!
TL;DR Summary
- Gather materials needed for hanging artwork.
- Plan your layout before hanging.
- Securely hang frames using appropriate tools.
- Step back to assess the display for balance and cohesion.
TL;DR Summary
Editor’s Choice

Picture Hanging Tool, Wall Friendly Photo Frame Level Ruler, Precision M…

CRAFTSMAN 25-Ft Tape Measure with Fraction Markings, Retractable, Self-L…

KURUI 303Pcs Picture Hanging Kit, Picture Hangers Assorted Kit with Heav…
Prerequisites/Materials Needed
- Frames: Various sizes (at least 5)
- Artwork: Photos, prints, or artwork (at least 5)
- Measuring tape: 1 piece
- Pencil: 1 piece
- Level: 1 piece
- Nails or wall hooks: Depending on frame weight (5-10)
- Hammer: 1 piece
- Optional: Painter’s tape
Prerequisites/Materials Needed
Editor’s Choice

upsimples 19 Pack Picture Frames Collage Wall Decor for Mounting or Tabl…

Motovera Self Leveling Laser Level 100ft, Green Cross Line with Tripod, …
CRAFTSMAN 25-Ft Tape Measure with Fraction Markings, Retractable, Self-L…
Skill Level & Time Estimate
Skill Level: beginner
Total time estimate: 2-3 hours
Breakdown of time by major steps: Planning layout (30 minutes), Measuring and marking (30 minutes), Hanging artwork (1-2 hours).
Skill Level & Time Estimate
Editor’s Choice

Torpedo Level Magnetic, Firecore 9 Inch Shockproof Small Leveler Tool wi…

iBayam 2 Pack Tape Measure Measuring Tape for Body Fabric Sewing Tailor …
KURUI 303Pcs Picture Hanging Kit, Picture Hangers Assorted Kit with Heav…
Step 1: Choose Your Artwork
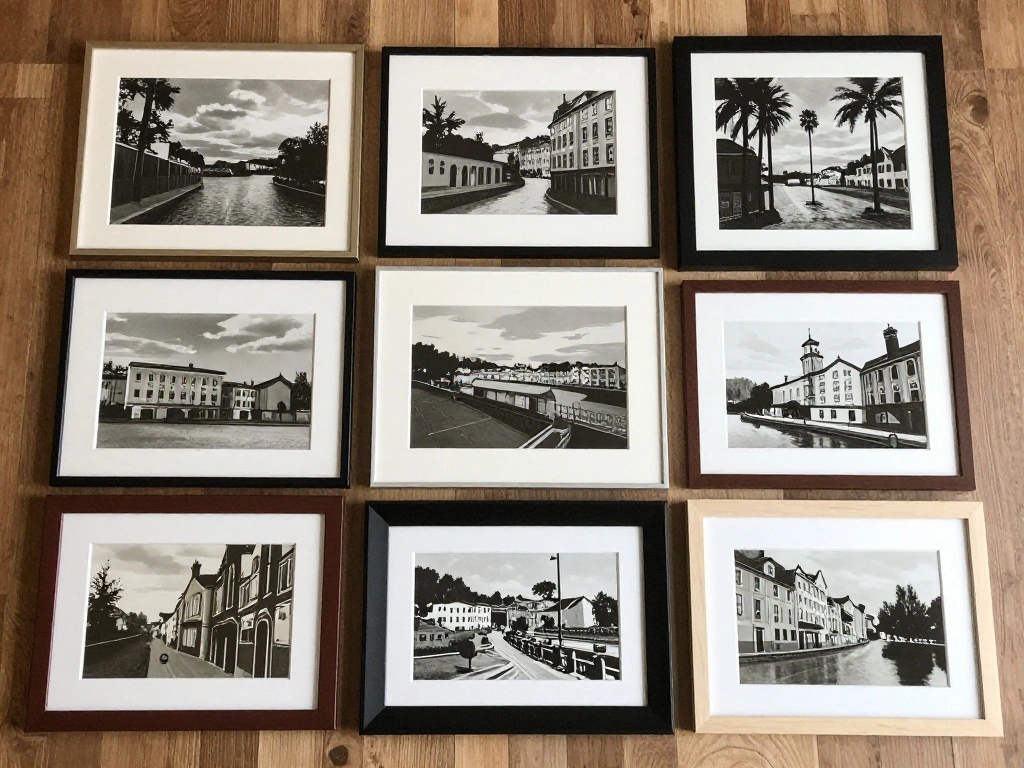
Start by selecting the artwork you want to display. This can range from photographs to paintings and even mixed media. Follow these sub-steps:
- Gather a variety of pieces that complement each other in style and color.
- Consider the size of each piece relative to the wall space.
- Choose a focal piece that will be the centerpiece of your gallery wall.
Pro Tip: Lay the selected pieces on the floor to visualize the layout before hanging. Why this matters: Choosing cohesive artwork sets the tone for your gallery wall and makes the overall display more visually appealing. Time estimate: 30 minutes.
Step 1: Choose Your Artwork
Editor’s Choice

16 PCS Framed Vintage Wall Art Decor, French Country Farmhouse Gallery W…

STAS Cliprail Picture Hanging System Set – Covers 9.84 ft of Wall Space …

Komelon F12 12-Foot Stick and Measure Flat Tape Measure
Step 2: Plan Your Layout

Before you start hanging, take the time to plan how your artwork will look on the wall. Follow these steps:
- Use painter’s tape to outline where each piece will go on the wall.
- Experiment with different arrangements until you find one that looks balanced and visually appealing.
- Consider the height at which you’ll hang each piece; eye level is ideal for the center of your gallery.
Pro Tip: Take a photo of your arrangement for reference as you hang each piece. Why this matters: Planning helps you avoid unnecessary holes in the wall and ensures a cohesive look. Time estimate: 30 minutes.
Step 2: Plan Your Layout
Editor’s Choice
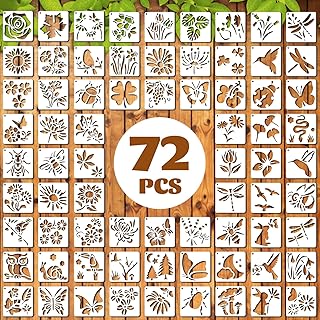
72 Pcs Botanical Stencils Set, Reusable Butterfly & Flower Painting Temp…

4 Rolls Premium Painters Tape, Blue Tape, Masking Tape, Paint Tape for M…
Step 3: Measure and Mark

Accurate measurements are crucial for a well-aligned gallery wall. Complete the following:
- Measure the distance between each piece of artwork to maintain consistent spacing.
- Mark the top edge of the frame’s position with a pencil on the wall.
- Use a level to ensure your marks are straight, especially for larger frames.
Warning: Double-check your measurements to avoid uneven spacing. Why this matters: Proper measurements ensure that your artwork is displayed evenly and looks professional. Time estimate: 30 minutes.
Step 3: Measure and Mark
Editor’s Choice
Motovera Self Leveling Laser Level 100ft, Green Cross Line with Tripod, …
CRAFTSMAN 25-Ft Tape Measure with Fraction Markings, Retractable, Self-L…

Amazon Basics Wood-Cased #2 HB School Pencils with Erasers for Writing a…
Step 4: Prepare the Frames
Before mounting your artwork, ensure that your frames are ready. Here’s how:
- Check that each frame has appropriate hanging hardware attached.
- If necessary, install D-rings or sawtooth hangers for added support.
- Clean the glass of each frame for a clear display.
Pro Tip: Use lightweight frames to make hanging easier, especially on staircases. Why this matters: Properly prepared frames reduce the risk of damage to your artwork and make hanging easier. Time estimate: 20 minutes.
Step 4: Prepare the Frames
Editor’s Choice

MagicFiber Microfiber Cleaning Cloth, 6 Pack – Premium Cloth for Glasses…

PHS Heavy Duty D-Ring Picture Hangers 100 Pack with Screws – Picture Fra…

50 Pack Small Sawtooth Picture Hangers – Steel Picture Hanging Solutions…
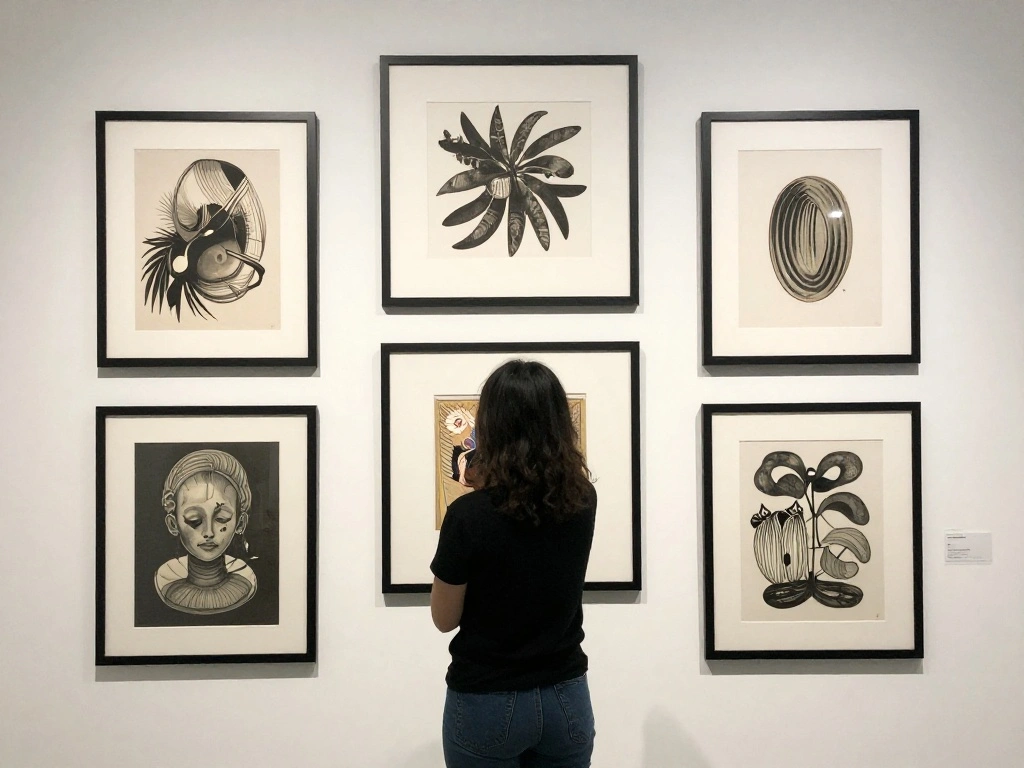
Step 5: Hang the Centerpiece First

Hanging the focal piece first provides a reference point for the rest of the gallery wall. Follow these steps:
- Align the center of your focal piece with the marked height on the wall.
- Secure the frame by hammering in the appropriate nail or wall hook.
- Check with a level to ensure it hangs straight.
Pro Tip: Use two nails for larger frames to distribute the weight evenly. Why this matters: Starting with the centerpiece creates a balanced layout and helps you build around it. Time estimate: 15 minutes.
Step 5: Hang the Centerpiece First
Editor’s Choice

Decorative Coat Hooks For Wall Mount Set of 5 – Stylish and Sturdy Black…

Laser Measure 50M/165ft,RockSeed Digital Laser Distance Meter with 2 Bub…
Step 6: Hang Additional Pieces
Now that your centerpiece is in place, it’s time to add the other artworks. Do the following:
- Start by hanging the frames that are closest to the centerpiece, moving outwards.
- Follow the arrangement you planned earlier, ensuring consistent spacing.
- Use a level after each frame to check alignment.
Pro Tip: Step back frequently to assess the overall look and make adjustments as needed. Why this matters: Adding pieces methodically prevents overcrowding and ensures a harmonious look. Time estimate: 1 hour.
Step 6: Hang Additional Pieces
Editor’s Choice

KURUI 303Pcs Picture Hanging Kit, Picture Hangers Assorted Kit with Heav…
Motovera Self Leveling Laser Level 100ft, Green Cross Line with Tripod, …
Step 7: Final Adjustments

Once everything is hung, take a moment to make final adjustments. Complete these steps:
- Check each frame’s alignment and adjust if necessary.
- Ensure that the spacing between frames looks even and balanced.
- Make any minor tweaks to improve the visual flow of the artwork.
Pro Tip: Use a friend to help you assess the wall from different angles. Why this matters: Taking the time for adjustments can dramatically enhance the overall appearance of your gallery wall. Time estimate: 20 minutes.
Step 8: Clean Up
After successfully hanging your gallery wall, it’s time to clean up your workspace. Follow these steps:
- Remove any painter’s tape and clean up any debris from the wall.
- Put away your tools and unused materials.
- Step back to admire your work and enjoy your new gallery wall!
Pro Tip: Take a photo of your completed gallery wall for future reference or social media sharing. Why this matters: A tidy space enhances your enjoyment of the finished project and makes it easier to maintain. Time estimate: 15 minutes.
Step 8: Clean Up
Editor’s Choice
Torpedo Level Magnetic, Firecore 9 Inch Shockproof Small Leveler Tool wi…
4 Rolls Premium Painters Tape, Blue Tape, Masking Tape, Paint Tape for M…
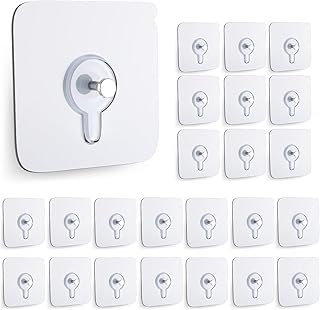
24PCS Picture Hangers Without Nails, Wall Hangers Without Nails, Adhesiv…
Step 9: Add Lighting (Optional)

To enhance the beauty of your gallery wall, consider adding lighting. Here’s how:
- Choose LED picture lights or wall sconces that complement your decor.
- Install the lights according to the manufacturer’s instructions, ensuring they highlight your art.
- Adjust the angle of the lights to minimize glare while illuminating the pieces effectively.
Pro Tip: Dimmer switches allow you to control the brightness and mood of the gallery wall. Why this matters: Proper lighting can dramatically enhance the visual impact of your art. Time estimate: 30 minutes.
Step 9: Add Lighting (Optional)
Editor’s Choice

Kasa Smart Dimmer Switch HS220, Single Pole, Needs Neutral Wire, 2.4GHz …

Picture Light Battery Rechargeable, 3Pack Picture Light for Wall with Re…

EZVALO Picture Light for Wall, 4800mAh Rechargeable Wireless Remote, 16i…
Step 10: Enjoy Your New Gallery Wall

Take a moment to appreciate your hard work! To truly enjoy your gallery wall:
- Invite friends or family to view your creation.
- Consider changing out artwork seasonally for a fresh look.
- Document your gallery wall journey on social media to inspire others.
Pro Tip: Regularly update your gallery wall with new pieces to keep it dynamic. Why this matters: Enjoying your work not only boosts your confidence but also brings joy to your home. Time estimate: 10 minutes.
Step 10: Enjoy Your New Gallery Wall
Editor’s Choice
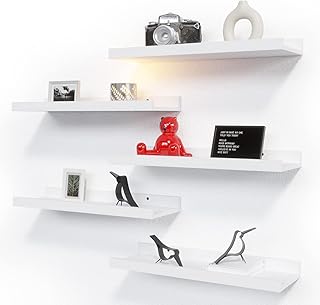
RICHER HOUSE 5 Set White Floating Shelves, Wall Mounted Shelves for Wall…

Command 15 lb Large Picture Hanging Strips 14 Pairs (28 Strips), Damage-…
upsimples 19 Pack Picture Frames Collage Wall Decor for Mounting or Tabl…
Pro Tips
- Use Consistent Frames: Stick to a common color or style for frames to create a cohesive look.
- Consider the Flow: Arrange artwork in a way that guides the eye smoothly from one piece to the next.
- Incorporate Different Textures: Mix framed pieces with canvas or 3D artworks to add depth.
- Seasonal Themes: Change out artwork to reflect seasons or holidays for a fresh vibe.
- Gallery Lighting: Use adjustable lighting to highlight different pieces at different times.
Pro Tips
Editor’s Choice
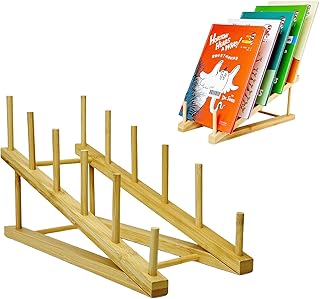
Book Display Stand Holder, 5-Tier Wooden Book Rack Organizer For Magazin…
upsimples 19 Pack Picture Frames Collage Wall Decor for Mounting or Tabl…

Uniclife 20 Pcs Adhesive Picture Hooks 20 lbs Max 2.2”Load No Drill Sc…
Common Mistakes to Avoid
Warning: Hanging frames too high or too low can throw off the visual balance. To avoid this, aim for eye level as the center of your gallery.
Warning: Not measuring the spacing can result in an uneven gallery wall. Use consistent measurements for a harmonious display.
Warning: Using the wrong hanging hardware may lead to frames falling. Always choose hardware based on the weight of your frames.
Common Mistakes to Avoid
Editor’s Choice

Caliper Measuring Tool, Qfun Vernier Digital Caliper Stainless Steel 6 I…
KURUI 303Pcs Picture Hanging Kit, Picture Hangers Assorted Kit with Heav…
Torpedo Level Magnetic, Firecore 9 Inch Shockproof Small Leveler Tool wi…
Troubleshooting Section
Problem: Frames keep falling off the wall.
Solution: Double-check the weight capacity of your hanging hardware and ensure it’s secure.
Problem: Artwork looks cluttered.
Solution: Reassess your arrangement and remove pieces that don’t fit the overall theme.
Problem: Uneven spacing.
Solution: Use a measuring tape to adjust frames to the desired distance.
Troubleshooting Section
Editor’s Choice

All in One Picture Hanging Tool Kit with Level, Portable Picture Levelin…
Command 15 lb Large Picture Hanging Strips 14 Pairs (28 Strips), Damage-…
Variations/Alternative Methods
Consider these alternative methods for creating your gallery wall:
- Grid Layout: Arrange all pieces in a perfect grid for a modern, clean look. Best for small to medium-sized frames.
- Salon Style: Hang a mix of sizes and orientations for a more eclectic look. Great for personal expression.
- Floating Shelves: Use shelves for a flexible display that allows easy swapping of artwork without additional wall damage.
Variations/Alternative Methods
Editor’s Choice
Command 15 lb Large Picture Hanging Strips 14 Pairs (28 Strips), Damage-…

BAYKA Floating Shelves for Wall, Wall Mounted Rustic Wood Shelves for Ba…
upsimples 19 Pack Picture Frames Collage Wall Decor for Mounting or Tabl…
FAQs
- What if I don’t have enough artwork? Consider printing photos in different sizes or creating a collage with smaller items.
- How long should I wait before rearranging? Give yourself a few months to enjoy the display before changing it.
- Is it safe to hang heavy pieces? Yes, as long as you use appropriate hardware rated for the weight.
- What if my wall is textured? Use wall anchors to secure your frames properly.
- Can I hang artwork in a rental home? Yes, use removable hooks or adhesive strips designed for walls.
FAQs
Editor’s Choice

Zinc Self-Drilling Drywall Anchors with Screws Kit, 25 Heavy Duty Metal …
upsimples 19 Pack Picture Frames Collage Wall Decor for Mounting or Tabl…

Takker 121 Piece Picture Hanging Kit Frame Hanging Tool – As Seen On D…
Conclusion

Congratulations on completing your stunning gallery wall down the staircase! You’ve transformed an ordinary space into a personal showcase of art and memories. Now, take a moment to admire your work and consider sharing it with friends and family.
In the future, you can refresh your gallery wall by swapping out artwork or changing the arrangement. Explore local art fairs or online stores to find new pieces that resonate with you. Keep your creative spirit alive and enjoy your beautifully decorated home!