
Choosing the right matting colors for your frames is crucial for enhancing the visual appeal of your artwork or photographs. Many people overlook this step, resulting in a lack of impact that can diminish the overall presentation of their pieces. If your art feels lost in its frame, it’s time to take action! By selecting the right matting colors, you can elevate your artwork and create a stunning focal point in any room.
In this guide, you will learn to choose matting colors that not only complement your artwork but also enhance its visual impact. Whether you are framing a vibrant painting or a subtle photograph, the right matting can make all the difference. You will accomplish a well-thought-out selection of frame matting colors tailored to your specific piece.
This beginner-friendly guide will walk you through seven easy steps, providing helpful tips and insights along the way. You can expect to spend approximately 2-3 hours on this project. Get ready to transform your artwork with the perfect framing!
TL;DR Summary
– Understand the importance of matting colors in artwork presentation.
– Learn how to select colors that complement your art.
– Follow seven simple steps to achieve maximum visual impact.
– Gather all necessary materials before starting your project.
TL;DR Summary
Editor’s Choice


Ouliget Nail Art Practice Paper Cardboard,Blank Nail Art Training Cards …

JimKing Creative Color Wheel, Paint Mixing Learning Guide, Art Class Tea…
Prerequisites/Materials Needed
- Artwork or photograph to frame
- Frame with matting option
- Color swatches or samples (at least 5-7 colors)
- Measuring tape
- Scissors or cutting tool
- Adhesive or mounting corners
- Display location (wall or shelf)
Prerequisites/Materials Needed
Editor’s Choice

Lineco Archival Polypropylene Mounting Corners, Self Adhesive Clear Phot…
Skill Level & Time Estimate
Skill Level: beginner
Total time estimate: 2-3 hours
Skill Level & Time Estimate
Editor’s Choice

Prudiut 15 Pack 11×14 Picture Mats, Mixed Colors Frame Mattes for 8 x10 …

Logan LOG2000 Jn Mat Cutter Retractable Blade, Multicolor
Step 1: Assess Your Artwork
Begin by closely examining your artwork or photograph. Understanding its color palette and overall mood is crucial. Follow these steps:
- Look at the dominant colors in your piece.
- Consider the emotions the artwork evokes and the message it conveys.
- Take note of any contrasting or complementary colors present.
Pro Tip: Take a photo of your artwork to reference later when selecting matting colors. Warning: Don’t rush this step—spending time on assessment will lead to better choices later. Time estimate: 20-30 minutes.
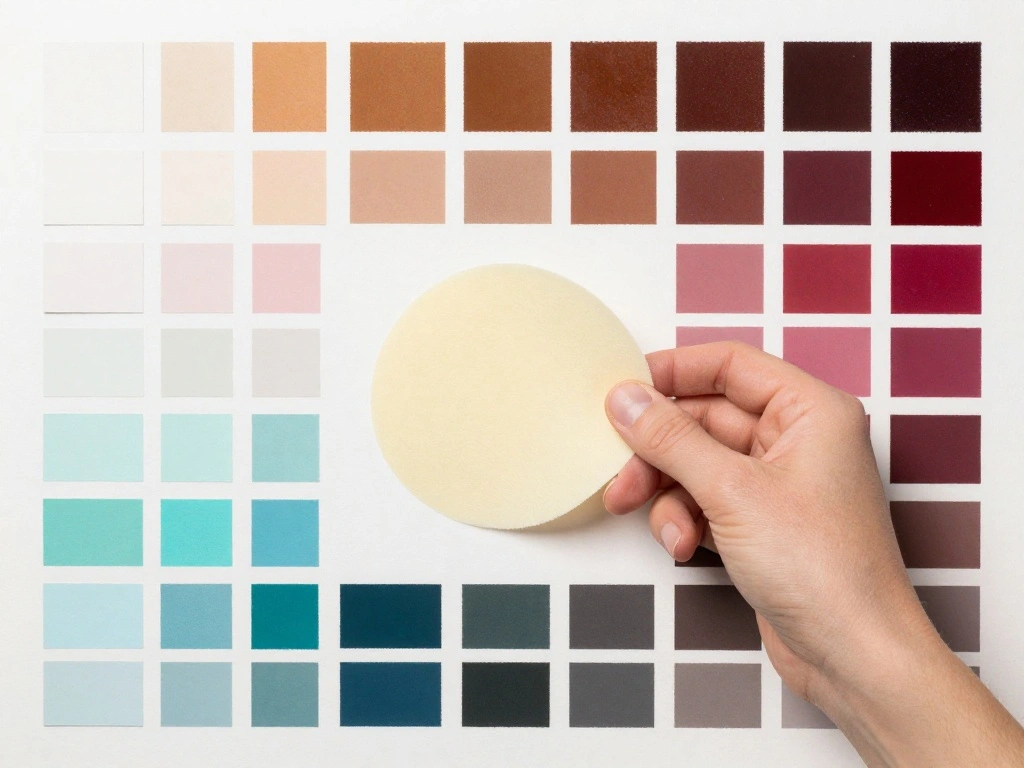
Step 2: Gather Color Swatches
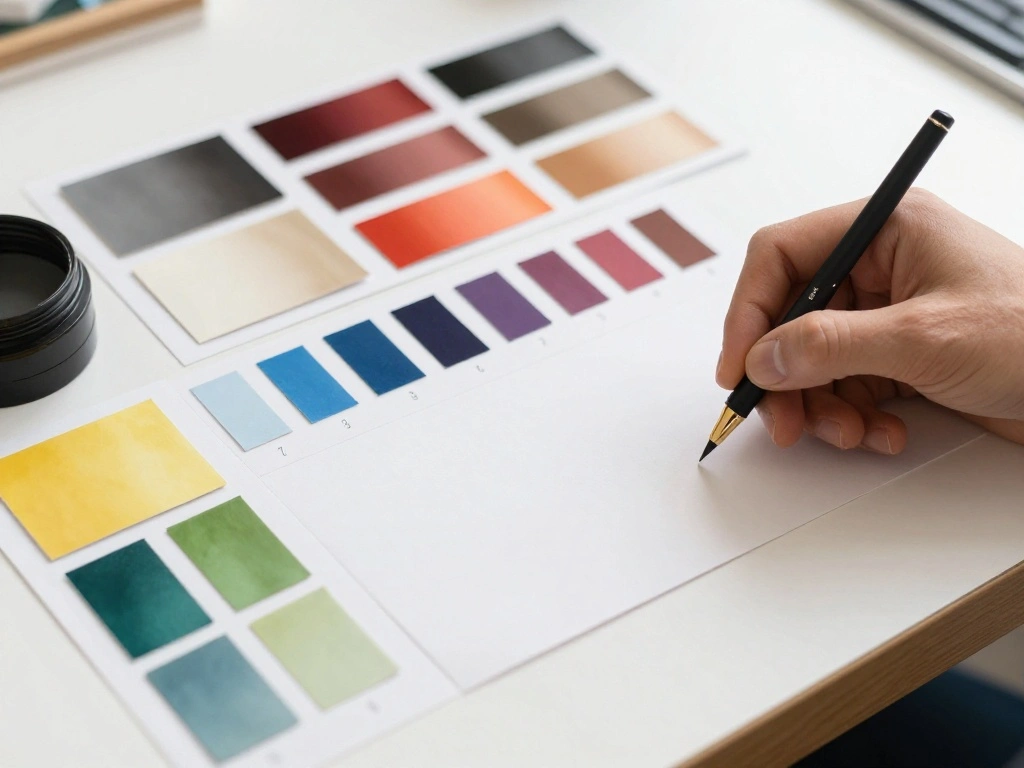
With a clear understanding of your artwork, gather color swatches to help visualize potential matting options. Here’s how to do it:
- Visit a craft store or art supply store.
- Collect swatches of colors similar to those in your artwork.
- Include neutral colors as well, such as white, black, or gray.
Pro Tip: Choose swatches with varying textures to see how they interact with light. Time estimate: 30-45 minutes.
Step 2: Gather Color Swatches
Editor’s Choice

150 Pcs Clear Nail Swatch Sticks with Ring, Fan Shape Nail Art Polish Di…
Step 3: Create a Color Board
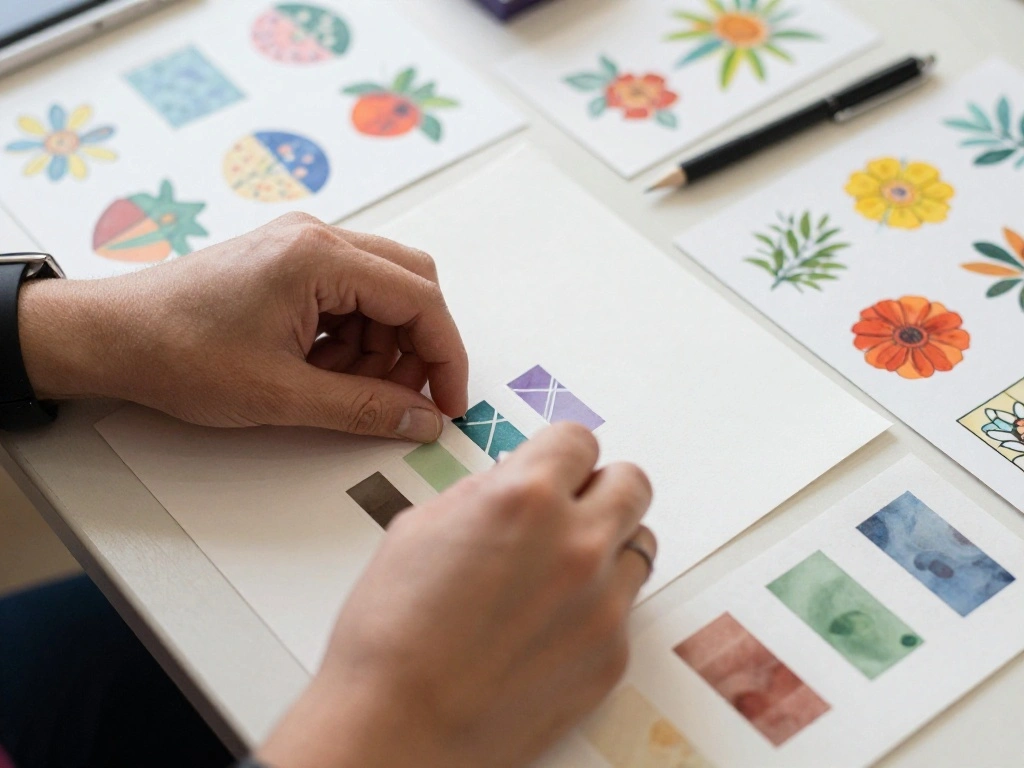
Now it’s time to visualize your options by creating a color board. This step helps you see how your chosen colors work together. Do the following:
- Lay out your collected swatches on a board or a large piece of paper.
- Arrange them in different combinations to see how they complement each other.
- Place your artwork next to the swatches for context.
Pro Tip: Use a digital tool like Canva for a virtual color board. Time estimate: 30-45 minutes.
Step 3: Create a Color Board
Editor’s Choice

Flipside Products 36” x 48” Project Boards for Presentations, Scienc…

A Dictionary Of Color Combinations Vol 1 (Japanese Edition)
Step 4: Evaluate Lighting Conditions
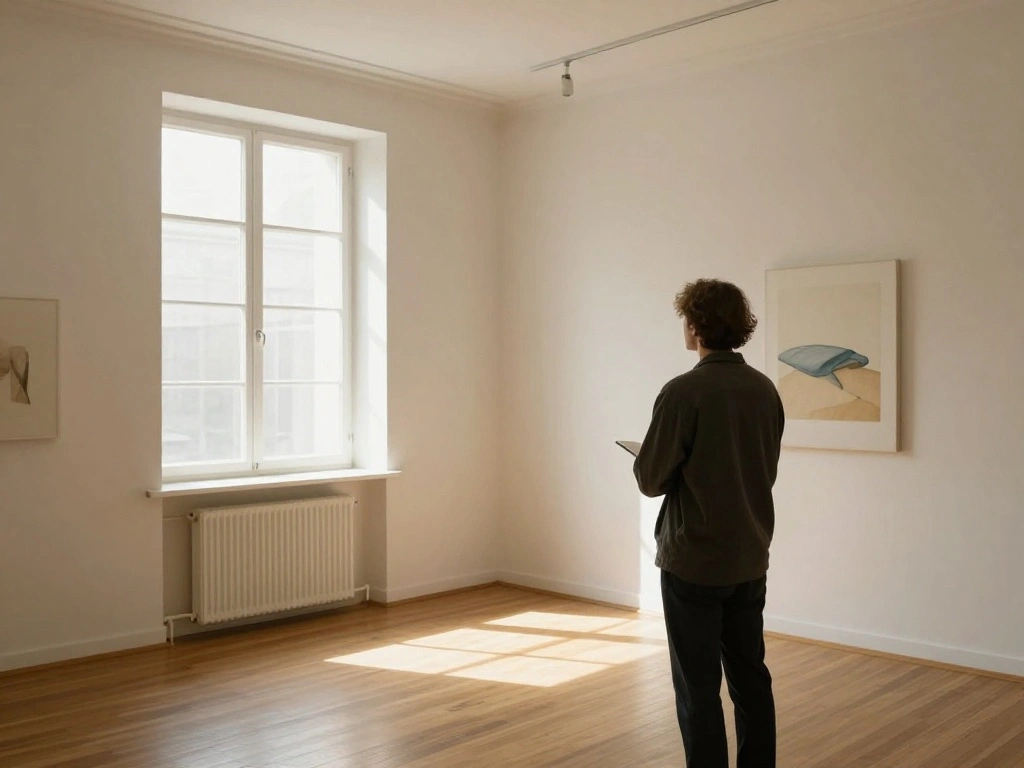
Lighting can significantly affect how colors appear, so evaluate the lighting conditions where your artwork will be displayed. Here’s what to do:
- Observe the lighting at different times of the day.
- Check how natural light and artificial light impact the colors.
- Make adjustments to your color board based on this evaluation.
Pro Tip: Take photos of your color board in different lighting for better comparison. Time estimate: 20-30 minutes.
Step 4: Evaluate Lighting Conditions
Editor’s Choice

Cinema Light Box with Letters – Marquee Color Changing Light Box Sign …

Airlonv LED Desk Lamp for Office Home, Eye-Caring Desk Light with Steple…

Color Collective’s Palette Perfect: Color Combinations Inspired by Fashi…
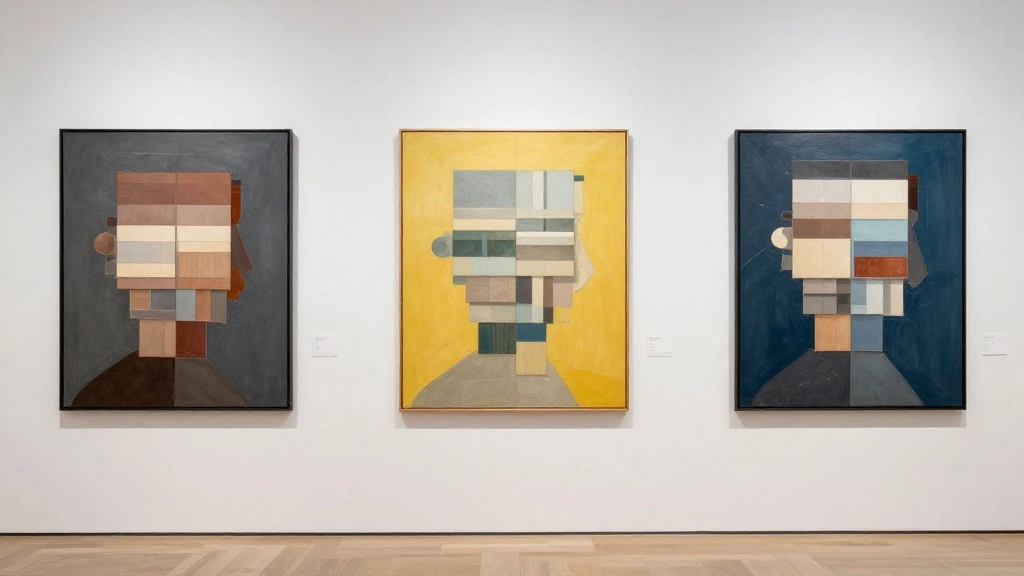
Step 5: Select Your Matting Colors
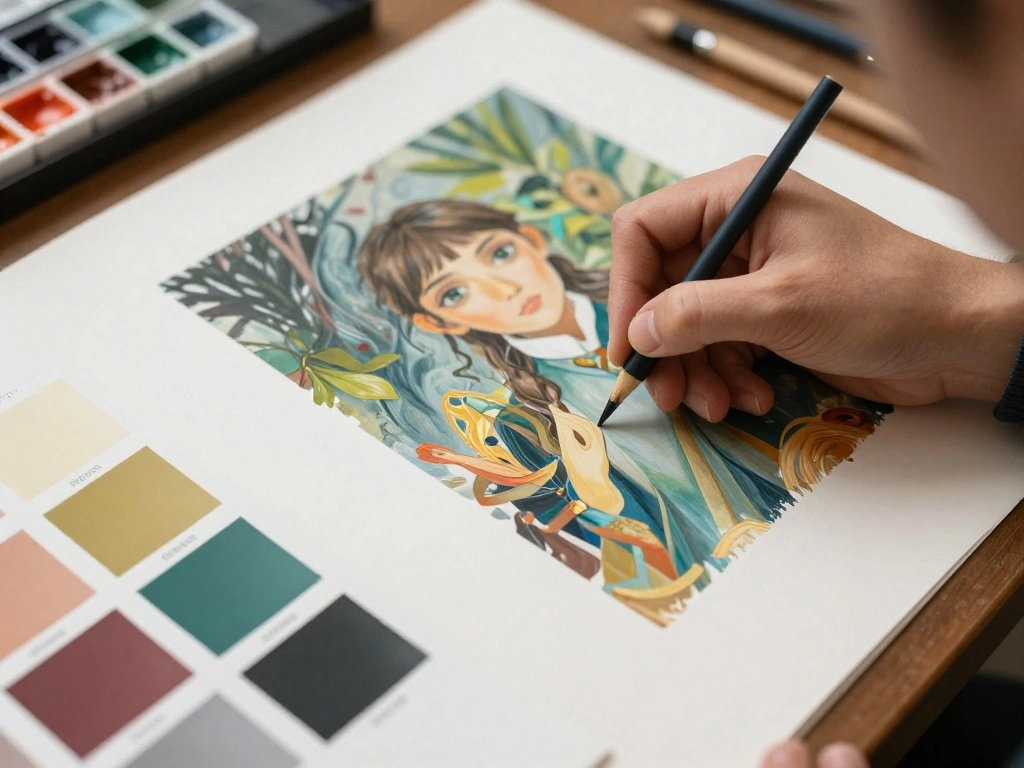
Now that you have assessed your artwork, gathered swatches, and evaluated lighting, it’s time to select your matting colors. Follow these steps:
- Choose a primary color that complements the dominant color in your artwork.
- Select a secondary color for contrast or harmony.
- Consider adding a third color for depth, if desired.
Pro Tip: Use the 60-30-10 rule of color theory (60% primary, 30% secondary, 10% accent) for a balanced look. Time estimate: 30 minutes.
Step 5: Select Your Matting Colors
Editor’s Choice

32in Mat Cutter for Framing with Precision Bevel & Straight Cutting Head…

Garneck Creative Color Wheel for The Artist: 9″ Color Learning Theory Ch…

Your Essential Color Swatch Logbook | 5200 Charts to Test, Organize and …
Step 6: Test Your Selections
Before finalizing your choices, it’s essential to test your selected matting colors. Here’s how:
- Cut samples of your chosen matting colors.
- Place them around your artwork to see how they look together.
- Ask for opinions from friends or family to get a fresh perspective.
Pro Tip: Use a mock-up frame to visualize the final look. Time estimate: 30-45 minutes.
Step 6: Test Your Selections
Editor’s Choice
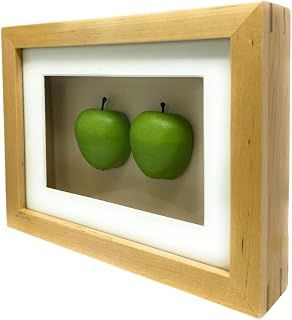
Home Decor Kitchen Wall Art Frame, Three-Dimensional Green Apple Mockup …

30 Pack Picture Frame Mats, Mixed Colors 8×10 Picture Mats for 5×7 Photo…
Step 7: Finalize and Frame Your Artwork
Congratulations! You’ve chosen your matting colors. Now it’s time to frame your artwork. Follow these steps:
- Carefully mount your artwork to the matting.
- Secure the matting in the frame.
- Hang or display your framed piece in its designated location.
Pro Tip: Use a level when hanging to ensure your artwork is straight. Time estimate: 30-60 minutes.
Step 7: Finalize and Frame Your Artwork
Editor’s Choice

Torpedo Level Magnetic, Firecore 9 Inch Shockproof Small Leveler Tool wi…

Go Hang It! Pro, All-in-One Picture Hanging Kit – Picture Leveling and H…

Scrapbook Adhesives by 3L Repositionable Mounting Squares, 1000-Pack
Pro Tips
- Color Wheel: Use a color wheel to identify complementary colors easily.
- Texture Matters: Consider matting textures as they can add depth and interest.
- Seasonal Changes: Change matting colors with seasons for a fresh look.
- Art Style: Match matting colors to the style of your artwork (modern, vintage, etc.).
- Test Before You Commit: Always test your matting choices with your artwork before finalizing.
Common Mistakes to Avoid
Warning: Avoid using overly bright colors that clash with your artwork. This can draw attention away from the piece itself. Always opt for complementary or neutral shades that enhance rather than distract.
Warning: Don’t ignore the impact of lighting. Colors may look different under various lighting conditions, so evaluate them in the intended display area.
Warning: Avoid choosing matting colors hastily. Take your time to ensure the best visual impact.
Common Mistakes to Avoid
Editor’s Choice

EZVALO Picture Light for Wall, 4800mAh Rechargeable Wireless Remote Batt…

Nezyo 10 Pieces Color Paint Wheel Chart for Artist Kids Paint Mixing Lea…

Egofine 14 Pack Mat Board, 11×14 Backing Board, Acid Free White Uncut Ma…
Troubleshooting Section
Problem: The matting colors clash with the artwork.
Solution: Revisit your color board and select alternative swatches that complement the dominant colors.
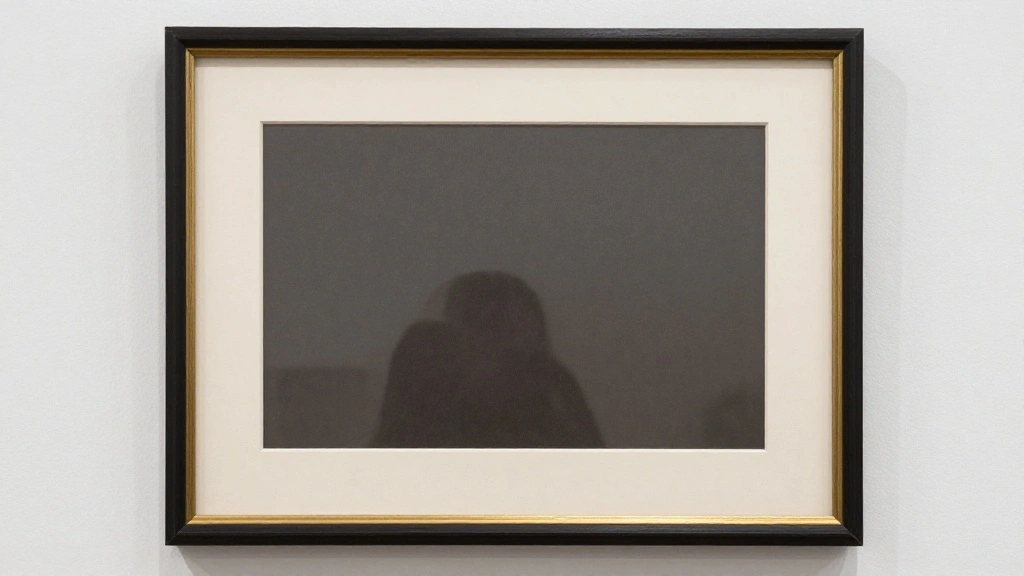
Problem: The artwork looks dull in the frame.
Solution: Consider using brighter or more contrasting matting colors to enhance visual interest.
Problem: The framed piece doesn’t fit the intended space well.
Solution: Reassess your display location and consider resizing your frame or matting.
Troubleshooting Section
Editor’s Choice

Color Swatch Desk Mat – 23″ x 14″ Compatible with Ohuhu Honolulu Alcoh…

Essential Color Card Deck: Break out of the Color Wheel with 200 Cards t…
Variations/Alternative Methods
- Using Digital Tools: Instead of physical swatches, use digital design tools to visualize matting color combinations.
- Incorporating Patterns: Consider using patterned matting for added visual interest, but ensure it doesn’t overpower your artwork.
- Framing Styles: Experiment with different framing styles (e.g., floating frames) for a unique look.
Variations/Alternative Methods
Editor’s Choice

Digital Drawing Glove: 3-Layer Palm Rejection, Two-Finger Artist Glove f…

CORE ART 8×10 Floating Picture Frame,Double Plexglass Floating Frame for…

Golden State Art, 11X14 Ornate Finish Photo Frame with White Mat for 8×1…
FAQs
What if I don’t have access to a craft store? You can find color swatches online or use paint samples from home improvement stores.
How long should I wait to hang my artwork after framing? Allow at least a few hours for any adhesives to set before hanging.
Is it safe to use glass with my framed artwork? Yes, but ensure it is UV-protective glass to prevent fading.
FAQs
Editor’s Choice

Lineco, Reverse Wound Acid Free 2 mil Adesive Transfer Hand Held ATG Tap…
Your Essential Color Swatch Logbook | 5200 Charts to Test, Organize and …

Ergodyne Skullerz SIXTEN Safety Glasses with Side Shields, Anti Fog + An…
Conclusion
Congratulations on completing the guide! You now have the knowledge to choose frame matting colors that maximize the visual impact of your artwork. Take pride in your beautifully framed pieces—they deserve to be showcased!
Next steps: Consider exploring different framing styles or experimenting with seasonal matting changes. For more inspiration, check out online galleries or local art shows to see how others frame their pieces. Keep creating and displaying your art in stunning ways!