
Are you looking to add a personal touch to your baby’s nursery? A unique name sign can brighten the space and create a warm, inviting atmosphere. Not only does it serve as a beautiful decoration, but it also helps to introduce your little one to their name in a fun and creative way.
In this guide, you will learn how to make a personalized name sign that will be a centerpiece in your nursery. From selecting materials to the final touches, you will gain the skills needed to create something truly special.
This project is designed for beginners and takes approximately 2-3 hours to complete. By following these steps, you will achieve a beautiful, customized sign that reflects your child’s personality. Grab your materials, and let’s get started!
TL;DR Summary
– Create a personalized name sign for your nursery wall.
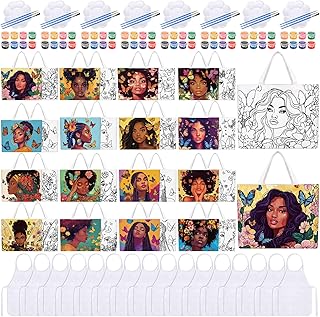
– Gather materials including wood, paint, and brushes.
– Follow step-by-step instructions to assemble and decorate your sign.
– Enjoy a unique and personal touch in your baby’s room.
TL;DR Summary
Editor’s Choice

FINGERINSPIRE 4 Styles Woman Stencils 8.3×11.7 Inch Water Drop Woman Ste…

Pink Golf Accessories for Women, Acrylic Paint Ink 16 Pcs Golf Essential…

PULITUO Drill Set, 149-Piece Home Tool Set with 12V Pink Cordless Drill,…
Prerequisites/Materials Needed
- Wood board (1×12 inches, 24 inches long)
- Sandpaper (medium and fine grit)
- Acrylic paint (in colors of your choice)
- Paintbrushes (1 large flat, 1 small detail brush)
- Painter’s tape
- Stencils or vinyl letters (optional)
- Wood glue or strong adhesive
- Hanging hardware (screws or wall adhesive strips)
- Clear sealant (optional)
Prerequisites/Materials Needed
Editor’s Choice

Marbling Nail Foil Transfer Stickers Decals, 10 Sheets Marble Pattern Na…
FINGERINSPIRE 4 Styles Woman Stencils 8.3×11.7 Inch Water Drop Woman Ste…
Paterr 16 Set Pre Drawn Canvas Bags Set Paint and Sip Kit for Adults Pai…
Skill Level & Time Estimate
Skill Level: beginner
Total time estimate: 2-3 hours
Breakdown of time:
– Material preparation: 30 minutes
– Painting and drying: 1-2 hours
– Assembly and finishing touches: 30 minutes
Skill Level & Time Estimate
Editor’s Choice

ROKR 3D Puzzle for Adults, Wooden Puzzles Classic Printing Press Model B…

59pcs Acrylic Paint Set – Art Supplies Kit With 24 Non-Toxic Paints, Eas…

2 Pack Double Coat Hooks for Cubicle Panels, Cubicle Accessories with In…
Step 1: Gather Your Materials

To start, gather all your materials in one place. This will make the process smoother and more efficient. Follow these steps:
1. Collect your wood board, sandpaper, and paint supplies.
2. Ensure you have any stencils or letters ready if you plan to use them.
3. Set up a clean, well-lit workspace.
Pro Tip: Lay down a drop cloth to protect your work surface from paint spills.
Why this matters: Having everything you need at hand reduces interruptions and helps maintain focus.
Time estimate: 15 minutes.
Step 1: Gather Your Materials
Editor’s Choice

Nicpro CP3000 Carpenter Pencil with Sharpener, Construction Mechanical P…

20 Pack Mini Acrylic Paint Set,12 Color Acrylic Paint Strips with 40 Pcs…
FINGERINSPIRE 4 Styles Woman Stencils 8.3×11.7 Inch Water Drop Woman Ste…
Step 2: Prepare the Wood Board
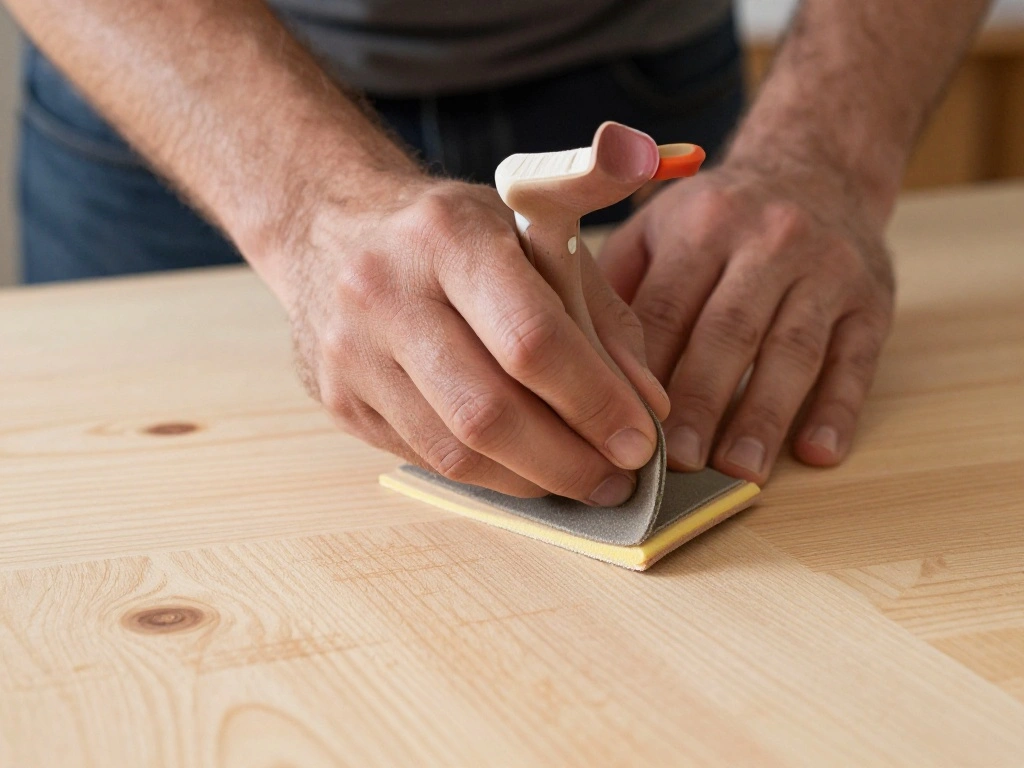
Next, prepare your wood board for painting. Proper preparation is essential for a smooth finish. Do the following:
1. Use medium-grit sandpaper to smooth the edges and surface of the board.
2. Wipe off any dust with a damp cloth.
3. If desired, cut the board to your desired length using a saw.
Warning: Always wear protective gear when using power tools.
Why this matters: Preparing the wood ensures better paint adhesion and a professional-looking result.
Time estimate: 30 minutes.
Step 2: Prepare the Wood Board
Editor’s Choice

10PCS Palette Knife, Stainless Steel Painting Knife Set, Flexible Spatul…

Sandpaper 120 Grit, Wet Dry Sanding Sheets 9 x 11 Inch, Advanced White F…
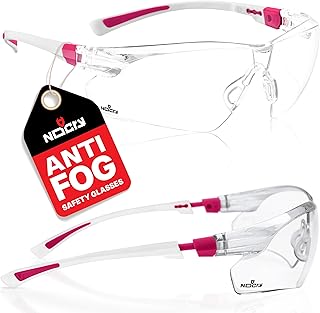
NoCry Clear Safety Glasses for Women with Adjustable Frames — Anti Fog…
Step 3: Paint the Base Color
Now, it’s time to paint the base color of your sign. Choose a color that complements your nursery decor. Follow these steps:
1. Use painter’s tape to mask off any areas you want to keep unpainted.
2. Apply a coat of acrylic paint to the wood using a large brush.
3. Allow the first coat to dry, then apply a second coat if necessary.
Pro Tip: Use a foam brush for a smooth finish.
Why this matters: The base color sets the tone for the entire sign and enhances overall aesthetics.
Time estimate: 1 hour.
Step 3: Paint the Base Color
Editor’s Choice

PAGEMORE 32 Rolls Colorful Cute Floral Writable Washi Tape Set, Decorati…

Artkey Acrylic Paint Set, 16 Colors 2 oz/59 ml Acrylic Paint Kit for Pro…

20 Pcs Paint Brushes, Acrylic Painting Brush Set, Watercolor Brushes, Ac…
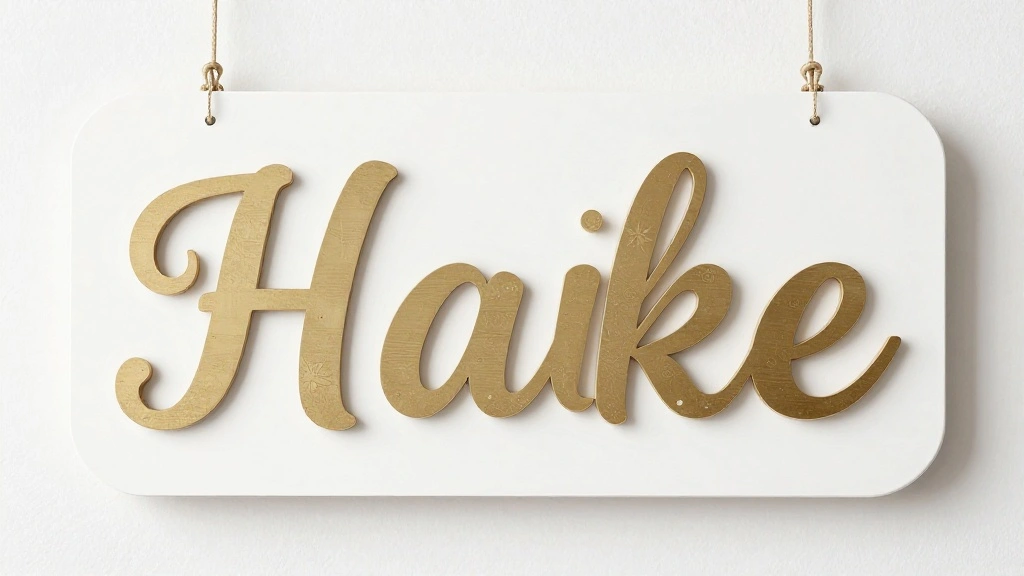
Step 4: Add Personalization
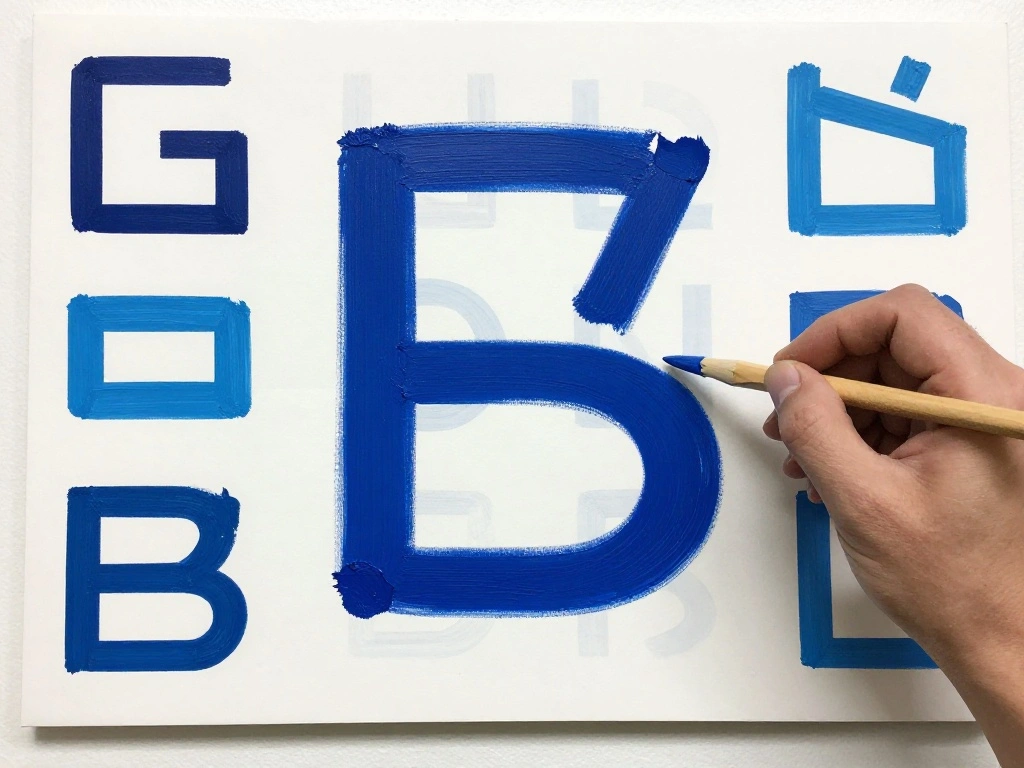
It’s time to add the personalized name to your sign. This is the most exciting part! Follow these steps:
1. If using stencils or vinyl letters, place them on the dry painted surface.
2. If painting directly, sketch the name lightly with a pencil.
3. Carefully paint over the letters, ensuring a steady hand.
Warning: Take your time to avoid smudging or mistakes.
Why this matters: Personalization makes the sign uniquely yours and adds a heartfelt touch.
Time estimate: 45 minutes.
Step 4: Add Personalization
Editor’s Choice

Paint Your Own Sunflower Coaster with Markers,Arts and Crafts for Adul,6…
Step 5: Seal the Sign
To protect your artwork, seal your sign with a clear coat. This step adds durability and longevity. Follow these steps:
1. Once the paint is completely dry, apply a clear sealant using a clean brush.
2. Allow the sealant to dry completely as per the manufacturer’s instructions.
Pro Tip: Choose a matte or glossy finish based on your preference.
Why this matters: Sealing the sign protects it from wear and tear, ensuring it lasts for years to come.
Time estimate: 30 minutes.
Step 5: Seal the Sign
Editor’s Choice

2 Pack 120ml Water-Based Sealer with Brush – Multi-Purpose Clear Surfa…

Red Devil 082520 100% Silicone Waterproof Flooring Perimeter Sealant, 10…

Nicpro 30pcs Paint Brush Set, Aesthetic Pastel Paintbrushes with Paint S…
Step 6: Hang Your Name Sign
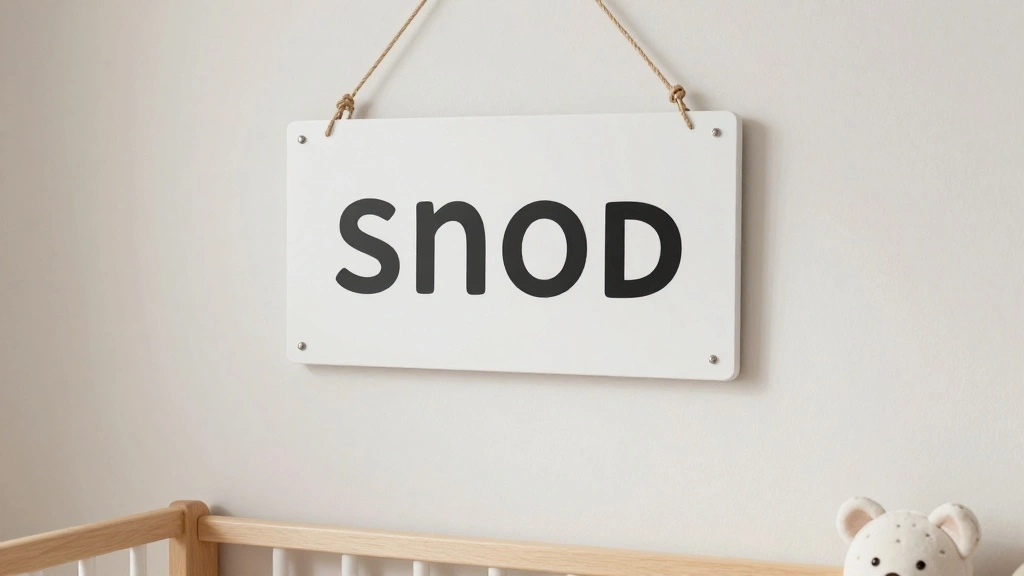
Finally, it’s time to hang your personalized name sign! This step completes your project and brings your vision to life. Follow these steps:
1. Decide on the placement of the sign on the nursery wall.
2. Use a level to ensure it hangs straight.
3. Install the hanging hardware or use wall adhesive strips for a no-damage option.
Warning: Ensure the sign is securely attached to avoid falling.
Why this matters: Proper hanging not only enhances the visual appeal but also ensures safety in the nursery.
Time estimate: 30 minutes.
Step 6: Hang Your Name Sign
Editor’s Choice
Command 15 lb Large Picture Hanging Strips 14 Pairs (28 Strips), Damage-…


HOURIA Geometric Black Cat Framed Canvas Wall Art Set,Abstract Orange & …
Pro Tips
- Color Coordination: Choose colors that match or complement the nursery’s theme for a cohesive look.
- Font Choice: Use fun and playful fonts to reflect a child-friendly atmosphere.
- Layering Techniques: Consider using multiple layers of paint for a textured effect.
- Personal Touches: Add decorative elements like stars or hearts around the name for extra charm.
- Lighting: Position the sign where it catches light to enhance its visibility and beauty.
Pro Tips
Editor’s Choice

Personalized She Shed Decor, Custom Name Sign Rustic Farmhouse Women Cav…

Apple Barrel Essentials Acrylic Paint Set, 12, 24 Fl Oz (Pack of 1)
Common Mistakes to Avoid
Warning: Skipping the sanding step can lead to uneven paint application.
Warning: Not allowing paint to dry fully can cause smudging.
Warning: Using too much water with acrylic paint can dilute the color and affect coverage.
Common Mistakes to Avoid
Editor’s Choice
Nicpro CP3000 Carpenter Pencil with Sharpener, Construction Mechanical P…

AmazingSpark 6 Set Paint and Sip Kit for Adults 8″x 10″ Pre Drawn Canvas…
Nicpro 30pcs Paint Brush Set, Aesthetic Pastel Paintbrushes with Paint S…
Troubleshooting Section
Problem: Paint is peeling off.
Solution: Ensure the wood was properly sanded and cleaned before painting.
Problem: The letters are not visible.
Solution: Choose a contrasting color for the letters or outline them for better definition.
Problem: Sign is crooked.
Solution: Re-hang the sign using a level for accuracy.
Troubleshooting Section
Editor’s Choice

Acrylic Paint Brush Set, 1 Packs / 10 pcs Watercolor Brushes Painting Br…

Giani Wood Look Paint Kit for Front & Interior Doors (Honey Oak)
Variations/Alternative Methods
1. Fabric Signs: Use fabric instead of wood for a softer look. This method is ideal for a playful nursery atmosphere.
2. Wall Decals: For those who want a less permanent option, wall decals can be customized and easily removed.
3. Digital Art: Create a digital version of your sign and print it out for a modern touch.
Variations/Alternative Methods
Editor’s Choice

Her Vibe is Pretty Wall Decal Decor Vivid Butterflies Wall Sticker Inspi…
SVBright Abstract Woman Fabric Wall Hanging Tapestry 51Wx59H Inch Boho B…

Custom Posters Name Wall Decor – Personalized Name Sign For Room Decor C…
FAQs
What if I don’t have stencils? You can hand-paint the letters or print them out as a guide.
How long should I let the paint dry? Allow at least 1-2 hours between coats, and 24 hours for complete cure.
Is it safe to use acrylic paint in a nursery? Yes, as long as you choose non-toxic, water-based acrylic paints.
FAQs
Editor’s Choice

Flower Bouquet Handprint Art Keepsake Making Wooden Sign with Stand 9×12…

Ekouaer Women Pajamas Set Button Down Sleepwear Short Sleeve Nightwear w…
FINGERINSPIRE 4 Styles Woman Stencils 8.3×11.7 Inch Water Drop Woman Ste…
Conclusion
Congratulations! You have successfully created a personalized name sign for your nursery wall. This unique piece will not only enhance your child’s space but also serve as a loving reminder of their identity.
Now that you’ve finished this project, consider exploring other DIY decor ideas to add even more charm to your nursery. Remember, every little detail contributes to a nurturing environment for your little one. Keep creating, and enjoy the journey of parenthood!