
Creating a gallery wall can be an exciting way to showcase your favorite art and photographs, but mixing different frame sizes can quickly descend into chaos if not done carefully. The challenge lies in achieving a cohesive look while celebrating variety. This guide will help you strike that perfect balance, resulting in a gallery wall that feels both dynamic and harmonious.
By the end of this guide, you will have a beautifully arranged gallery wall that mixes frame sizes without appearing cluttered. You will learn how to choose frames, plan your layout, and hang your art properly to create a stunning visual effect.
This project is of intermediate difficulty and will take approximately 2-3 hours to complete, depending on the size of your wall and collection. Let’s dive into the world of gallery walls and discover how to mix frame sizes effectively!
TL;DR Summary
- Choose a color palette to unify different frame styles.
- Plan your layout on the floor before hanging.
- Use templates or painter’s tape to mark the arrangement.
- Hang frames at eye level for best visual impact.
TL;DR Summary
Editor’s Choice

Pink Painter’s Tape,1″ x 60 Yards – 14 Day Easy Removal Decorative Maski…
Framed Canvas Wall Art Beautiful Woman With Colorful Flowers, White Flow…

Color Me Beautiful: Discover Your Natural Beauty Through the Colors That…
Prerequisites/Materials Needed
- Frames of various sizes (minimum of 5-7 frames)
- Artworks or photographs to fill the frames
- Measuring tape
- Painter’s tape
- Hammer or wall drill
- Nails or wall hooks
- Level
- Optional: Paper templates of frames
Prerequisites/Materials Needed
Editor’s Choice

Torpedo Level Magnetic, Firecore 9 Inch Shockproof Small Leveler Tool wi…

SESEAT Picture Frames Collage, Gallery Wall Frame Set with 11×14 8×10 5x…
Skill Level & Time Estimate
Skill Level: intermediate
Total time estimate: 2-3 hours
Skill Level & Time Estimate
Editor’s Choice

8×10 Picture Frame Gold – Picture Frames for Wall Hanging And Tabletop …

KURUI 303Pcs Picture Hanging Kit, Picture Hangers Assorted Kit with Heav…
Step 1: Choose Your Frames
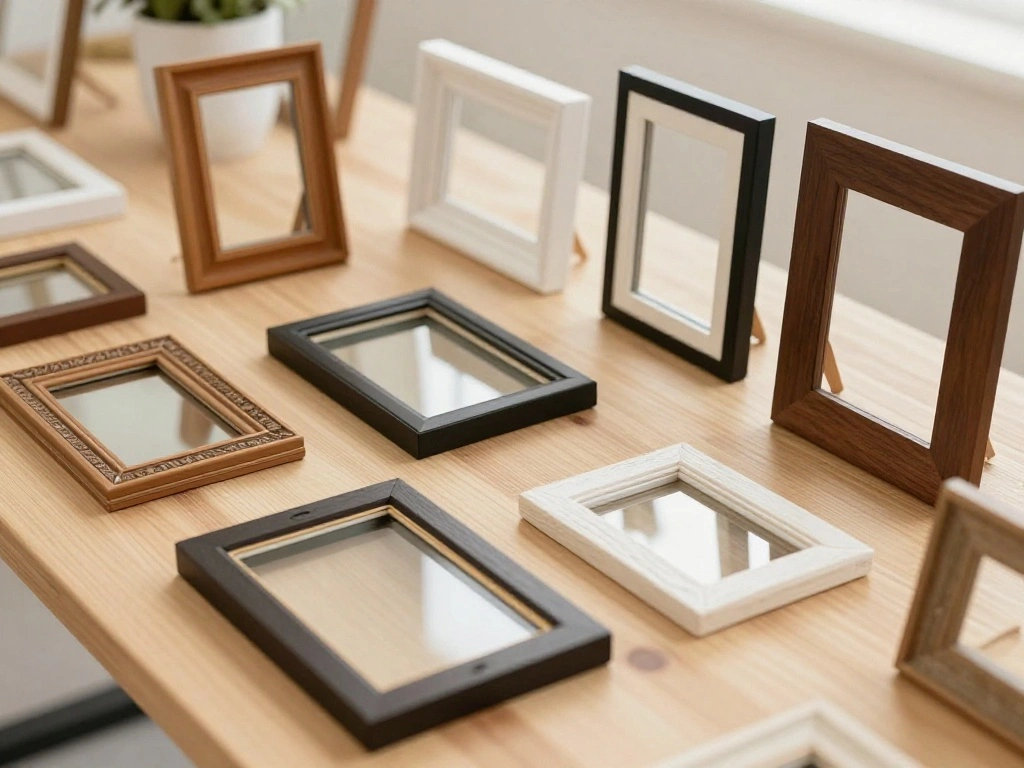
Start by selecting a variety of frames that reflect your style. Consider using different materials, such as wood, metal, or acrylic, and varying the colors. To do this:
- Gather at least 5-7 frames of different sizes.
- Ensure frames have a cohesive theme, like color or material.
- Mix styles, such as modern, vintage, or minimalist.
Pro Tip: Stick to a specific color palette to prevent the wall from feeling chaotic. Warning: Avoid frames that are too similar in size to maintain visual interest. This step is essential for creating a gallery wall that feels curated and intentional.
Time estimate: 30 minutes
Step 1: Choose Your Frames
Editor’s Choice

Seasonal Color Analysis Card – Acrylic Color Palette Guide for Shoppin…
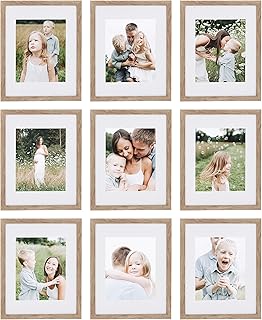
Sheffield Home 9 Piece Gallery Wall Frame Set, 11×14 Inch, Light Natural

Go Hang It! Pro, All-in-One Picture Hanging Kit – Picture Leveling and H…
Step 2: Gather Your Artwork
Select the artworks or photographs you want to display. This is the heart of your gallery wall. Here’s how:
- Choose pieces that resonate with you, whether personal photos or art prints.
- Mix different types of art—paintings, photos, quotes—to add depth.
- Consider the dimensions of each piece in relation to your frames.
Pro Tip: Use a mix of vertical and horizontal pieces to create a dynamic look. Warning: Don’t overcrowd your selection; less can often be more. This step ensures your gallery wall tells a story and engages viewers.
Time estimate: 30 minutes
Step 2: Gather Your Artwork
Editor’s Choice

Framed Black Girl Wall Art Set of 3, Fashion Inspirational Black Woman W…

Framed Floral Canvas Wall Art Women Pink lnspirational Quotes flowers Pi…
Step 3: Plan Your Layout

Before hanging anything, lay out your frames on the floor to visualize the arrangement. Follow these steps:
- Use painter’s tape to outline the dimensions of the wall on the floor.
- Place the frames within this outline in a way that feels balanced.
- Experiment with different arrangements until you find one you love.
Pro Tip: Take a photo of your layout for reference when hanging. Warning: Avoid placing all larger frames on one side; balance is key. This step prevents costly mistakes by allowing you to visualize the final look before committing.
Time estimate: 30-45 minutes
Step 3: Plan Your Layout
Editor’s Choice

Step 4: Create Templates for Hanging
To make hanging easier, create paper templates of your frames. This step helps ensure precision. Here’s how:
- Trace each frame onto a piece of paper.
- Cut out the templates and label them according to their corresponding frame.
- Use painter’s tape to stick the templates to the wall according to your planned layout.
Pro Tip: Use a level to ensure your templates are straight. Warning: Don’t skip this step; it saves time when it comes to actual hanging. This approach helps you visualize the final arrangement on the wall, preventing mistakes.
Time estimate: 30 minutes
Step 4: Create Templates for Hanging
Editor’s Choice

Joyberg 18Pack Poster Board, 11in x 14in White Poster Boards, Posterboar…

3Pcs Circular Bubble Level Bullseye Degree Marked Surface Round Spirit L…

4 Rolls Premium Painters Tape, Blue Tape, Masking Tape, Paint Tape for M…
Step 5: Hang Your Frames
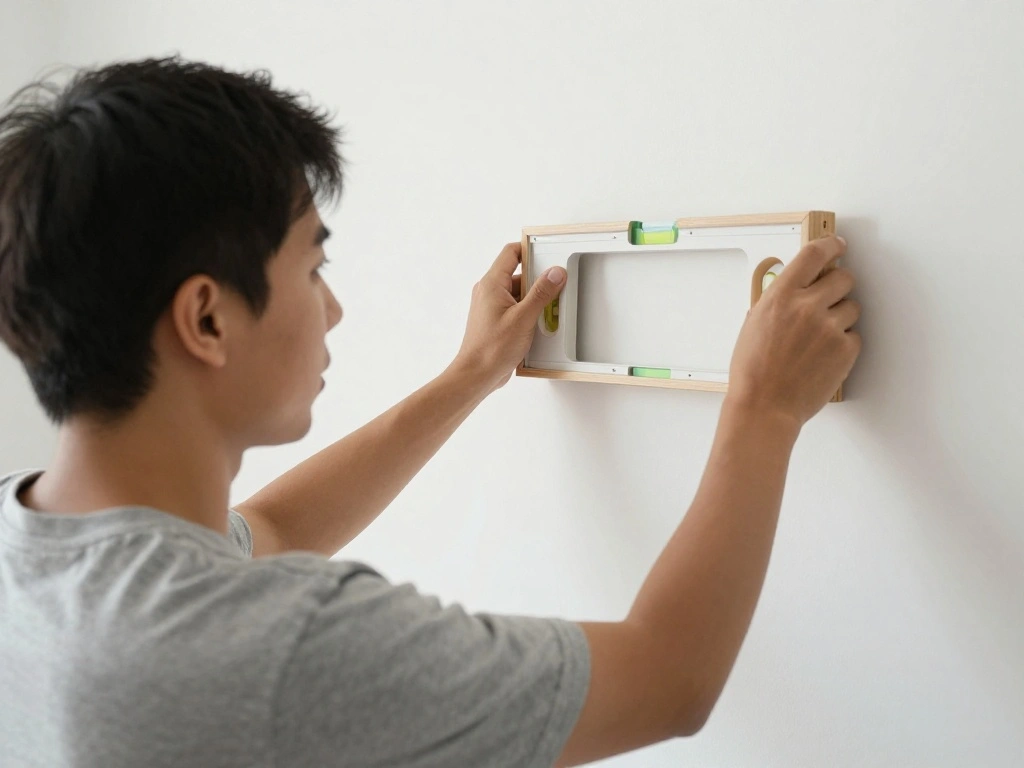
Now it’s time to hang your frames! This is where all your planning pays off. Follow these steps:
- Starting with the center frame, align it with your template.
- Use a hammer or drill to secure the frame in place with nails or hooks.
- Continue hanging frames around it, referring to your templates.
Pro Tip: Step back frequently to assess the arrangement as you go. Warning: Don’t rush this process; ensure each frame is level before moving on. This step is crucial for achieving a polished and professional look.
Time estimate: 45 minutes to 1 hour
Step 5: Hang Your Frames
Editor’s Choice

WORKPRO 12 Inch Torpedo Level, Magnetic Small Leveler Tool, Plumbing Lev…

YOUMI 6 in 1 Multifunctional Floral Hammer & Screwdriver Tool Set Claw H…
Go Hang It! Pro, All-in-One Picture Hanging Kit – Picture Leveling and H…
Step 6: Final Touches
Once all frames are hung, it’s time for final adjustments. Here’s what to do:
- Check the level of each frame and adjust as needed.
- Consider adding decorative elements, like plants or shelves, to enhance the display.
- Take a step back and admire your work, making any minor adjustments.
Pro Tip: Use a camera to snap a photo of your gallery wall for social media! Warning: Avoid overcrowding the area around your gallery wall; give it space to breathe. This step wraps up your project, ensuring it looks its best.
Time estimate: 30 minutes
Step 6: Final Touches
Editor’s Choice
Torpedo Level Magnetic, Firecore 9 Inch Shockproof Small Leveler Tool wi…

50 Pack Small Sawtooth Picture Hangers – Steel Picture Hanging Solutions…

2 Pack Stainless Steel Shelf 12″x48″ 320LB, Commercial Wall Mounted Meta…
Pro Tips
- Color Coordination: Choose a unifying color scheme for frames and artwork.
- Lighting: Illuminate your gallery wall with spotlights or picture lights.
- Spacing: Maintain equal spacing between frames for a tidy look.
- Mix Textures: Combine different materials like wood and metal for visual interest.
- Personal Touches: Include personal items like letters or small keepsakes to make it unique.
Pro Tips
Editor’s Choice

upsimples 19 Pack Picture Frames Collage Wall Decor for Mounting or Tabl…
Torpedo Level Magnetic, Firecore 9 Inch Shockproof Small Leveler Tool wi…

3Pack Picture Light Battery Operated, 16in Picture Light for Wall, 5000m…
Common Mistakes to Avoid
Warning: Avoid hanging frames too high; this can make it hard to see them. To fix, lower them to eye level.
Warning: Don’t use mismatched hardware that can damage walls. Use appropriate wall hooks for your frames.
Warning: Avoid overcrowding with too many frames. Less is more; ensure each piece has space to shine.
Warning: Don’t neglect the layout planning; random placements can lead to a chaotic look.
Warning: Avoid similar-sized frames clustered together. Mix sizes to create interest.
Common Mistakes to Avoid
Editor’s Choice
KURUI 303Pcs Picture Hanging Kit, Picture Hangers Assorted Kit with Heav…

PREXISO Multi Surface Laser Level LED Light Vial, 30Ft Horizontal & Vert…

LUCKYLIFE Picture Frames Collage Wall Decor 10-Pack, Gallery Wall Frame …
Troubleshooting Section
Problem: Frames are crooked after hanging.
Solution: Use a level to adjust them, ensuring all frames are straight.
Problem: The wall looks cluttered.
Solution: Remove a few frames to create more breathing room.
Problem: Art pieces clash with frame colors.
Solution: Swap out frames or artworks for a better match.
Problem: You don’t have enough space on your wall.
Solution: Consider a smaller arrangement or a vertical layout.
Problem: Wall hooks have damaged the wall.
Solution: Fill holes and patch them; use less invasive hanging solutions next time.
Troubleshooting Section
Editor’s Choice
LUCKYLIFE Picture Frames Collage Wall Decor 10-Pack, Gallery Wall Frame …

20 Sheets Painters Color Diary for 480 Colors Loose Leaf Color Swatch No…
PREXISO Multi Surface Laser Level LED Light Vial, 30Ft Horizontal & Vert…
Variations/Alternative Methods
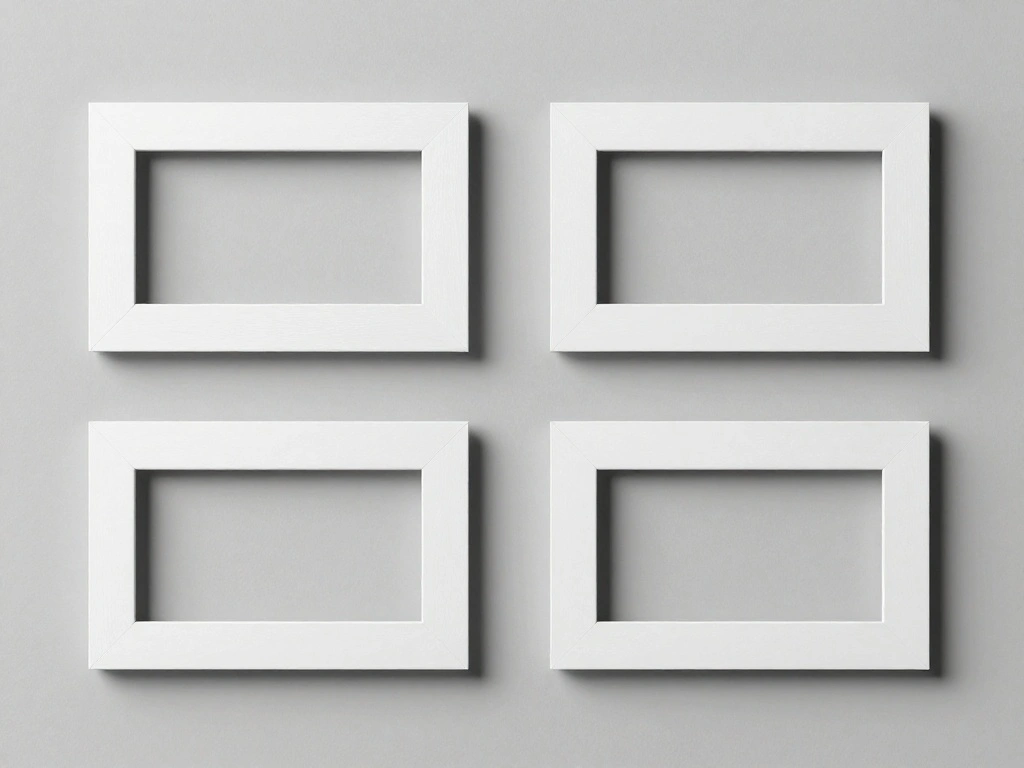
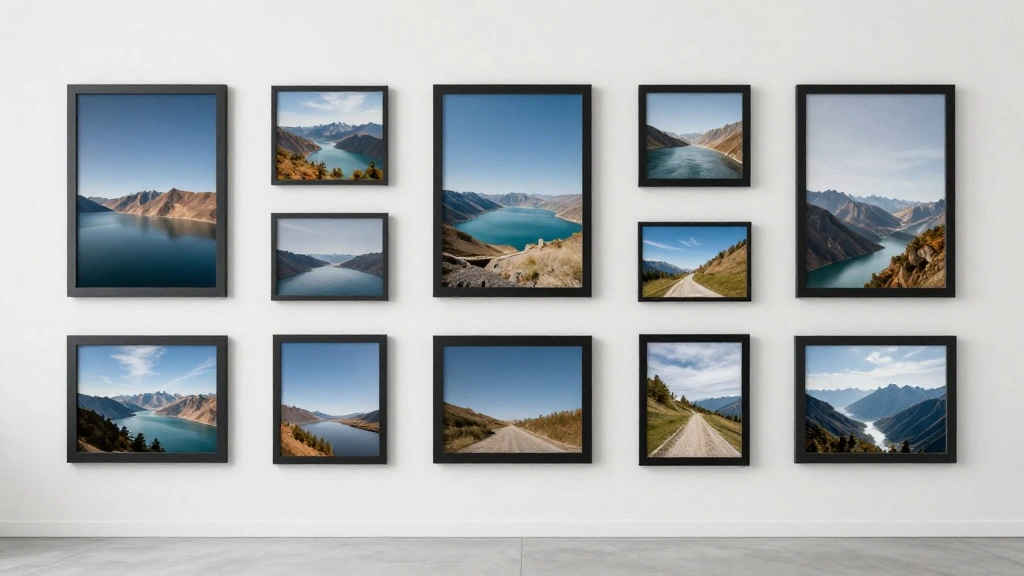
Grid Layout: For a structured look, arrange frames in a grid pattern, ensuring equal spacing.
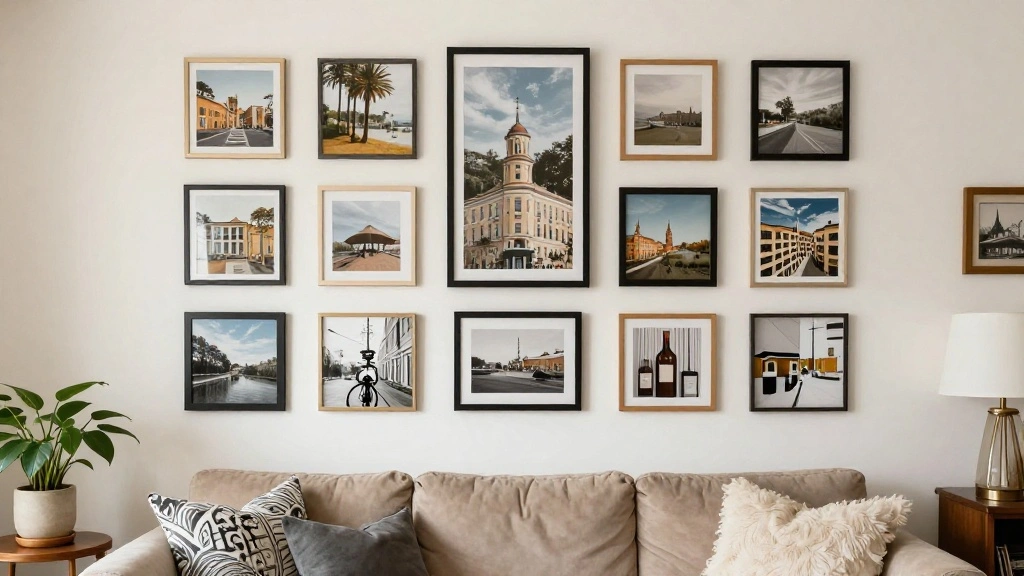
Salon Style: Arrange frames in a more organic, asymmetrical layout for a casual feel.
Floating Shelves: Use floating shelves to display framed art, allowing for easy swapping.
Variations/Alternative Methods
Editor’s Choice

RICHFOCUS Picture Ledge Shelf, 16 inch Floating Shelves Set of 2, Wood W…
upsimples 19 Pack Picture Frames Collage Wall Decor for Mounting or Tabl…

Luocute Picture Hanging Level Tool, Sturdy ABS Material Frame Positionin…
FAQs
What if I don’t have enough artwork? Consider using prints or quotes to fill up the space until you gather more personal pieces.
How long should I wait before rearranging? Give your gallery wall at least a few months to settle; this helps you gauge what you want to change.
Is it safe to hang frames with heavy art? Yes, just ensure you use appropriate wall anchors or hooks for heavier frames.
What if my wall is textured? Use adhesive strips or appropriate hardware that accommodates textured surfaces.
Can I use a mix of frame colors and styles? Absolutely! Just maintain a balance with a unifying element, like a common color.
FAQs
Editor’s Choice

Command 15 Lb XL Heavyweight Wall Hook, Damage Free Hanging Wall Hook wi…

KBKBART Claude Monet Eclectic Wall Art, Monet Prints for Wall Decor, Ecl…

upsimples 11×14 Picture Frame Set of 5, Display Pictures 8×10 with Mat o…
Conclusion
Congratulations on creating your stunning gallery wall! You’ve successfully mixed frame sizes while maintaining a cohesive look. Take a moment to appreciate your hard work and the unique display you’ve crafted.
As a next step, consider adding seasonal art changes or other personal touches to keep your gallery wall fresh. Explore more home decor ideas to further enhance your space, and enjoy the art of displaying your memories!