
Are you struggling to create a gallery wall that feels complete and inviting? Many people find themselves overwhelmed when trying to style a minimalist gallery wall, often leading to a space that looks bare or unfinished. This guide will help you not only overcome these challenges but also create a stunning focal point in your home that reflects your personal style.
In this article, you’ll learn the essential steps to achieve a well-balanced minimalist gallery wall, including selecting your artwork, arranging your pieces, and adding the finishing touches that bring everything together. By following these steps, you’ll transform your empty wall into a curated gallery that enhances your space.
This guide is designed for beginners and will take approximately 2-3 hours to complete the entire process. Get ready to unleash your inner designer and create a gallery wall that truly showcases your unique taste.
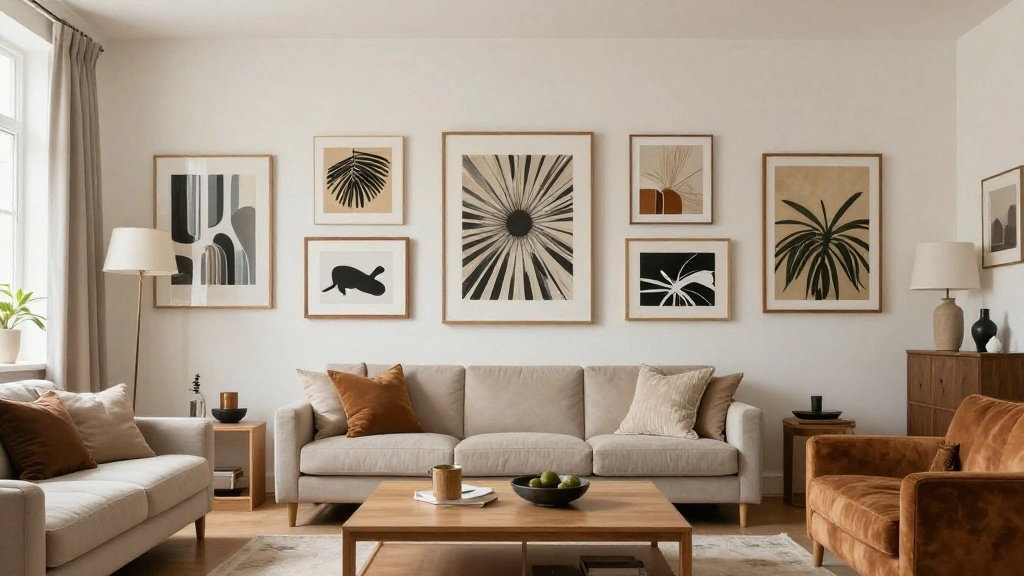
[Screenshot: Inspirational images of a minimalist gallery wall to inspire readers.]
TL;DR Summary
- Choose a cohesive color palette and art styles that reflect your personality.
- Start with a focal piece and build around it for balance.
- Utilize varying frame sizes and shapes to create visual interest.
- Add personal touches, such as plants or small decor items, to enhance the look.
TL;DR Summary
Editor’s Choice

Black Woman Wall Art Set of 4 Modern African American Canvas Prints, Vin…
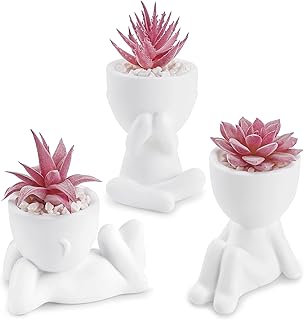
Der Rose 3 Pcs Fake Succulents Plants Artificial Pink Room Office Desk D…

Inspirational Wall Art for Bedroom, Motivational Office Wall Art Decor, …
Prerequisites/Materials Needed
- Artwork: 5-10 pieces of art (prints, photos, or personal creations)
- Frames: Various sizes and styles (at least 3 different types)
- Level: To ensure straight hanging
- Tape measure: For precise spacing
- Hammer: For nails or hooks
- Nails or picture hooks: Depending on the weight of your frames
Prerequisites/Materials Needed
Editor’s Choice

Motovera Self Leveling Laser Level 100ft, Green Cross Line with Tripod, …
Skill Level & Time Estimate
Skill Level: beginner
Total time estimate: 2-3 hours. This includes:
– Selecting artwork: 30-60 minutes
– Arranging pieces: 30-45 minutes
– Hanging artwork: 30-60 minutes
– Adding final touches: 30 minutes
Skill Level & Time Estimate
Editor’s Choice

Best Friend Birthday Gifts for Women Teen Girls, Mothers Day Gifts for B…
Black Woman Wall Art Set of 4 Modern African American Canvas Prints, Vin…

ANERZA 16 PCS Framed Black Girl Wall Art Decor, African American Wall Pr…
Step 1: Select Your Artwork
Begin by gathering a selection of artwork that resonates with you. Consider these sub-steps:
- Choose a Theme: Decide on a cohesive theme, such as nature, abstract, or personal memories.
- Color Palette: Select pieces that share a similar color palette to create harmony.
- Mix Media: Incorporate a mix of prints, photos, and even textiles for texture.
Pro Tip: Aim for a balance of larger and smaller pieces to create a dynamic look. This step is crucial because the right artwork sets the tone for your entire gallery wall.
Warning: Avoid choosing pieces that clash or feel disjointed, as this can make your wall look chaotic rather than minimalist.
Time Estimate: 30-60 minutes.
[Screenshot: A person selecting artwork from a collection laid out on a table.]
Step 1: Select Your Artwork
Editor’s Choice

GAVVENN “Sit Like a Lady Framed Wall Art, Vintage Feminist Quote Art Pri…

EXCOOL CLUB Flower Head Women Wall Art – 12×16 Abstract Art Wall Decor W…

SVBright Abstract Woman Butterfly Fabric Wall Hanging Tapestry 51Wx59H I…
Step 2: Create a Layout
Before committing to hanging your artwork, create a layout on the floor or use paper templates on the wall. Follow these steps:
- Lay It Out: Arrange your selected pieces on the floor to visualize the layout.
- Balance Sizes: Place larger pieces centrally, with smaller pieces surrounding them.
- Spacing: Leave consistent gaps (2-4 inches) between pieces for a clean look.
Pro Tip: Take a photo of your layout for reference while hanging. This planning phase is essential for ensuring your gallery wall looks intentional rather than random.
Warning: Don’t rush this step; a well-thought-out layout prevents frustrating adjustments later.
Time Estimate: 30-45 minutes.
[Screenshot: A floor layout with various artworks arranged before being hung on the wall.]
Step 2: Create a Layout
Editor’s Choice

Classic Tailoring Techniques: A Construction Guide for Women’s Wear (F.I…
Inspirational Wall Art for Bedroom, Motivational Office Wall Art Decor, …

Sun Catcher Kits for Adults, 228pcs DIY Suncatcher Making Supplies Arts …
Step 3: Prepare the Wall
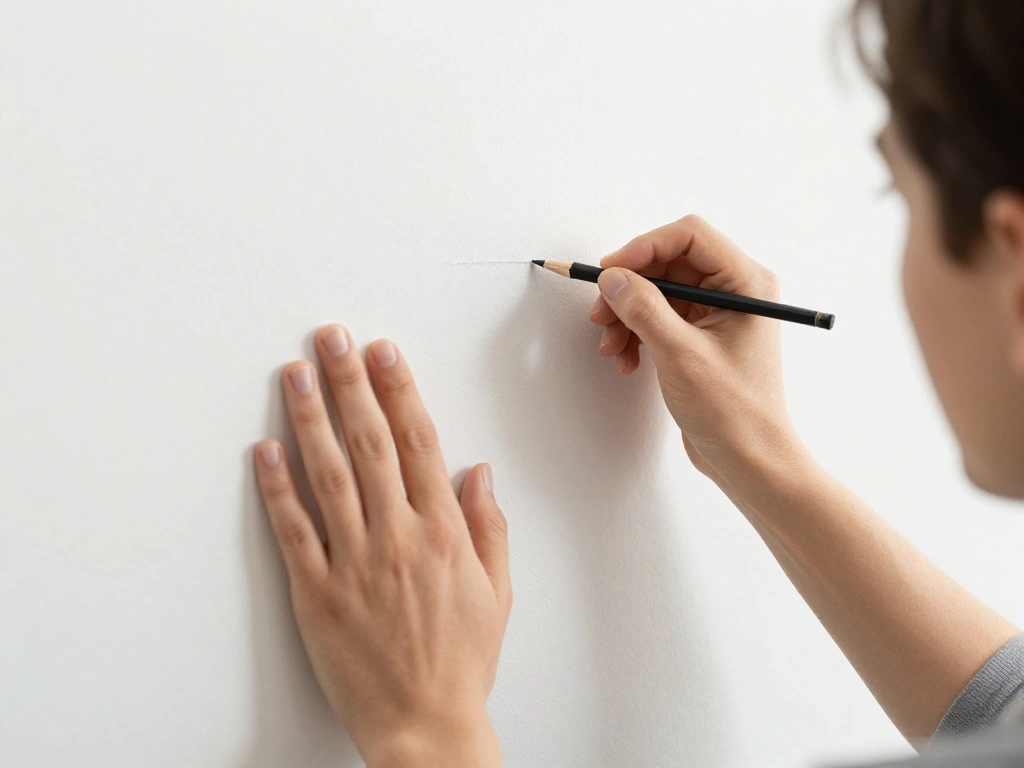
Before hanging your artwork, prepare the wall to ensure everything goes smoothly. Follow these steps:
- Choose the Right Wall: Select a wall that has enough space and is well-lit.
- Clean the Surface: Wipe down the wall to remove dust or dirt.
- Mark the Height: Use a pencil to mark where the top of each frame will go.
Pro Tip: Use painter’s tape to create a grid on the wall; this helps visualize the layout without making permanent marks. Proper wall preparation is crucial to avoid damage and ensure the artwork hangs correctly.
Warning: Don’t hang artwork in direct sunlight, as this can fade your pieces over time.
Time Estimate: 15-20 minutes.
[Screenshot: A person cleaning the wall and marking where the artwork will go with a pencil.]
Step 3: Prepare the Wall
Editor’s Choice

Torpedo Level Magnetic, Firecore 9 Inch Shockproof Small Leveler Tool wi…

4 Rolls Premium Painters Tape, Blue Tape, Masking Tape, Paint Tape for M…

Lysol Disinfecting Wipes Bundle, Home Apartment Dorm Room Essentials and…
Step 4: Hang Your Artwork

Now it’s time to hang your artwork! Follow these steps carefully:
- Start with the Focal Piece: Hang the largest or most important piece first.
- Use a Level: Ensure each piece is straight as you hang it.
- Secure Properly: Use appropriate nails or hooks based on the weight of each frame.
Pro Tip: Step back frequently to assess the overall look as you hang each piece. This step is essential for ensuring your gallery wall achieves a cohesive and polished appearance.
Warning: Don’t hang pieces too high; aim for eye level to create a welcoming atmosphere.
Time Estimate: 30-60 minutes.
[Screenshot: A person hanging a frame on the wall, using a level to ensure it is straight.]
Step 5: Add Final Touches

Once all your artwork is hung, it’s time to add the finishing touches. Follow these steps:
- Incorporate Decor: Add small decor items like plants or sculptures on nearby shelves.
- Use Lighting: Consider adding wall sconces or spotlights to highlight your artwork.
- Adjust as Needed: Step back and make any necessary adjustments to the arrangement.
Pro Tip: Use plants to add a touch of life and color to your gallery wall. This final step is crucial for making your gallery wall feel complete and inviting.
Warning: Avoid overcrowding your gallery wall with too many additional items; aim for balance.
Time Estimate: 30 minutes.
[Screenshot: A beautifully arranged gallery wall with decor items and plants nearby.]
Step 5: Add Final Touches
Editor’s Choice

SUNVIE 2 Pack LED 120V SpotLights Indoor, 3W Up Lights Floor Spotlight, …

FOREST PRINCE 35″ Ferns Artificial Bush Plants Large, 2 Artificial Bosto…
Step 6: Step Back and Evaluate
After finishing your gallery wall, take a moment to evaluate your work. Follow these steps:
- Take a Photo: Capture a photo of your wall to see it from a different perspective.
- Ask for Feedback: Get a second opinion from friends or family on the overall look.
- Make Adjustments: If something feels off, don’t hesitate to make changes.
Pro Tip: Viewing your wall from different angles can help identify areas for improvement. This step is important to ensure your gallery wall meets your expectations and feels right in the space.
Warning: Don’t be afraid to make changes; sometimes, minor adjustments can significantly enhance the overall look.
Time Estimate: 15-20 minutes.
[Screenshot: A person evaluating their completed gallery wall from a distance, taking a photo for reference.]
Step 6: Step Back and Evaluate
Editor’s Choice

upsimples 19 Pack Picture Frames Collage Wall Decor for Mounting or Tabl…

Picture Hanging Kit, 315pcs Hanging Hardware with Hooks, Wire, Nails, D …
Step 7: Enjoy Your New Gallery Wall

Finally, take the time to enjoy your new gallery wall. Here’s how:
- Invite Friends Over: Show off your work to friends and family.
- Create a Cozy Space: Add seating nearby to encourage relaxation and appreciation of your wall.
- Update Periodically: Change out artwork or decor to keep the space fresh.
Pro Tip: Regularly rotating artwork can keep your gallery wall feeling dynamic and engaging. This step is vital as it allows you to fully appreciate your hard work and the ambiance it brings to your home.
Warning: Don’t forget to maintain the space; dust and clean your artwork occasionally to keep it looking its best.
Time Estimate: Ongoing enjoyment!
[Screenshot: A cozy living area with a gallery wall and seating, showcasing a welcoming environment.]
Step 7: Enjoy Your New Gallery Wall
Editor’s Choice

Vintage Gold Framed Ophelia Wall Art, Romantic Victorian Gothic Oil Pain…

Ostrich the Ladies Comfort Lounger with Chest Support, Foldable and Port…

Forever Friends Picture Photo Frame, Unique and Cute Picture Frame, Frie…
Pro Tips
- Tip 1: Use a mix of frame styles to add character without clutter.
- Tip 2: Incorporate personal items like postcards or travel souvenirs for a unique touch.
- Tip 3: Experiment with different layouts before committing to nails in the wall.
- Tip 4: Use removable adhesive strips for lightweight frames to avoid wall damage.
- Tip 5: Consider adding a mirror for depth and to reflect light.
Pro Tips
Editor’s Choice

Family Picture Frame, Best Friend Picture Frame Gifts for Best Friend Wo…

Command 20 lb XL 8 Pairs Heavyweight Picture Hanging Strips (16 Strips),…

DONFENTHY 3 Pieces Inspirational Pink Floral Wall Decor Wooden Hanging W…
Common Mistakes to Avoid
Warning: Hanging artwork too high can make it hard to appreciate.
Solution: Aim for eye level to create a more inviting atmosphere.
Warning: Overcrowding can make your gallery wall feel cluttered.
Solution: Keep some empty space to allow the eye to rest.
Warning: Choosing mismatched frames can create chaos.
Solution: Stick to a few complementary styles or colors.
Warning: Forgetting to consider lighting can diminish the impact of your artwork.
Solution: Ensure your gallery wall is well-lit, using natural light or accent lighting.
Warning: Ignoring the overall room style can clash with your decor.
Solution: Ensure your gallery wall complements your existing decor theme.
Common Mistakes to Avoid
Editor’s Choice


3-in-1 Picture Hanging Tool, All-in-One Art Hanging Kit with Leveling, P…

Real Carbon Fiber License Plate Frame 5PCS Gift Set, Car Accessories wit…
Troubleshooting Section
Problem: My artwork looks uneven.
Solution: Check the spacing between pieces and adjust as necessary. Use a level to ensure each piece is straight.
Problem: Frames are too heavy for nails.
Solution: Use wall anchors or hooks designed for heavy frames.
Problem: The wall feels bare even after hanging pieces.
Solution: Consider adding decor items like plants or shelves to balance the look.
Problem: The artwork is faded.
Solution: Move pieces away from direct sunlight or consider UV-protective glass.
Problem: My layout doesn’t feel cohesive.
Solution: Re-evaluate your color palette and theme; adjust the arrangement to enhance harmony.
Troubleshooting Section
Editor’s Choice

Kathfly 4 Tie Pink Bow Corner Shelf Wall Mounted Pink Floating Wood Corn…

Peryiter 3 Pcs Modern Minimalist Wall Decor Abstract Metal Wall Art Meta…

Uniclife 152 Pcs Picture Hanging Kit, 10 lb, 20 lb, 30 lb, 50 lb, 75 lb,…
Variations/Alternative Methods
1. Grid Layout: Perfect for a structured look, use identical frames and even spacing for a clean appearance.
2. Eclectic Style: Mix and match frames and artworks for a bohemian feel. Great for showcasing various styles and memories.
3. Theme-Based: Create a wall dedicated to a theme, such as travel or family, using related images and decor.
Each method serves different aesthetics; choose based on your personal style and home decor.
Variations/Alternative Methods
Editor’s Choice

KURUI 303Pcs Picture Hanging Kit, Picture Hangers Assorted Kit with Heav…
upsimples 19 Pack Picture Frames Collage Wall Decor for Mounting or Tabl…

Neutral Botanical Prints Wall Art Decor Plant Minimalist Canvas Pictures…
FAQs
What if I don’t have enough artwork? Start with a few key pieces and build over time; consider printing photos or creating DIY art.
How long should I wait before changing out artwork? It depends on personal preference; consider rotating pieces every few months to keep it fresh.
Is it safe to hang artwork on drywall? Yes, just ensure you use the correct nails or hooks for the weight of your frames.
What if my frames don’t match? Embrace mismatched frames for an eclectic look, or paint them all to match for cohesion.
Can I use adhesive strips instead of nails? Yes, for lightweight frames, adhesive strips are a great option that won’t damage walls.
FAQs
Editor’s Choice
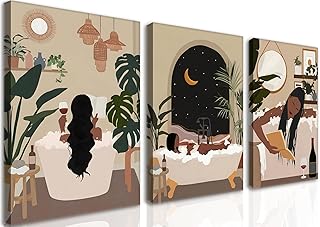
Black Girl Bathroom Wall Art Set of 3, Fashion Boho Black Woman Canvas W…
Forever Friends Picture Photo Frame, Unique and Cute Picture Frame, Frie…
Sun Catcher Kits for Adults, 228pcs DIY Suncatcher Making Supplies Arts …
Conclusion
Congratulations on creating your stunning minimalist gallery wall! You’ve transformed an empty space into a personal showcase of art and memories.
Now that you’ve completed this project, consider exploring other areas of your home that could benefit from similar styling. You might also enjoy experimenting with seasonal decor or new art techniques.
Remember, your gallery wall can evolve over time, so don’t hesitate to update it as your tastes and experiences change. Enjoy the beauty and inspiration your new gallery wall brings!