Finding the perfect piece of wall art is an exciting experience, but it can quickly turn frustrating when it doesn’t fit your frame. You might feel stuck with oversized prints or underwhelming gaps that ruin your decor vision. This guide addresses this common problem and offers a simple solution. By the end of this article, you will know how to resize printable wall art to perfectly fit any frame, all on your own and without hiring a designer.
Throughout this guide, you will learn specific steps on how to resize your printable art using basic tools, including free software options and online resources. You’ll discover how to measure your frame correctly, adjust the dimensions of your art, and print it out flawlessly. This project is designed for beginners and can be completed in 30 minutes, making it accessible and manageable.
Ready to give your walls the art they deserve? Let’s dive in and make your home decor dreams a reality!
TL;DR Summary
- Measure your frame dimensions accurately.
- Choose the right software for resizing your art.
- Adjust the dimensions of your artwork accordingly.
- Print your resized art and frame it perfectly.
TL;DR Summary
Editor’s Choice

CorelDRAW Graphics Suite 2026 | Education Edition | Graphic Design Softw…

Brother DCP-L2640DW Wireless Compact Monochrome Multi-Function Laser Pri…

Digital Caliper, Sangabery 0-6 inches Caliper with Large LCD Screen, Aut…
Prerequisites/Materials Needed
- Printable wall art file (digital format such as JPG or PNG)
- Measuring tape or ruler
- Computer or device with image editing software (e.g., Canva, Photoshop, or free online tools)
- Printer (inkjet or laser) and suitable paper for printing
- Photo frame
Prerequisites/Materials Needed
Editor’s Choice

Epson Premium Photo Paper Glossy, 50 sheets, 8.5 X 11, (S041667)

Mr. Pen- Metal Straight Edge Ruler, 4 pcs, 6″, 8″, 12″, 14″, Stainless S…

Canon PIXMA TS4320 Wireless Color Inkjet Printer for Duplex Printing, Wh…
Skill Level & Time Estimate
Skill Level: beginner
Total Time Estimate: 30 minutes
Breakdown:
- Measuring the frame: 5 minutes
- Selecting resizing software: 5 minutes
- Resizing the art: 10 minutes
- Printing: 10 minutes
Skill Level & Time Estimate
Editor’s Choice
Canon PIXMA TS4320 Wireless Color Inkjet Printer for Duplex Printing, Wh…
DIYSELF Craft Knife with 10 Extra #11 Blades, Precision Hobby Knife Set …

Basics of Design: Layout & Typography for Beginners (Design Concepts)
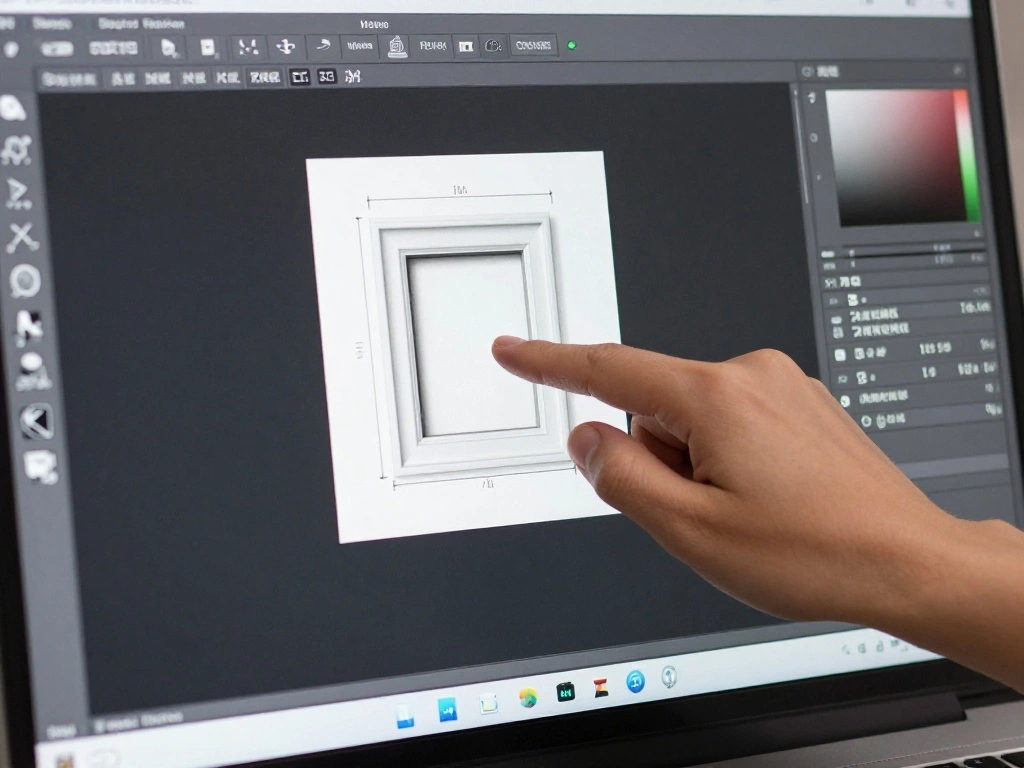
Step 1: Measure Your Frame
Start by accurately measuring your frame to determine the size of your printable wall art. This step is crucial because even slight inaccuracies can lead to ill-fitting art. Follow these sub-steps:
- Use a measuring tape to measure the width and height of the frame.
- Write down the dimensions in inches or centimeters.
- Double-check your measurements to avoid mistakes.
Pro Tip: If your frame has a mat, measure the opening size where the art will actually show, not the outer dimensions of the frame.
Why this matters: Accurate measurements will ensure that your art fits perfectly in the frame, enhancing your home decor. Time estimate: 5 minutes.
Step 1: Measure Your Frame
Editor’s Choice
Prudiut 15 Pack 11×14 Black Picture Mats, Frame Mattes for 8 x10 Picture…

CRAFTSMAN 25-Ft Tape Measure with Fraction Markings, Retractable, Self-L…
Step 2: Choose Your Resizing Software
Selecting the right software for resizing your wall art is essential. You have several options, including free online tools or software you may already have. Here’s how to choose:
- Determine if you want to use an online tool or software on your computer.
- For online tools, search for free image resizing websites like Canva or PicResize.
- If you prefer software, open an application like Photoshop or GIMP.
Pro Tip: Canva is user-friendly and offers templates specifically for resizing images to standard frame sizes.
Why this matters: The right software ensures a smoother resizing process, giving you the flexibility to adjust your art seamlessly. Time estimate: 5 minutes.
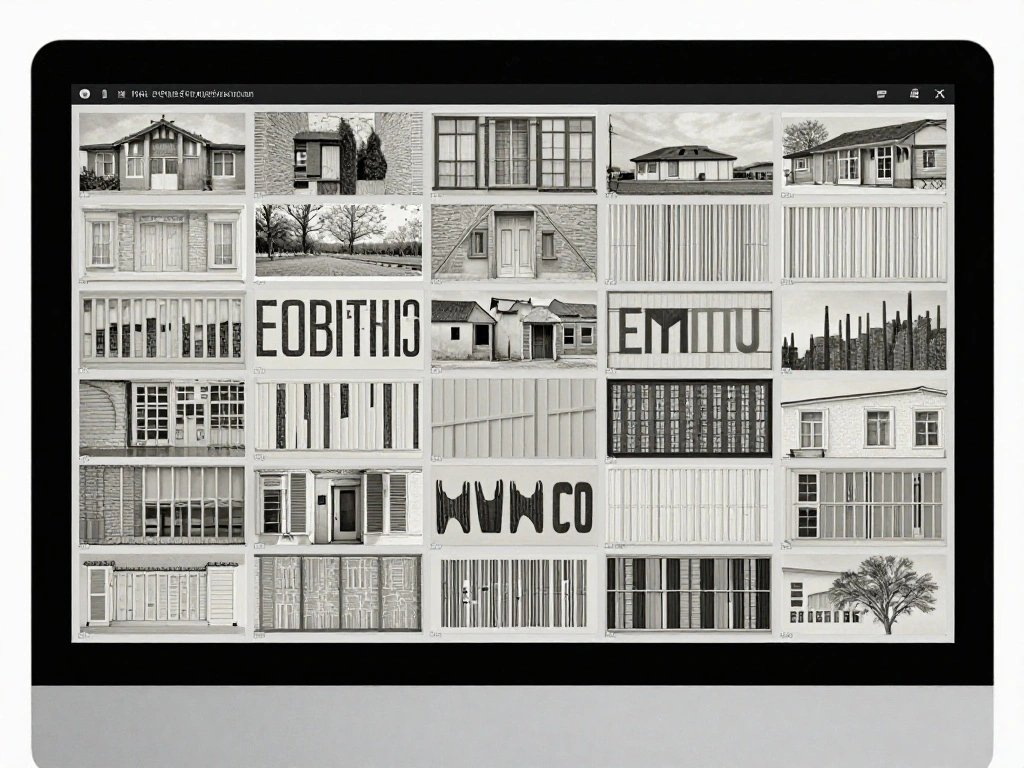
Step 3: Upload Your Artwork
Now it’s time to upload your printable wall art into the chosen software. This process is straightforward. Follow these steps:
- Open the software and locate the ‘Upload’ or ‘Import’ button.
- Select your wall art file from your computer or device.
- Ensure that the image appears correctly within the software interface.
Warning: Ensure your image has a high resolution (300 DPI or higher) for the best print quality.
Why this matters: A high-quality image will look polished and professional once printed. Time estimate: 5 minutes.
Step 3: Upload Your Artwork
Editor’s Choice

Canon 7981A004 Photo Paper Plus, Matte, 8-1/2 x 11 (Pack of 50 Sheets)
Step 4: Resize Your Artwork
With your artwork uploaded, it’s time to resize it to fit your frame. This can be done easily in most editing software. Follow these steps:
- Locate the ‘Resize’ option in the software.
- Input the dimensions you measured from your frame.
- Check the option to maintain the image’s aspect ratio if necessary.
Warning: Avoid distorting the image by maintaining the aspect ratio unless you’re okay with altering the dimensions.
Why this matters: Proper resizing ensures that your art retains its quality and visual appeal while fitting your frame perfectly. Time estimate: 10 minutes.
Step 4: Resize Your Artwork
Editor’s Choice

Canon imagePROGRAF TC-21M – Multifunction Printer| 24″ Large Format Po…
CRAFTSMAN 25-Ft Tape Measure with Fraction Markings, Retractable, Self-L…

Photo Suite – Photo Editing Software: Edit and Retouch Photos, Create …
Step 5: Preview Your Resized Artwork
Before printing, preview your resized artwork to ensure everything looks perfect. Follow these steps:
- Locate and select the ‘Preview’ or ‘View’ option in your software.
- Check for any cropping or distortion in the preview.
- Make any necessary adjustments if things don’t look right.
Pro Tip: Print a test page on regular paper to see how it looks before using your final printing material.
Why this matters: A preview helps to catch potential issues before printing, saving you time and resources. Time estimate: 5 minutes.
Step 6: Print Your Artwork
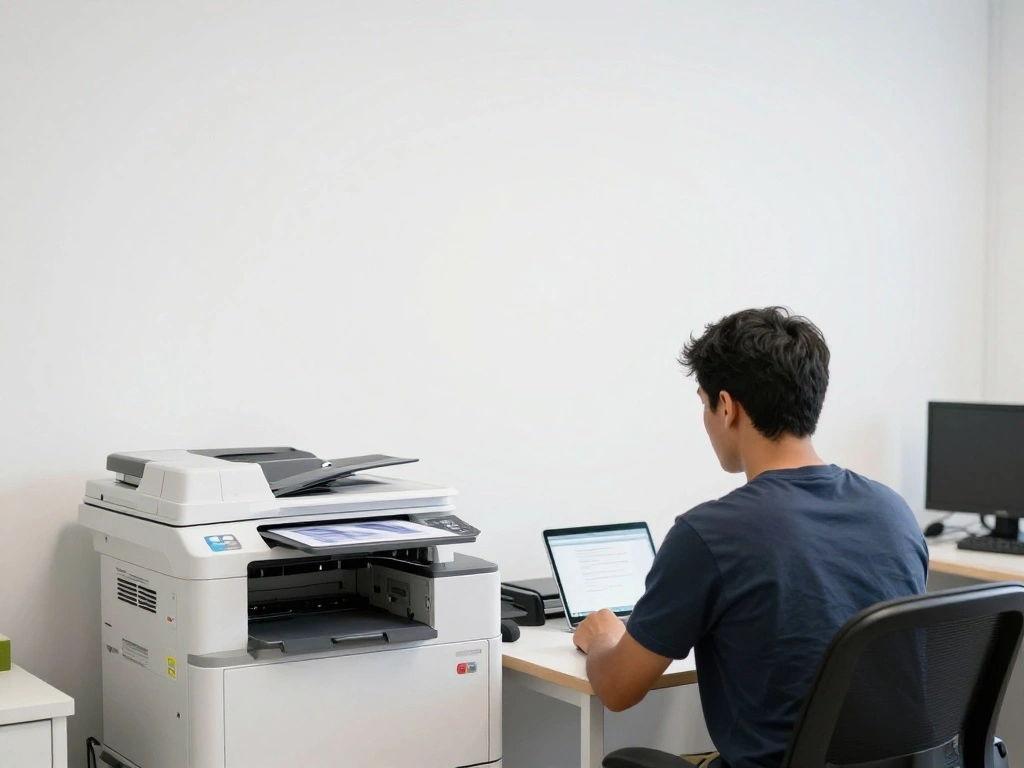
Now that your artwork is resized and previewed, it’s time to print! Follow these steps:
- Ensure your printer is connected and loaded with the appropriate paper.
- Select the ‘Print’ option in your software.
- Choose your print settings (e.g., quality, paper type).
- Click ‘Print’ and wait for your artwork to finish printing.
Warning: Always use high-quality paper for the best results.
Why this matters: Quality printing brings out the colors and details in your artwork, making it look professional. Time estimate: 10 minutes.
Step 6: Print Your Artwork
Editor’s Choice

CanonInk Glossy Photo Paper 8.5″ x 11″ 100 Sheets (1433C004)

HP Envy Photo 7975 Wireless Color Inkjet Photo Printer, Print, scan, Cop…

Calibrite Display Pro HL Monitor Calibration Colorimeter for LCD Mini LE…
Step 7: Trim Your Artwork (If Necessary)
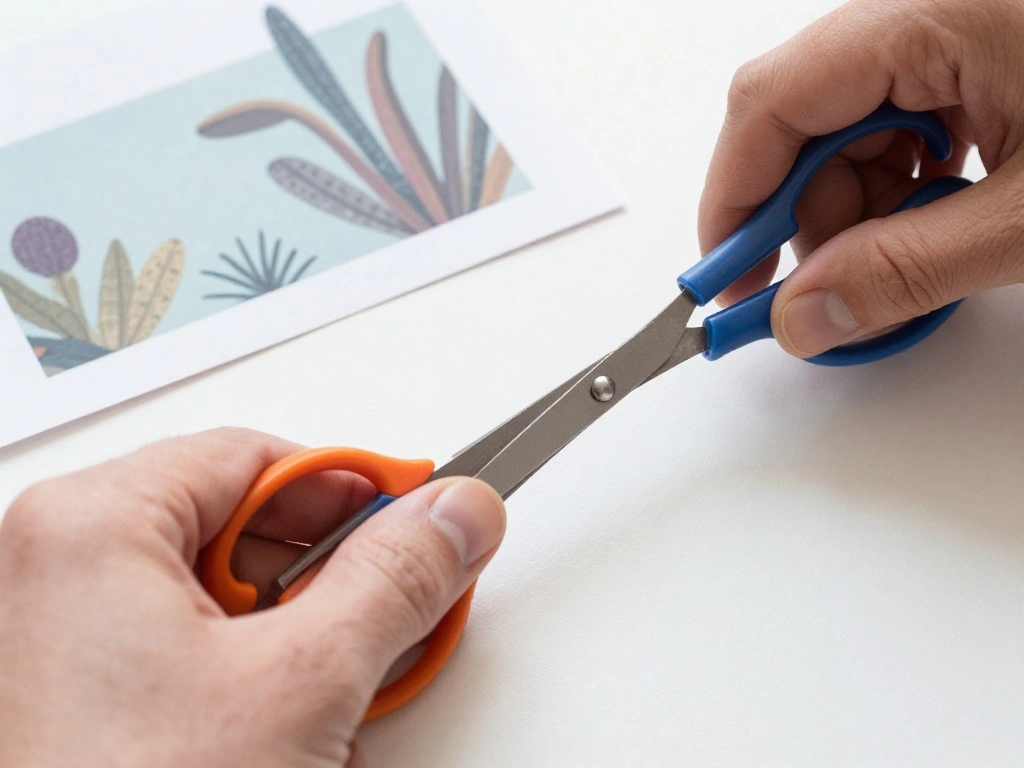
After printing, you may need to trim your artwork to fit your frame precisely. Follow these steps:
- Gather your scissors or a paper cutter.
- Carefully measure and mark where you need to cut.
- Trim the edges following your marks.
Warning: Make sure to cut slowly and accurately to avoid mistakes.
Why this matters: Proper trimming ensures your artwork fits seamlessly in the frame, enhancing its visual appeal. Time estimate: 5 minutes.
Step 7: Trim Your Artwork (If Necessary)
Editor’s Choice

3-Pack 8″ Heavy Duty Scissors with Ultra Sharp Blades and Comfort Grip H…

anezus Self Healing Sewing Mat, 12inch x 18inch Rotary Cutting Mat Doubl…

Firbon A4 Paper Cutter 12 Inch Titanium Paper Trimmer Scrapbooking Tool …
Step 8: Frame Your Artwork
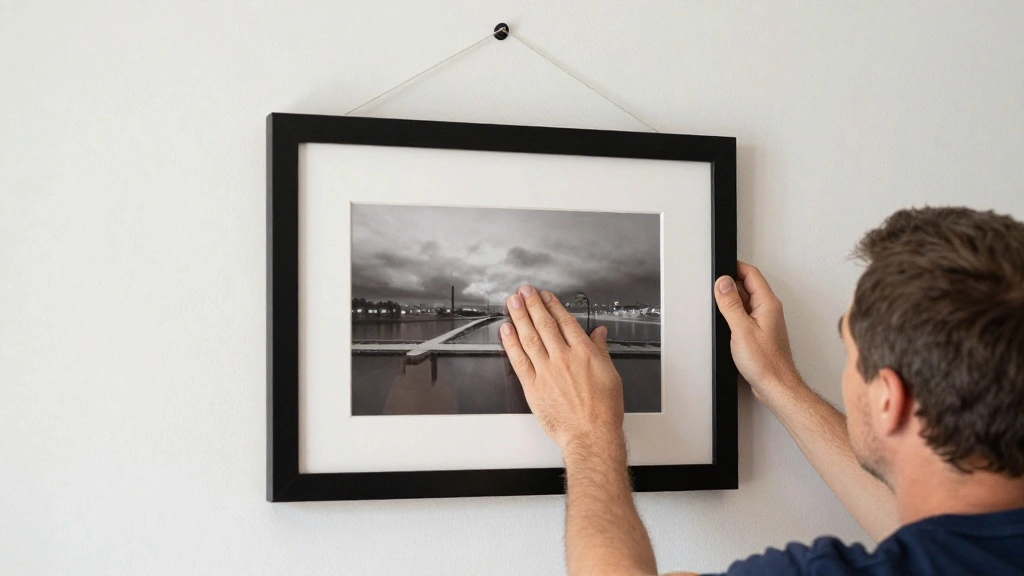
Finally, it’s time to frame your artwork! Follow these steps:
- Carefully place your trimmed artwork into the frame.
- Secure it in place using any clips or tabs provided with the frame.
- Hang or display your framed art where desired.
Pro Tip: Use a level to ensure the frame hangs straight.
Why this matters: Securing your artwork properly ensures it stays in place and looks great on your wall. Time estimate: 5 minutes.
Step 8: Frame Your Artwork
Editor’s Choice

Torpedo Level Magnetic, Firecore 9 Inch Shockproof Small Leveler Tool wi…

ArtbyHannah Gallery Wall Frame Set, 8 Pack Picture Frames Collage Wall D…

PHS Canvas Offset Clips for Picture Framing – 60 Piece Variety Pack (1/8…
Pro Tips
- Standard Sizes: Familiarize yourself with standard frame sizes (e.g., 8×10, 11×14) to make future resizing easier.
- Quality Over Quantity: Invest in high-quality paper and ink for professional-looking prints.
- Test Prints: Always do a test print on regular paper before using expensive materials.
- Keep Software Updated: Ensure your editing software is up-to-date for the best features and compatibility.
- Organize Your Files: Keep your art files organized in folders for easy access and future resizing projects.
Common Mistakes to Avoid
Warning: Avoid these common pitfalls when resizing printable wall art:1. Incorrect Measurements: Not measuring the frame accurately can lead to ill-fitting prints. Always double-check your dimensions.2. Distorting Images: Forgetting to maintain aspect ratio can stretch or squish your artwork. Always lock the aspect ratio when resizing.3. Low-Quality Images: Printing from low-resolution files results in pixelated artwork. Use high-resolution images for best results.4. Skipping the Preview: Failing to preview before printing can lead to unexpected results. Always check your resized art.5. Not Using Quality Materials: Cheap paper can ruin the look of your print. Invest in good quality printing materials.
Common Mistakes to Avoid
Editor’s Choice
Photo Suite – Photo Editing Software: Edit and Retouch Photos, Create …

Brother Work Smart 1360 Wireless Color Inkjet All-in-One Printer with Au…

Digital Caliper Measuring Tool, Stainless Steel Vernier Caliper Digital …
Troubleshooting Section
Problem: Artwork does not fit the frame.Solution: Recheck your measurements and resize accordingly.Problem: Image appears pixelated when printed.Solution: Ensure you are using a high-resolution file (300 DPI or more).Problem: Printer jams or errors.Solution: Check for paper jams, ensure the printer settings are correct, and restart the printer.Problem: Colors look different after printing.Solution: Adjust color settings in your printer settings or calibrate your monitor.Problem: Printed edges are uneven.Solution: Use a straight edge for trimming and ensure your cuts are precise.
Troubleshooting Section
Editor’s Choice
CorelDRAW Graphics Suite 2026 | Education Edition | Graphic Design Softw…

HP Paper Printer | 8.5 x 11 Paper | Premium 32 lb | 1 Ream – 500 Sheets …

C7500 Maintenance Cartridge Replacement for EPN SJMB7500 Maintenance Box…
Variations/Alternative Methods
If you want to explore other options for resizing your wall art, consider these methods:
- Professional Printing Services: Many local print shops can resize and print your art for you. This is ideal if you want a hassle-free approach.
- Mobile Apps: Use apps like Adobe Spark or PicsArt for resizing on-the-go. This is convenient if you’re not near a computer.
- Using Templates: Some design software offers templates based on standard frame sizes, making it easier to design and resize artwork directly.
Each method has its pros and cons, so choose one based on your comfort level and needs.
Variations/Alternative Methods
Editor’s Choice

Microservices and Distributed Systems Architecture: Design Resilient, Sc…
FAQs
- What if I don’t have image editing software? You can use free online tools like Canva or PicResize to resize your artwork easily.
- How long should I let the ink dry before framing? Allow at least 30 minutes for the ink to dry completely before framing to avoid smudging.
- Is it safe to print on photo paper? Yes, photo paper is designed for printing images and will enhance the quality of your artwork.
- What if my image is too small for the frame? You can add a background color or pattern to fill the frame if the image is smaller than the frame size.
- Can I resize artwork for different frame sizes later? Yes, you can resize any artwork as needed using the same steps outlined in this guide.
FAQs
Editor’s Choice
Reastar Glossy Photo Paper 8.5 x 11, 36 Sheets Inkjet Photo Printer Pape…

Pixma TR8620a Wireless All-in-One Printer for Home Office w/Copy, Scanne…
Conclusion

Congratulations! You’ve successfully resized your printable wall art to fit any frame without needing a designer. You’ve learned valuable skills that will allow you to customize your home decor on your own.
Now that you’re equipped with this knowledge, consider exploring more printable art designs or even creating your own artwork. The possibilities are endless, and your walls are waiting for your unique touch!