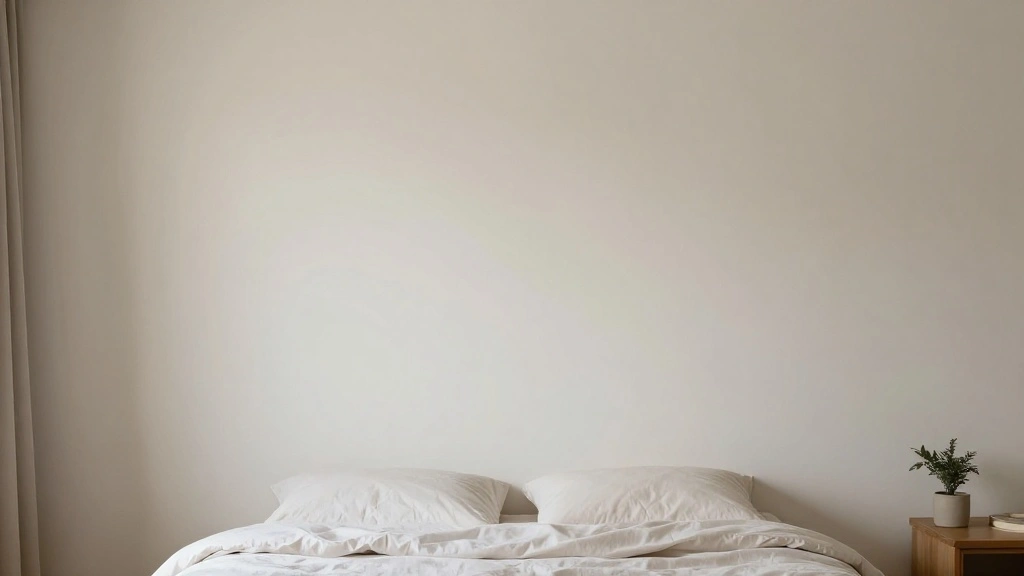
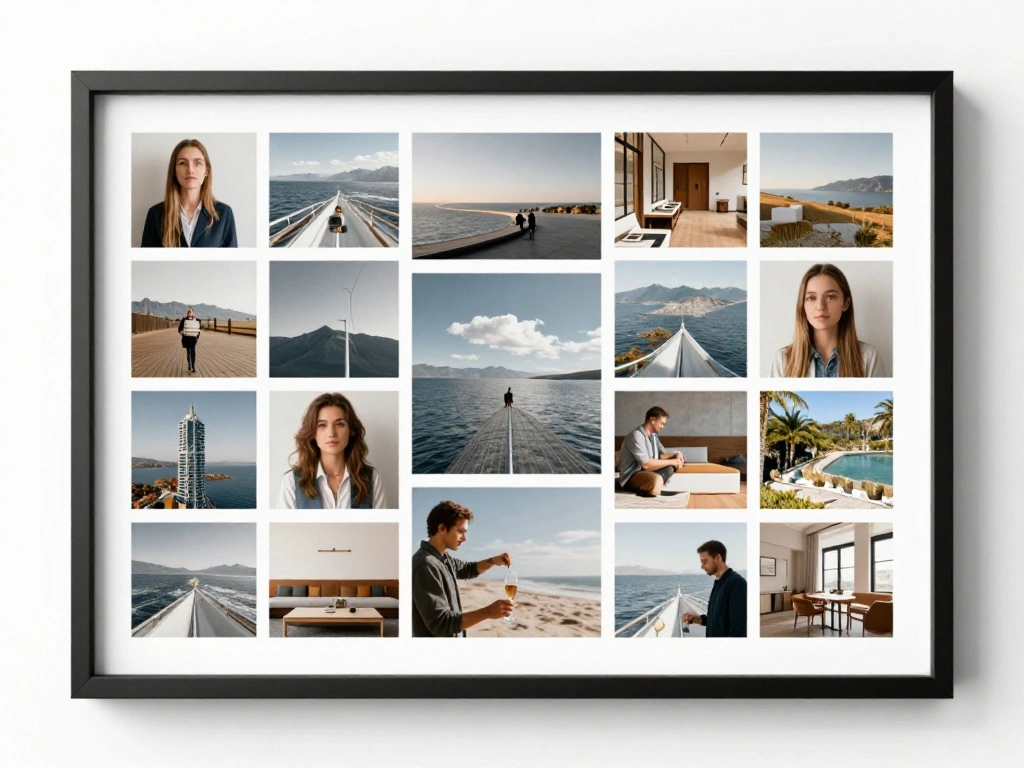
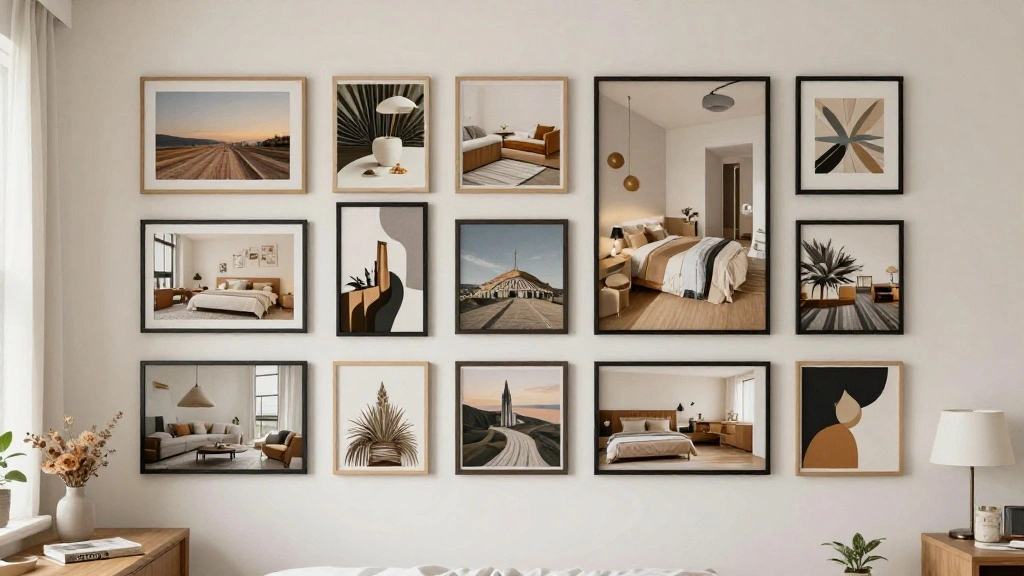
Are you tired of your plain bedroom walls staring back at you? A blank wall can feel uninspiring, and it may be holding back the cozy, inviting atmosphere you crave. Creating a gallery wall in your bedroom can transform it into a personal sanctuary filled with memories, art, and style.
In just one afternoon, you can design a stunning gallery wall that brings warmth and personality to your space. By following this guide, you will learn how to select artwork, arrange your pieces, and hang them with confidence. This project is beginner friendly and can be completed in 2-3 hours.
Get ready to unleash your creativity and make your bedroom a reflection of you. In this guide, we’ll cover every step, from gathering materials to the final touches, ensuring you achieve a dreamy gallery wall that you’ll love waking up to every day.
TL;DR Summary
- Gather materials like frames, artwork, and tools.
- Plan your layout on the floor before hanging.
- Hang your pieces using the right tools and techniques.
- Enjoy your personalized gallery wall!
TL;DR Summary
Editor’s Choice

MARTCOLOR 58 Piece Household Tool Set, General Household Hand Tool Kit w…

YMXZHUANSH 3 Piece African American Wall Art Black Woman Canvas Butterfl…

Inspirational Wall Art for Bedroom, Motivational Office Wall Art Decor, …
Prerequisites/Materials Needed
- Frames: Various sizes (at least 5-10)
- Artwork: Photos, prints, or art pieces (your choice)
- Hammer: Standard hammer for hanging
- Nails: Picture hanging nails (at least 10)
- Measuring tape: For accurate spacing
- Pencil: To mark where to hang
- Level: To ensure frames are straight
Prerequisites/Materials Needed
Editor’s Choice

Mr. Pen- Claw Hammer, 8oz, Pink, Magnetic, Small Claw Nail Hammer for Wo…

Vittanly 20 Pack Picture Frames Collage Wall Decor, Multi Sizes Includin…

4 PCS Fashion Black Woman Aesthetic Poster Set Empowering Trendy Wall Ar…
Skill Level & Time Estimate
Skill Level: beginner
Total time estimate: 2-3 hours
Breakdown:
- Gathering materials: 30 minutes
- Planning layout: 30 minutes
- Hanging artwork: 1-2 hours
Skill Level & Time Estimate
Editor’s Choice

KURUI 700PCs Small Nails for Hanging Pictures & 8oz Small Hammer for Wom…

Acqooeakt Vintage Fashion Black and White Wall Art Feminist Women Poster…

Best Friend Picture Frame, Bff Gifts, Friendship Gifts For Women Friends…
Step 1: Gather Your Materials
Start by collecting all the materials you need for your gallery wall. This includes frames, artwork, and tools.
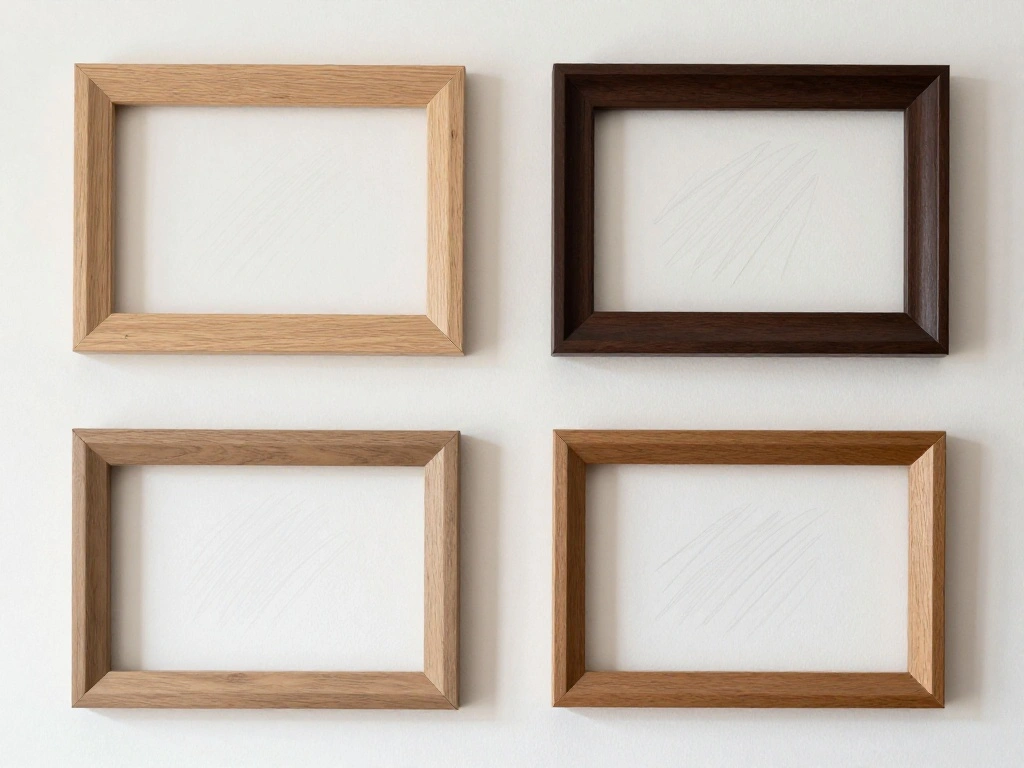
- Choose a variety of frames to create visual interest. Consider different sizes and styles.
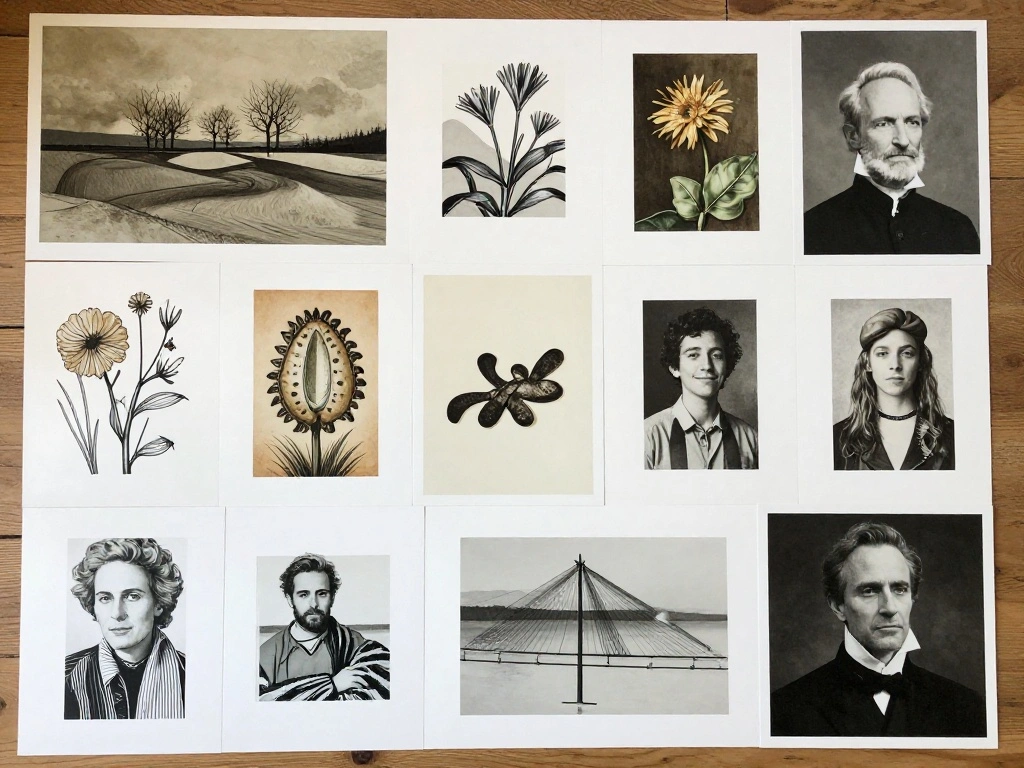
- Gather your artwork, including photos, prints, or any decorative pieces that resonate with you.
- Ensure you have the necessary tools ready, like a hammer, nails, measuring tape, pencil, and level.
Pro Tip: Lay out your frames on the floor first to visualize the arrangement before committing to the wall.
Why this matters: Having everything ready will save you time and make the process smoother.
Time estimate: 30 minutes.
Step 1: Gather Your Materials
Editor’s Choice

Metal Glass Photo Frames 4×6 Jeweled Picture Frames with Rhinestones, Ho…

Floating Framed Floral Shower Wall Art, Vintage Botanical Flower Canvas …

COMOWARE 20V Cordless Drill Set, 171Pcs Pink Home Tool Set with Cordless…
Step 2: Plan Your Layout
Before you start hanging anything, it’s essential to plan your layout. This step will help you avoid unnecessary holes in the wall and ensure a balanced look.
- Lay your frames on the floor in the arrangement you desire. Experiment with different configurations until you find one that feels right.
- Use your measuring tape to ensure even spacing between frames. A common distance is 2-4 inches apart.
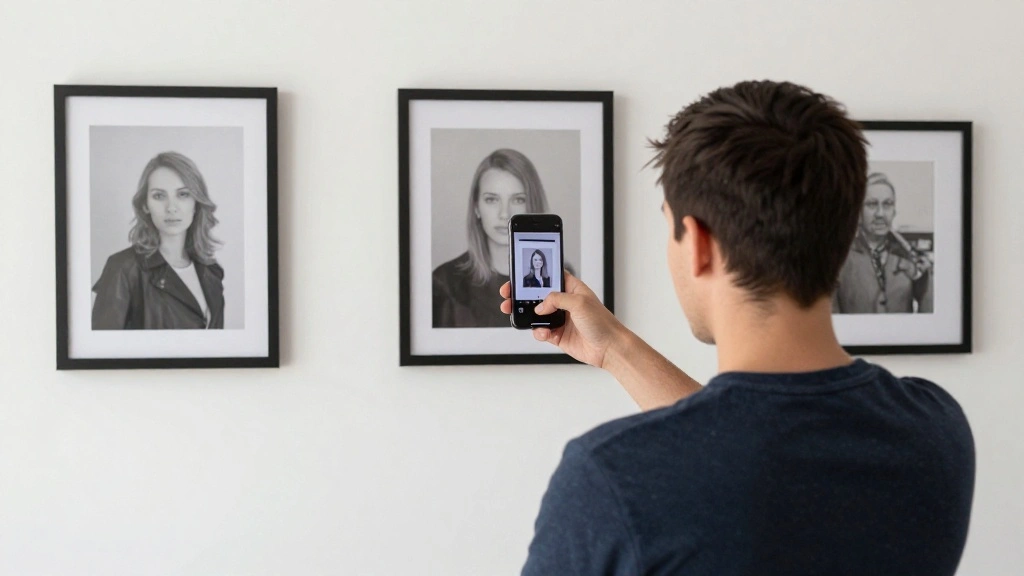
- Once satisfied, take a photo of your layout for reference while hanging.
Warning: Avoid placing frames too close together, as it can make the wall look cluttered.
Why this matters: Planning prevents mistakes and ensures a cohesive look.
Time estimate: 30 minutes.
Step 2: Plan Your Layout
Editor’s Choice

WORKPRO 25FT Pink Tape Measure, Dual Lock Tape Measure with Fractions Ev…

HoneyKICK Motivational Wall Art for Women – Inspirational Canvas Wall Ar…

Trend Black Girl Canvas Wall Art Set of 3,Bible Verse Poster Prints, Abs…
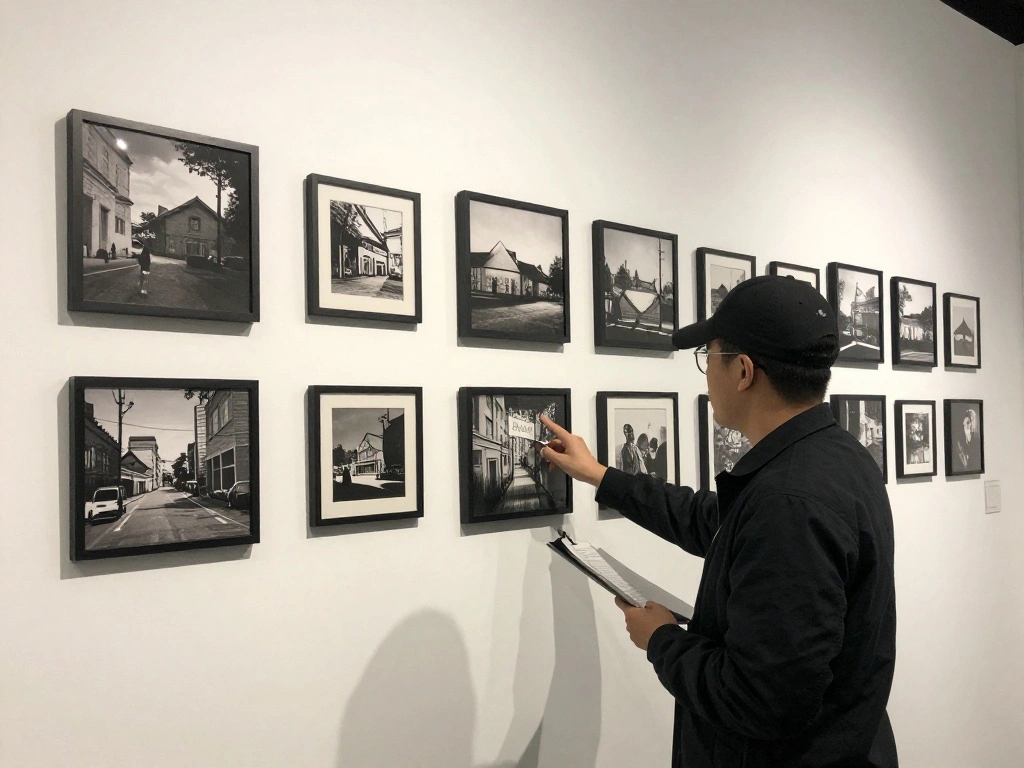
Step 3: Mark the Wall
Now that you have a plan, it’s time to prepare your wall for hanging. Careful marking will guide your placement.
- Use a pencil to lightly mark where each frame will go based on your layout photo.
- Double-check measurements to ensure everything is aligned and spaced correctly.
- Use a level to ensure your marks are straight before proceeding.
Pro Tip: Use painter’s tape to outline where each frame will go for a clear visual guide.
Why this matters: Accurate markings help achieve a professional finish.
Time estimate: 20 minutes.
Step 3: Mark the Wall
Editor’s Choice

DURATECH 3-Piece Level Tool Set, Magnetic Torpedo Level Included 2.5″, 6…
Step 4: Hang the Frames
With your marks in place, it’s time to start hanging your frames. This step will bring your vision to life.
- Begin with the center piece of your arrangement, as this will anchor the rest of your layout.
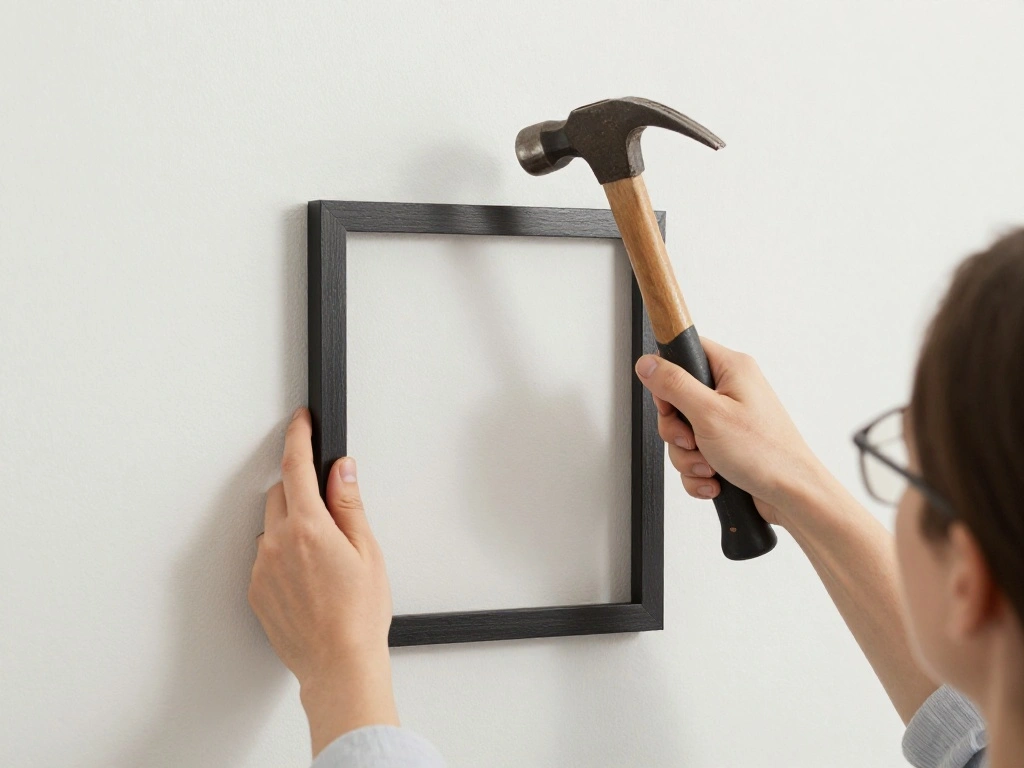
- Using a hammer, gently tap nails into the marked points. Ensure they are secure.
- Hang each frame on the nails, adjusting as needed to keep them straight.
Warning: Make sure to use the right size nails for the weight of your frames to avoid falling.
Why this matters: Properly hanging frames ensures they stay up and look great.
Time estimate: 1-2 hours.
Step 4: Hang the Frames
Editor’s Choice

Picture Hanging Kit, 315pcs Hanging Hardware with Hooks, Wire, Nails, D …

YOUMI 6 in 1 Multifunctional Floral Hammer & Screwdriver Tool Set Claw H…

Step 5: Adjust for Aesthetic Balance
Once all frames are hung, step back and assess the overall look of your gallery wall. Adjustments may be necessary to achieve visual balance.
- Check the spacing between frames. If any feels off, gently adjust the frames to have even spacing.
- Consider the height of the frames. Ideally, the center should be at eye level.
- Make any final tweaks, ensuring that the wall feels cohesive and visually appealing.
Pro Tip: Use a camera to take a photo of the wall; often, you can see imbalances better in pictures.
Why this matters: A well-balanced gallery wall creates a more inviting and harmonious atmosphere.
Time estimate: 30 minutes.
Step 5: Adjust for Aesthetic Balance
Editor’s Choice

ANERZA 16 PCS Framed Black Girl Wall Art Decor, African American Wall Pr…

Peryiter 3 Pcs Modern Minimalist Wall Decor Abstract Metal Wall Art Meta…

Command 15 lb Large Picture Hanging Strips 14 Pairs (28 Strips), Damage-…
Step 6: Add Accessories and Decor

To enhance your gallery wall, consider adding accessories that complement your artwork and frames. This will give your wall more character.
- Think about incorporating shelves for small plants or decorative items.
- Use wall decals or string lights to add a whimsical touch.
- Mix in other textures, like fabric or woven baskets, for added depth.
Pro Tip: Choose accessories that reflect your personal style for a more authentic feel.
Why this matters: Accessories can tie the whole gallery wall together, making it more dynamic and interesting.
Time estimate: 30 minutes.
Step 6: Add Accessories and Decor
Editor’s Choice

Her Vibe is Pretty Wall Decal Decor Vivid Butterflies Wall Sticker Inspi…

String Lights, 8 Light Modes 6ft 20 LED Rose Flower Garlands for Indoor …

BAYKA Pink Floating Shelves for Wall Set of 3, 15.7in Wood Wall Shelves …
Step 7: Final Touches
Now that your gallery wall is up, it’s time to apply the final touches that will make it shine.
- Wipe down the frames to remove any dust or fingerprints.
- Check that all frames are straight and securely hung.
- Consider adding a piece of art or a quote that resonates with you as a focal point.
Warning: Avoid overcrowding the wall with too many elements; it’s essential to maintain some open space.
Why this matters: Final touches ensure your gallery wall looks polished and complete.
Time estimate: 20 minutes.
Step 7: Final Touches
Editor’s Choice

Car Cleaning Gel Car Clean Detailing Putty, Universal Car Interior Clean…

Vintage Gold Framed Ophelia Wall Art, Romantic Victorian Gothic Oil Pain…

ANERZA 16 PCS Black Girl Wall Art Decor, African American Gallery Wall P…
Step 8: Step Back and Enjoy
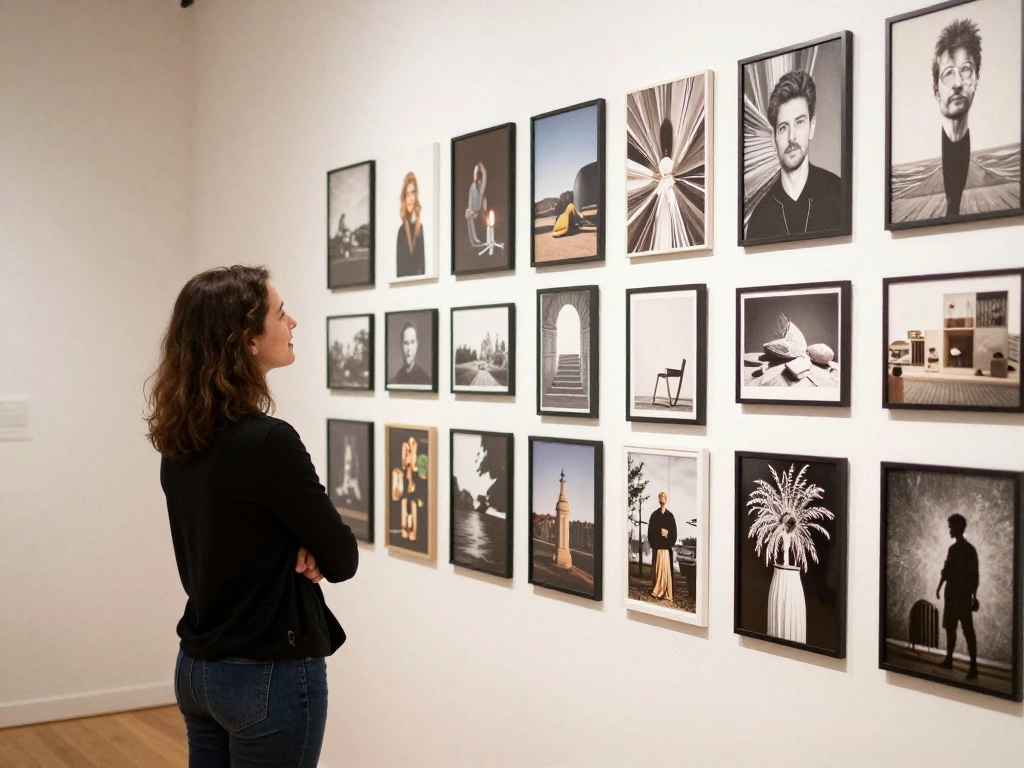
After all the hard work, take a moment to appreciate your new gallery wall. This is the time to reflect on your creativity and personal style.
- Stand back and look at your gallery wall from different angles.
- Invite family or friends to see your work; their feedback can be rewarding.
- Take a moment to enjoy the ambiance your new wall brings to the space.
Pro Tip: Consider taking a photo to commemorate your accomplishment!
Why this matters: Enjoying your work reinforces the satisfaction of your creative expression.
Time estimate: 10 minutes.
Step 8: Step Back and Enjoy
Editor’s Choice

Sunflower Gifts for Women, Sunflower Decor Wall Shelf with Lifelike Flow…
ANERZA 16 PCS Framed Black Girl Wall Art Decor, African American Wall Pr…

Qykwz Black Women Floral Wall Art Prints, Elegant Modern African America…
Step 9: Maintain Your Gallery Wall
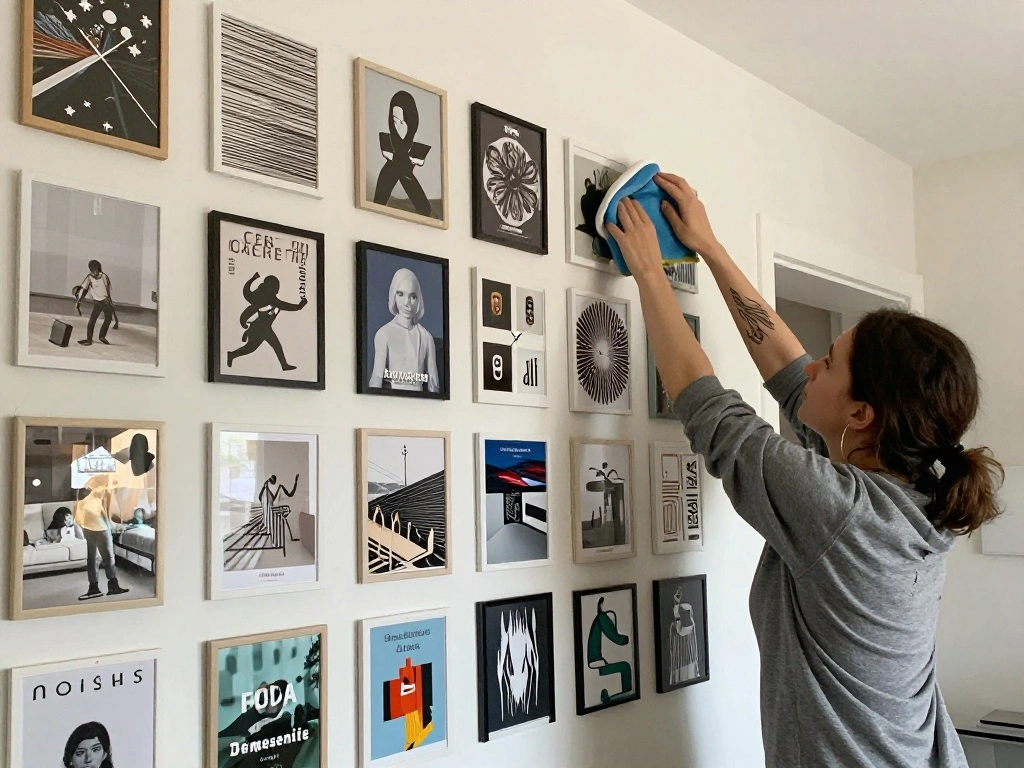
Now that your gallery wall is complete, maintaining it will keep it looking fresh and inspiring.
- Regularly dust the frames and artwork to keep them clean.
- Consider swapping out artwork seasonally to keep the look fresh.
- Repair any damage promptly to maintain a polished appearance.
Warning: Avoid using harsh chemicals on frames, as they can damage the finish.
Why this matters: Regular maintenance ensures your gallery wall continues to inspire you over time.
Time estimate: Ongoing.
Step 9: Maintain Your Gallery Wall
Editor’s Choice
Car Cleaning Gel Car Clean Detailing Putty, Universal Car Interior Clean…
Framed Canvas Wall Art Beautiful Woman With Colorful Flowers, White Flow…

Red Devil 0542 ONETIME Lightweight Spackle Wall Repair, Spackling for Ho…
Step 10: Share Your Creation
Lastly, don’t forget to share your stunning gallery wall with others! Showcasing your work can inspire other beginners.
- Share photos on social media platforms or with friends and family.
- Consider creating a blog post or video documenting your process.
- Engage with others who share similar interests in home decor.
Pro Tip: Use hashtags related to home decor to reach a wider audience.
Why this matters: Sharing your creation fosters community and encourages others to express their creativity.
Time estimate: 30 minutes.
Step 10: Share Your Creation
Editor’s Choice

Black Woman Wall Art Set of 4 Modern African American Canvas Prints, Vin…

Outus 9 Pcs Inspiration Wall Decor for Women, Pink and Gold Makeup Lash …
ANERZA 16 PCS Framed Black Girl Wall Art Decor, African American Wall Pr…
Pro Tips
- Color Coordination: Choose a color palette that complements your bedroom decor.
- Theme Selection: Consider a theme (travel, family, nature) for a more cohesive gallery wall.
- Incorporate Personal Items: Add personal mementos like postcards or letters to make it truly unique.
- Vary Frame Styles: Mixing frame styles can add depth and interest.
- Use Command Strips: For lightweight frames, consider using command strips for easy rearranging.
Pro Tips
Editor’s Choice
Vittanly 20 Pack Picture Frames Collage Wall Decor, Multi Sizes Includin…
Acqooeakt Vintage Fashion Black and White Wall Art Feminist Women Poster…

Vuzvuv Adhesive Hooks Pink SUS304 Stainless Steel – Self Adhesive Heavy …
Common Mistakes to Avoid
Warning: Hanging frames too high can result in an uninviting look.
Solution: Aim for the center of your gallery wall to be at eye level (around 57 inches from the floor).
Warning: Overcrowding the wall can make it feel chaotic.
Solution: Leave some space between frames for a balanced look.
Warning: Using the wrong hardware can lead to falling frames.
Solution: Use appropriate nails or hooks based on the frame weight.
Warning: Not planning layout first can lead to an uneven display.
Solution: Always lay out frames on the floor before hanging.
Warning: Forgetting to level frames can make them look unprofessional.
Solution: Always use a level when hanging frames.
Common Mistakes to Avoid
Editor’s Choice
KURUI 700PCs Small Nails for Hanging Pictures & 8oz Small Hammer for Wom…

ZXHYWYM Black Women Bathroom Canvas Wall Art African American Bathroom P…
ANERZA 16 PCS Framed Black Girl Wall Art Decor, African American Wall Pr…
Troubleshooting Section
Problem: Frames fall off the wall.
Solution: Check the weight of the frames and use appropriate hanging hardware.
Problem: Gallery wall looks cluttered.
Solution: Reduce the number of frames or increase spacing.
Problem: Art doesn’t seem to match.
Solution: Consider introducing frames of similar styles or colors for cohesion.
Problem: Difficulty in hanging straight.
Solution: Use a level and double-check measurements.
Problem: Dust accumulation.
Solution: Regularly dust frames with a soft cloth to keep them looking fresh.
Troubleshooting Section
Editor’s Choice
Metal Glass Photo Frames 4×6 Jeweled Picture Frames with Rhinestones, Ho…
Picture Hanging Kit, 315pcs Hanging Hardware with Hooks, Wire, Nails, D …
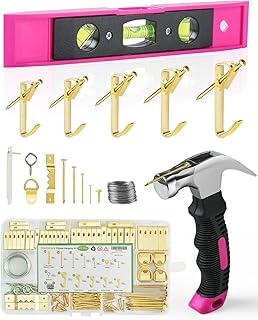
Picture Hanging Kit, Magnetic Hammer and Nails and Level Set for Hanging…
Variations/Alternative Methods
If you want to explore different styles for your gallery wall, consider these variations:
- Grid Layout: Organize your frames in a tight grid for a modern look. Pros: clean and neat appearance. Cons: can feel rigid.
- Asymmetrical Layout: Arrange frames of different sizes in a more freeform style. Pros: dynamic and unique. Cons: may take more time to arrange.
- Floating Shelves: Instead of hanging frames, use shelves to display artwork and decor. Pros: easy to change out items. Cons: requires more wall space.
Variations/Alternative Methods
Editor’s Choice

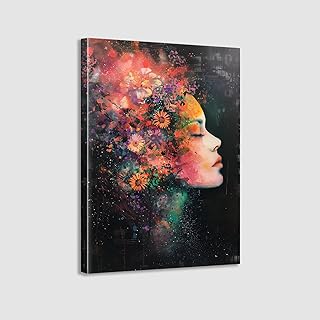
Surreal Woman Canvas Wall Art, Cool Grid Addiction Girl Poster, Unique F…

Vittanly 15 Pack Picture Frames Collage Wall Decor for Mounting or Table…

Kathfly 4 Tie Pink Bow Corner Shelf Wall Mounted Pink Floating Wood Corn…
FAQs
What if I don’t have enough artwork?
Consider using prints, fabric swatches, or DIY art to fill spaces. How long should I let the wall dry before hanging?
Ensure the wall is completely dry if painted before hanging anything. Is it safe to use command strips?
Yes, for lightweight frames, command strips are a great option. What if my wall is textured?
Use adhesive hooks or specific hardware designed for textured surfaces. Can I mix frame styles?
Absolutely! Mixing styles can create a more interesting and personalized look.
FAQs
Editor’s Choice
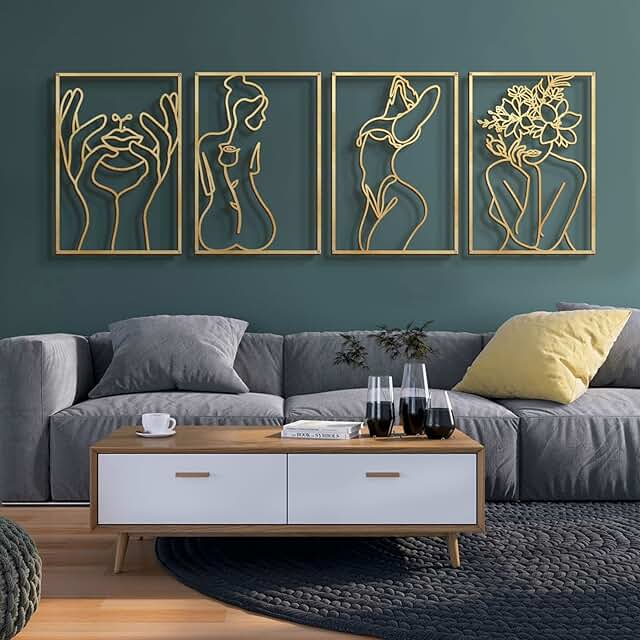
Glamativity 4 Pack Gold Wall Art Decor, Minimalist Single Line Real Meta…

20 lb XL 8 Pairs Heavyweight Picture Hanging Strips (16 Strips), Damage-…

Conclusion
Congratulations! You’ve successfully created a dreamy gallery wall in your bedroom. Take pride in your personal touch that enhances your living space and reflects your personality.
Now that you’ve completed your gallery wall, consider exploring other decor projects to further personalize your home. Each step you take in decorating contributes to a warm, inviting atmosphere.
Stay inspired and keep creating! Your home is your canvas, and there’s always room for more creative expression.