
Are your walls feeling bare and lifeless? A floor-to-ceiling art display can transform any room into a vibrant gallery, adding character and charm. Imagine walking into a space where art captivates and inspires, making a statement every time you enter. This guide will help you accomplish just that!
In this article, you will learn how to curate and arrange art pieces to create a stunning visual impact that stretches from floor to ceiling. Whether you prefer paintings, photographs, or mixed media, you’ll discover techniques to showcase your collection beautifully. By the end of this guide, you will have the skills to design a personalized art display that reflects your unique taste.
This project is suitable for beginners and will take approximately 3-4 hours to complete, depending on the size of your display. Get ready to elevate your home décor!
TL;DR Summary
- Gather materials and decide on the wall space for your art display.
- Choose a cohesive theme or color palette for your artwork.
- Arrange your art pieces on the floor first to visualize the layout.
- Install your artwork using the appropriate tools and techniques.
TL;DR Summary
Editor’s Choice

KURUI 303Pcs Picture Hanging Kit, Picture Hangers Assorted Kit with Heav…
Prerequisites/Materials Needed
- Artworks: 5-10 pieces of varying sizes
- Hanging tools: Picture hooks, nails, or adhesive strips
- Measuring tape: 1 unit
- Pencil: 1 unit
- Level: 1 unit
- Gallery-style hanging system (optional): 1 unit
- Step ladder (if needed): 1 unit
Recommended Products

12 Pieces picture wire hanging kit:You will receive 12 Picture picture rail hooks and S hooks, This art hanging system includes everything you need to create a complete and easy picture display!
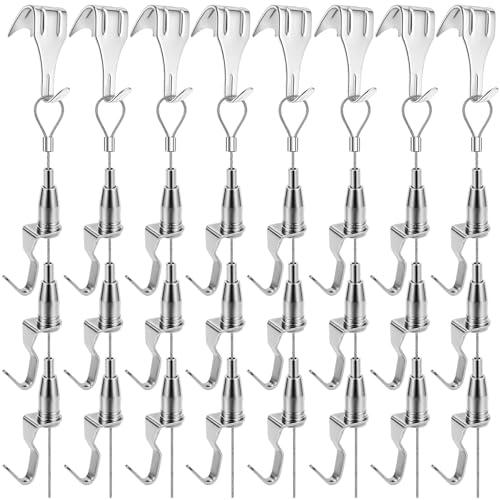
3-layer Hanging, Saving Space: 8 pcs wire kits and there are 3 hooks with each kit. 3 hooks can be used to hang up to 3 frames on a rope at the same time, saving space. If there are multiple pictures that need to be displayed, this would be suitable for hanging
Prerequisites/Materials Needed
Editor’s Choice

Art Display for Kids Artwork – 10ft Alloy Steel Wire with 48 Clips | Wil…

HBTower Step Ladder, Folding Step Stool with Wide Anti-Slip Pedal, Sturd…

Motovera Self Leveling Laser Level 100ft, Green Cross Line with Tripod, …
Skill Level & Time Estimate
Skill Level: beginner
Total time estimate: 3-4 hours
Breakdown of time:
- Gather materials: 30 minutes
- Plan layout: 1 hour
- Hanging artwork: 2 hours
Skill Level & Time Estimate
Editor’s Choice

Torpedo Level Magnetic, Firecore 9 Inch Shockproof Small Leveler Tool wi…

Boswillon Floating Shelves Wall Mounted Set of 2, Modern Black Wall Shel…

Command 15 lb Large Picture Hanging Strips 14 Pairs (28 Strips), Damage-…
Step 1: Choose Your Wall Space
Decide which wall will showcase your art display. Consider the following:
- Choose a wall that is visible and prominent in the room.
- Ensure the wall has enough space for the art pieces you plan to use.
- Consider the lighting; natural light can enhance the display.
Pro Tip: Choose a wall without furniture blocking the view for maximum impact.
Why this matters: Selecting the right wall sets the stage for your art display and ensures it becomes a focal point in the room. This step should take about 15-20 minutes.
Recommended Products


MAXIMUM FRAME SIZE 24 X 36 INCHES: One package includes 20 pairs (40 strips total) of the Command Large Picture Hanging Strips; four wall adhesive strip pairs hold 16 pounds; maximum frame of 24 x 36 inches

MAXIMUM FRAME SIZE 24 X 36 INCHES: One package includes 28 pairs (56 strips total) of the Command Large Picture Hanging Strips; four wall adhesive strip pairs hold 16 pounds; maximum frame of 24 x 36 inches
Step 1: Choose Your Wall Space
Editor’s Choice

EZVALO Picture Light for Wall, 4800mAh Rechargeable Wireless Remote Batt…

Command 20 lb XL 8 Pairs Heavyweight Picture Hanging Strips (16 Strips),…

upsimples 19 Pack Picture Frames Collage Wall Decor for Mounting or Tabl…
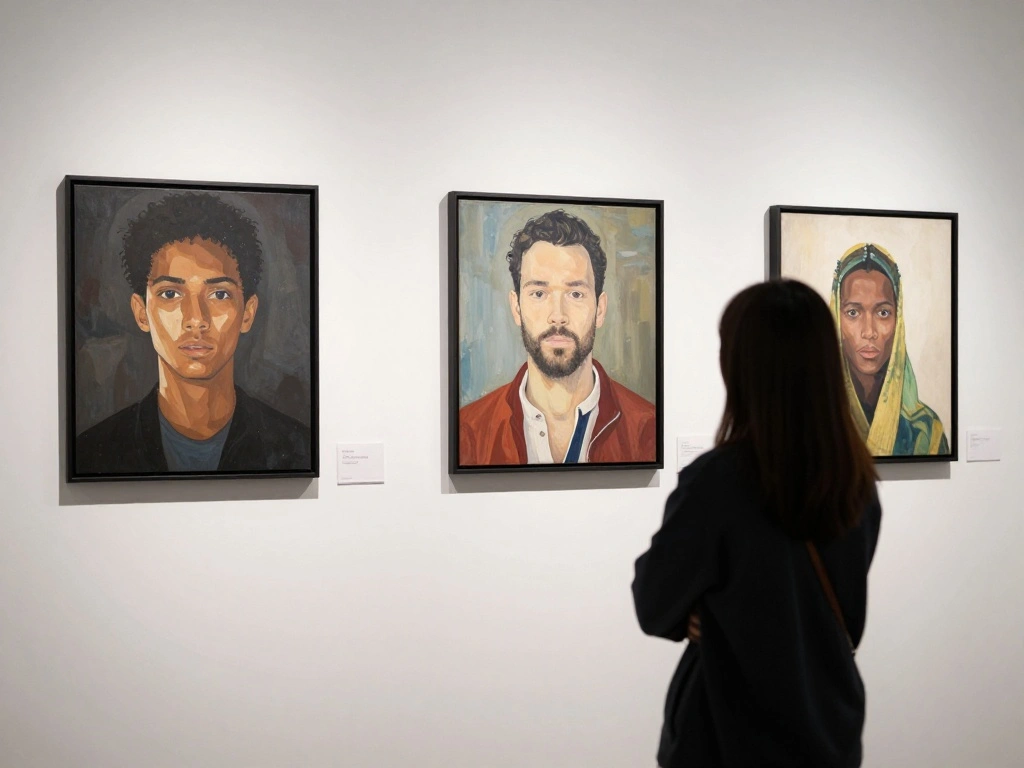
Step 2: Gather Your Art Pieces
Collect all the artwork you want to display. Follow these steps:
- Choose a variety of pieces (paintings, photos, mixed media) that reflect your style.
- Ensure the sizes vary to create visual interest.
- Consider a cohesive theme or color palette for harmony.
Warning: Avoid using art pieces that clash or are too similar in size, as this can create a chaotic look.
Why this matters: Having a well-curated selection of art pieces makes your display more appealing and engaging. This step should take about 30-45 minutes.
Step 2: Gather Your Art Pieces
Editor’s Choice

upsimples 6 Pack Wooden Floating Shelves, Wall Storage Decor Shelf for B…

Vittanly 20 Pack Picture Frames Collage Wall Decor, Multi Sizes Includin…
KURUI 303Pcs Picture Hanging Kit, Picture Hangers Assorted Kit with Heav…
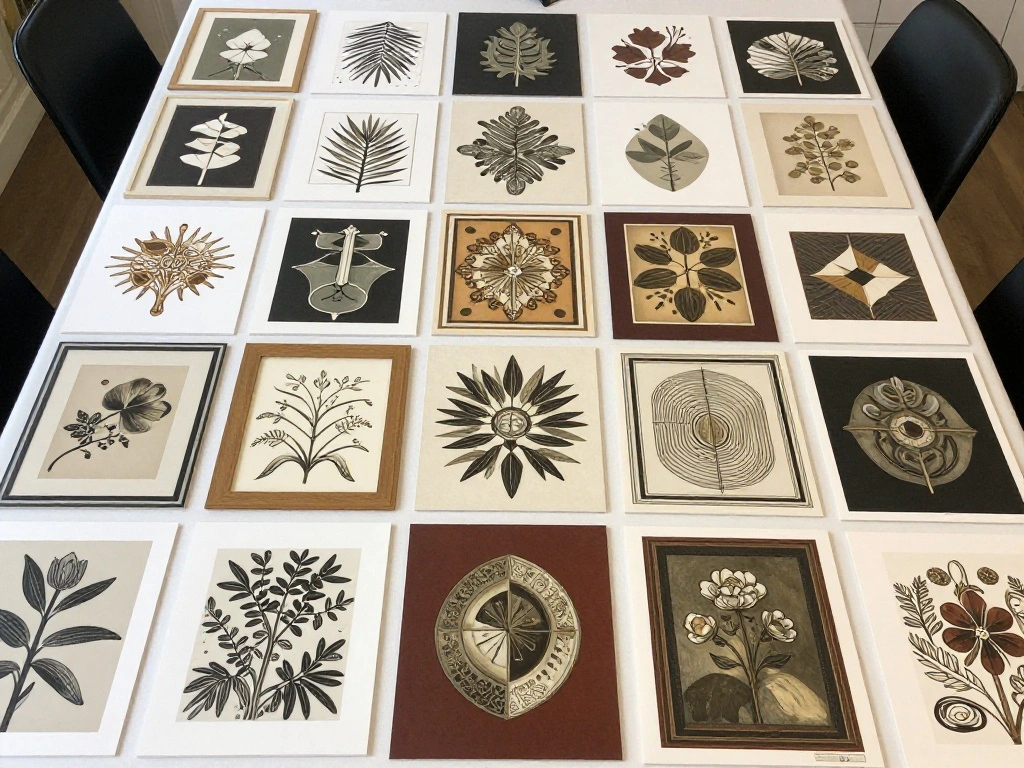
Step 3: Plan Layout on the Floor

Before hanging anything, visualize your layout on the floor:
- Arrange your art pieces on the floor in the order you want to hang them.
- Step back to see how the arrangement looks from a distance.
- Make adjustments until you’re satisfied with the layout.
Pro Tip: Use a camera to take a photo of the layout for reference when hanging.
Why this matters: Planning your layout helps avoid mistakes and ensures a balanced and visually appealing display. This step should take about 30-60 minutes.
Step 3: Plan Layout on the Floor
Editor’s Choice

CAMBOFOTO 74″ Aluminum Camera Tripod – Heavy‐Duty Professional Tri…

Artist’s Loft Level 2 Gallery Wrapped Traditional Canvas

Digital Caliper, Sangabery 0-6 inches Caliper with Large LCD Screen, Aut…
Step 4: Measure and Mark the Wall
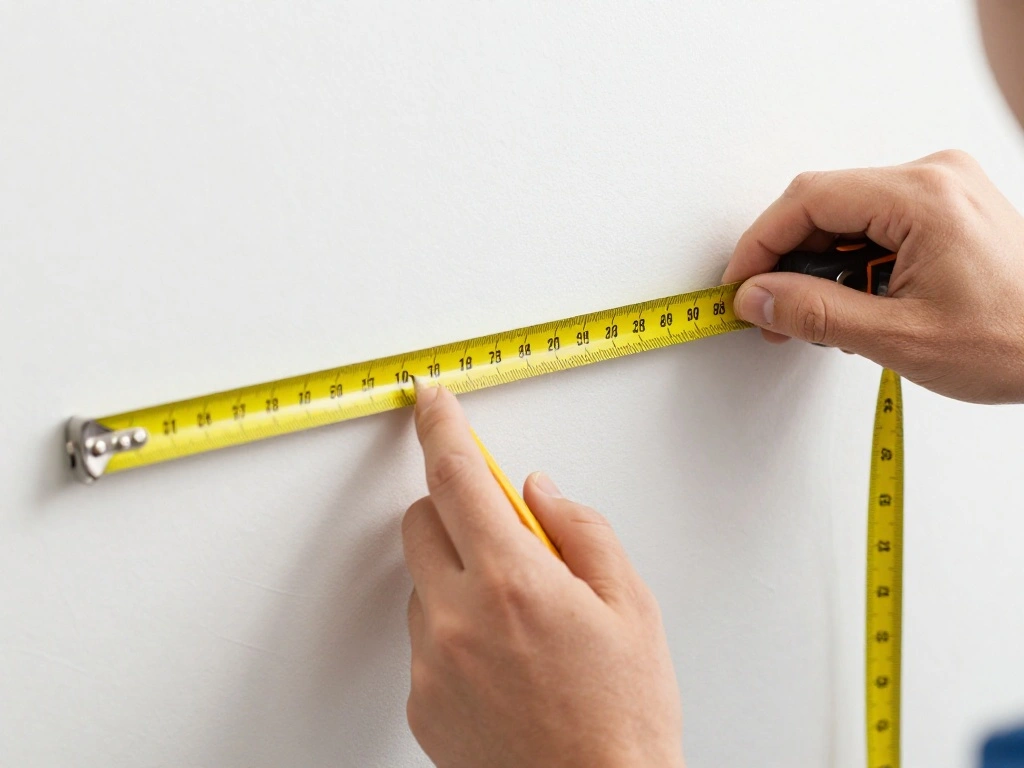
Prepare to hang your art by measuring and marking the wall:
- Use a measuring tape to find the center of the wall.
- Mark key points based on your planned layout.
- Use a level to ensure your marks are straight.
Warning: Double-check your measurements to prevent crooked artwork.
Why this matters: Accurate measurements ensure that your artwork hangs evenly and looks professional. This step should take about 20-30 minutes.
Step 4: Measure and Mark the Wall
Editor’s Choice

Laser Measure 50M/165ft,RockSeed Digital Laser Distance Meter with 2 Bub…

Digital Caliper Measuring Tool, Stainless Steel Vernier Caliper Digital …
Step 5: Prepare the Hanging Tools
Gather and prepare the tools needed for hanging:
- Choose the appropriate hanging method based on the weight of the art pieces.
- For heavier pieces, use picture hooks or nails. For lighter pieces, adhesive strips may work.
- Lay out tools like a hammer, drill, or level for easy access.
Pro Tip: If using a gallery-style system, ensure you follow the manufacturer’s instructions carefully.
Why this matters: Having the right tools at hand makes the hanging process smoother and more efficient. This step should take about 10-15 minutes.
Step 5: Prepare the Hanging Tools
Editor’s Choice

PREXISO Multi Surface Laser Level LED Light Vial, 30Ft Horizontal & Vert…
Command 20 lb XL 8 Pairs Heavyweight Picture Hanging Strips (16 Strips),…

PHS Anti Theft Picture Hangers – Bulk Pack – 25 Pack Security Frame Lock…
Step 6: Hang Your Artwork

Now it’s time to hang your art:
- Start with the center piece and work your way outwards.
- Use a level to ensure each piece is straight as you hang it.
- Secure the art with your chosen hanging method.
Warning: Avoid placing nails too close together to prevent damage to the wall.
Why this matters: Properly hanging your art prevents damage and ensures each piece is displayed effectively. This step should take about 1-2 hours.
Step 6: Hang Your Artwork
Editor’s Choice

KURUI Wall Anchors Kit for Hanging Wall Art Decor, 160Pcs Drywall Anchor…
KURUI 303Pcs Picture Hanging Kit, Picture Hangers Assorted Kit with Heav…

Luocute Picture Hanging Level Tool, Sturdy ABS Material Frame Positionin…
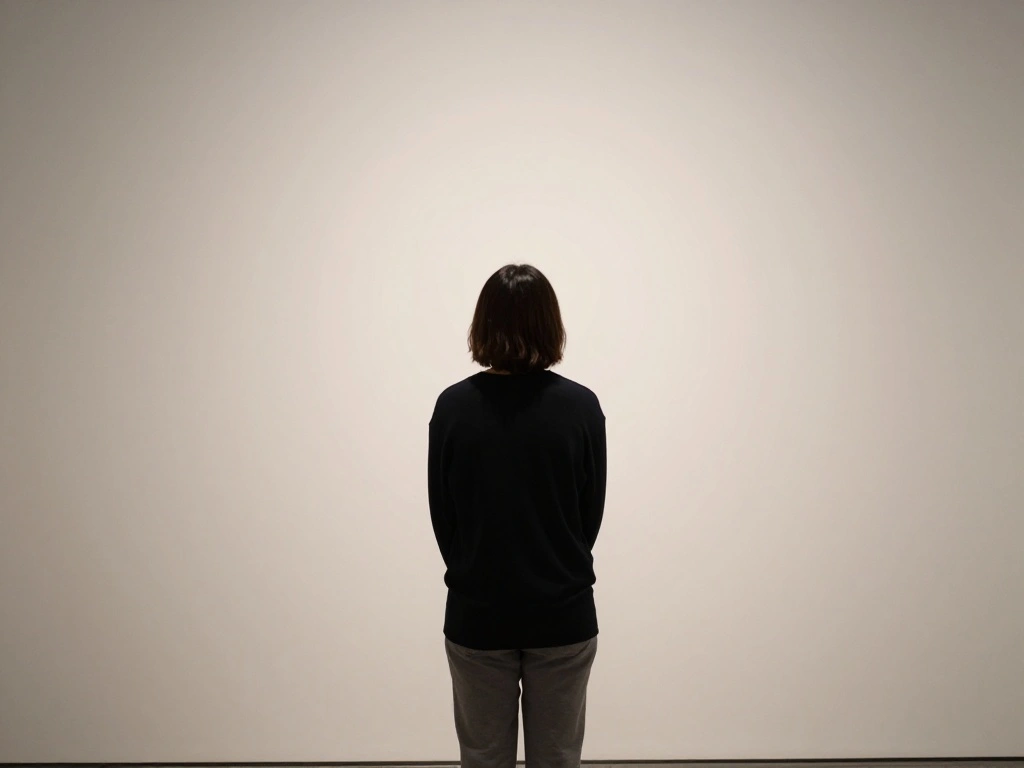
Step 7: Step Back and Assess
After hanging all your artwork, take a moment to evaluate:
- Stand back and look at the display from different angles.
- Make sure there are no gaps or awkward placements.
- If needed, adjust the pieces for balance and flow.
Pro Tip: Invite a friend to provide feedback; a fresh pair of eyes can be helpful.
Why this matters: Assessing your work ensures that the display looks polished and cohesive. This step should take about 15-30 minutes.
Step 7: Step Back and Assess
Editor’s Choice

Command 15 lb & 10 lb Large and Medium 28 Pairs Picture Hanging Strips (…
Art Display for Kids Artwork – 10ft Alloy Steel Wire with 48 Clips | Wil…

Go Hang It! Pro, All-in-One Picture Hanging Kit – Picture Leveling and H…
Step 8: Final Touches and Cleaning
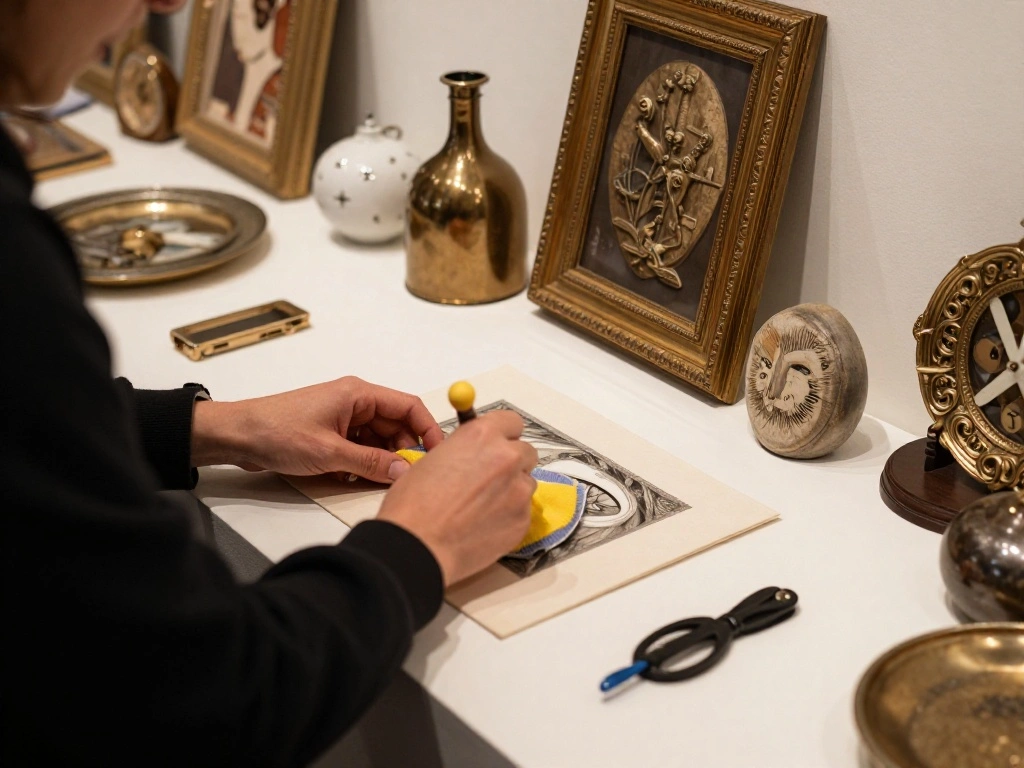
Complete your display with some finishing touches:
- Dust the artwork and clean the glass if applicable.
- Add additional decorative elements like shelves or plants if desired.
- Ensure the lighting highlights the artwork effectively.
Warning: Avoid overcrowding the space with too many additional items.
Why this matters: Final touches enhance the overall presentation and ensure every detail shines. This step should take about 30-45 minutes.
Step 8: Final Touches and Cleaning
Editor’s Choice
EZVALO Picture Light for Wall, 4800mAh Rechargeable Wireless Remote Batt…

WOPITUES Wood Floating Shelves Set of 6, Shelves for Wall Decor, Farmhou…

HOMEXCEL Microfiber Cleaning Cloth 210GSM, Pack of 12, Size:11.5″ x 11.5…
Step 9: Enjoy Your New Art Display
Finally, take a moment to enjoy your newly created floor-to-ceiling art display!
- Invite friends or family to view your work and share your inspiration.
- Consider taking photos to document your accomplishment.
- Continue to add or rotate artwork as your style evolves.
Pro Tip: Regularly change out pieces to keep your display fresh and engaging.
Why this matters: Enjoying your work reinforces the effort you put into creating a beautiful space. This step should take about 15-20 minutes.
Step 9: Enjoy Your New Art Display
Editor’s Choice
Art Display for Kids Artwork – 10ft Alloy Steel Wire with 48 Clips | Wil…

4 Pack Kids Artwork Frames Changeable 8.5 x 11 Inch Children Art Project…
Pro Tips
- Theme Matters: Choose a theme that resonates with you to create a cohesive look.
- Variety is Key: Mix different art styles and sizes for an engaging display.
- Lighting Enhancements: Use spotlights or natural light to highlight your art pieces.
- Rotate Artwork: Regularly update your display to keep it fresh and exciting.
- Invest in Quality: Use high-quality frames and materials for a more polished look.
Pro Tips
Editor’s Choice
Art Display for Kids Artwork – 10ft Alloy Steel Wire with 48 Clips | Wil…
upsimples 19 Pack Picture Frames Collage Wall Decor for Mounting or Tabl…
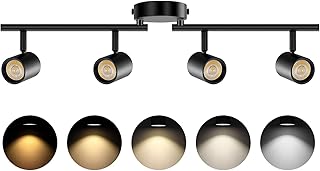
VANoopee 5-Color 4 Light Black LED Track Lighting Fixtures Ceiling for K…
Common Mistakes to Avoid
Warning: 1. Hanging artwork too high can make it hard to appreciate. Always aim for eye level.
Warning: 2. Overcrowding the wall can overwhelm viewers. Leave space between pieces.
Warning: 3. Ignoring lighting can diminish the art’s impact. Make sure it’s well-lit.
Warning: 4. Using incorrect hanging methods can damage walls. Choose the right tools for each piece.
Warning: 5. Not stepping back to assess can lead to an unbalanced display. Always check from a distance.
Common Mistakes to Avoid
Editor’s Choice
KURUI 303Pcs Picture Hanging Kit, Picture Hangers Assorted Kit with Heav…
Tassuowell Rechargeable Picture Light with Remote Control,12 Inch Brass …

Luomorgo 12 Pcs 1/2″ x 0.78″ Stainless Steel Standoff Screws, Wall Sign …
Troubleshooting Section
Problem: Artwork looks crooked.
Solution: Use a level to adjust and ensure it’s straight. Rehang if necessary.
Problem: Gaps between pieces are too large.
Solution: Rearrange the layout on the floor before adjusting the heights when hanging.
Problem: Wall damage from hanging.
Solution: Use wall repair kits for touch-ups and choose better hanging tools next time.
Problem: The display feels cluttered.
Solution: Remove one or two pieces to create a more balanced look.
Problem: Colors clash.
Solution: Consider changing out certain pieces for a more cohesive color palette.
Troubleshooting Section
Editor’s Choice

Wenqik 45 Pcs Adhesive Picture Hanger Foamboard Picture Hanging Hooks Wi…

SolidFix 10ft Concrete Crack Repair Kit with All Tools – Professional …
Torpedo Level Magnetic, Firecore 9 Inch Shockproof Small Leveler Tool wi…
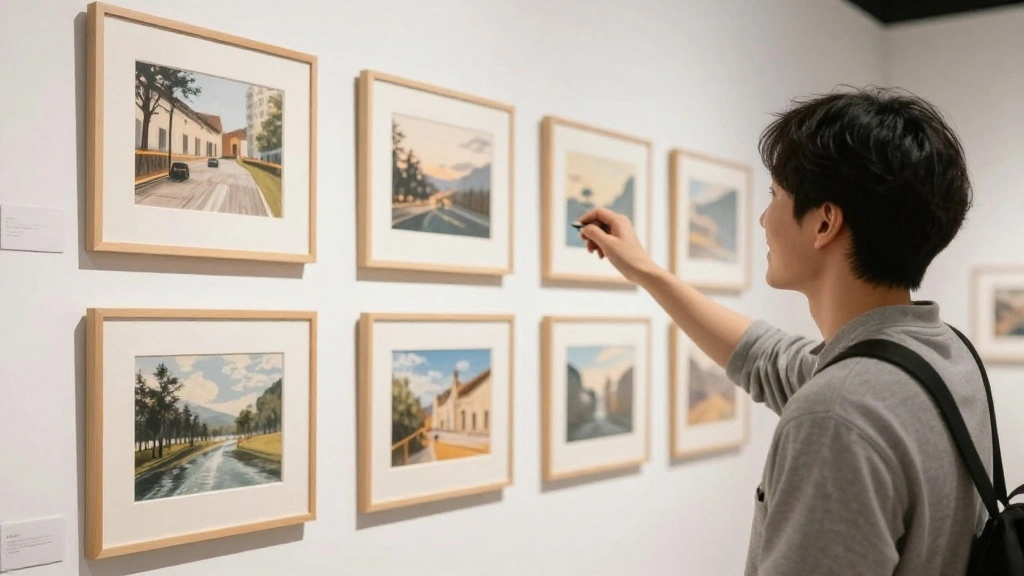
Variations/Alternative Methods
1. Gallery Wall: Instead of a floor-to-ceiling display, consider a gallery wall that is framed and organized in a grid pattern. This works well in smaller spaces.
2. Shelf Display: Use floating shelves to showcase smaller artworks and sculptures. This allows flexibility for changing displays.
3. Collage Style: Create a collage of mixed media pieces, combining textures and materials for a more dynamic display.
Variations/Alternative Methods
Editor’s Choice

Vittanly 15 Pack Picture Frames Collage Wall Decor for Mounting or Table…

QEEIG Bathroom Floating Shelves for Wall – 15.7″ Wall Mounted Shelf Over…

MELANNCO Collage Picture Frame 18×23 Inch Black – Holds 12 Photos in 4×6…
FAQs
What if I don’t have enough wall space? Consider creating a gallery wall or using shelves to showcase your art vertically.
How long should I wait before changing the artwork? You can change it as often as you like, but every few months keeps it fresh.
Is it safe to hang heavy pieces? Yes, as long as you use the proper hanging tools and methods for the weight of the piece.
What if my art pieces are different sizes? Embrace the variety! Arrange them thoughtfully for a balanced look.
Can I mix different styles of art? Absolutely! Mixing styles can create a more interesting and personalized display.
FAQs
Editor’s Choice
Vittanly 15 Pack Picture Frames Collage Wall Decor for Mounting or Table…

BAYKA Floating Shelves for Wall, Wall Mounted Rustic Wood Shelves for Ba…

3-in-1 Picture Hanging Tool, All-in-One Art Hanging Kit with Leveling, P…
Conclusion
Congratulations! You have successfully created a stunning floor-to-ceiling art display that reflects your personality and style. Take a moment to appreciate your hard work and the beautiful transformation of your space.
Now that you have this new focal point, consider hosting a small gathering to show it off! You can also continue to explore different art styles and rotate your pieces to keep the display feeling fresh and inspiring. Enjoy your artistic journey!