
Are you tired of blank walls that detract from your living room’s charm? A floor-to-ceiling gallery wall can transform an uninspired space into a stunning focal point. This project not only adds personality to your room but also showcases your favorite art pieces, photographs, and memories. With the right approach, you can create a visually captivating display that impresses your guests and breathes new life into your home.
In this guide, you will learn how to plan, measure, and install a floor-to-ceiling gallery wall, turning your living room into a stylish gallery. Expect to accomplish a beautifully curated wall that reflects your style and taste. You’ll gain insights into layout planning, frame selection, and hanging techniques, ensuring a polished finish.
This project is rated as intermediate in skill level and will take approximately 3-4 hours to complete, depending on your preparation and the size of your wall. Get ready to unleash your creativity and transform your living space!
TL;DR Summary
- Create a striking floor-to-ceiling gallery wall in your living room.
- Gather materials and plan your layout before starting.
- Follow step-by-step instructions for measuring, preparing, and hanging your artwork.
- Enjoy your transformed space that reflects your personal style.
TL;DR Summary
Editor’s Choice

ZANIS Multi Surface Laser Level – 360° Dual Dials with Bubble Level �…

Uniclife 20 Pcs Adhesive Picture Hooks 20 lbs Max 2.2”Load No Drill Sc…

upsimples 11×14 Picture Frame Set of 5, Display Pictures 8×10 with Mat o…
Prerequisites/Materials Needed
- Frames: Various sizes (at least 5-10 frames)
- Artwork/Photos: Selection of your favorite pieces
- Measuring Tape: At least 25 feet long
- Pencil: For marking
- Nails or Picture Hanging Hooks: Depending on wall type
- Hammer: For hanging
- Level: To ensure frames are straight
- Stud Finder: If hanging heavy frames
Prerequisites/Materials Needed
Editor’s Choice

SONGMICS 4×6 Picture Frames Collage Wall Decor, 12-Pack Photo Collage Fr…

PREXISO Multi Surface Laser Level LED Light Vial, 30Ft Horizontal & Vert…

Mr. Pen- Nail Assortment Kit, 600 Pcs, 4 Sizes, Silver, Small Nails for …
Skill Level & Time Estimate
Skill Level: Intermediate
Time Estimate: 3-4 hours
Breakdown of time:
- Planning and gathering materials: 1 hour
- Measuring and marking: 1 hour
- Hanging frames: 1-2 hours
Skill Level & Time Estimate
Editor’s Choice

Picture Hanging Tool with Built in Level, Precision Marking,Alignment Ru…

upsimples 19 Pack Picture Frames Collage Wall Decor for Mounting or Tabl…

PHS Anti Theft Picture Hangers – Bulk Pack – 25 Pack Security Frame Lock…
Step 1: Choose Your Gallery Wall Location
Select a wall in your living room that will serve as the focal point for your gallery. Consider factors such as visibility, lighting, and size to determine the best location.
- Assess your wall space: Look for a wall that has enough room for multiple frames without looking cluttered.
- Consider natural light: Avoid placing your gallery wall in direct sunlight, which can fade artwork over time.
- Ensure visibility: Choose a wall that is easily seen from seating areas to maximize impact.
Why this matters: Choosing the right location sets the stage for your gallery wall, ensuring it enhances the overall aesthetic of your living room.
Pro Tip: Use painter’s tape to outline the area on your wall to visualize the space before committing.
Time Estimate: 30 minutes
Step 1: Choose Your Gallery Wall Location
Editor’s Choice
upsimples 19 Pack Picture Frames Collage Wall Decor for Mounting or Tabl…

KURUI 303Pcs Picture Hanging Kit, Picture Hangers Assorted Kit with Heav…
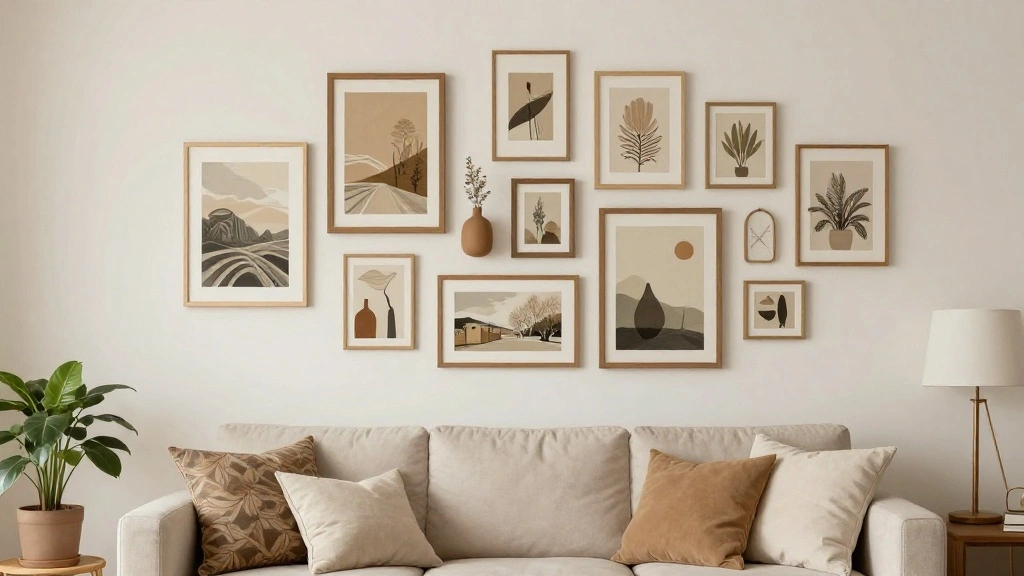
Step 2: Plan Your Layout
Before hanging anything, plan the layout of your gallery wall. This helps you visualize how your frames will fit together and ensures a cohesive look.
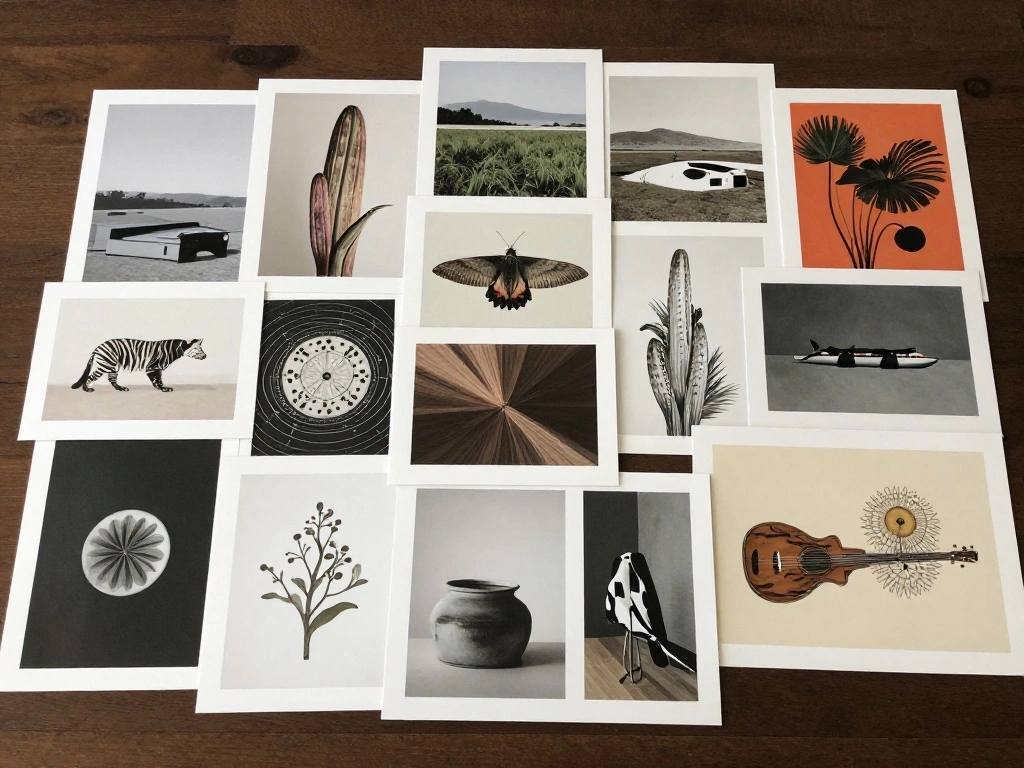
- Gather your frames and artwork: Lay them out on the floor or a large table to experiment with different arrangements.
- Mix and match sizes: Use a combination of frame sizes and orientations (landscape and portrait) for visual interest.
- Take a photo: Once you find an arrangement you like, take a photo for reference.
Why this matters: Planning your layout helps prevent holes in the wall from multiple attempts and creates a more polished final look.
Pro Tip: Use paper cutouts of your frames to simulate the layout on the wall before hanging.
Time Estimate: 1 hour
Step 2: Plan Your Layout
Editor’s Choice

Luocute Picture Hanging Level Tool, Sturdy ABS Material Frame Positionin…
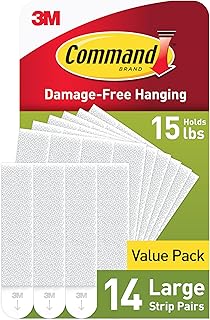
Command 15 lb Large Picture Hanging Strips 14 Pairs (28 Strips), Damage-…

Vittanly 15 Pack Picture Frames Collage Wall Decor for Mounting or Table…
Step 3: Measure and Mark the Wall

Accurate measurements are crucial for a successful gallery wall. Proper marking ensures your frames hang evenly and aligned.
- Measure the wall height: Use a measuring tape to find the center point of your wall.
- Mark the center: Use a pencil to lightly mark the center point where you want the first frame to hang.
- Measure from the center: Determine the distance between each frame based on your layout and mark these points on the wall.
Why this matters: Proper measurements create a balanced and visually appealing gallery wall that draws the eye.
Warning: Avoid using permanent markers, as pencil marks can be easily erased if adjustments are needed.
Time Estimate: 30 minutes
Step 3: Measure and Mark the Wall
Editor’s Choice

3Pcs Circular Bubble Level Bullseye Degree Marked Surface Round Spirit L…

CRAFTSMAN 25-Ft Tape Measure with Fraction Markings, Retractable, Self-L…

Nicpro Carpenter Pencil with Sharpener, Mechanical Pencils Set with 26 R…
Step 4: Prepare Frames for Hanging
Prepare your frames and artwork for hanging to ensure they are ready when the time comes.
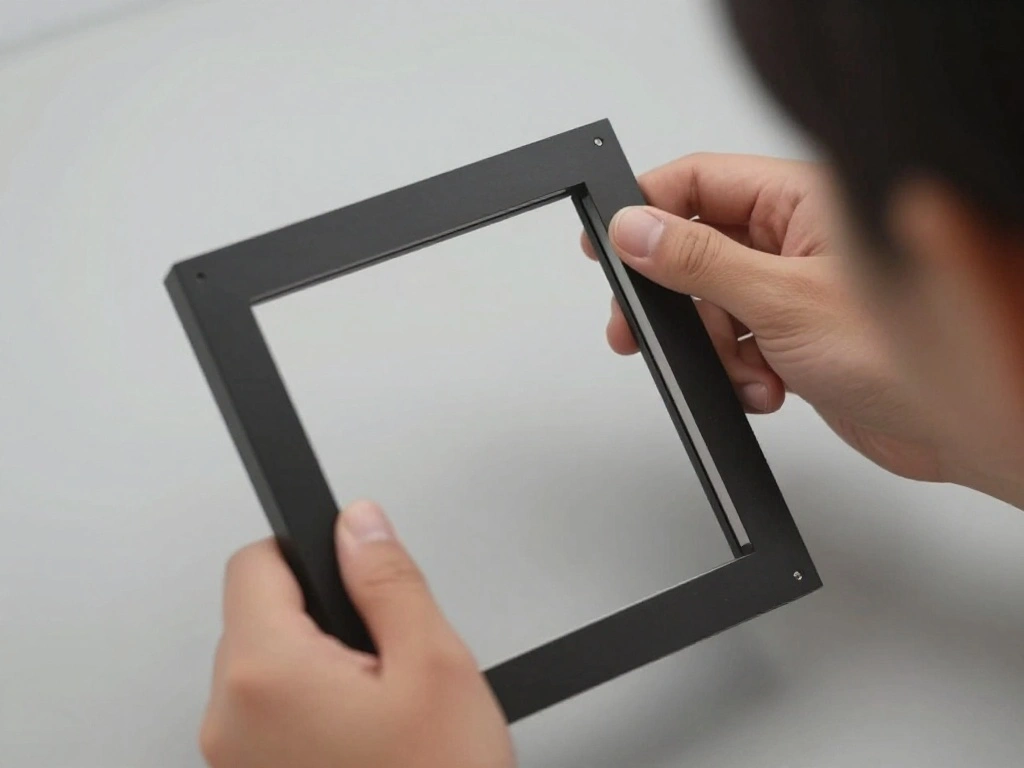
- Check hardware: Ensure all frames have proper hanging hardware attached, such as D-rings or sawtooth hangers.
- Attach wall protection: If needed, add felt pads on the back of frames to protect your wall and prevent damage.
- Clean frames: Wipe down frames and glass to remove dust and smudges for a polished look.
Why this matters: Preparing frames helps streamline the process and ensures a professional finish.
Pro Tip: If using heavy frames, consider using wall anchors for extra support.
Time Estimate: 30 minutes
Step 4: Prepare Frames for Hanging
Editor’s Choice

PHS T-Screw Security Picture Hanger Wrench – 3-Pack T Lock Anti Theft Ha…

USANOOKS Microfiber Cleaning Cloth Grey – 12 Pcs (12.5″x12.5″) – High Pe…

Felt Furniture Pads 300 Pieces, Furniture Pads for Hardwood Floors, Felt…
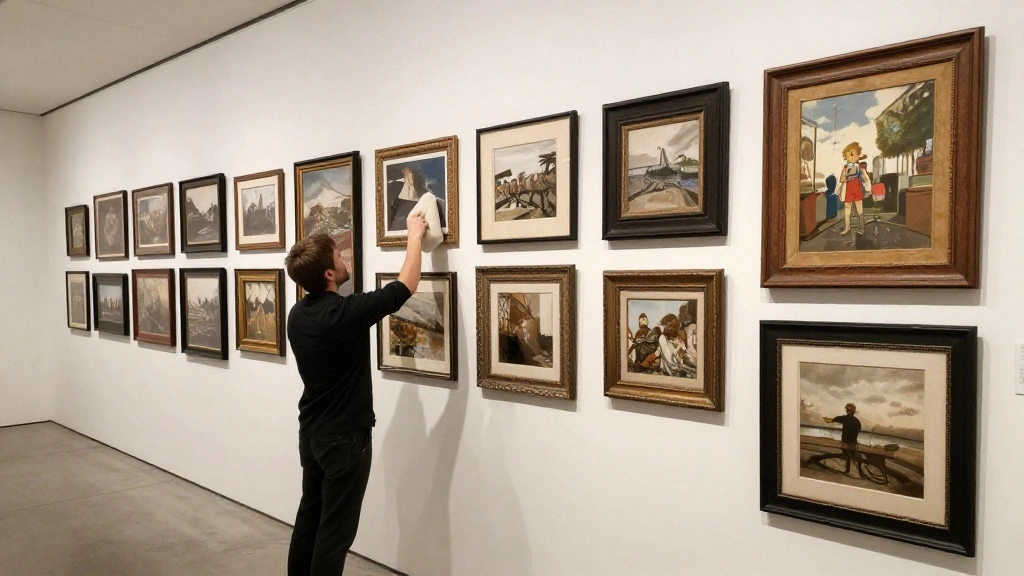
Step 5: Hang Your Frames
With your measurements and preparations complete, it’s time to start hanging your frames.
- Start with the center frame: Hang your first frame at the marked center point using a hammer and nails or hooks.
- Move outward: Hang the remaining frames according to your planned layout, using a level to ensure each one is straight.
- Adjust as needed: Step back frequently to check alignment and spacing between frames, making adjustments as necessary.
Why this matters: Proper hanging techniques ensure each frame is secure and visually appealing, preventing damage to the wall.
Warning: Always double-check the level before securing frames fully to avoid crooked displays.
Time Estimate: 1-2 hours
Step 5: Hang Your Frames
Editor’s Choice
KURUI 303Pcs Picture Hanging Kit, Picture Hangers Assorted Kit with Heav…

Torpedo Level Magnetic, Firecore 9 Inch Shockproof Small Leveler Tool wi…

Hillman 122388 Adjustable Picture Hanger 100lbs Set of 2
Step 6: Add Finishing Touches
Once all frames are hung, it’s time to add the finishing touches that will enhance your gallery wall.
- Incorporate decor: Consider adding decorative elements like plants, shelves, or lighting to complement your frames.
- Check spacing: Ensure the spacing between frames is consistent and visually pleasing.
- Clean the area: Wipe down the wall and frames to remove any dust or fingerprints.
Why this matters: Finishing touches personalize your gallery wall and can enhance its overall aesthetic appeal.
Pro Tip: Use battery-operated picture lights to highlight your favorite pieces at night.
Time Estimate: 30 minutes
Step 6: Add Finishing Touches
Editor’s Choice

Nearly Natural 48in Artificial Dracaena with Real Touch Leaves and Multi…

50 Pack Small Sawtooth Picture Hangers – Steel Picture Hanging Solutions…

BAYKA Floating Shelves for Wall, Wall Mounted Rustic Wood Shelves for Ba…
Step 7: Step Back and Enjoy
Congratulations on completing your floor-to-ceiling gallery wall! Now, take a moment to step back and appreciate your hard work.
- Assess the overall look: Stand at different angles in the room to see how the gallery wall enhances the space.
- Invite feedback: Show your gallery wall to friends or family for their thoughts and suggestions.
- Make small adjustments: If necessary, make minor adjustments to frames or decor to achieve your desired look.
Why this matters: Taking the time to enjoy your work allows you to appreciate your creativity and effort.
Pro Tip: Document your gallery wall with photos to remember your project and showcase it in your portfolio.
Time Estimate: 15 minutes
Step 7: Step Back and Enjoy
Editor’s Choice
Vittanly 15 Pack Picture Frames Collage Wall Decor for Mounting or Table…
BAYKA Floating Shelves for Wall, Wall Mounted Rustic Wood Shelves for Ba…

Go Hang It! Pro, All-in-One Picture Hanging Kit – Picture Leveling and H…
Step 8: Maintain Your Gallery Wall
To keep your gallery wall looking its best, regular maintenance is essential.
- Dust frames regularly: Use a soft cloth to remove dust from frames and artwork.
- Check for damage: Regularly inspect frames for any signs of wear or damage.
- Update artwork: Consider rotating or changing out pieces to keep the display fresh and interesting.
Why this matters: Ongoing maintenance ensures your gallery wall remains a beautiful feature in your living room.
Pro Tip: Schedule a seasonal refresh to keep your gallery wall dynamic and engaging.
Time Estimate: 15 minutes
Step 8: Maintain Your Gallery Wall
Editor’s Choice

120Pcs Picture Frame Backing Clips,Picture Frame Turn Button with 120 Pc…

12 Pack Cleaning Cloth,Ultra Soft Absorbent Quick Drying Microfiber Clea…
50 Pack Small Sawtooth Picture Hangers – Steel Picture Hanging Solutions…
Pro Tips
- Frame Variety: Mix different styles and textures of frames to add depth and interest.
- Theme Consistency: Consider a theme, such as travel or family, to create a cohesive narrative.
- Color Coordination: Choose artwork that complements the color palette of your living room.
- Height Consideration: Hang frames at eye level for the best view.
- Lighting: Use accent lighting to highlight key pieces on your gallery wall.
Pro Tips
Editor’s Choice
upsimples 19 Pack Picture Frames Collage Wall Decor for Mounting or Tabl…

LANCHI95 10 Pcs Vintage Eclectic Wall Art Prints, Trendy Maximalism Post…

EZVALO Picture Light for Wall, 4800mAh Rechargeable Wireless Remote, 16i…
Common Mistakes to Avoid
Warning: Hanging frames too high or low can disrupt visual balance. Always aim for eye level.
Warning: Using mismatched frames can create a cluttered look. Stick to a cohesive theme or color scheme.
Warning: Not measuring properly can lead to uneven spacing. Always take your time with measurements to avoid mistakes.
Common Mistakes to Avoid
Editor’s Choice

SESEAT Picture Frames Collage, Gallery Wall Frame Set with 11×14 8×10 5x…

Johnson Level & Tool 40-6517 Self-Leveling Rotary Laser System, 29 x 7″,…

GalleryOne Clearline Picture Hanging System Set- Covers 9.75 ft of Wall …
Troubleshooting Section
Problem: Frames are crooked.
Solution: Use a level to check and adjust frames as needed.
Problem: Wall damage from nails.
Solution: Use wall anchors for heavier frames to prevent damage.
Problem: Artwork fading.
Solution: Avoid direct sunlight and consider UV-protective glass.
Troubleshooting Section
Editor’s Choice

TOGGLER SNAPTOGGLE Drywall Anchor with Included Bolts for 1/4-20 Fastene…

Motovera Self Leveling Laser Level 100ft, Green Cross Line with Tripod, …

Optium Museum Grade Acrylic Glass Cover For Picture Framing, Anti-Glare …
Variations/Alternative Methods
You can also explore different approaches to creating a gallery wall:
- Frameless Art: Use adhesive clips or washi tape to create a more casual look with unframed art.
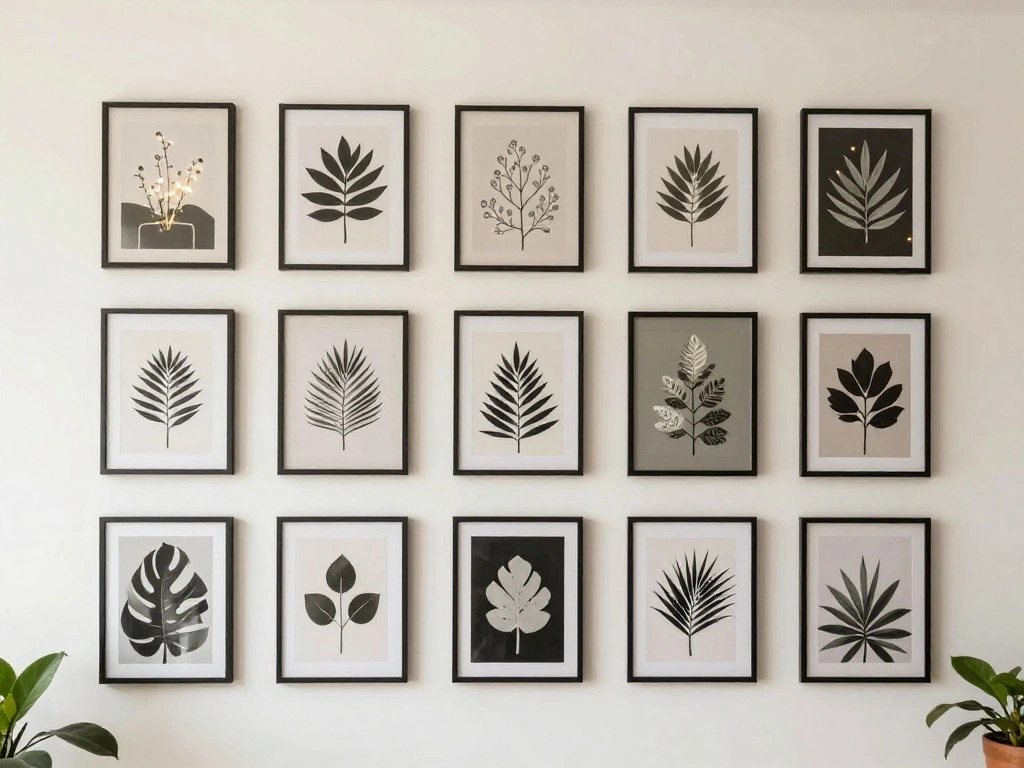
- Grid Layout: For a more structured look, arrange your frames in a grid pattern.
- Color Blocking: Group frames by color for a modern, cohesive appearance.
Variations/Alternative Methods
Editor’s Choice
upsimples 19 Pack Picture Frames Collage Wall Decor for Mounting or Tabl…

100PCS Adhesive Clips for Hanging, Plastic Tapestry Wall Clip for Office…

JusArt Artist Tape for Watercolor Paper, 1/2 inch Wide 200FT Long, White…
FAQs
What if I don’t have enough art to fill the wall?
You can use mirrors, decorative plates, or even fabric to fill gaps and add visual interest.
How long should I wait before changing out my artwork?
It’s up to you! Consider refreshing your gallery wall seasonally or when you find new pieces you love.
Is it safe to hang heavy frames on drywall?
Yes, but use wall anchors or screws for heavy frames to ensure they are secure.
Conclusion
Congratulations on completing your floor-to-ceiling gallery wall! You’ve transformed a blank space into a stunning showcase of your personal style. Take pride in your hard work, and don’t hesitate to invite friends and family to admire your creation.
As you enjoy your newly decorated living room, consider exploring other home decor projects or refreshing your gallery wall with new artwork. Your creativity knows no bounds!