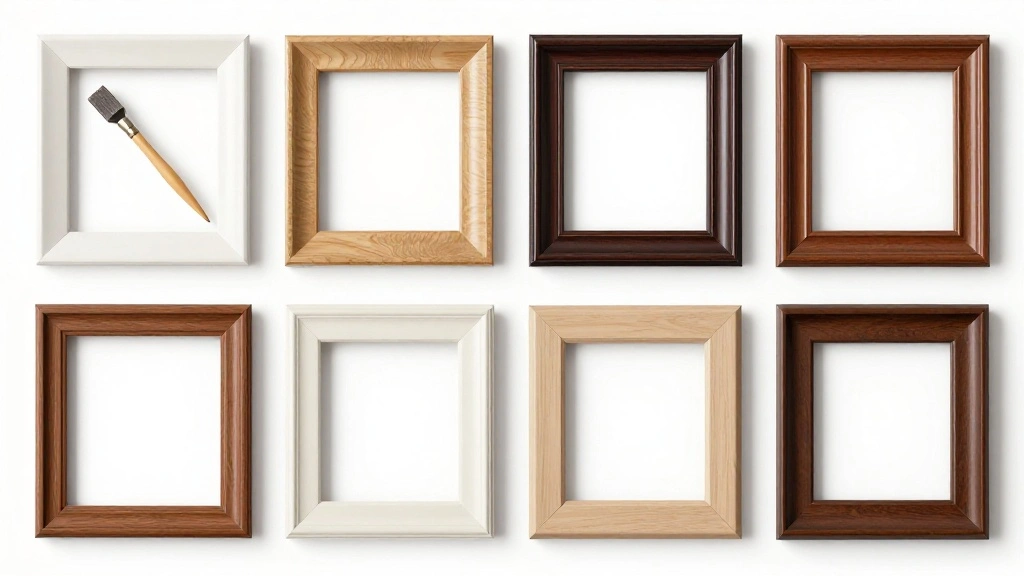
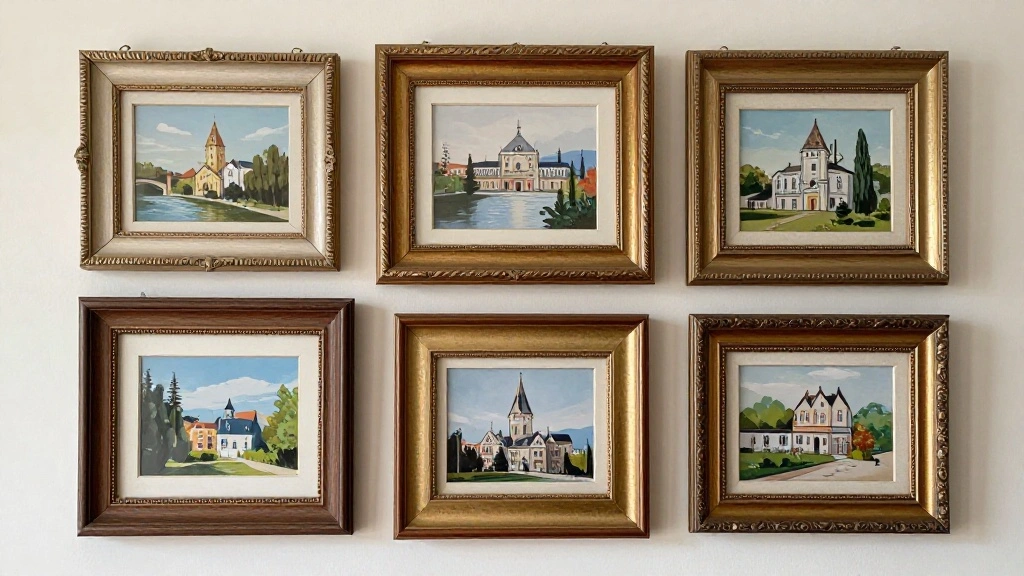
Are your picture frames clashing with your decor? A mismatched frame can draw attention away from your beautiful art or photographs, leaving your space feeling disorganized. Instead of buying new frames, you can easily transform your existing ones to enhance your decor.
In this guide, you’ll learn how to paint picture frames to perfectly match any decor style. By the end, you’ll have customized frames that complement your home’s aesthetic, whether it’s modern, rustic, vintage, or eclectic.
This is a beginner project that will take you approximately 2-3 hours to complete, depending on the number of frames you have. You’ll learn specific techniques for preparing, painting, and finishing your frames to achieve a professional look.
Let’s dive in and give your frames the makeover they need!
TL;DR Summary
- Gather materials like paint, brushes, and protective gear.
- Prepare your frames by cleaning and sanding them.
- Apply a primer for better paint adhesion.
- Paint in thin layers for a smooth finish.
TL;DR Summary
Editor’s Choice

Rust-Oleum 334019 Painter’s Touch 2X Ultra Cover Primer Spray, 12 oz, Fl…

Anezus Tiny Detail Paint Brushes 30 Pcs Fine Paint Brushes Set with 3 Si…

Shuttle Art Acrylic Paint, 36 Colors Acrylic Paint Set with Brushes & Pa…
Prerequisites/Materials Needed
- Picture Frames (any size)
- Paint (acrylic or spray paint; choose color based on decor)
- Primer (optional; for a smoother finish)
- Paintbrushes or Spray Can
- Sandpaper (220 grit)
- Drop Cloth or Newspaper (to protect surfaces)
- Protective Gear (gloves and mask)
- Sealer (matte or glossy, optional)
Prerequisites/Materials Needed
Editor’s Choice

Respirator Mask for Spray Painting, Woodworking, Welding, Dust, and Gene…

Apple Barrel, Vibrant Spectrum Collection Acrylic Craft Paint, PROMOABII…

Rust-Oleum 249123 Painter’s Touch Multi Purpose Spray Paint, 12-Ounce, B…
Skill Level & Time Estimate
Skill Level: beginner
Total time estimate: 2-3 hours
Breakdown of time:
- Preparation: 30 minutes
- Painting: 1-2 hours (depending on the number of frames)
- Drying: 1 hour
Skill Level & Time Estimate
Editor’s Choice
Apple Barrel, Vibrant Spectrum Collection Acrylic Craft Paint, PROMOABII…

4 Rolls Premium Painters Tape, Blue Tape, Masking Tape, Paint Tape for M…

Pro Grade Paint Brushes, 5-Piece Paint Brush Set, Flat & Angle Brushes f…
Step 1: Gather Your Materials

Start by collecting all the materials you need for the project. Having everything at hand will make the process smoother and more enjoyable.
- Find your picture frames that need a makeover.
- Gather paint, brushes, sandpaper, primer, and protective gear.
- Set up a workspace that is well-ventilated and covered with a drop cloth.
Pro Tip: Choose a paint color that complements your existing decor for a cohesive look.
Why this matters: Having your materials ready ensures you won’t have to stop midway through to find something.
Time estimate: 15 minutes
Step 1: Gather Your Materials
Editor’s Choice

54PCS Premium Micro Sander, Detail & Mini Sander Block – Precision Sma…

Colorations Paraben-Free Washable Tempera Paint for Kids – 1 Gallon Valu…

Crtiin 60 Pcs Flat Paint Brushes for Acrylic Painting Large Acrylic Pain…
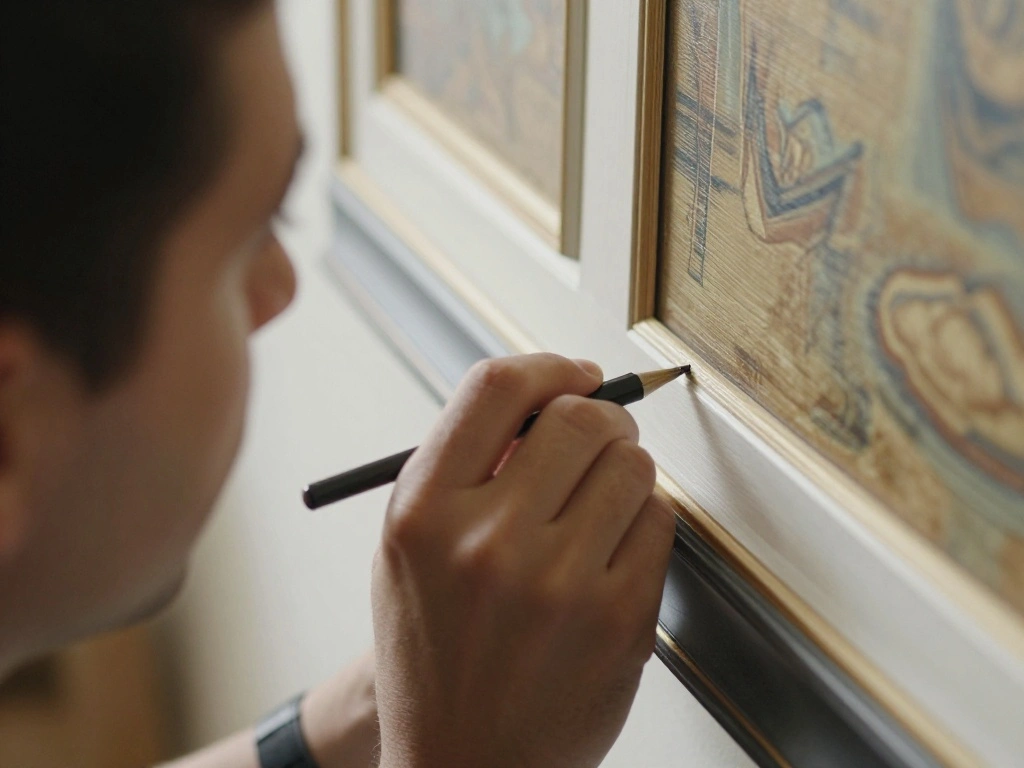
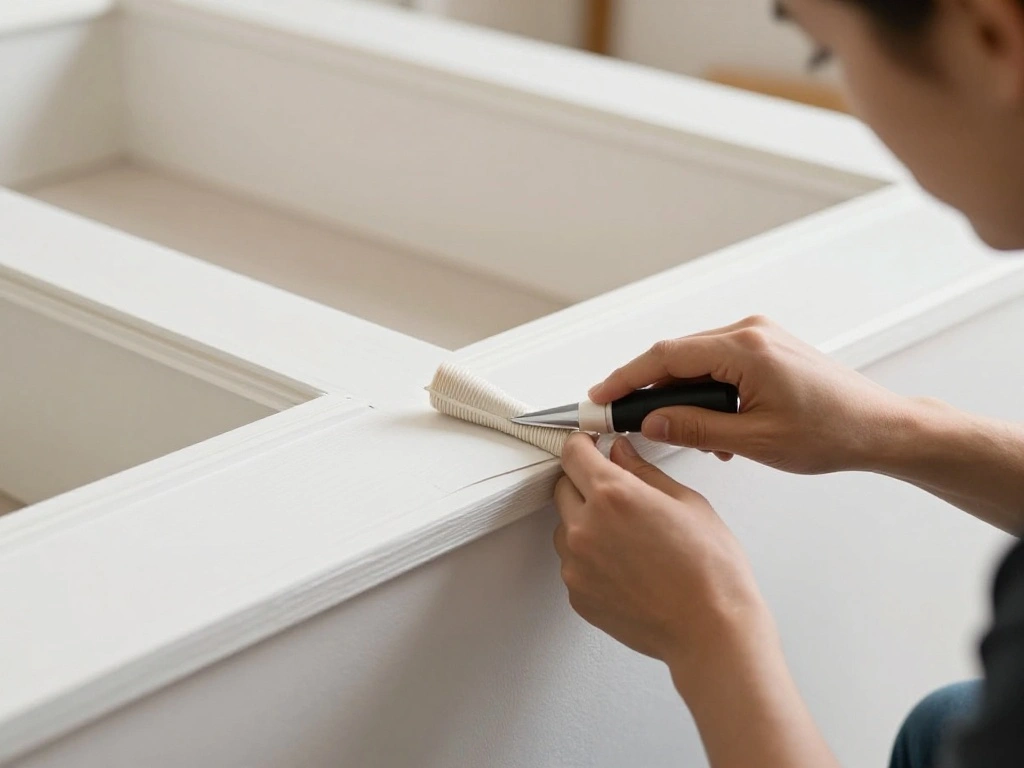
Step 2: Clean and Prepare the Frames
Before painting, it’s crucial to clean and prepare your frames properly. This ensures the paint adheres well and looks smooth.
- Wipe down each frame with a damp cloth to remove dust and dirt.
- Use sandpaper to lightly sand the surface of the frames. This helps the paint stick better.
- Remove any lingering dust with a dry cloth.
Warning: Ensure you sand in a well-ventilated area to avoid inhaling dust particles.
Why this matters: Properly prepared surfaces lead to better paint adhesion and a professional finish.
Time estimate: 30 minutes
Step 2: Clean and Prepare the Frames
Editor’s Choice

YNZDRWA 8 Pack Sanding Sponge, Washable and Reusable Sanding Blocks for …
MagicFiber Microfiber Cleaning Cloth, 6 Pack – Premium Cloth for Glasses…

G & F Products Particulate Respirator Dust Mask Two-Strap Cup Style Desi…
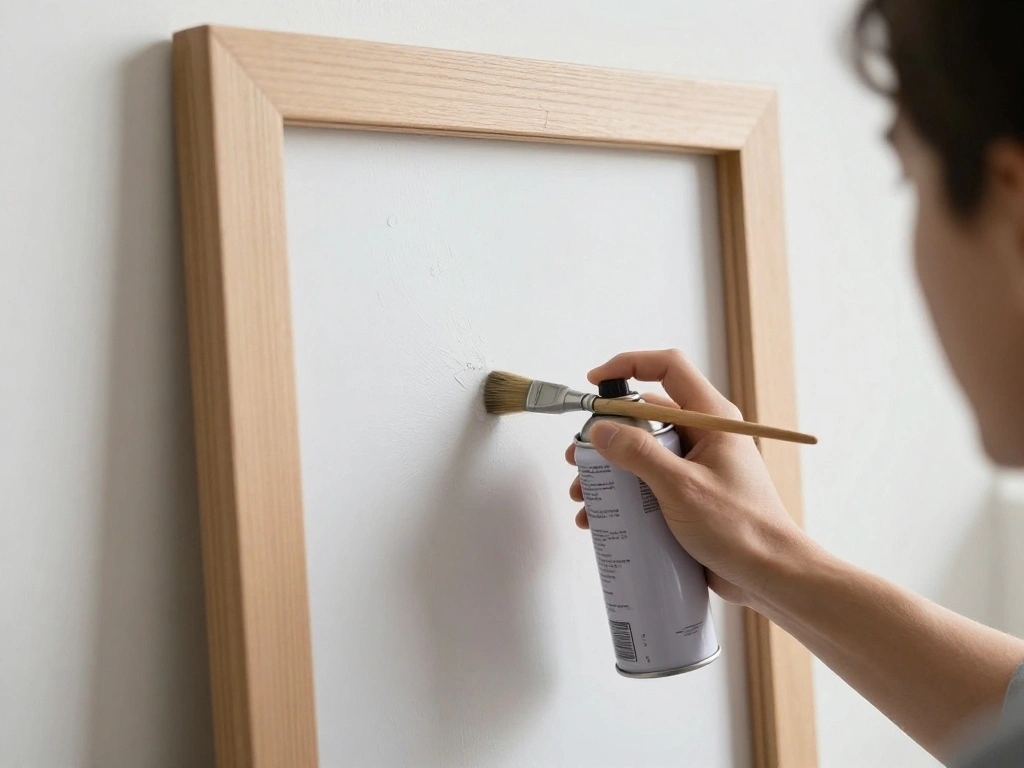
Step 3: Apply Primer (Optional)
Applying a primer can improve the paint’s adhesion and durability, especially for frames with a glossy finish.
- Select a primer suitable for your frame material (wood, plastic, etc.).
- Using a brush or spray can, apply a thin layer of primer evenly on the frame.
- Allow the primer to dry completely, following the manufacturer’s instructions.
Pro Tip: If using spray primer, apply it in light, sweeping motions to avoid drips.
Why this matters: Primer creates a better surface for paint and enhances the final look.
Time estimate: 30 minutes (including drying time)
Step 3: Apply Primer (Optional)
Editor’s Choice

286258 Bulls Eye 1-2-3 All Surface Primer, Quart, Gray

K05584007 COLORmaxx Primer Spray Paint for Indoor/Outdoor Use, White, 12…
Zinsser 286258 Bulls Eye 1-2-3 All Surface Primer, Quart, Gray
Step 4: Paint the Frames
Now comes the fun part—painting your frames! This step allows you to unleash your creativity.
- Choose your paint color based on your decor style.
- Using a brush or spray can, apply the first coat of paint evenly. Start from one corner and work your way around.
- Let the first coat dry completely before applying a second coat.
Warning: Always apply paint in a well-ventilated area to avoid inhaling fumes.
Why this matters: Multiple thin coats of paint create a smoother finish compared to one thick layer.
Time estimate: 1 hour (including drying time)
Step 4: Paint the Frames
Editor’s Choice

Spray Paint for Arts & Crafts, Water Based Pintyplus Aqua Mini, 4.2oz ca…
Pro Grade Paint Brushes, 5-Piece Paint Brush Set, Flat & Angle Brushes f…

Shuttle Art Acrylic Paint, 36 Colors Acrylic Paint Set with Brushes & Pa…
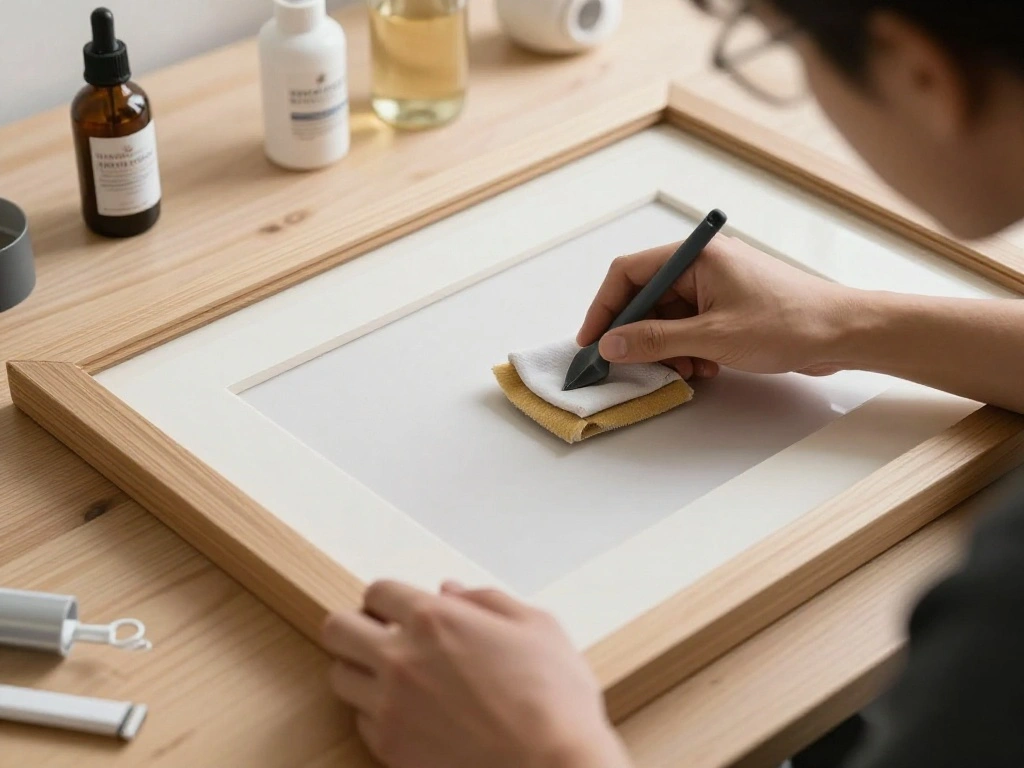
Step 5: Inspect and Touch Up
After painting, inspect your frames for any uneven spots or areas needing touch-up.
- Once the paint is dry, hold the frame up to the light to check for missed spots.
- Using a small brush, carefully touch up any areas that look uneven or need more paint.
- Let the touch-up paint dry completely.
Pro Tip: Use a tiny brush for detailed areas or corners.
Why this matters: Touching up ensures a polished, professional appearance.
Time estimate: 30 minutes
Step 5: Inspect and Touch Up
Editor’s Choice

Cholemy 36 Pcs Paint and Sip Kit for Adults 8”x10” Pre Drawn Canvas fo…

PANDAFLY Detail Paint Brushes Set, 15pcs Miniature Brushes for Fine Deta…

MBMSO Painting Artist Apron with Pockets Artist Painter Gifts Art Lover …
Step 6: Apply Sealer (Optional)
Sealing your painted frames can help protect them from scratches and wear, especially if they will be in high-traffic areas.
- Select a sealer that matches your desired finish (matte or glossy).
- Using a clean brush, apply a thin layer of sealer over the entire frame.
- Allow the sealer to dry completely as per the manufacturer’s instructions.
Warning: Ensure the paint is completely dry before applying sealer to avoid smudging.
Why this matters: A sealer enhances durability and maintains the appearance of your frames over time.
Time estimate: 30 minutes (including drying time)
Step 6: Apply Sealer (Optional)
Editor’s Choice
Pro Grade Paint Brushes, 5-Piece Paint Brush Set, Flat & Angle Brushes f…

Mod Podge Spray Acrylic Sealer that is Specifically Formulated to Seal C…

Minwax Polycrylic Protective Finish, Clear Matte, 1/2 Pint, 222224444
Step 7: Display Your New Frames

Once everything is dry, it’s time to display your beautifully painted frames!
- Choose a location that enhances your decor and the artwork inside the frames.
- Hang or place the frames, ensuring they are straight and secure.
- Step back and admire your handiwork!
Pro Tip: Mix different sizes and shapes for an eclectic gallery wall look.
Why this matters: Proper placement accentuates your decor and showcases your creativity.
Time estimate: 15 minutes
Step 7: Display Your New Frames
Editor’s Choice

Pink Ribbons Canvas Wall Art for Living Room, Caring For Breast Cancer C…
Framed Canvas Wall Art Beautiful Woman With Colorful Flowers, White Flow…

Picture Hanging Kit Tool, 352pcs Hanging Hardware with Heavy Duty Frame …
Pro Tips
- Color Coordination: Select colors that match or complement your room’s color palette.
- Use Masking Tape: For clean lines, use masking tape to protect areas you don’t want to paint.
- Experiment with Finishes: Try matte, glossy, or metallic paints for different aesthetics.
- Consider Texture: Use textured paint for a unique look.
- Take Your Time: Rushing can lead to mistakes—take your time with each step.
Pro Tips
Editor’s Choice

Rust-Oleum 223524 Stops Rust Multi-Color Textured Spray Paint, 12 oz, De…
Shuttle Art Acrylic Paint, 36 Colors Acrylic Paint Set with Brushes & Pa…
4 Rolls Premium Painters Tape, Blue Tape, Masking Tape, Paint Tape for M…
Common Mistakes to Avoid
Warning: Skipping the cleaning step can lead to peeling paint. Always clean frames before painting to improve adhesion.
Warning: Using thick layers of paint can result in drips and an uneven finish. Apply multiple thin coats instead.
Warning: Not allowing sufficient drying time can ruin your finish. Follow drying times recommended on paint labels.
Common Mistakes to Avoid
Editor’s Choice

Apple Barrel Acrylic Paint in Assorted Colors (8 Ounce), 20403 White

Max Strip Painter’s Prep | 22 oz | Pre-Painting and Refinishing Surface …

Moon Roses 30 Pcs Miniature Detail Paint Brush Set, 3rd Generation Tiny …
Troubleshooting Section
Problem: Paint is peeling off.
Solution: This happens when frames are not properly cleaned or primed. Sand and clean the frame, then repaint.
Problem: Uneven paint finish.
Solution: Apply thin layers of paint and touch up as needed.
Problem: Paint drips.
Solution: Use a finer brush for detailed areas and apply in light coats.
Troubleshooting Section
Editor’s Choice

60 Pcs Paint Brushes,Round Flat Small Brush Bulk for Detail Painting
Rust-Oleum 334019 Painter’s Touch 2X Ultra Cover Primer Spray, 12 oz, Fl…

18 Pack Double-Sided Sanding Sponge, Wet Dry Sanding Blocks 80/100/120/1…
Variations/Alternative Methods
If you want to explore different methods for painting frames, consider these options:
- Decoupage: Use decorative paper or fabric to cover frames instead of paint. This adds texture and unique designs.
- Stenciling: Use stencils to create patterns on your frames. This method adds visual interest without a full paint job.
Each method has its pros and cons, so choose based on your desired effect and skill level.
Variations/Alternative Methods
Editor’s Choice

Mod Podge Gloss Sealer, Glue & Finish: All-in-One Craft Solution- Quick …
16PCS Geometric Stencils for Painting, Reusable Abstract Layering Stenci…
FAQs
- What if I don’t have primer? You can skip it, but a primer helps the paint stick better, especially on slick surfaces.
- How long should I let the paint dry? Follow the instructions on your paint can; typically, it’s 1-2 hours for touch dry.
- Is it safe to paint indoors? Yes, but ensure proper ventilation to avoid inhaling fumes.
Conclusion
Congratulations on transforming your picture frames to match your decor style! You’ve not only enhanced your home but also developed a new skill. Take a moment to admire your work and the beauty it adds to your space.
Now that you’ve mastered this project, consider applying your skills to other home decor items, or explore more advanced painting techniques. Keep creating and personalizing your space!