Hanging oversized art can be a daunting task, especially when you’re working alone. The risk of damaging the artwork, your walls, or even injuring yourself is significant. You might feel overwhelmed, but it doesn’t have to be this way. By following the right steps, you can safely hang your art piece without any assistance.
In this guide, you will learn how to prepare your wall, choose the right hardware, and use clever techniques to make the process easier. By the end of this article, you’ll have the confidence to hang your oversized artwork securely and beautifully.
With a skill level of intermediate and an estimated time of 2-3 hours, you’ll be transforming your space in no time.
Let’s get started!
TL;DR Summary
- Gather necessary tools and materials before starting.
- Measure and mark the wall for correct placement.
- Use a sturdy hanging method to ensure safety.
- Check the final placement and make adjustments if necessary.
TL;DR Summary
Editor’s Choice

TOGGLER SNAPTOGGLE Drywall Anchor with Included Bolts for 1/4-20 Fastene…

Motovera Self Leveling Laser Level 100ft, Green Cross Line with Tripod, …

Command 20 lb XL 8 Pairs Heavyweight Picture Hanging Strips (16 Strips),…
Prerequisites/Materials Needed
- Tools:
- Measuring tape
- Pencil
- Level
- Stud finder
- Drill
- Hammer
- Hanging Hardware:
- Wall anchors
- Picture hooks
- Screws
- Safety Gear:
- Gloves
- Safety goggles
- Art Piece:
- Oversized artwork
Prerequisites/Materials Needed
Editor’s Choice

3M Claw 15 lb. Drywall Picture Hanger with Spot Markers, Heavyweight Han…

PREXISO 2-in-1 Stud Finder with Laser Level, Rechargeable Multi Surface …

Go Hang It! Pro, All-in-One Picture Hanging Kit – Picture Leveling and H…
Skill Level & Time Estimate
Skill Level: Intermediate
Estimated Time: 2-3 hours
Here’s a breakdown of time by major steps:
– Gathering materials: 30 minutes
– Measuring and marking: 30-45 minutes
– Installing hardware: 45 minutes
– Hanging art and final adjustments: 30-60 minutes.
Skill Level & Time Estimate
Editor’s Choice
Motovera Self Leveling Laser Level 100ft, Green Cross Line with Tripod, …

KURUI Heavy Duty Hollow Wall Anchors for Drywall Ceiling, Toggle Bolts a…

Art Display for Kids Artwork – 10ft Alloy Steel Wire with 48 Clips | Wil…
Step 1: Gather Your Tools and Materials
Start by collecting all the tools and materials you will need for the project. This ensures you won’t have to stop midway to find something important. Pro Tip: Lay everything out in an organized manner for easy access.
Follow these sub-steps:
1. Gather all tools: measuring tape, pencil, level, stud finder, drill, and hammer.
2. Collect your hanging hardware: wall anchors, picture hooks, and screws.
3. Ensure you have safety gear ready: gloves and safety goggles.
Why this matters: Having everything ready reduces the risk of accidents and saves you time during the process.
Time estimate for this step: 15-20 minutes.
Step 1: Gather Your Tools and Materials
Editor’s Choice
CrimsonMark 120Pcs #8 Self Drilling Drywall Anchors and Screws kit #8 x …

Picture Hanging Systems, for Art Galleries, Home, Two 48inch Rails, Clic…
PREXISO 2-in-1 Stud Finder with Laser Level, Rechargeable Multi Surface …
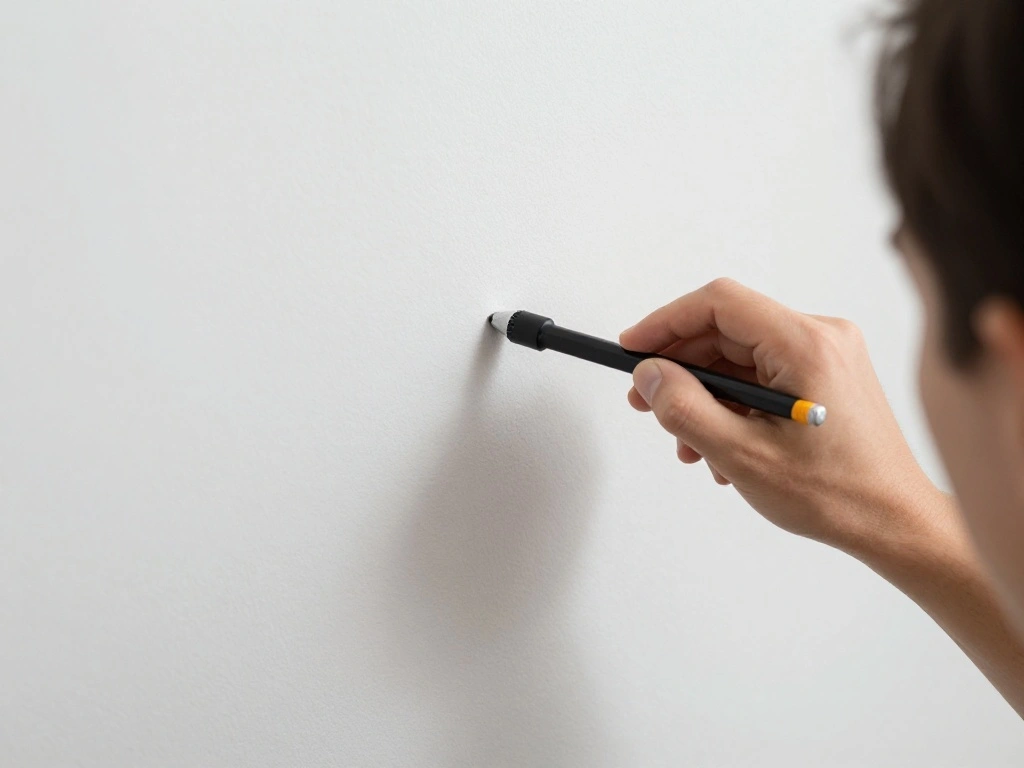
Step 2: Measure and Mark the Wall
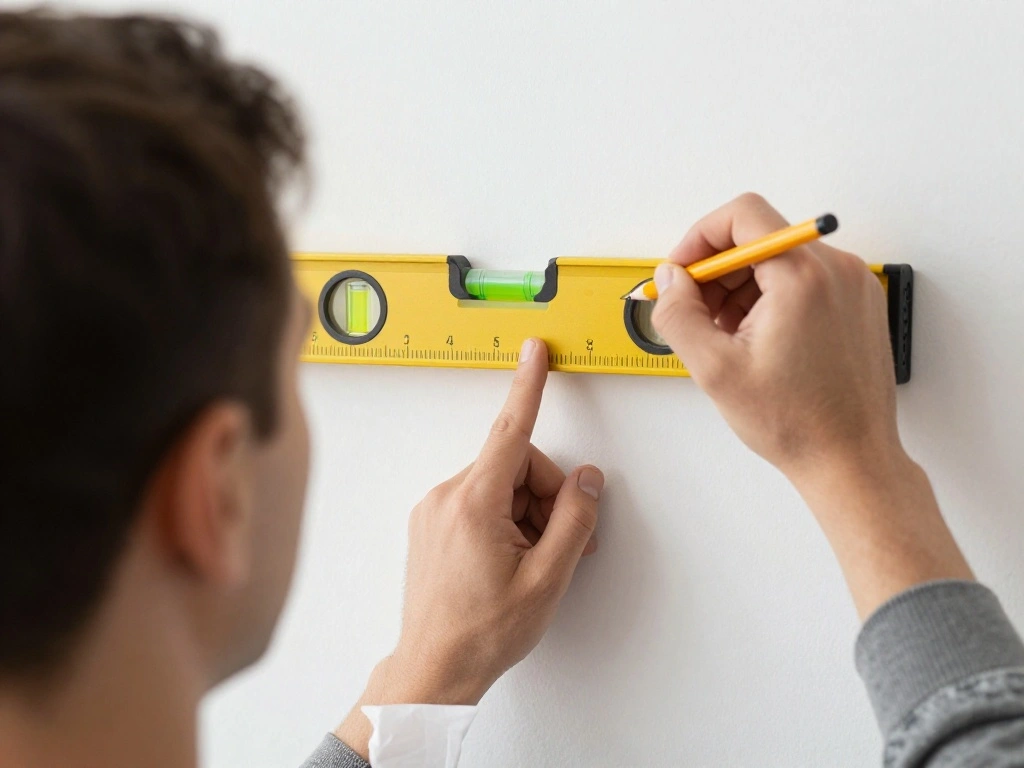
Next, measure the wall space where you plan to hang your art. Accurate measurements are crucial to ensure your artwork is hung at the right height and centered properly. Pro Tip: Use a level to ensure your artwork is straight.
Follow these sub-steps:
1. Use the measuring tape to measure the width of the artwork and the wall space.
2. Mark the center of the wall with a pencil.
3. Measure the desired height from the floor to the bottom of the artwork and make a mark.
Why this matters: Proper measurements prevent the need for multiple adjustments later.
Time estimate for this step: 20-30 minutes.
Step 2: Measure and Mark the Wall
Editor’s Choice

Huepar 330Ft Green Laser Measuring Tool with APP Control, 5 Years Warran…

Digital Caliper, Sangabery 0-6 inches Caliper with Large LCD Screen, Aut…

KURUI 303Pcs Picture Hanging Kit, Picture Hangers Assorted Kit with Heav…
Step 3: Locate Wall Studs
Before you start hanging your oversized art, it’s essential to locate the wall studs. Hanging heavy artwork on drywall alone can lead to damage and accidents. Warning: Failing to find studs may cause your art to fall.
Follow these sub-steps:
1. Use a stud finder to locate the studs in your wall.
2. Mark the locations with a pencil for reference.
3. If studs are not available where you need them, plan to use wall anchors.
Why this matters: Securing your art to the studs provides stability and safety.
Time estimate for this step: 15-20 minutes.
Step 3: Locate Wall Studs
Editor’s Choice

Nicpro Carpenter Pencil with Sharpener, Mechanical Pencils Set with 26 R…

Stud Finder Wall Scanner – 5 in 1 Stud Finder Tool w/Smart Chip and HD L…

KURUI 140Pcs #8 Self Drilling Drywall Anchors with Screws Kit, Heavy Dut…
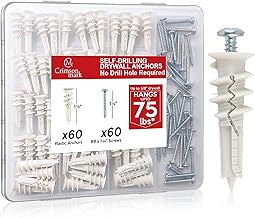
Step 4: Install the Hanging Hardware
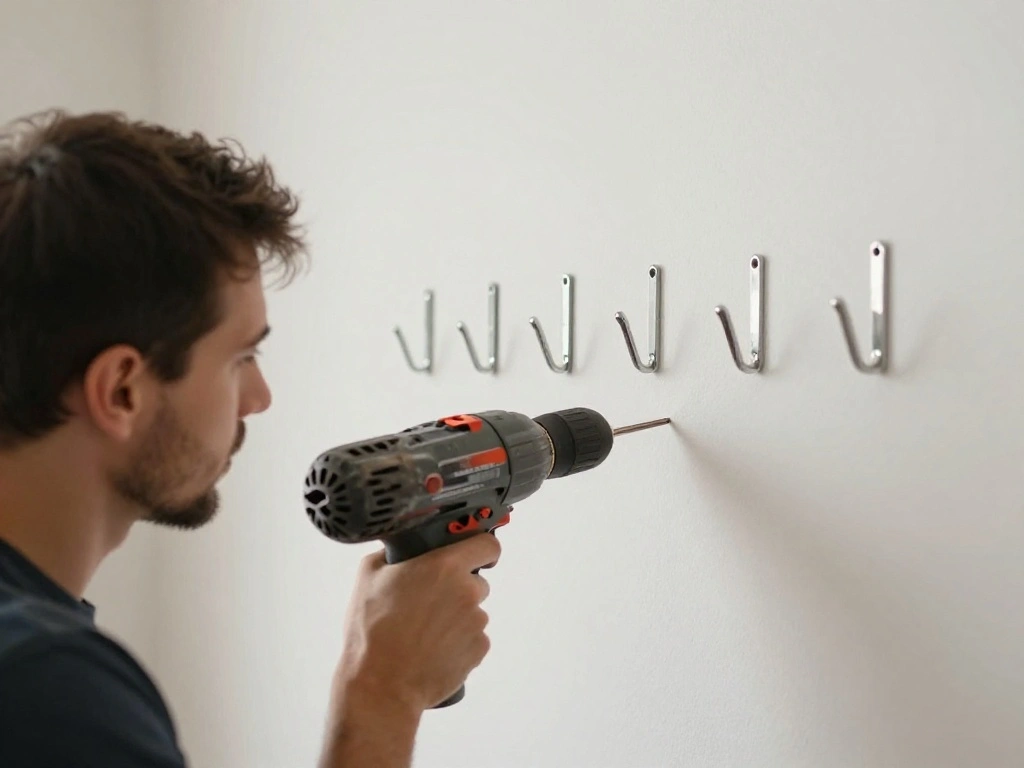
Now that you have your measurements and locations marked, it’s time to install the hanging hardware. This will support the weight of your oversized artwork. Pro Tip: Choose heavy-duty wall anchors if you can’t hit a stud.
Follow these sub-steps:
1. Drill holes for the wall anchors or screws based on your markings.
2. Insert wall anchors if needed.
3. Screw in picture hooks or other hanging hardware.
Why this matters: Proper installation of the hardware ensures that your artwork stays securely in place.
Time estimate for this step: 30-45 minutes.
Step 4: Install the Hanging Hardware
Editor’s Choice

184 Pieces Picture Hanging Kit, 20lb, 30lb, and 50lb Picture Hangers, Me…

Franklin Sensors Prosensor M210 Stud Finder With 13-Sensors, Wood & Meta…
3M Claw 15 lb. Drywall Picture Hanger with Spot Markers, Heavyweight Han…
Step 5: Prepare the Artwork for Hanging
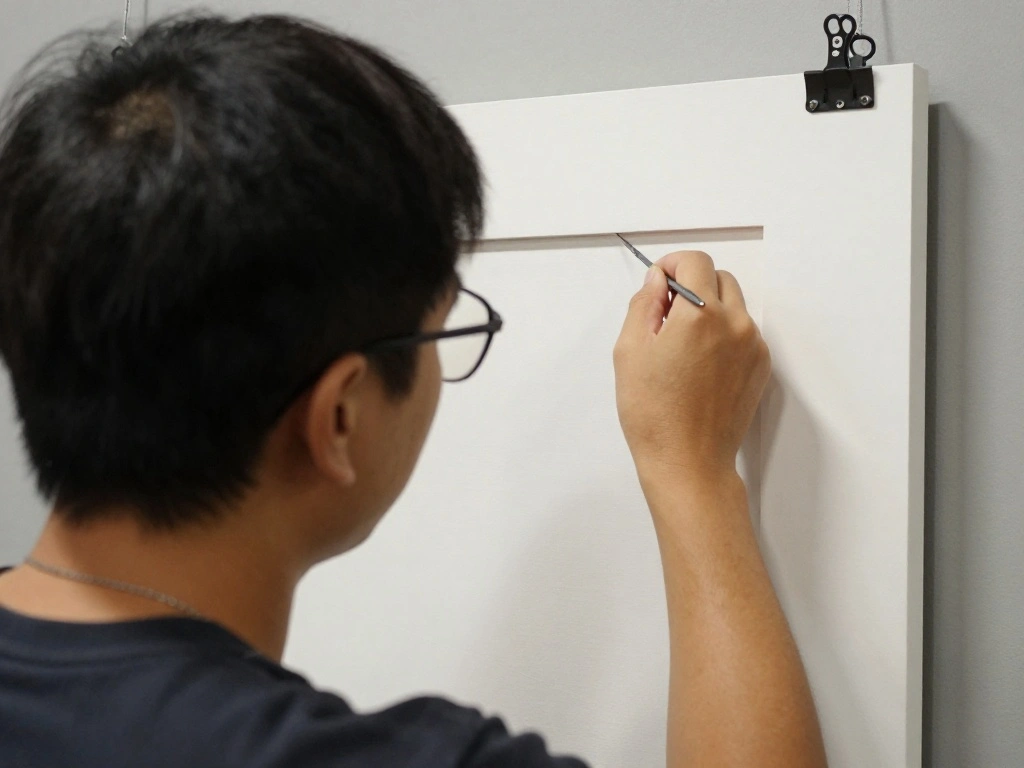
Before you hang your art, it’s important to prepare it. This involves ensuring that any hanging mechanisms are secure and ready to go. Warning: Avoid hanging artwork without proper backing.
Follow these sub-steps:
1. If your artwork has a wire, check it for any damage and tighten it if needed.
2. If using D-rings, ensure they are securely fastened to the frame.
3. Place any protective padding to prevent damage during handling.
Why this matters: Proper preparation helps avoid accidents and damage to your artwork.
Time estimate for this step: 15-20 minutes.
Step 5: Prepare the Artwork for Hanging
Editor’s Choice

PHS Anti Theft Picture Hangers – Bulk Pack – 25 Pack Security Frame Lock…
Step 6: Hang the Artwork

Finally, it’s time to hang your oversized art! This step requires careful handling to ensure you position it correctly. Pro Tip: Keep a friend on the phone for advice if needed, even if they’re not physically there.
Follow these sub-steps:
1. Lift the artwork and align it with the installed hardware.
2. Carefully hang the artwork on the hooks or screws.
3. Step back and check the alignment with a level.
4. Make any necessary adjustments.
Why this matters: Properly hanging the artwork enhances your space and ensures its safety.
Time estimate for this step: 20-30 minutes.
Step 6: Hang the Artwork
Editor’s Choice

Command 15 lb Large Picture Hanging Strips 14 Pairs (28 Strips), Damage-…

PREXISO Multi Surface Laser Level LED Light Vial, 30Ft Horizontal & Vert…
KURUI 303Pcs Picture Hanging Kit, Picture Hangers Assorted Kit with Heav…
Pro Tips
- Use a Friend on the Phone: If you can’t get help, call someone to guide you through the process.
- Take Breaks: Don’t rush; take breaks to prevent strain or accidents.
- Consider a Ladder: If your art is very high, use a stepladder for better reach and stability.
- Keep a Clean Work Area: A tidy space reduces the risk of accidents.
- Test Weight Capacity: Always check the weight capacity of your hardware before hanging.
Pro Tips
Editor’s Choice

Digital Fish Scale Hanging Scale Fishing Scale, SKEAP 110lb/50kg Luggage…

Adjustable Picture Hanging Wire Kit, 4.9ft (1.5m) Picture Rail Hanging S…

8 Step Ladder,Folding Step Stool with Tool Tray,Portable Sturdy Steel La…
Common Mistakes to Avoid
Warning: Hanging without checking for studs.
Using wall anchors without the appropriate weight rating can lead to falls. Always make sure to use the right hardware for the weight of your art.
Warning: Not measuring correctly.
This can cause your artwork to be uneven or too high/low. Always double-check your measurements before drilling.
Warning: Rushing the process.
Take your time to ensure everything is done correctly; this avoids mistakes and accidents.
Common Mistakes to Avoid
Editor’s Choice

Franklin Sensors Prosensor M210 Stud Finder With 13-Sensors, Wood & Meta…
PREXISO Multi Surface Laser Level LED Light Vial, 30Ft Horizontal & Vert…
KURUI Heavy Duty Hollow Wall Anchors for Drywall Ceiling, Toggle Bolts a…
Troubleshooting Section
Problem: Artwork is crooked.
Solution: 1. Check the level again. 2. Adjust the hardware as needed. 3. Ensure weight is evenly distributed.
Problem: Wall anchors are loose.
Solution: 1. Remove the artwork. 2. Replace the anchors with a higher weight rating. 3. Reinstall securely.
Problem: Damage to the wall.
Solution: 1. Use spackling to fill in holes. 2. Sand down and paint as needed.
Troubleshooting Section
Editor’s Choice

Drywall Repair Kit,2 Pack Wall Mending Agent,Wall Spackle with Scraper, …
Motovera Self Leveling Laser Level 100ft, Green Cross Line with Tripod, …
3M Claw 15 lb. Drywall Picture Hanger with Spot Markers, Heavyweight Han…
Variations/Alternative Methods
There are various methods to hang oversized art depending on your wall type and art piece.
Method 1: Adhesive Strips
Ideal for lightweight art, these strips can be removed without damage.
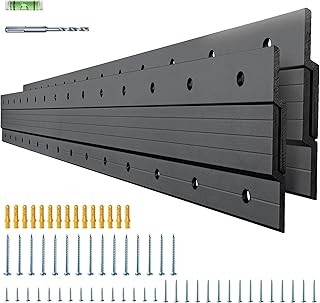
Method 2: French Cleat System
This method allows for easy hanging and removal, making it ideal for large pieces.
Method 3: Picture Rail
This allows you to hang art without nails, making it versatile for changing decor.
Variations/Alternative Methods
Editor’s Choice

Picture Hanging System Click Rail Kits,in one Set Included Two of White …
41″ French Cleat Picture Hanger, 2 Pairs Heavy Duty Aluminium Alloy Z Cl…

Birllaid Double Sided Tape for Walls, Picture Hanging Strips Removable M…
FAQs
What if I don’t have a stud finder? You can tap the wall lightly and listen for a solid sound to locate studs, or use a magnet to find screws.
How long should I wait before hanging the art after installation? It’s best to hang the art immediately after installing the hardware for accuracy.
Is it safe to use adhesive strips for heavy art? No, they are generally not recommended for heavy pieces. Use appropriate hanging hardware instead.
FAQs
Editor’s Choice
KURUI Heavy Duty Hollow Wall Anchors for Drywall Ceiling, Toggle Bolts a…

The Original StudBuddy® Magnetic Stud Finder – Made in the USA – Easy t…
Conclusion

Congratulations! You’ve successfully hung your oversized artwork. Take a moment to admire your hard work and the new ambiance it brings to your space.
Now that you’re familiar with the process, consider exploring additional decor projects to enhance your home. Check out our other guides on wall decor and interior design for more inspiration!
Keep your space refreshed and stylish – you’ve got this!