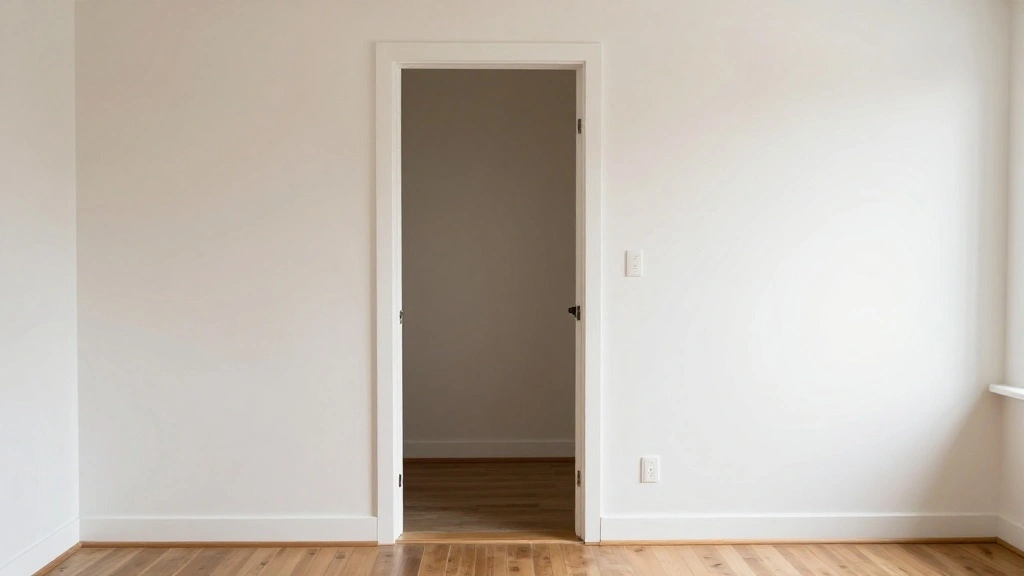
Are you tired of your small entryway looking bland and uninviting? An entryway is the first impression of your home, and it shouldn’t feel cluttered or uninspired. The good news is that you can completely transform your entryway wall without breaking the bank. With just a little creativity and an eye for style, you can enhance your space with a budget of under $75.
This guide will help you create a stunning entryway wall that combines functionality and aesthetic appeal. You will accomplish a fully decorated wall that showcases your personality while providing practical solutions like storage and organization. In just a few simple steps, beginners can master the art of entryway decoration.
In this article, you’ll learn to select the right decor, arrange items thoughtfully, and incorporate personal touches. Your skill level doesn’t matter; if you’re a beginner, this guide is perfect for you. Plan for approximately 2-3 hours to complete your project.
Let’s dive in and make your entryway wall a welcoming space!
TL;DR Summary
– Transform your entryway wall on a budget of under $75.
– Follow 6 easy steps to create a welcoming space.
– Gather all materials beforehand for a smooth process.
– Expect to invest 2-3 hours for completion.
TL;DR Summary
Editor’s Choice

Decorative Coat Hooks For Wall Mount Set of 5 – Stylish and Sturdy Black…

Framed Colorful Floral Wall Art Set of 3, Abstract Scandinavian Flower C…

Floating Shelves Shelves on Wall Set of 3, 2-Tier Hanging Wall Mounted S…
Prerequisites/Materials Needed
- Paint (1-2 sample pots, color of choice)
- Wall art (1-3 pieces, thrifted or handmade)
- Floating shelves (1-2, affordable options)
- Hooks or wall-mounted storage (2-4, decorative style)
- Small plants or greenery (1-2, faux or real)
- Picture frames (1-2, thrifted or new)
- Command strips or nails (as needed)
- Tools: Level, tape measure, brush or roller
Prerequisites/Materials Needed
Editor’s Choice

Swallow Metal Coat Hooks Black Flying Bird Wall Mount Rack Hook Clothes …

Stained Glass Window Hanging – Pink Phalaenopsis Orchid Green Leaves Sun…

Kathfly 4 Tie Pink Bow Corner Shelf Wall Mounted Pink Floating Wood Corn…
Skill Level & Time Estimate
Skill Level: beginner
Total time estimate: 2-3 hours.
Breakdown:
– Gather materials: 30 minutes
– Painting the wall: 1 hour
– Arranging decor: 1 hour
– Final touches: 30 minutes
Skill Level & Time Estimate
Editor’s Choice

Wall Hooks for Hanging Towel/Coat – 22LB Screw in Metal Hanger Wall Moun…

CHOEZON Floating Shelves, Set of 2 Wall Shelves, 2-Tier Hanging Shelves,…

KBKBART Claude Monet Eclectic Wall Art, Monet Prints for Wall Decor, Ecl…
Step 1: Choose a Color Palette
Select a cohesive color palette that resonates with your style. This sets the mood of your entryway and can make the space feel larger and more inviting. Follow these steps:
1. Determine your favorite colors; consider light shades to create an airy feel.
2. Look for inspiration in magazines or online platforms like Pinterest.
3. Select a main color and 2-3 accent colors that complement each other.
Pro Tip: Test paint samples on the wall to see how they look in different lighting throughout the day.
Why this matters: A well-chosen color palette can unify your decor and make the area feel like a curated space.
Time estimate: 30 minutes.
Step 1: Choose a Color Palette
Editor’s Choice

Golden Mini Vintage Mirror with Exquisite Relief Elegant Wall Decor for …

Black and White Sexy Painting 3 Piece Home Decor Artwork Abstract Woman …

Glamativity 4 Pack Gold Wall Art Decor, Minimalist Single Line Real Meta…
Step 2: Paint the Wall
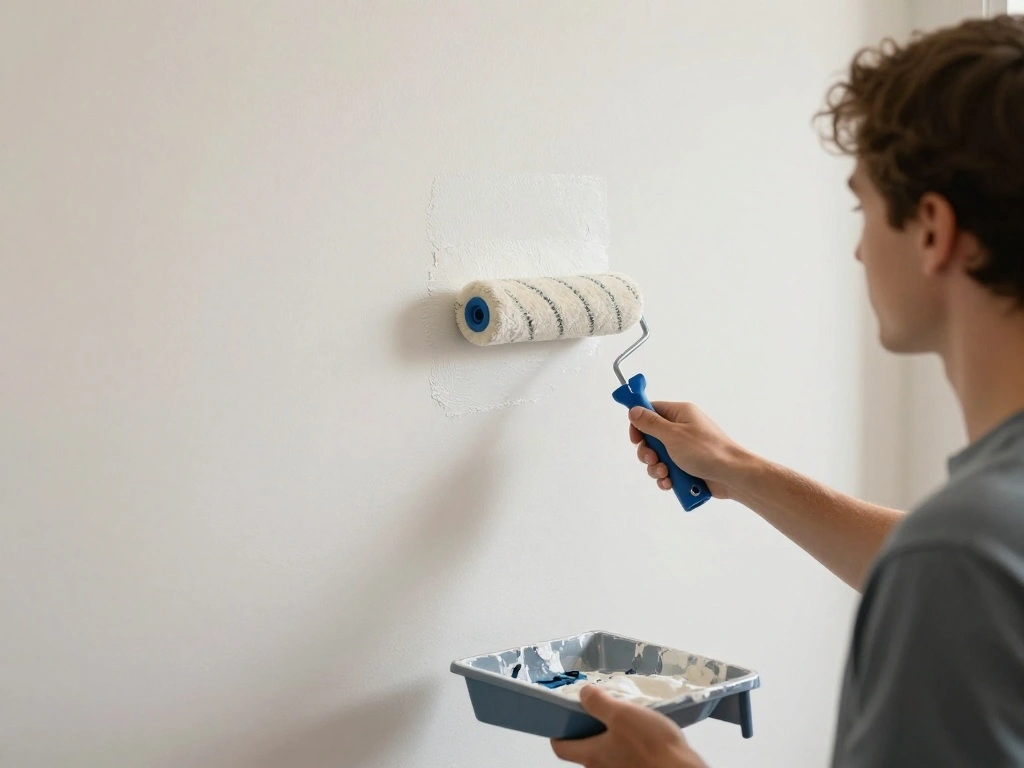
Now it’s time to paint your chosen wall. A fresh coat of paint can dramatically alter the space. Follow these steps:
1. Remove any existing decor and cover the floor with drop cloths.
2. Clean the wall surface to ensure good paint adhesion.
3. Use painter’s tape to protect edges and areas you don’t want to paint.
4. Apply the paint evenly with a brush or roller, starting from the top and working your way down.
Warning: Ventilate the area well while painting to avoid inhaling fumes.
Why this matters: A newly painted wall provides a fresh backdrop for your decor and enhances the overall look of your entryway.
Time estimate: 1 hour.
Step 2: Paint the Wall
Editor’s Choice

Canvas Painters Drop Cloth (Size 6 x 9 Feet – Pack of 2) – Pure Cotton P…

Acrylic Paint Brush Set, 1 Packs / 10 pcs Watercolor Brushes Painting Br…

Rainbow Aesthetic Masking Tape Tapes Stickers Scrapbooking Decoration Su…
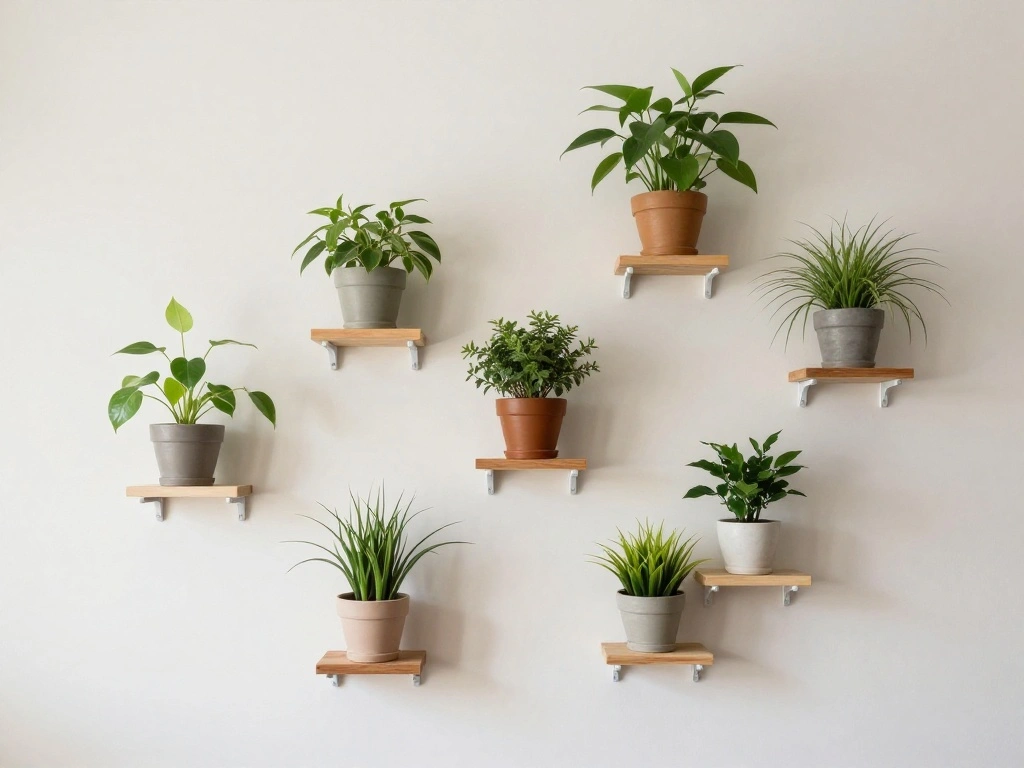
Step 3: Install Floating Shelves
Adding floating shelves maximizes your wall space. They provide functional storage while displaying decorative items. Here’s how:
1. Decide on the height and location of your shelves.
2. Use a level to mark where the brackets will go.
3. Drill holes and install brackets according to the package instructions.
4. Place the shelves on the brackets and secure them.
Pro Tip: Use a stud finder to ensure your shelves are securely anchored.
Why this matters: Shelves not only create a place for decor but also help keep your entryway organized.
Time estimate: 30 minutes.
Step 3: Install Floating Shelves
Editor’s Choice

Stud Finder Wall Scanner – 5 in 1 Stud Finder Tool w/Smart Chip and HD L…

QsQueen Scalloped Wood Wall Shelf – 17 Inch Floating Shelf with Wood B…

Motovera Self Leveling Laser Level 100ft, Green Cross Line with Tripod, …
Step 4: Hang Wall Art

Now it’s time to personalize the space with wall art. Choose pieces that reflect your style and enhance the decor. Follow these steps:
1. Gather your selected art pieces and lay them out on the floor to plan your arrangement.
2. Use a tape measure to ensure even spacing between pieces.
3. Mark the wall with a pencil for where each piece will hang.
4. Use nails or command strips to secure the art to the wall.
Warning: Make sure to use the appropriate hanging method for the weight of your artwork.
Why this matters: Wall art adds character and warmth to your entryway, making it feel inviting.
Time estimate: 30 minutes.
Step 4: Hang Wall Art
Editor’s Choice

Qykwz Black Women Floral Wall Art Prints, Elegant Modern African America…

Command 20 lb XL 8 Pairs Heavyweight Picture Hanging Strips (16 Strips),…

Besdomus Irregular Wall Mirror for Bathroom: 23.5″x44″ Gold Asymmetrical…
Step 5: Add Functional Decor
Incorporate functional decor such as hooks and plants. This adds utility without sacrificing style. Here’s how:
1. Select decorative hooks or wall-mounted storage that fits your style.
2. Decide on the placement of hooks, ideally at a height that’s easy to reach.
3. Secure the hooks into the wall using the appropriate hardware.
4. Place small plants on the shelves or hang them near the hooks for a fresh touch.
Pro Tip: Choose low-maintenance plants if you prefer less upkeep.
Why this matters: Functional decor enhances the entryway’s usability while maintaining its aesthetic appeal.
Time estimate: 30 minutes.
Step 5: Add Functional Decor
Editor’s Choice
Kathfly 4 Tie Pink Bow Corner Shelf Wall Mounted Pink Floating Wood Corn…
Wall Hooks with Shelf Pink Bow Key Holder Metal Coat Clothes Rack Wall-M…
Der Rose 3 Pcs Fake Succulents Plants Artificial Pink Room Office Desk D…
Step 6: Final Touches

Add finishing touches to complete your entryway transformation. This can elevate the overall look. Follow these steps:
1. Step back and assess the arrangement of decor items.
2. Adjust any items as needed for balance and symmetry.
3. Consider adding a small bench or mat if space allows.
4. Add personal touches, like family photos in frames or unique finds.
Warning: Avoid overcrowding the space; less is often more.
Why this matters: Final touches tie everything together, making the entryway feel complete and inviting.
Time estimate: 30 minutes.
Step 6: Final Touches
Editor’s Choice

Shop Stool with Backrest, Mechanic Garage Stool for Workshop, Adjustable…

Floating Framed Floral Shower Wall Art, Vintage Botanical Flower Canvas …

Forever Friends Picture Photo Frame, Unique and Cute Picture Frame, Frie…
Pro Tips
- Mix and Match: Combine various textures and materials for depth.
- Use Mirrors: Incorporate a mirror to create the illusion of more space.
- Seasonal Decor: Change decor with the seasons for a fresh look.
- Thrift Finds: Explore thrift stores for unique and affordable decor.
- Layering: Layer decor items for a more dynamic visual appeal.
Pro Tips
Editor’s Choice

Funky Sexy Women Wall Art Funny Quote Social Anxiety Poster 60s 70s Vint…

HIG Set of 2 Decorative Round Pleated Throw Pillows, Classy Accent Pumpk…

BONNYCO Gold Mirrors for Wall Pack of 3, Round Wall Mirrors Bedroom Room…
Common Mistakes to Avoid
Warning: 1. Overcrowding the wall can make the space feel cramped. Stick to a few key pieces.
Warning: 2. Not measuring before hanging can lead to uneven arrangements. Always measure twice.
Warning: 3. Choosing decor that clashes can disrupt harmony. Ensure colors and styles complement each other.
Common Mistakes to Avoid
Editor’s Choice

Furinno Ladder Display Shelf, 5-Tier Ladder Shelf, Standing Bookshelf, D…

Vintage Gold Framed Ophelia Wall Art, Romantic Victorian Gothic Oil Pain…

BONNYCO Gold Mirrors for Wall Pack of 3, Round Wall Mirrors Bedroom Room…
Troubleshooting Section
Problem: Paint drips on the wall.
Solution: Sand it down lightly and repaint the area.
Problem: Shelves sagging.
Solution: Check brackets and ensure they’re properly secured.
Problem: Art looks unbalanced.
Solution: Adjust positioning or add more pieces to create balance.
Troubleshooting Section
Editor’s Choice

Mepase 6 Pcs Painting Artist Gift Sets for Women Include Canvas Tote Bag…

Peryiter 3 Pcs Modern Minimalist Wall Decor Abstract Metal Wall Art Meta…

Sparkling Gold Reading Women Statue, Thinker Sculptures, Abstract Art Or…
Variations/Alternative Methods
1. Gallery Wall: If you have multiple art pieces, consider a gallery wall layout for a dynamic look.
2. Stickers or Decals: If you prefer non-permanent decor, use wall stickers or decals for easy removal.
3. Chalkboard Paint: Create a section with chalkboard paint for notes or drawings.
Variations/Alternative Methods
Editor’s Choice

Rust-Oleum 1913830 Chalkboard Spray Paint, 11 oz, Black
Qykwz Black Women Floral Wall Art Prints, Elegant Modern African America…

Her Vibe is Pretty Wall Decal Decor Vivid Butterflies Wall Sticker Inspi…
FAQs
What if I don’t have enough space? Consider vertical storage options or multi-functional furniture.
How long should I wait for the paint to dry? Typically, 1-2 hours, but check the paint can for specific instructions.
Is it safe to hang heavy items? Ensure you use the right hardware and check wall stud locations.
FAQs
Editor’s Choice

FLINTER Garden Kneeler and Seat, 10.2″ Wider Heavy Duty Thick Gardening …

Midukit Butterfly Design Wall Hooks for Towel and Coat: 20LB Screw in Ae…

BAYKA Pink Floating Shelves for Wall Set of 3, 15.7in Wood Wall Shelves …
Conclusion

Congratulations on transforming your small entryway wall! You’ve created an inviting space that reflects your style and serves a purpose.
Now that you’ve completed this guide, consider expanding your decor to other areas of your home or refreshing your entryway seasonally. Keep exploring your creativity and enjoy your newly decorated space. Remember, a beautiful entryway welcomes both you and your guests every time you enter your home!
Keep up the great work!