
Have you ever wanted to transform your favorite photos into stunning large-format wall art but felt limited by your living space or lack of studio facilities? You’re not alone. Many individuals dream of showcasing their photography but struggle with the logistics of printing at scale. This guide will show you how to print your photos into large, beautiful pieces of art without needing a dedicated studio space.
In this article, you will learn how to choose the right equipment, select the best materials, and execute your printing process step-by-step. By the end, you’ll have a gorgeous piece of art ready to hang on your wall, made entirely by you. This project is suitable for beginners and will take an estimated 2-4 hours from start to finish. Get ready to elevate your space with your own photographic art!
TL;DR Summary
- Learn how to print large-format photos at home without a studio.
- Gather the necessary materials and tools for your project.
- Follow step-by-step instructions to create stunning wall art.
- Achieve this in a beginner-friendly format within 2-4 hours.
TL;DR Summary
Editor’s Choice

HP Everyday Photo Paper, Glossy, 8.5×11 in, 50 sheets (Q8723A)

THINKLEARN Picture Hanging Kit – 327Pcs Picture Hangers with Hooks, Nail…

Epson Workforce Pro WF-7840 Wireless All-in-One Wide-Format Printer with…
Prerequisites/Materials Needed
- Camera or smartphone for taking photos
- Computer with photo editing software
- Large-format printer (e.g., 13 inches wide or more)
- High-quality photo paper (at least 10 sheets)
- Printer ink (ensure it matches your printer model)
- Measuring tape (for sizing prints)
- Ruler and craft knife (for trimming prints)
- Mounting tools (e.g., adhesive, frames)
Prerequisites/Materials Needed
Editor’s Choice

HP Premium Plus Photo Paper – Designed for HP Inkjet Printers, Glossy, 8…
Skill Level & Time Estimate
Skill Level: Beginner
Time Estimate: 2-4 hours
This includes 1 hour for photo selection and editing, 1 hour for printing, and up to 2 hours for mounting and displaying your finished art.
Skill Level & Time Estimate
Editor’s Choice

Art Display for Kids Artwork – 10ft Alloy Steel Wire with 48 Clips | Wil…

Canon 7981A004 Photo Paper Plus, Matte, 8-1/2 x 11 (Pack of 50 Sheets)

Epson Workforce Pro WF-7820 Wireless All-in-One Wide-Format Printer, Aut…
Step 1: Choose Your Photo
Begin by selecting the photo you want to print. This is a crucial step because the quality of your image will directly impact the final result. Follow these sub-steps:
1. Browse through your collection of photos.
2. Look for high-resolution images (at least 300 DPI) that capture your attention.
3. Consider the mood or theme you want to convey in your wall art.
Why this matters: Choosing the right photo ensures your art is visually striking and meaningful. Pro Tip: Use editing software to enhance your photo before printing.
Estimated time: 20-30 minutes.
Step 1: Choose Your Photo
Editor’s Choice

CanonInk Glossy Photo Paper 8.5″ x 11″ 100 Sheets (1433C004)

Liene M100 4×6” Photo Printer, Phone Printer 100 Sheets & 3 Cartridges,…
Step 2: Edit Your Photo
Next, you’ll need to edit your chosen photo to make it print-ready. Here’s how:
1. Open the photo in your preferred editing software (like Adobe Photoshop or Lightroom).
2. Adjust brightness, contrast, and saturation to enhance visual appeal.
3. Crop the image to the desired dimensions for your print.
Warning: Avoid over-editing; maintain a natural look.
Why this matters: Proper edits can significantly improve the quality of your print. Pro Tip: Save a copy of your original photo before making changes.
Estimated time: 30-45 minutes.
Step 2: Edit Your Photo
Editor’s Choice

Photo Suite – Photo Editing Software: Edit and Retouch Photos, Create …
Step 3: Prepare Your Printer
After editing, it’s time to prepare your printer for large-format printing. Follow these steps:
1. Make sure your printer is compatible with large-format photo paper.
2. Load your printer with the appropriate photo paper.
3. Check and replace ink cartridges if necessary.
Why this matters: Proper printer setup ensures that your print quality meets your expectations. Warning: Failing to use the right paper or ink can result in poor print quality.
Estimated time: 15-20 minutes.
Step 3: Prepare Your Printer
Editor’s Choice

Dasqua 12”/300mm Digital Caliper, Stainless Steel Precision Measuring …

Smart Ink Compatible Ink Cartridges Replacement for HP 952XL 952 XL 4 Co…

Glossy Photo Paper For Printer 8.5 x 11″ – (100 Sheets) – Works with Ink…
Step 4: Adjust Print Settings
Now, you need to configure your print settings to ensure the best quality. Here’s how to do it:
1. Open the print dialog box in your editing software.
2. Select the correct paper type and size.
3. Choose ‘Best Quality’ print settings.
Why this matters: Correct settings help achieve a print that accurately reflects your edited photo.
Pro Tip: Run a test print on regular paper to check settings before using your photo paper.
Estimated time: 10-15 minutes.
Step 4: Adjust Print Settings
Editor’s Choice
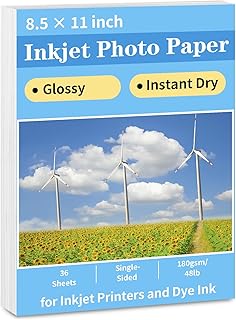
Reastar Glossy Photo Paper 8.5 x 11, 36 Sheets Inkjet Photo Printer Pape…

Calibrite Display Pro HL Monitor Calibration Colorimeter for LCD Mini LE…

HP DesignJet T650 Large Format 36-inch Plotter Printer, Includes 2-Year …
Step 5: Print Your Photo
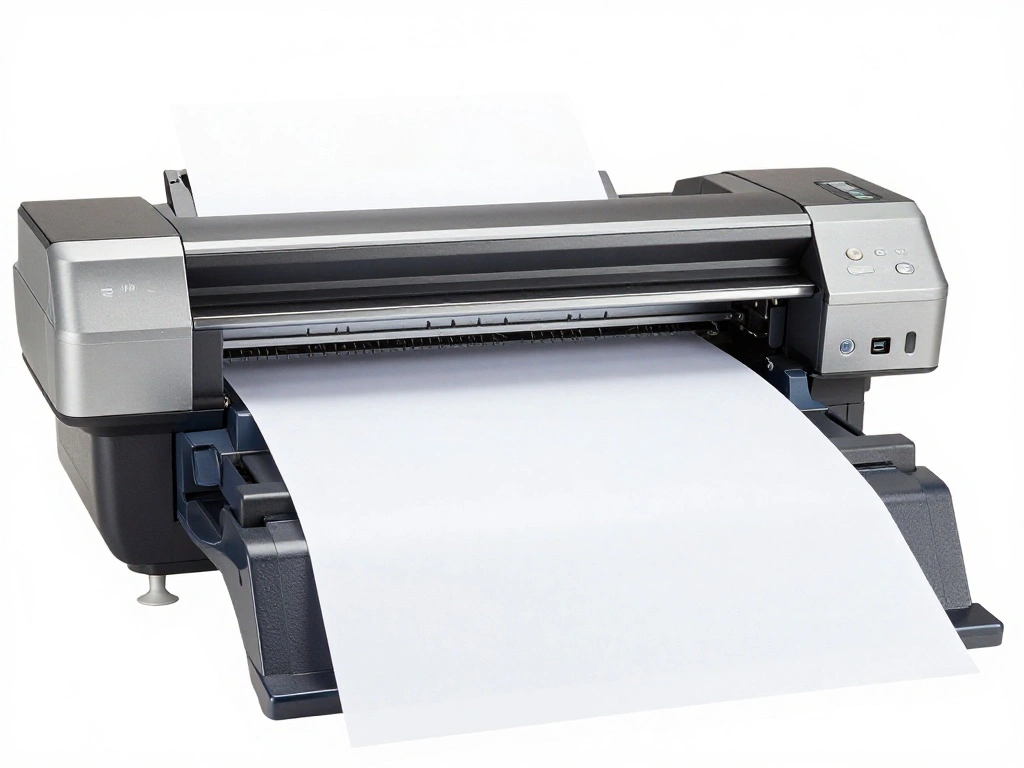
With everything set up, it’s time to print your photo. Do the following:
1. Click ‘Print’ in your software.
2. Monitor the printing process to ensure everything runs smoothly.
3. Once printed, allow the photo to dry completely.
Warning: Do not touch the print until it is fully dry to avoid smudges.
Why this matters: Proper drying ensures the longevity and quality of your print.
Estimated time: 20-30 minutes.
Step 5: Print Your Photo
Editor’s Choice

Vowcarol 2 Pack Art Drying Rack for Classroom, 9 Shelves Paint Drying Ra…

Canon LU-101 13X19(50) Luster Photo Paper, 13″ x 19″ (50 Sheets)

Epson Expression Photo HD XP-15000 Wireless Color Wide-Format Printer, A…
Step 6: Trim Your Print
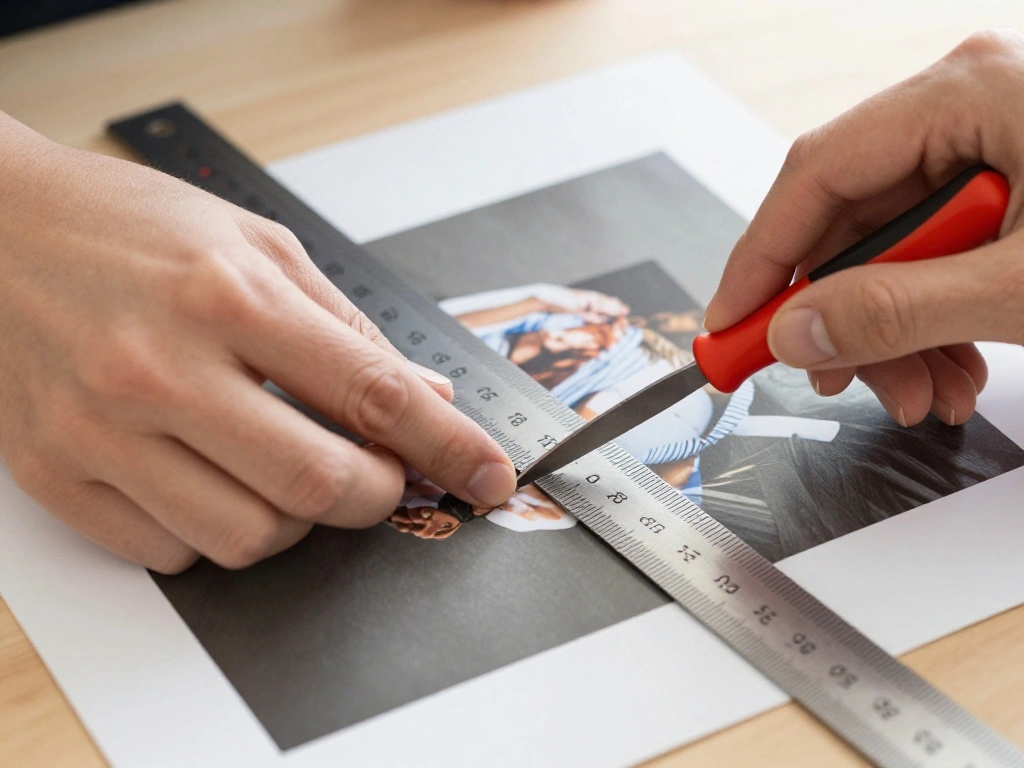
After your print has dried, it’s time to trim it to the desired size. Follow these steps:
1. Use a measuring tape to mark the dimensions you want.
2. Align your ruler along the marks.
3. Carefully cut along the edges using a craft knife for precision.
Why this matters: Trimming your print ensures it fits perfectly in your chosen display area.
Pro Tip: Use a cutting mat to protect your work surface.
Estimated time: 15-20 minutes.
Step 6: Trim Your Print
Editor’s Choice

Shinwa 12″ Extruded Aluminum Cutting Rule Ruler Gauge with Non slip rubb…

Jetmore 10 Pack Exacto Knife Set, Hobby Knife, SK-5 High Carbon Steel Cr…

Density-upgraded 24″ x 36″ Large Self Healing Sewing Mat, Idemeet Rotary…
Step 7: Prepare to Mount Your Print
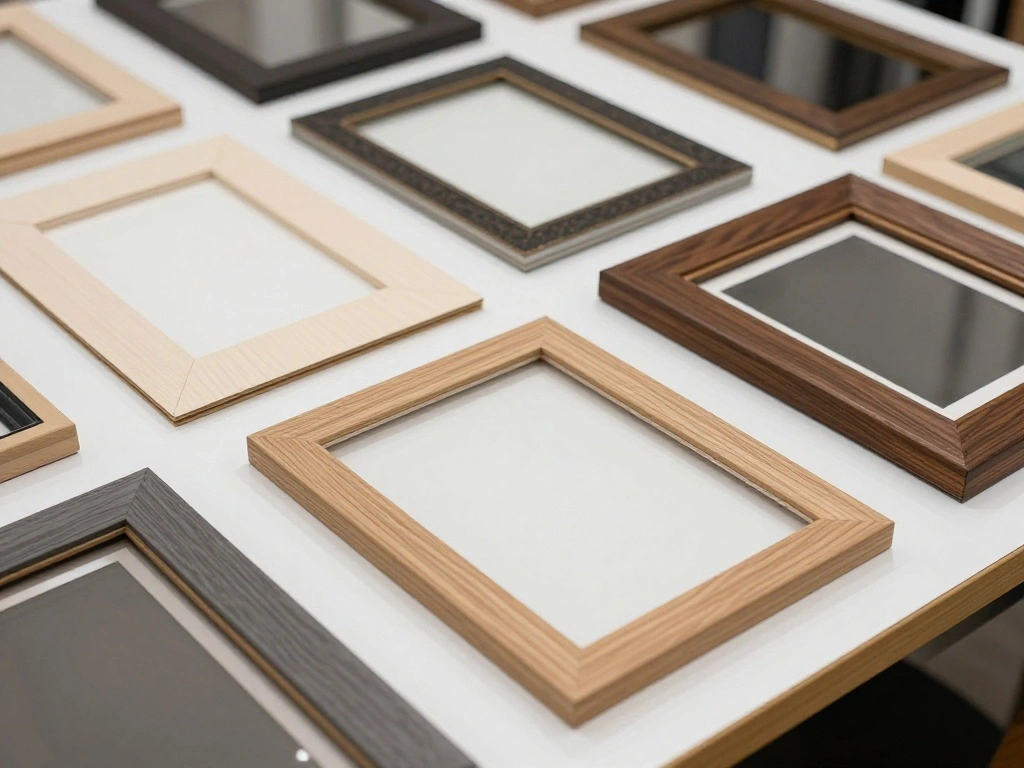
Now that your print is trimmed, you need to prepare it for mounting. Here’s how:
1. Choose a frame or mounting board suitable for your print size.
2. Clean the surface of the frame or board to ensure adhesion.
3. Gather your mounting tools (adhesive, double-sided tape, etc.).
Why this matters: Proper preparation ensures a clean and professional look for your finished art.
Pro Tip: Use acid-free mounting materials to prevent damage over time.
Estimated time: 15-20 minutes.
Step 7: Prepare to Mount Your Print
Editor’s Choice

10-Pack White Uncut Picture Frame Backing Board,Acid Free 8×10 White Mat…

Secopad Scrapbook Tape, 4 Pack Double Sided Tape Roller for Crafts, Adhe…

3M Super 77 Multi-Surface Spray Adhesive, 7.35 oz., Low VOC, Quick Bond,…
Step 8: Mount Your Print

It’s time to mount your print! Follow these steps:
1. Position your print onto the frame or mounting board.
2. Secure the corners with adhesive or double-sided tape.
3. Press down firmly to ensure adhesion.
Why this matters: Proper mounting keeps your print flat and enhances its presentation.
Warning: Avoid using too much adhesive, as it can seep out and damage the print.
Estimated time: 15-20 minutes.
Step 8: Mount Your Print
Editor’s Choice

Pacon Super Value Poster Board, 22″X28″, White, 50 Sheets

MCS Trendsetter 24×36 Poster Frame Black High-Gloss, Vertical & Horizont…

Scrapbook Adhesives by 3L Repositionable Mounting Squares, 1000-Pack
Step 9: Hang Your Art
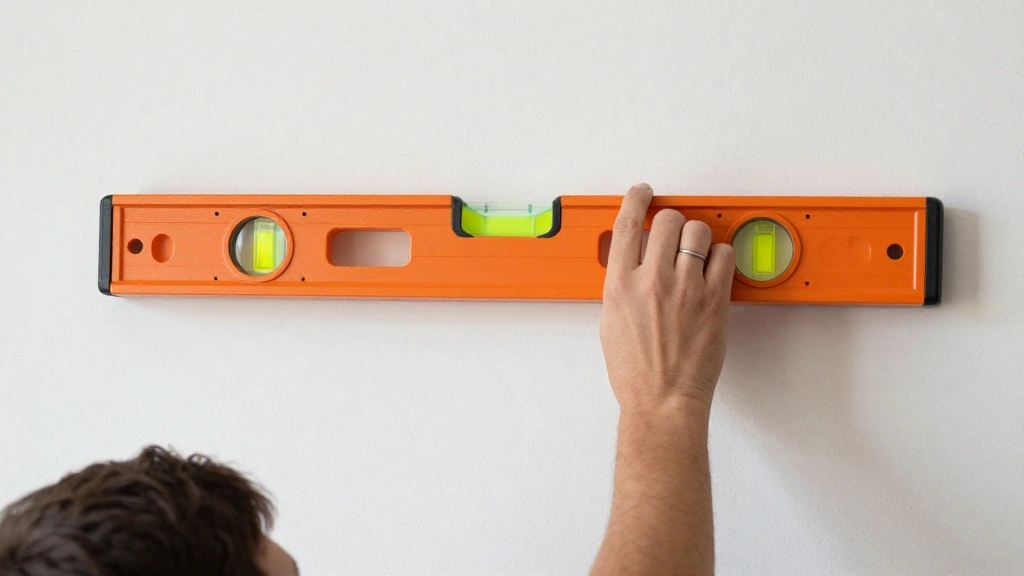
Your large-format wall art is now ready to be displayed! Do the following:
1. Choose the best location on your wall for visibility and impact.
2. Use a level to ensure the art hangs straight.
3. Mark the spot for nails or hooks.
4. Hang your art carefully to avoid damage.
Why this matters: Proper hanging showcases your art beautifully and prevents it from falling.
Pro Tip: Consider using removable hooks for easy repositioning.
Estimated time: 15-20 minutes.
Step 9: Hang Your Art
Editor’s Choice

MOVELYST 60-Pairs(120 Strips) Large Picture Hanging Strips Heavy Duty, R…

Torpedo Level Magnetic, Firecore 9 Inch Shockproof Small Leveler Tool wi…

184 Pieces Picture Hanging Kit, 20lb, 30lb, and 50lb Picture Hangers, Me…
Pro Tips
- Color Calibration: Ensure your monitor is color-calibrated to match your printer’s output for consistent colors.
- Print in a Controlled Environment: Print in a room with stable temperature and humidity to prevent paper warping.
- Use High-Quality Images: Always start with the highest quality version of your photo for the best results.
- Experiment with Different Papers: Try various types of photo paper to see which gives you the best finish.
- Take Breaks: Printing can be a lengthy process; take breaks to avoid frustration and maintain focus.
Pro Tips
Editor’s Choice

Epson Premium Presentation Paper MATTE (8.5×11 Inches, Double-sided, 50 …

TempPro TP50 Digital Hygrometer Indoor Thermometer Room Thermometer and …
Common Mistakes to Avoid
Warning: Choosing Low-Resolution Images: This leads to pixelated prints. Always select high-resolution images (300 DPI or higher).
Warning: Forgetting to Check Printer Settings: Using incorrect settings can ruin your print. Always double-check settings before printing.
Warning: Not Allowing Prints to Dry: Touching prints before they’re dry can smudge them. Always give adequate drying time.
Common Mistakes to Avoid
Editor’s Choice

Pearington Mobile 25-Shelf Art Drying Rack for Classrooms and Art Studio…

Epson EcoTank ET-2800 Wireless Color All-in-One Cartridge-Free Supertank…
Canon LU-101 13X19(50) Luster Photo Paper, 13″ x 19″ (50 Sheets)
Troubleshooting Section
Problem: Print is blurry.
Solution: Check the photo resolution; ensure it’s at least 300 DPI.
Problem: Colors are inaccurate.
Solution: Calibrate your monitor and print settings according to the paper type used.
Problem: Paper jams in the printer.
Solution: Ensure the paper is loaded correctly and check for any debris in the printer.
Problem: Ink smudging.
Solution: Allow the print to dry completely before handling.
Troubleshooting Section
Editor’s Choice
Canon LU-101 13X19(50) Luster Photo Paper, 13″ x 19″ (50 Sheets)

HP DesignJet T210 Large Format Color Plotter Printer, 24-Inch, CAD & Pos…
Calibrite Display Pro HL Monitor Calibration Colorimeter for LCD Mini LE…
Variations/Alternative Methods
If you want to try different approaches to printing your photos:
1. Use Online Printing Services: Consider using reputable online services for larger prints without the hassle of at-home printing. This is ideal for those who want professional results without investing in equipment.
2. DIY Canvas Prints: Instead of traditional paper, print on canvas for a more textured look. This requires specific canvas sheets compatible with your printer.
Pros and Cons: Online services are convenient but incur shipping costs while DIY methods require more hands-on effort.
Variations/Alternative Methods
Editor’s Choice

PPD Printable Fabric Sheets, Canvas Paper for Inkjet Printer, 8.5×11″ Ph…

Epson EcoTank Photo ET-8550 Wireless Wide-Format Color All-in-One Supert…
FAQs
What if I don’t have a large-format printer?
You can use a local print shop or online services that offer large-format printing options.
How long should I wait for the print to dry?
Typically, waiting at least 30 minutes is recommended, but longer is better for thicker papers.
Is it safe to use a regular inkjet printer for large prints?
Yes, as long as the printer supports the paper size you want to use.
FAQs
Editor’s Choice
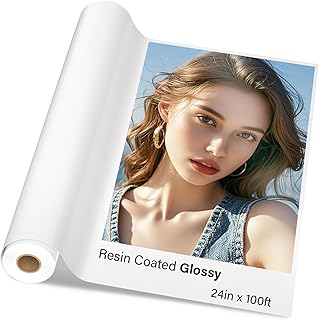
RCdepot1-1 x Premium RC Glossy Photo Paper Roll 24 inch x 100 ft Wide Fo…
Epson Workforce Pro WF-7820 Wireless All-in-One Wide-Format Printer, Aut…
Pearington Mobile 25-Shelf Art Drying Rack for Classrooms and Art Studio…
Conclusion
Congratulations! You’ve successfully printed your own large-format wall art. This accomplishment not only adds a personal touch to your space but also showcases your creativity. Now that you’re familiar with the process, consider experimenting with different photos and styles to create a unique gallery wall.
To continue enhancing your skills, explore more photography and editing resources. Remember, each print you create is a step towards mastering your craft. Enjoy displaying your beautiful artwork!