
Styling a small living room wall can be a daunting task. You want to make the space feel inviting and stylish, yet overcrowding it with decor can lead to feelings of confinement and chaos. With the right approach, you can transform your wall into a stunning focal point without sacrificing space. In this guide, you will learn how to effectively style a small living room wall, ensuring it feels open and airy. You’ll discover techniques to choose the right decor, arrange it strategically, and add personality without overwhelming your space.
Skill Level: beginner
Time Estimate: 1-2 hours
By the end of this guide, you will have a beautifully styled wall that enhances your living room while keeping it functional.
TL;DR Summary
- Choose a cohesive color palette to unify decor.
- Opt for multi-functional furniture to save space.
- Use vertical space wisely with shelves and hooks.
- Incorporate mirrors to create an illusion of depth.
TL;DR Summary
Editor’s Choice

WOPITUES Wood Floating Shelves Set of 6, Shelves for Wall Decor, Farmhou…

Delma Wall Full Length Mirror,Standing Mirror Full Body,Large Floor for …

COMAX Futon Sofa Bed, 4‑in‑1 Convertible Sofa Bed, Folding Boneless …
Prerequisites/Materials Needed
- Decor items: 3-5 frames, 1-2 wall art pieces, decorative plants
- Tools: Hammer, nails, level, measuring tape
- Furniture: A console table or wall-mounted shelves if desired
Prerequisites/Materials Needed
Editor’s Choice

upsimples 19 Pack Picture Frames Collage Wall Decor for Mounting or Tabl…

Yoratee 6pcs Artificial Pot Flowers Small Fake Plants with Pot Mini Pott…
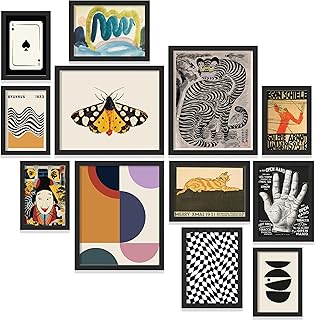
97 Decor Vintage Eclectic Wall Art Collage – Abstract Modern Art Prints …
Skill Level & Time Estimate
Skill Level: beginner
Total time estimate: 1-2 hours.
Breakdown:
– Planning and gathering materials: 30 minutes
– Arranging decor: 30-60 minutes
– Final touches: 15-30 minutes
Skill Level & Time Estimate
Editor’s Choice

Landscape Canvas Wall Art,Motivational Wall Art Decoration Painting .S…

2 Pack Stainless Steel Shelf 12″x48″ 320LB, Commercial Wall Mounted Meta…
upsimples 19 Pack Picture Frames Collage Wall Decor for Mounting or Tabl…
Step 1: Assess Your Space
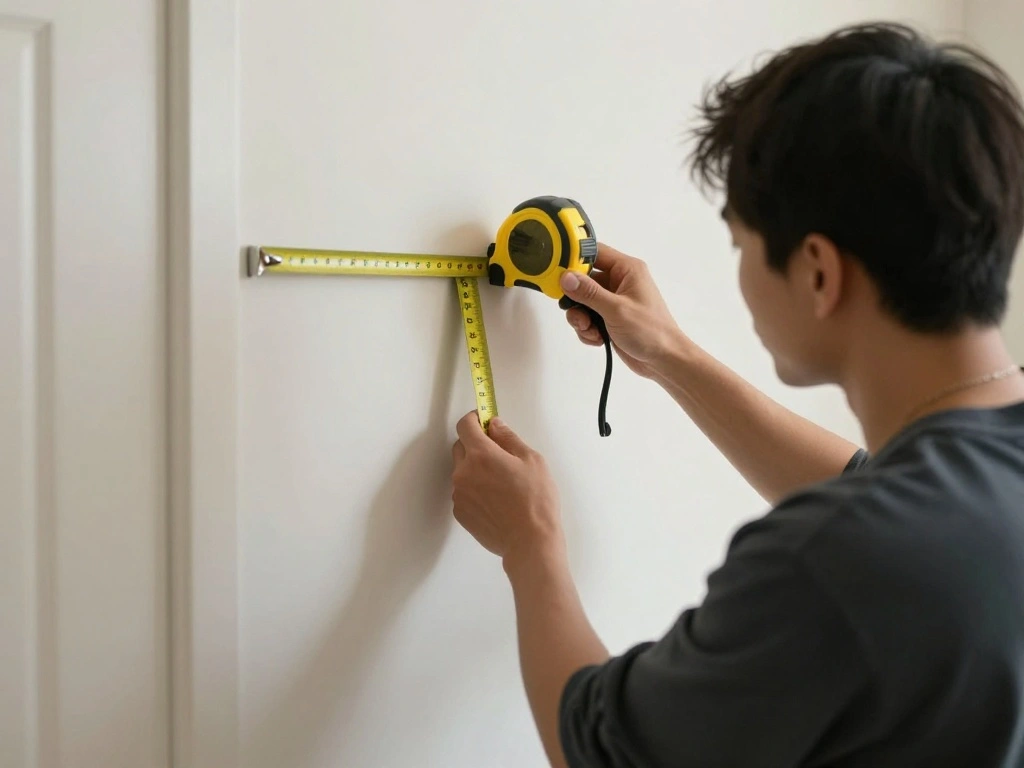
Begin by assessing your small living room wall. Take measurements to understand the space you have to work with. Why this matters: Knowing the dimensions helps you choose decor that fits well without overcrowding.
Follow these sub-steps:
1. Measure the width and height of the wall.
2. Note any existing furniture or fixtures that might affect placement.
3. Take note of the overall color scheme of your living room.
Pro Tip: Use painter’s tape to visualize where different decor pieces will go on the wall.
Time estimate: 15-20 minutes.
Step 1: Assess Your Space
Editor’s Choice
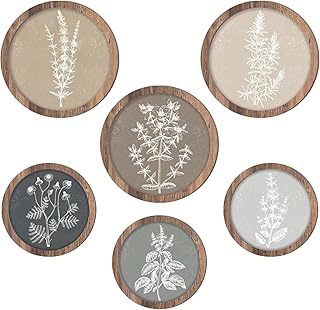
Threehoney 6 Pcs Framed Botanical Wall Art Set Floral Wall Art Vintage B…

Beautiful Storage Basket Set of 4 – Natural Jute Rope Baskets for Shelve…

BAYKA Floating Shelves for Wall, Wall Mounted Rustic Wood Shelves for Ba…
Step 2: Choose a Color Palette
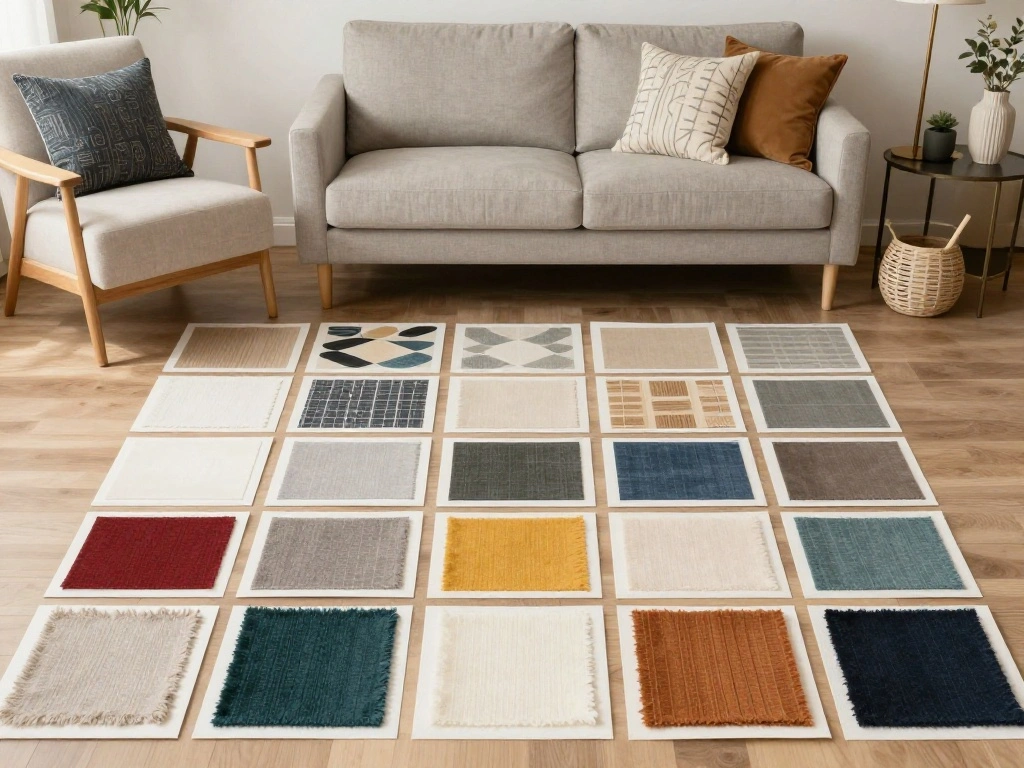
Decide on a cohesive color palette that complements your living room. A harmonious color scheme can help unify the decor and make the wall look well-designed. Why this matters: A consistent color palette prevents visual clutter.
Follow these sub-steps:
1. Look at your existing furniture and wall color.
2. Choose 2-3 main colors and 1-2 accent colors.
3. Ensure your selected decor items reflect this palette.
Pro Tip: Use color swatches or apps to visualize how colors will work together.
Time estimate: 20-30 minutes.
Step 3: Select Decor Items
Gather decor items that fit your chosen color palette and reflect your personal style. Aim for a mix of textures and shapes for added interest. Why this matters: A variety of items can create a visually appealing display without feeling crowded.
Follow these sub-steps:
1. Choose 2-3 larger pieces (like wall art or a mirror).
2. Select 3-5 smaller items (like frames or decorative objects).
3. Consider plants for a touch of nature.
Pro Tip: Look for items that serve a dual purpose, like a decorative shelf that can hold books or plants.
Time estimate: 30 minutes.
Step 3: Select Decor Items
Editor’s Choice

Artisan Set of 4 Silver Beveled Wall Decor Mirrors – 24×8 Inch Each, Cre…

3D Wooden Floral Bathroom Wall Decor (Set of 4) Lightweight, Ready-to-Ha…
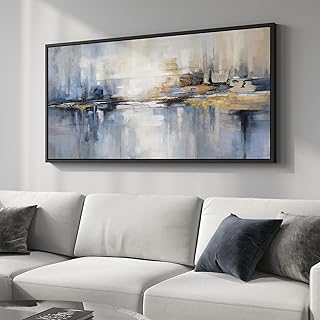
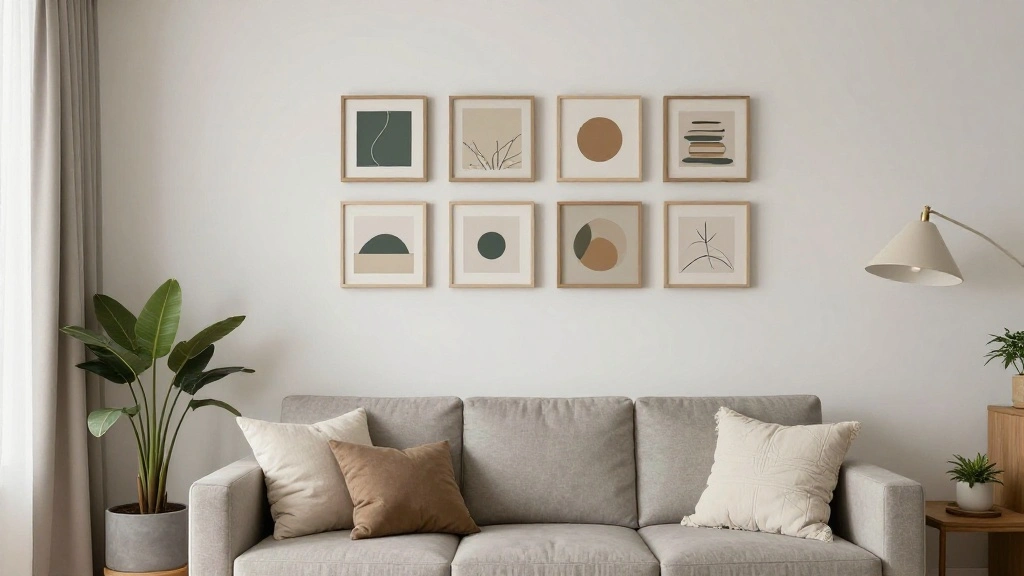
Step 4: Create a Focal Point
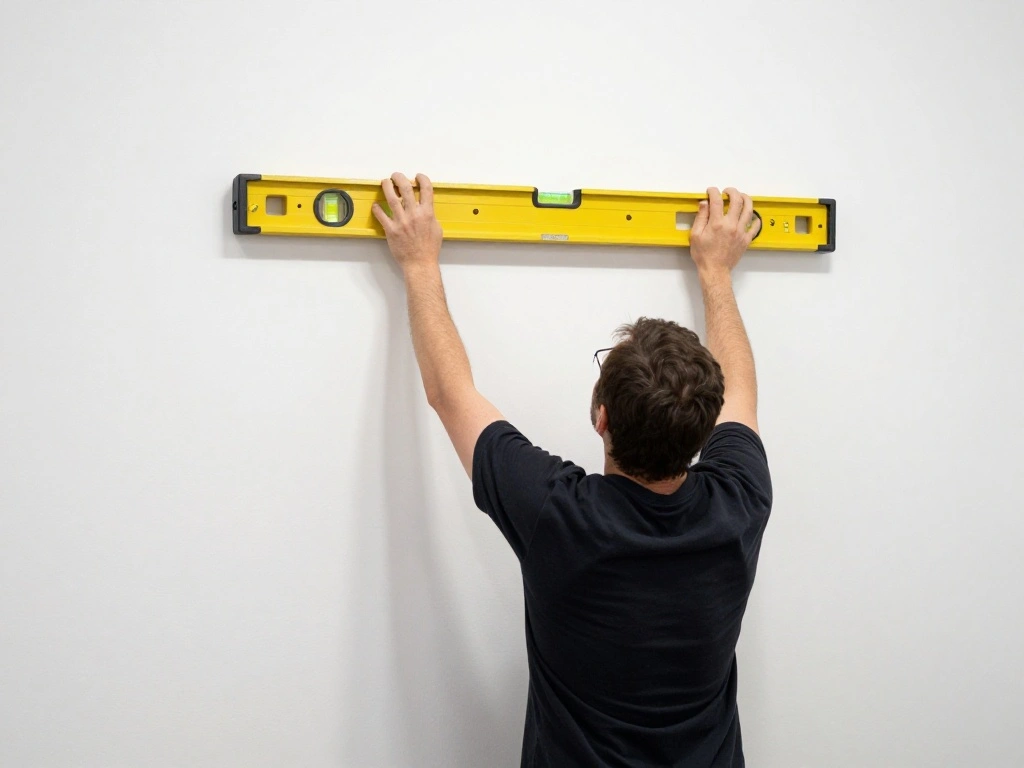
Decide on a focal point for your wall to draw the eye and create balance. This could be a large piece of art or a striking mirror. Why this matters: A focal point anchors the design and provides a sense of structure.
Follow these sub-steps:
1. Choose your focal piece based on size and color.
2. Hang it at eye level for maximum impact.
3. Ensure it complements the surrounding decor.
Pro Tip: Use a level to ensure your focal piece hangs straight and looks professional.
Time estimate: 20 minutes.
Step 4: Create a Focal Point
Editor’s Choice
Framed Extra Large Blue Abstract Wall Art for Living Room, Modern Canvas…

Roowest 2 Pcs Decorative Mirror Wall Decor Leaf Teardrop Mirror Wall Mou…
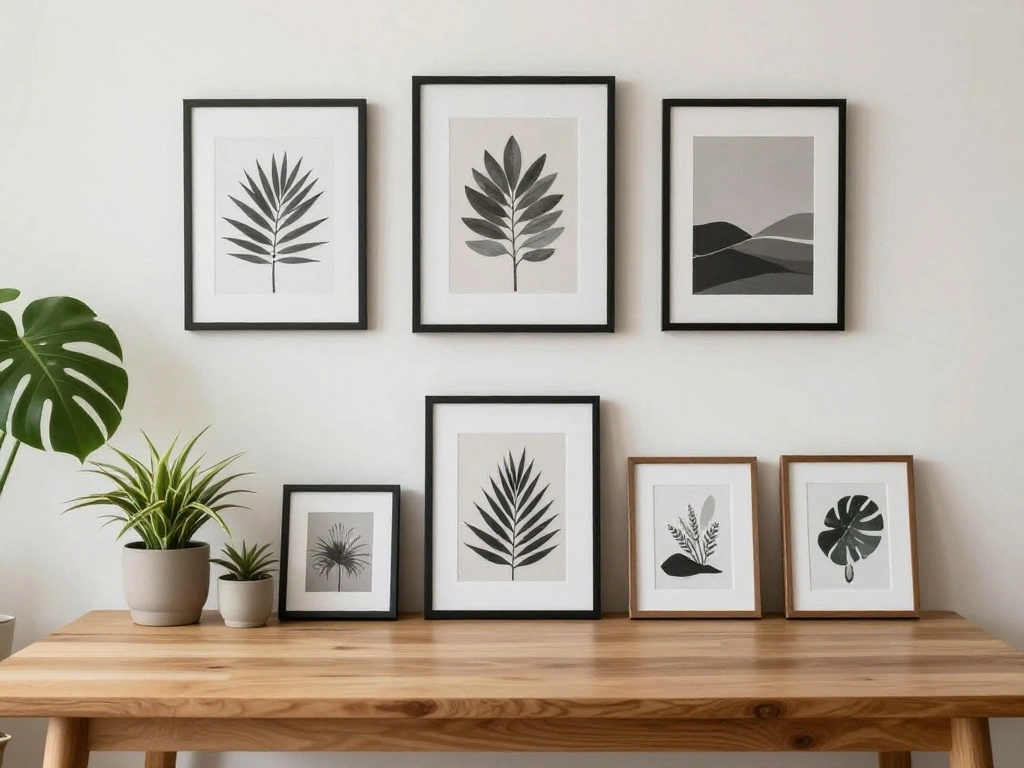
Step 5: Arrange Smaller Decor Items

Once your focal point is in place, arrange your smaller decor items around it for balance. Layering items creates depth without overcrowding. Why this matters: Proper arrangement enhances the visual appeal of the wall.
Follow these sub-steps:
1. Start with the larger items first, placing them near the focal point.
2. Fill in with smaller items, balancing shapes and heights.
3. Step back frequently to assess the overall look.
Pro Tip: Group items in odd numbers for a more dynamic arrangement.
Time estimate: 30 minutes.
Step 5: Arrange Smaller Decor Items
Editor’s Choice

Bathroom Mirror for Wall, 24 Inch Round Mirror, Matte Gold Metal Framed …

Floating Shelves Shelves on Wall Set of 3, 2-Tier Hanging Wall Mounted S…

Yaetm 20×24 Black Picture Frame with Mat for 16×20 Set of 4, Solid Wood …
Step 6: Incorporate Vertical Space

Utilize vertical space to draw the eye upward and create an illusion of height. Tall shelves or hanging plants can enhance the room’s dimensions. Why this matters: Vertical elements can make a small room feel more spacious.
Follow these sub-steps:
1. Install floating shelves above your decor for added storage.
2. Hang plants or artwork higher up on the wall.
3. Ensure items are securely attached to avoid accidents.
Pro Tip: Use brackets for shelves that match your decor style for a cohesive look.
Time estimate: 30 minutes.
Step 6: Incorporate Vertical Space
Editor’s Choice
BAYKA Floating Shelves for Wall, Wall Mounted Rustic Wood Shelves for Ba…

Mkono Macrame Plant Hanger Indoor Hanging Planter Basket with Wood Beads…

VIYYIEA Vintage Gold Framed Wall Art, Sketch Birds Canvas Painting, Cute…
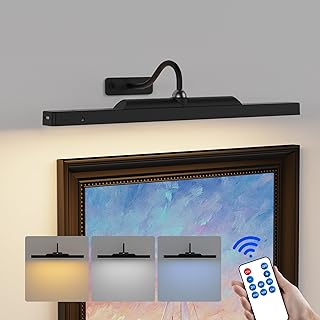
Step 7: Add Lighting
Incorporate lighting to highlight your decor and create ambiance. Wall sconces or picture lights can enhance the visual interest of your styled wall. Why this matters: Good lighting makes a space feel warm and inviting.
Follow these sub-steps:
1. Choose lighting that complements your decor style.
2. Install fixtures to illuminate the focal point and other decor items.
3. Use dimmers for adjustable lighting levels.
Pro Tip: Consider LED strip lighting on shelves for a modern touch.
Time estimate: 30 minutes.
Step 7: Add Lighting
Editor’s Choice

Aipsun Black Modern LED Wall Sconce Indoor Wall Lights 1 Pack Hardwired …

Lutron Diva LED+ Dimmer Light Switch for Dimmable LED, 150 Watt, Single-…
Dimmable Cordless Picture Light for Wall 16n, 5000mAh Rechargeable Batte…
Step 8: Consider Textures
Incorporate different textures to add depth and interest to your wall. This might include fabric wall hangings, wooden frames, or metallic accents. Why this matters: Textural diversity can enhance the overall aesthetic without overcrowding the space.
Follow these sub-steps:
1. Identify areas where you can add texture without cluttering.
2. Choose materials that complement your color palette.
3. Layer textures for a rich visual experience.
Pro Tip: Use textiles like woven baskets or fabric art for soft texture.
Time estimate: 20 minutes.
Step 8: Consider Textures
Editor’s Choice

Damanse Floral Tapestry Wall Hanging Cute,Boho Wall Tapestry for Bedroom…

Kewhush Abstract Metal Wall Art, Modern Art Decor, Unique Metal Wall Dec…

4×6 Picture Frames Set of 8, Vintage Rustic Farmhouse Industrial Style P…
Step 9: Personal Touches
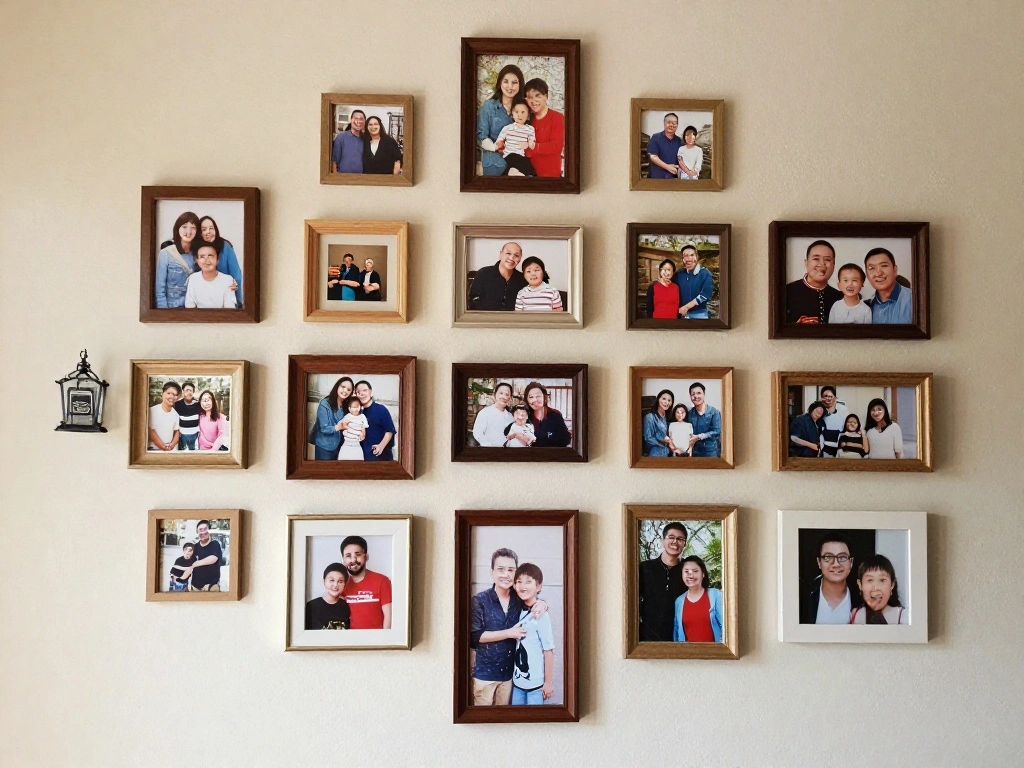
Add personal touches that reflect your style and story. This could be family photos, travel souvenirs, or unique art pieces. Why this matters: Personalization makes the space feel like home.
Follow these sub-steps:
1. Select items that have personal significance.
2. Arrange them thoughtfully to avoid clutter.
3. Mix frames and styles for an eclectic yet curated look.
Pro Tip: Use matching frames to unify diverse items.
Time estimate: 30 minutes.
Step 9: Personal Touches
Editor’s Choice

HOOBRO Floating Shelves, 15 Inch Wall Shelf Set of 2, Wall Mounted Stora…

Hoikwo 18 Packs 8×8 Black Plastic Multi Picture Frames Set with Plastic …
97 Decor Vintage Eclectic Wall Art Collage – Abstract Modern Art Prints …
Step 10: Finalize and Adjust
Take a step back to assess your work and make any necessary adjustments. Look for balance, harmony, and overall flow. Why this matters: Final adjustments ensure your wall feels cohesive and well-designed.
Follow these sub-steps:
1. Walk around the room to see the wall from different angles.
2. Adjust the positioning of items as needed for balance.
3. Ensure there’s enough space for movement in the room.
Pro Tip: Ask a friend for a second opinion on the arrangement.
Time estimate: 20 minutes.
Step 10: Finalize and Adjust
Editor’s Choice

QsQueen Scalloped Wood Wall Shelf – 17 Inch Floating Shelf with Wood B…

Cloud Paper Holder, Space-Saving Cute Decor 4-13 Rolls Toilet Paper Hold…

PHOTOMYNE Sturdy Flexible Phone Holder for Desk, Table, Office, Kitchen …
Pro Tips
- Layering is Key: Use layers of decor to create depth.
- Go Minimal: Less is often more; choose quality over quantity.
- Rotate Decor Seasonally: Change items with seasons to keep the space fresh.
- Use Command Hooks: For temporary decor changes without damaging walls.
- Plan Before Hanging: Lay items on the floor first to visualize placement.
Pro Tips
Editor’s Choice

Command Large Utility Hooks, 7-Hooks, 12-Strips, Organize Damage-Free

Photect 3 Pcs Metal Wall Art Decor Minimalist Abstract Woman Wall Art Me…
WOPITUES Wood Floating Shelves Set of 6, Shelves for Wall Decor, Farmhou…
Common Mistakes to Avoid
Warning: Avoid overcrowding the wall with decor. It can make the space feel cluttered. Solution: Stick to a few key pieces and leave some space empty.
Warning: Hanging items too high or low can disrupt the flow. Solution: Aim for eye level (about 57-60 inches from the floor).
Warning: Ignoring scale can lead to imbalance. Solution: Consider the size of your wall when selecting pieces.
Common Mistakes to Avoid
Editor’s Choice

CHOEZON Floating Shelves, Set of 2 Wall Shelves, 2-Tier Hanging Shelves,…
VIYYIEA Vintage Gold Framed Wall Art, Sketch Birds Canvas Painting, Cute…

Chumia Large 3D Rainbow Wall Decor Kit 6 Color 19.7 x 118 Inch Fabric St…
Troubleshooting Section
Problem: Wall feels too busy. Solution: Remove 1-2 items to create breathing room.
Problem: Decor looks mismatched. Solution: Reassess the color palette and adjust items accordingly.
Problem: Items aren’t secured well. Solution: Use proper hanging hardware for heavier pieces.
Troubleshooting Section
Editor’s Choice

Peryiter 3 Pcs Modern Minimalist Wall Decor Abstract Metal Wall Art Meta…
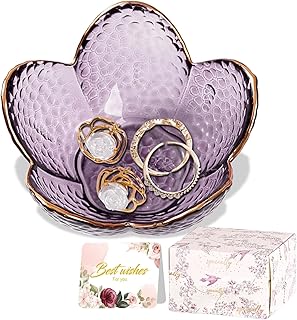
Purple Flower Jewelry Dish Glass Ring Holder Dish Jewelry Tray Cute Vani…

KURUI 700PCs Small Nails for Hanging Pictures & 8oz Small Hammer for Wom…
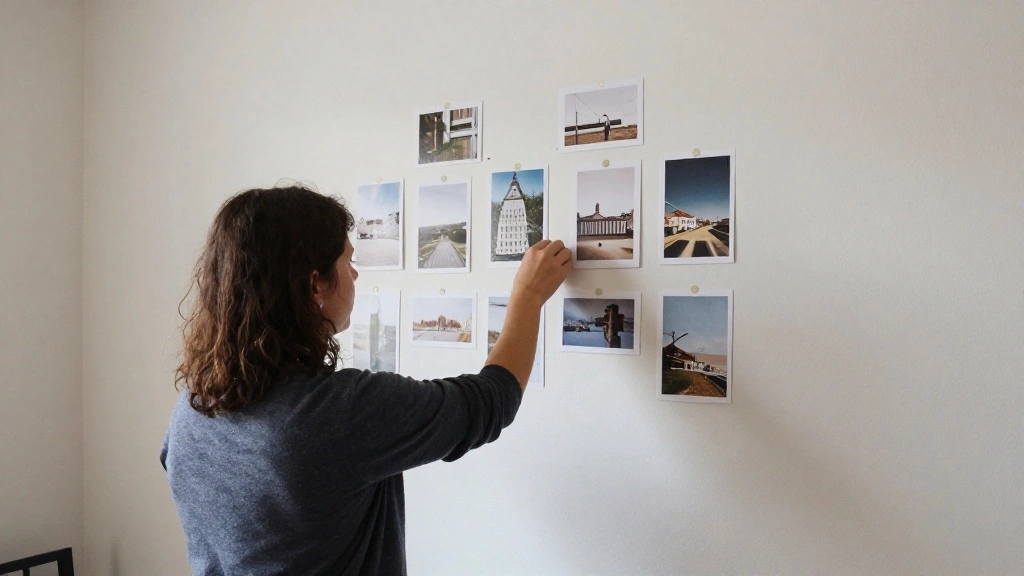
Variations/Alternative Methods
Consider these alternatives: Gallery Wall: A collection of smaller frames can create a dynamic look. Open Shelving: Use shelves to display decor and books for a functional approach. Painted Accent Wall: A bold color or pattern can serve as the primary decor.
Variations/Alternative Methods
Editor’s Choice

THE ONE All-In-One Paint & Primer – Black Matte, 33.8 Fl Oz/1 Liter | 1 …

BAYKA Bathroom Floating Shelves for Wall Set of 3 – Rustic Brown Farmhou…

HappyHapi 4×6 Picture Frames Set of 10, Tabletop or Wall Display Picture…
FAQs
What if I don’t have a focal piece? Use a large mirror or create a gallery wall to draw focus.
How long should I wait before making changes? Give it a few weeks to see how the space feels before adjusting.
Is it safe to hang heavy items? Ensure you use wall anchors or stud finders for secure mounting.
FAQs
Editor’s Choice

KURUI Drywall Anchors and Screws Assortment Kit 270PCS, 135 Plastic Dry …

Large Decorative Mirror for Living Room, 53.5″ X 30″, Vintage Ornate Car…
upsimples 19 Pack Picture Frames Collage Wall Decor for Mounting or Tabl…
Conclusion
Congratulations! You’ve successfully styled your small living room wall without making it feel crowded. Enjoy your new space and the personal touches you’ve added. If you want to take it further, consider exploring new decor styles or seasonal changes to keep your space fresh and exciting. Remember, your living room is a reflection of you, so let it shine!