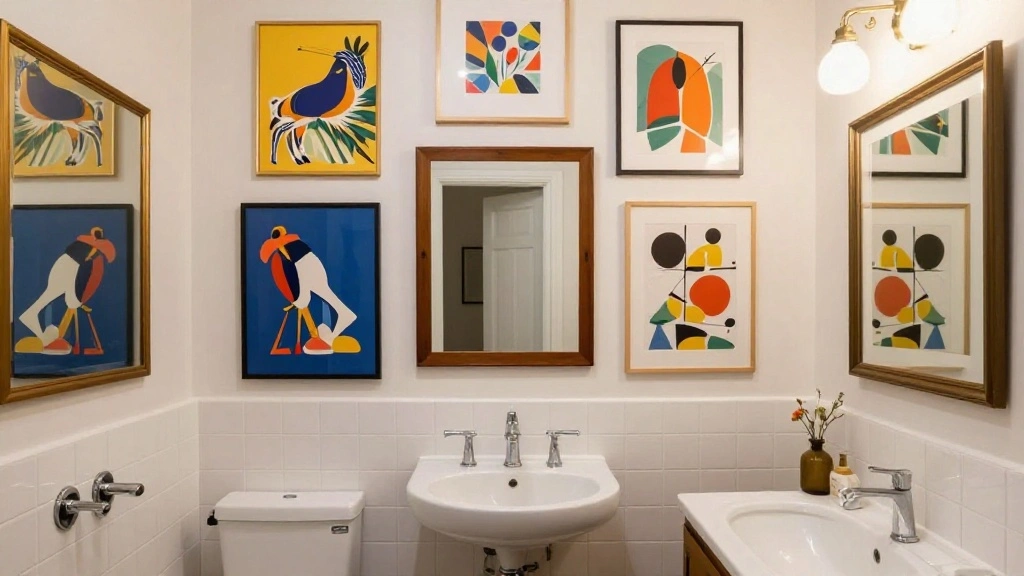
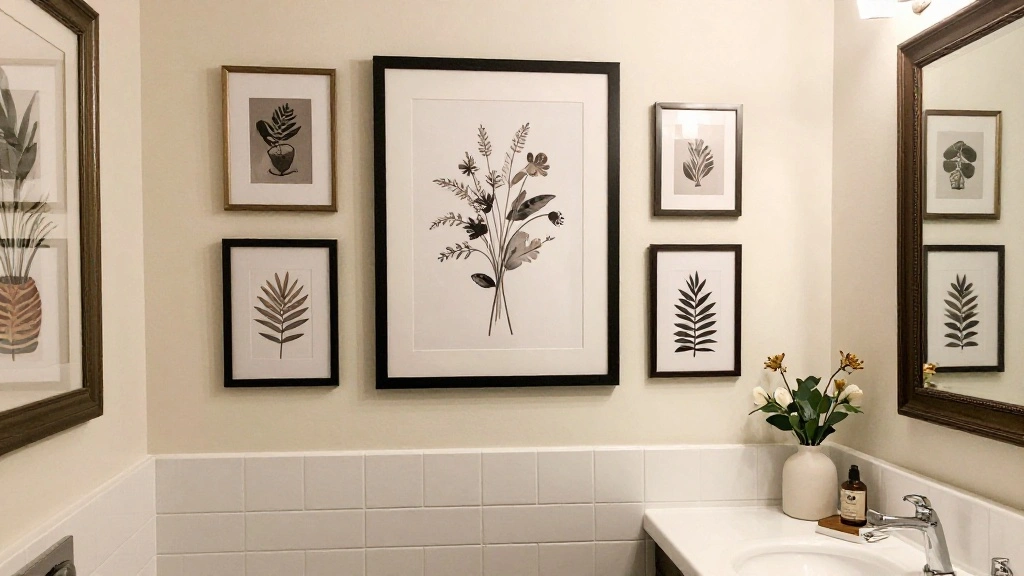
Have you ever walked into a small bathroom and felt like something was missing? A bland, empty wall in such a personal space can leave you feeling uninspired. But fear not! A bathroom gallery wall is a fantastic way to bring life and personality to your small bathroom, turning it into a stylish retreat.
In this guide, you will learn how to create a stunning gallery wall that not only enhances the aesthetics of your bathroom but also reflects your personal style. You will discover tips on selecting the right art pieces, arranging them effectively, and utilizing your limited space wisely.
This project is suitable for beginners and typically requires about 2-3 hours to complete, depending on how detailed you want to get. By the end, you’ll have a vibrant gallery wall that transforms your bathroom into a space you love. Let’s get started!
TL;DR Summary
- Choose a variety of art pieces that express your personality.
- Plan your layout before hanging to ensure a balanced look.
- Use frames that match or complement your bathroom decor.
- Ensure your chosen materials are moisture-resistant for longevity.
TL;DR Summary
Editor’s Choice

Layout Workbook: A Real-world Guide to Creating Powerful Pieces by Krist…

SimpleView 5×7 Waterproof Picture Frame | Memorial Gifts | Cemetery Deco…

Framed Floral Bathroom Wall Art, Vintage Botanical Wall Decor Pictures, …
Prerequisites/Materials Needed
- Art Pieces: 5-10 items, depending on wall size
- Frames: 5-10 matching or complementary frames
- Measuring Tape: for accurate spacing
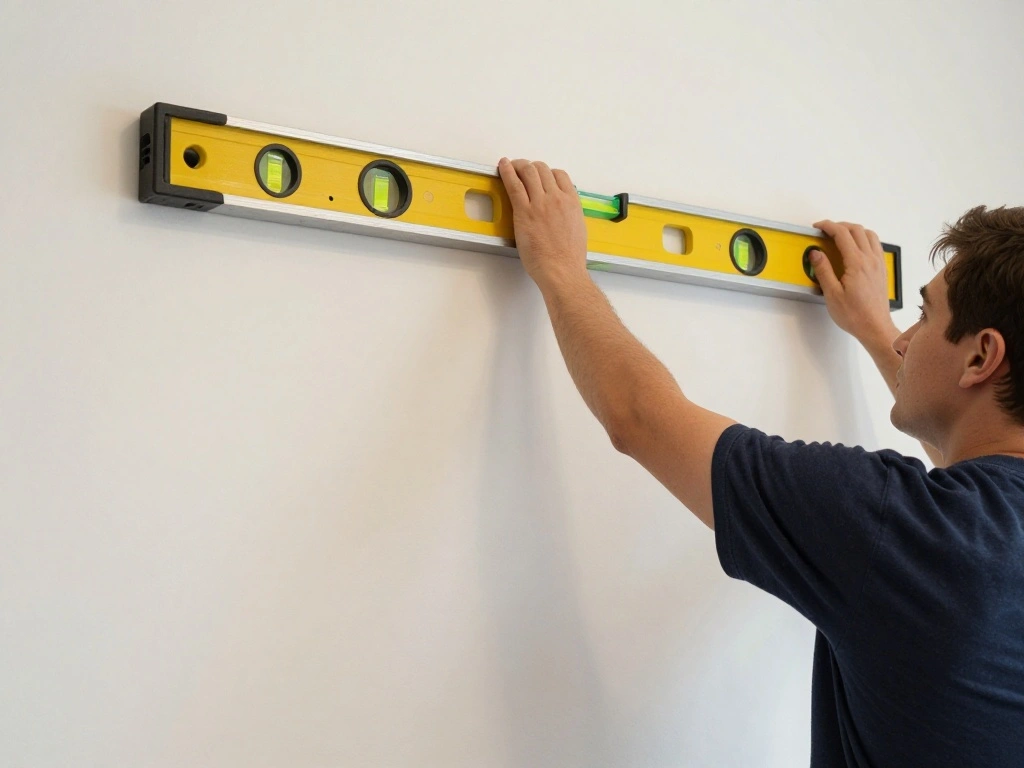
- Level: to ensure frames are straight
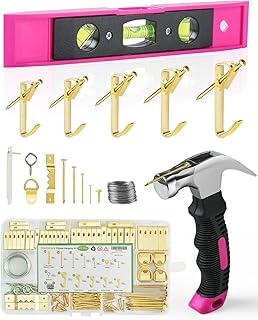
- Hammer or Drill: for hanging frames
- Picture Hooks or Nails: appropriate for your wall type
- Optional: Spacing templates (like paper cutouts) to visualize layout
Prerequisites/Materials Needed
Editor’s Choice

Framed Black Girl Wall Art Set of 3, Fashion Inspirational Black Woman W…

6 pcs Bubble Spirit Level, 32x7mm Circular Level Bubble for RV, Travel T…

WORKPRO 25FT Pink Tape Measure, Dual Lock Tape Measure with Fractions Ev…
Skill Level & Time Estimate
Skill Level: beginner
Total Time Estimate: 2-3 hours
Breakdown:
- Choosing Art: 30 minutes
- Planning Layout: 30 minutes
- Hanging Frames: 1-2 hours
Skill Level & Time Estimate
Editor’s Choice

Framed Floral Canvas Wall Art Women Pink lnspirational Quotes flowers Pi…

Work Bestie Gifts Picture Frame, Gifts for Work Friends Bestie Coworkers…

2 Pack Shine Bathroom Towel Hooks Wall Mount Glitter Hooks Sparkle Silve…
Step 1: Choose Your Art Pieces
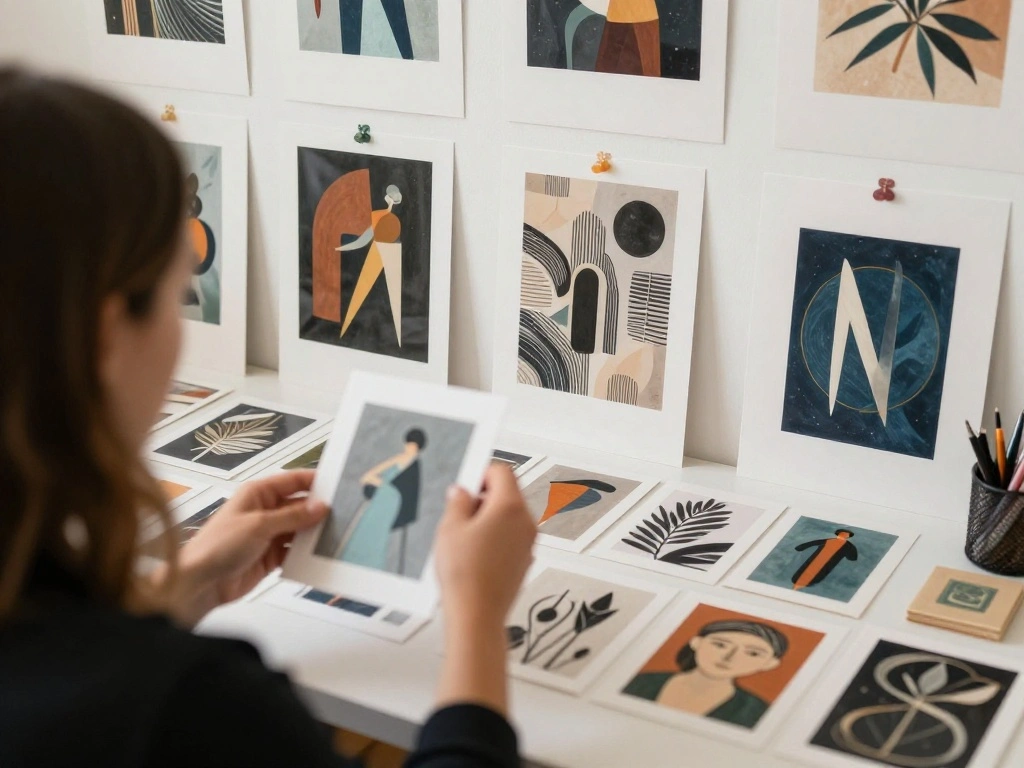
Start by selecting the art pieces you want to display. Consider your personal style and the overall vibe you want to create in your bathroom. Here’s how to do it:
- Gather inspiration from magazines, Pinterest, or Instagram.
- Select 5-10 pieces that resonate with you and fit the bathroom theme.
- Consider using a mix of photographs, prints, and quotes for variety.
Pro Tip: Choose moisture-resistant materials like laminated prints or artwork that can withstand humidity.
This selection process should take around 30 minutes.
Step 1: Choose Your Art Pieces
Editor’s Choice

ANERZA 16 PCS Framed Black Girl Wall Art Decor, African American Wall Pr…
Step 2: Plan Your Layout
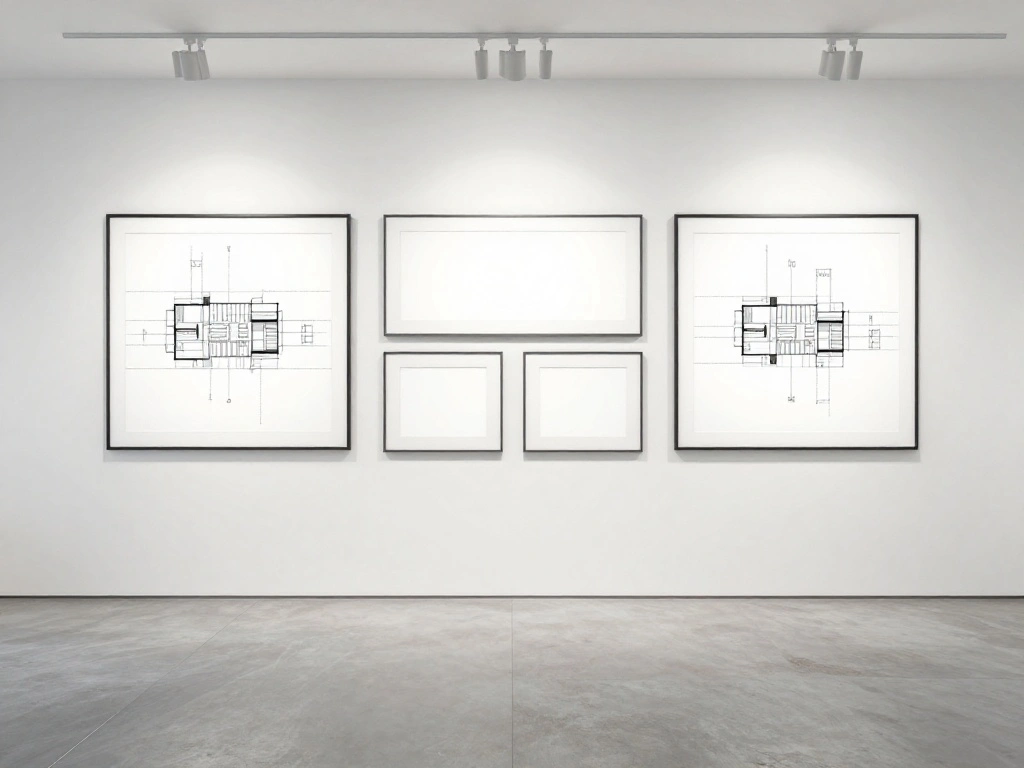
Before hanging anything, it’s essential to plan how your gallery wall will look. This ensures you make the most of your limited space. Follow these steps:
- Measure your wall space to determine how much room you have.
- On the floor, lay out your frames and adjust their positions until satisfied.
- Take a photo of your layout for reference while hanging.
Pro Tip: Use paper cutouts of your frames to visualize the layout on the wall before making any holes.
This planning stage should take about 30 minutes.
Step 2: Plan Your Layout
Editor’s Choice

ANERZA 16 PCS Black Girl Wall Art Decor, African American Gallery Wall P…
Step 3: Prepare the Wall
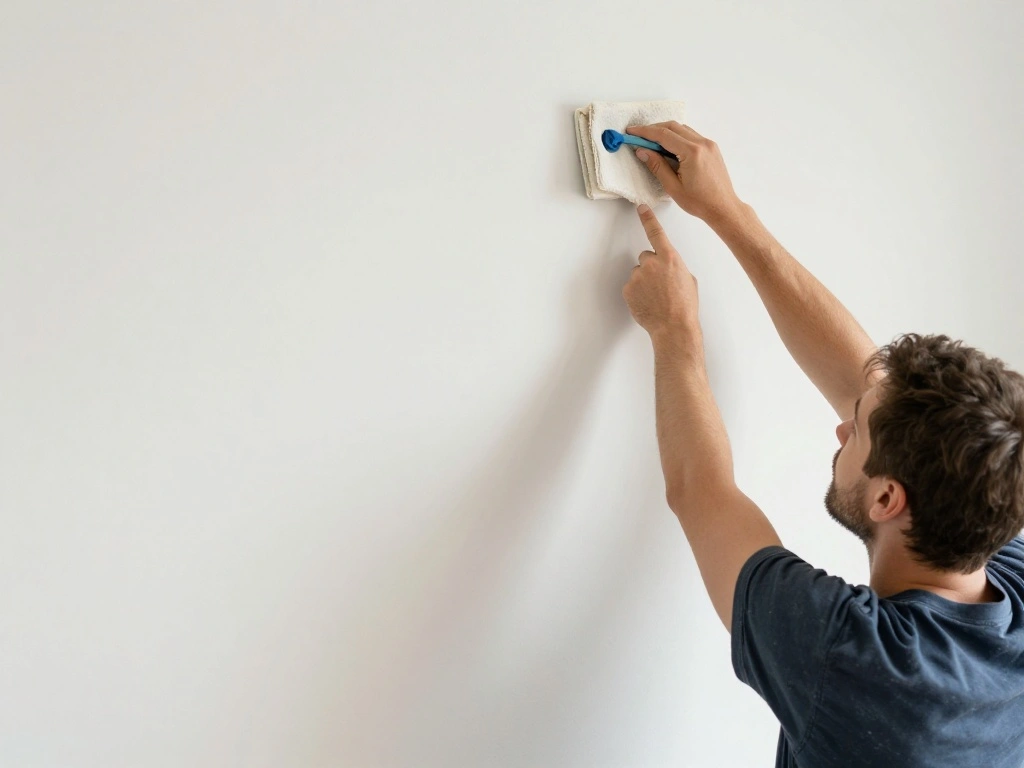
Before you start hanging your frames, ensure your wall is ready. A clean, prepared surface will help your frames hang better and look more professional. Here’s how:
- Clean the wall with a damp cloth to remove dust and dirt.
- Patch any holes or imperfections with spackle and sand smooth.
- Allow any repairs to dry completely before proceeding.
Warning: Make sure the wall is completely dry before hanging to avoid any damage to your artwork.
This preparation should take about 20 minutes.
Step 3: Prepare the Wall
Editor’s Choice

CHOMP! Painted Wall Cleaner Spray: Healthier Home 5-Minute CleanWalls 4-…

DAP DryDex Spackling Wall Repair Patch Kit, with Pink/White Dry Time Ind…

GEMTEND 2026 Graduation Gift for Her Him, Behind You, All Your Memories-…
Step 4: Measure and Mark

Now that your wall is ready, it’s time to measure and mark where each frame will go. Follow these steps for precise placement:
- Use a measuring tape to mark the center point of your gallery wall.
- Measure the distance between frames to ensure even spacing.
- Mark lightly with a pencil where each frame will be hung.
Pro Tip: The average spacing between frames should be about 2-3 inches for a cohesive look.
This measuring and marking process should take about 20 minutes.
Step 4: Measure and Mark
Editor’s Choice

Forever Friends Picture Photo Frame, Unique and Cute Picture Frame, Frie…

Rose Gold Birthday Party Decorations, Happy Birthday Banner, Rose Gold F…
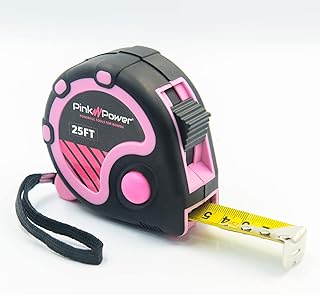
Pink Power 25ft Pink Tape Measure – Measuring Tape for Women’s Tool Kit …
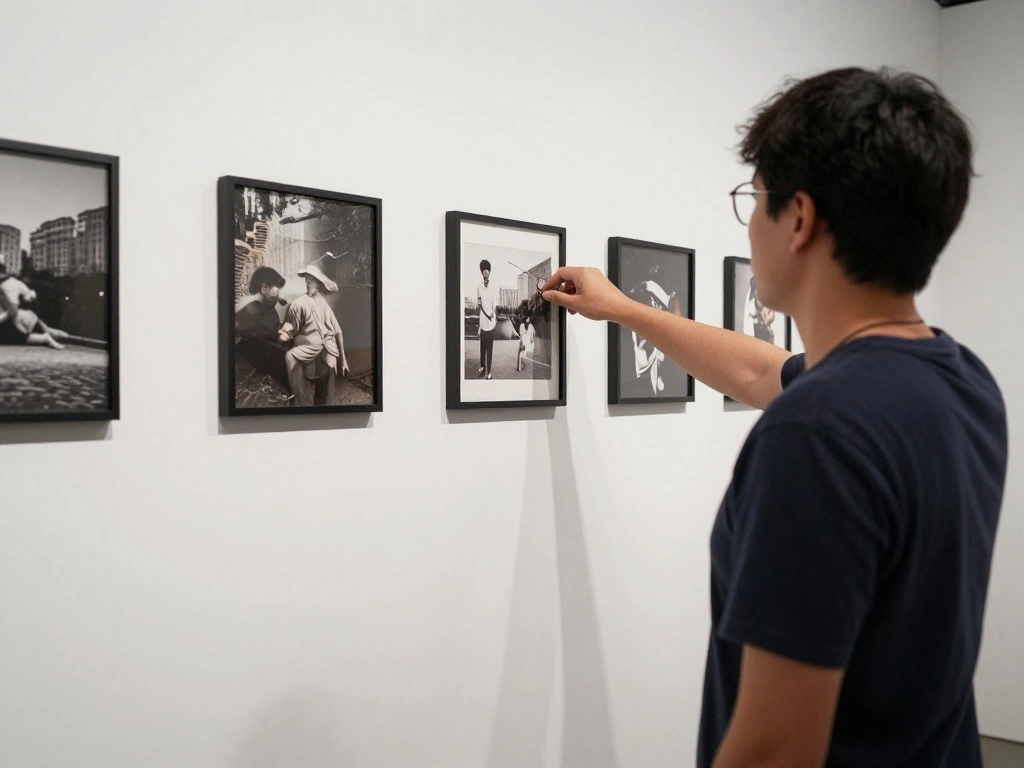
Step 5: Hang the Frames
With your marks in place, it’s time to hang the frames! This step will bring your gallery wall to life. Here’s how to do it:
- Start with the central frame and hang it first for balance.
- Use a level to ensure each frame is straight.
- Continue to hang each frame, working outward and adjusting as necessary.
Warning: Be cautious with your hammer or drill to avoid damaging the wall. Use appropriate anchors for heavier frames.
Step 5: Hang the Frames
Editor’s Choice


Picture Hanging Kit, 315pcs Hanging Hardware with Hooks, Wire, Nails, D …

180 Pcs 3 Sizes Self-Drilling Drywall Anchors with Screws Kit – Premium …
Step 6: Step Back and Adjust
After hanging all your frames, take a step back to evaluate the overall look of your gallery wall. Adjustments can make a significant difference. Follow these steps:
- Stand at a distance and observe the arrangement as a whole.
- Look for any frames that seem out of place or uneven.
- Make small adjustments to their placement to achieve a balanced appearance.
Pro Tip: Sometimes, less is more. If something feels off, consider removing a piece to simplify the design.
This adjustment phase should take about 15 minutes.
Step 6: Step Back and Adjust
Editor’s Choice

Qykwz Black Women Floral Wall Art Prints, Elegant Modern African America…

Framed Black Girl Wall Art Set of 3, Fashion Inspirational Black Woman W…
Step 7: Add Finishing Touches
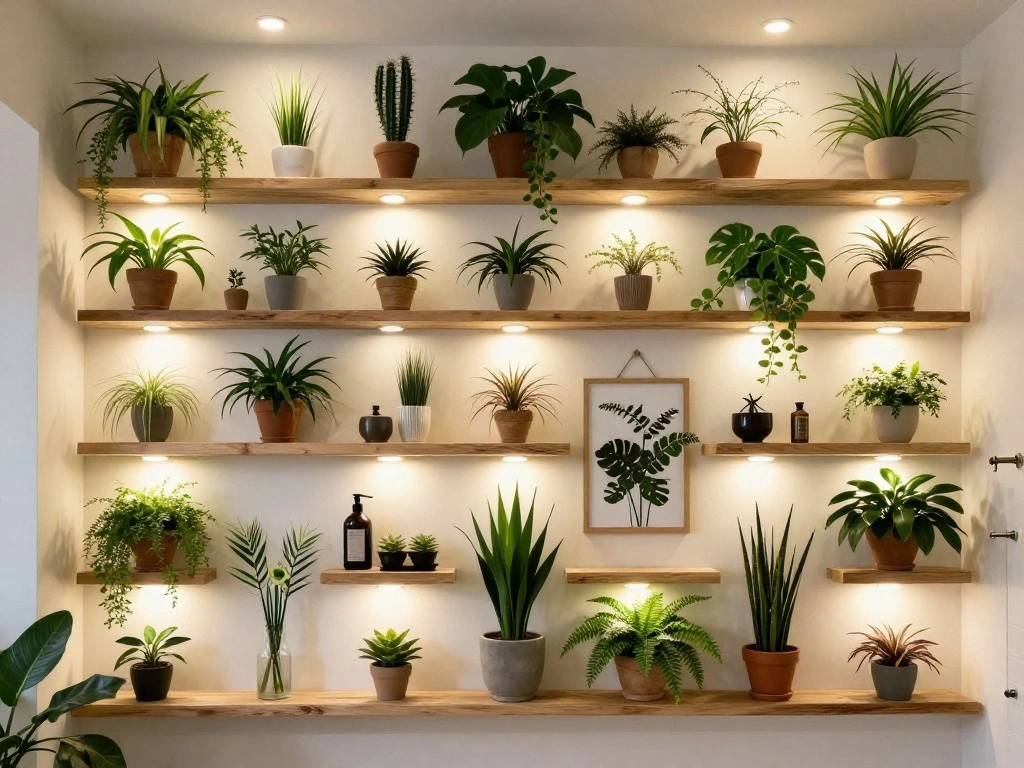
Your gallery wall is almost complete! Now, it’s time to add some finishing touches to enhance the overall look:
- Consider adding small decorative elements like plants or shelves to complement the art.
- Ensure lighting is adequate; consider placing a small lamp or installing light fixtures nearby.
- Check the balance and harmony of colors and styles across the pieces.
Pro Tip: Use LED strip lights behind the frames for an added touch of ambiance without taking up space.
Step 7: Add Finishing Touches
Editor’s Choice

Der Rose Set of 6 Pink Succulents Plants Artificial in Pots Small Fake P…

upsimples Acrylic Shelves for Bathroom Storage, 15″ Floating Shelves Wal…

Cherry Blossom Flower String Lights for Bedroom, Pink Fairy Lights Batte…
Step 8: Enjoy Your New Space

Congratulations! You’ve successfully created a bathroom gallery wall that reflects your style and enhances your space. Now it’s time to enjoy your new environment:
- Take a moment to appreciate your hard work and creativity.
- Invite friends over to show off your new gallery wall.
- Continue to update and refresh your artwork over time for a dynamic space.
Pro Tip: Consider seasonal changes in decor to keep things fresh and engaging.
Step 8: Enjoy Your New Space
Editor’s Choice
Qykwz Black Women Floral Wall Art Prints, Elegant Modern African America…

Inspirational Wall Art for Bedroom, Motivational Office Wall Art Decor, …

BAYKA Bathroom Floating Shelves for Wall Set of 3 – Rustic Brown Farmhou…
Pro Tips
- Color Coordination: Choose frames in a color palette that matches your bathroom decor.
- Mix and Match: Combine different sizes and styles of frames for a more dynamic look.
- Personal Touch: Include personal photos or mementos to make the space uniquely yours.
- Seasonal Changes: Rotate art pieces with the seasons for a fresh vibe.
- Use Command Strips: For lightweight frames, consider using adhesive strips for easy hanging and removal.
Pro Tips
Editor’s Choice

Gold Framed Wall Art, Trippy Woman Legs in Window Canvas Prints – Retr…
Framed Floral Canvas Wall Art Women Pink lnspirational Quotes flowers Pi…

SummerBrite Picture Hanging Strips 40 Strips, Damage Free Removal, Wall …
Common Mistakes to Avoid
Warning: Avoid overcrowding the wall; it can make the space feel cluttered. Instead, opt for fewer pieces with more impact.
Warning: Don’t skip measuring; incorrect placements can lead to uneven visuals and damaged walls. Always measure first.
Warning: Using the wrong hanging hardware for frame weight can lead to accidents. Choose appropriate hooks or nails for each piece.
Common Mistakes to Avoid
Editor’s Choice
Inspirational Wall Art for Bedroom, Motivational Office Wall Art Decor, …
Pink Power 25ft Pink Tape Measure – Measuring Tape for Women’s Tool Kit …
Picture Hanging Kit, Magnetic Hammer and Nails and Level Set for Hanging…
Troubleshooting Section
Problem: Frames are uneven.
Solution: Use a level to adjust and ensure they are straight without removing them.
Problem: Wall damage from nails.
Solution: Fill holes with spackle and repaint if necessary.
Problem: Artwork fading.
Solution: Replace with UV-protective frames or relocate to a less sunny spot.
Troubleshooting Section
Editor’s Choice

Canvas Wall Art for Bathroom Bedroom Decor Abstract Sexy Nude Woman Blac…

Red Devil 0542 ONETIME Lightweight Spackle Wall Repair, Spackling for Ho…
Variations/Alternative Methods
Option 1: Use a pegboard for a flexible display that can easily be changed.
Option 2: Create a collage with washi tape instead of frames for a fun, low-commitment look.
Option 3: Opt for a single large statement piece instead of multiple smaller ones for a more minimalist approach.
Variations/Alternative Methods
Editor’s Choice

PAGEMORE 32 Rolls Colorful Cute Floral Writable Washi Tape Set, Decorati…

YMXZHUANSH 3 Piece African American Wall Art Black Woman Canvas Butterfl…

VUSIGN Pegboard Combination Wall Organizer Kit, 4 Pieces Pegboards and 1…
FAQs
What if I don’t have enough wall space? Consider using smaller frames or a vertical layout to maximize limited space.
How long should I wait before changing my art? Every few months is a great way to keep the space feeling fresh.
Is it safe to use traditional frames in a bathroom? Ensure they are moisture-resistant to prevent damage.
FAQs
Editor’s Choice
Qykwz Black Women Floral Wall Art Prints, Elegant Modern African America…

4PCS Funny Bathroom Wall Art Bathroom Decor Bathroom Accessories Black a…

Behind Women Washroom Wall Art 20 cm Wooden Frame Decorative Painting wi…
Conclusion
Congratulations on creating your stunning bathroom gallery wall! You’ve transformed a bland space into a vibrant reflection of your personality. Take pride in your work and enjoy the new atmosphere in your home.
As you continue to decorate your space, consider exploring other areas of your home that could benefit from a personal touch. Each room can tell a story through art and decor, so keep the creativity flowing!