
Are you looking to add a personal touch to your home décor? A DIY macrame wall hanging can transform your living space, adding warmth and character. Many people feel overwhelmed by the thought of crafting something intricate, but the truth is that creating your own macrame art can be fun and rewarding. In this guide, you will learn how to make a stunning macrame wall hanging from scratch that will impress your friends and family.
This easy-to-follow project will help you create a visually appealing piece that can brighten up any room. You will learn the essential knots and techniques needed to craft your wall hanging, along with tips to customize it to your taste. Whether you want a simple design or a more complex pattern, this guide will help you bring your vision to life.
With a beginner skill level and an estimated time of 2-3 hours, this project is perfect for anyone looking to dive into the world of macrame. Grab your materials, and let’s get started on creating a beautiful piece of art for your wall!
TL;DR Summary
- Learn to create a beautiful macrame wall hanging from scratch.
- Gather essential materials and tools needed for the project.
- Follow simple, step-by-step instructions suitable for beginners.
- Enjoy a rewarding crafting experience in just 2-3 hours.
TL;DR Summary
Editor’s Choice

MIGO Creates DIY Macrame Kit for Beginners with 9 Macrame Projects Ebook…
MIGO Creates DIY Macrame Kit for Beginners with 9 Macrame Projects Ebook…

New Women’s Work: Reimagining feminine craft in contemporary art
Prerequisites/Materials Needed
- Materials:
- Macrame cord (3 mm thickness, 100 feet)
- Wooden dowel or branch (24 inches long)
- Scissors
- Tape measure
- Comb or brush for fraying (optional)
Prerequisites/Materials Needed
Editor’s Choice

SCAIKTIG Small Craft Scissors, 3″ Tiny Travel Scissors Tsa Compliant wit…

Faith Family Freedom – Patriotic Christian Vintage USA Flag Wooden Scrol…

100Pcs Leather Necklace Cord with Clasps, Rope Necklace String, 25Color …
Skill Level & Time Estimate
Skill Level: beginner
Total Time Estimate: 2-3 hours
Here’s a quick breakdown of time by major steps:
- Gathering materials: 15-30 minutes
- Making knots: 1-2 hours
- Finishing touches: 15-30 minutes
Skill Level & Time Estimate
Editor’s Choice

NOANTA Natural Macrame Cord 3mm x 109Yards, Beige Macrame Rope, Cotton C…

LIVINGO Premium Tailor Scissors Heavy Duty Multi-Purpose Titanium Coatin…

The Beadsmith Macrame Board, 11.5 x 15.5 inches, 0.5-inch-Thick Foam, 10…
Step 1: Gather Your Materials
Start by gathering all your materials in one place. This includes your macrame cord, wooden dowel or branch, scissors, tape measure, and optional comb or brush. Having everything within reach will help streamline the process and prevent any interruptions as you work.
Why this matters: Organizing your workspace before you begin will save you time and frustration during crafting. Plus, it allows you to focus solely on the creative process once you start.
Pro Tip: Use a sturdy table or flat surface to work on. Ensure you have good lighting to see your knots clearly.
Time Estimate: 15-30 minutes
Step 1: Gather Your Materials
Editor’s Choice
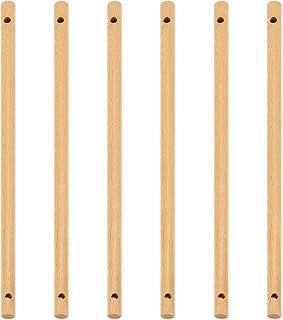
BENECREAT 6PCS Wooden Dowels with Two Holes, 11.8inch Navajo White Round…
100Pcs Leather Necklace Cord with Clasps, Rope Necklace String, 25Color …

5″ All Stainless Steel Office Scissors, Sharp Blade Craft Scissors, Sewi…
Step 2: Measure and Cut the Cord
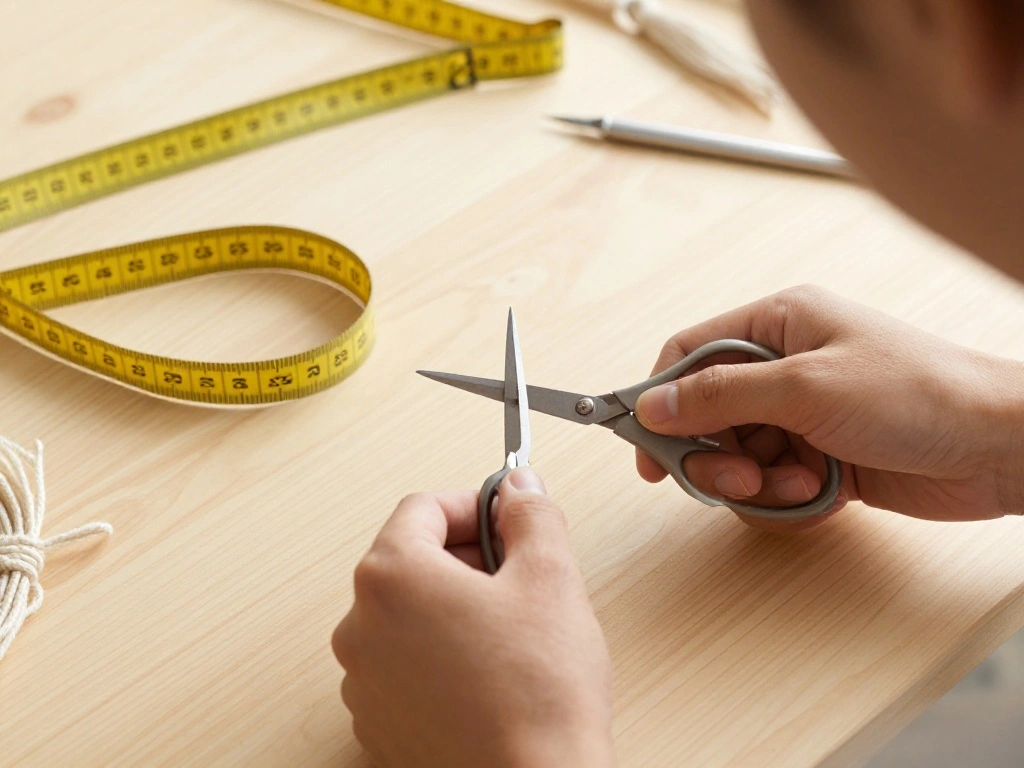
Next, you will need to measure and cut your macrame cord. For this project, cut 10 lengths of cord, each measuring approximately 10 feet long. This length allows for ample room to create knots and patterns.
- Use a tape measure to measure 10 feet.
- Cut the cord with scissors, ensuring a clean cut to prevent fraying.
- Repeat this process until you have 10 pieces of cord.
Why this matters: Having the right cord length is crucial for achieving the desired look and ensuring your wall hanging has enough material for the knots.
Warning: Double-check your measurements before cutting—it’s better to cut a little longer than too short.
Time Estimate: 15-20 minutes
Step 2: Measure and Cut the Cord
Editor’s Choice

GDMINLO Soft Tape Measure Double Scale Body Sewing Flexible Tailor Craft…
NOANTA Natural Macrame Cord 3mm x 109Yards, Beige Macrame Rope, Cotton C…

Fabric Scissors Professional, 8″ Heavy Duty Sewing Scissor for Fabric Cu…
Step 3: Attach the Cord to the Dowel
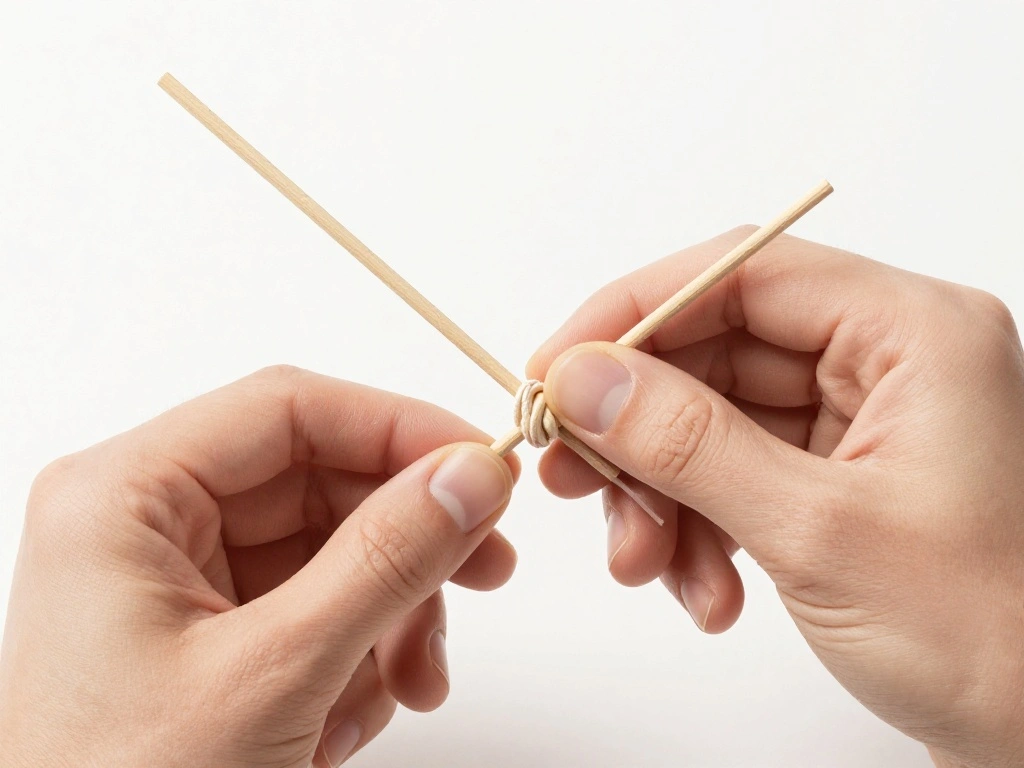
Now it’s time to attach the cord to your wooden dowel. This step will give your wall hanging structure. Fold each piece of cord in half and create a lark’s head knot to secure them to the dowel.
- Take a length of cord and fold it in half to create a loop.
- Place the loop under the dowel, bringing the ends over the dowel.
- Pull the ends through the loop and tighten to form the knot.
Why this matters: The lark’s head knot is essential for securing the cords to the dowel while allowing enough flexibility for further knotting. This will form the foundation of your wall hanging.
Pro Tip: Space the knots evenly along the dowel for a balanced look.
Time Estimate: 20-30 minutes
Step 3: Attach the Cord to the Dowel
Editor’s Choice
BENECREAT 6PCS Wooden Dowels with Two Holes, 11.8inch Navajo White Round…
100Pcs Leather Necklace Cord with Clasps, Rope Necklace String, 25Color …

Macrame: Techniques and Projects for the Complete Beginner
Step 4: Start Knotting
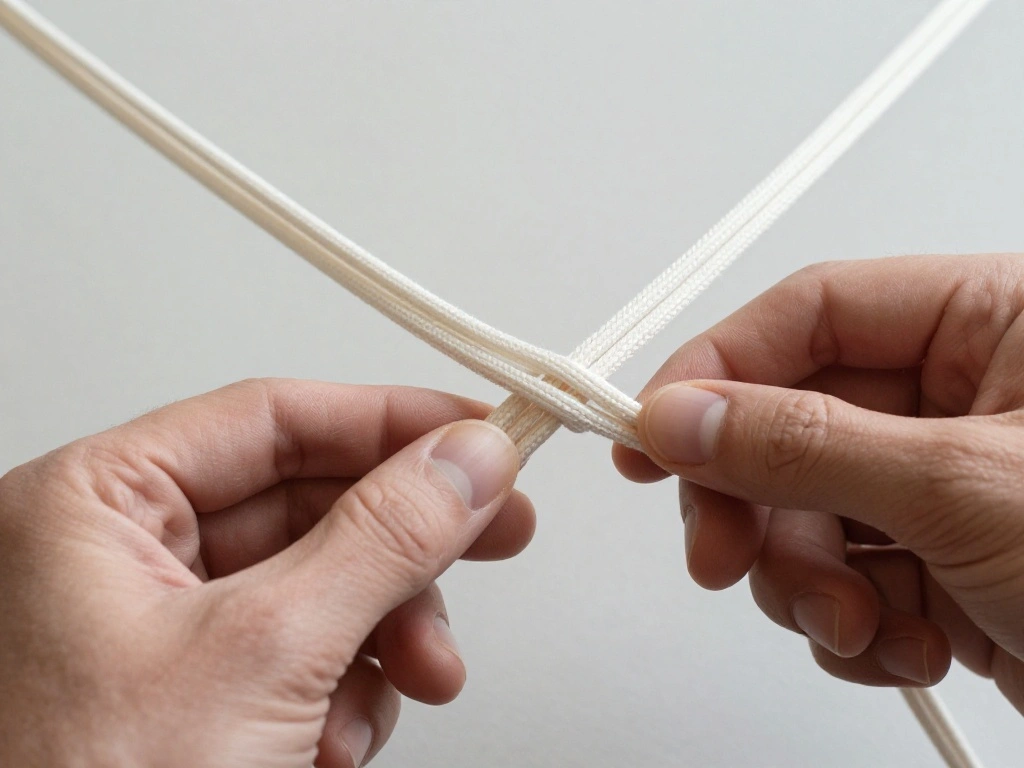
With your cords attached, it’s time to start knotting! Begin with a simple square knot, a fundamental knot in macrame that will form the basis of your design.
- Take two outer cords and hold them in your left hand.
- Cross the left cord over the right cord.
- Bring the right cord under the left cord and pull through the loop you created.
- Pull both cords to tighten.
Why this matters: Mastering the square knot is essential for creating intricate patterns in macrame. It allows for versatility in your design.
Warning: Ensure your knots are tight but not too tight, as it may affect the overall drape of your wall hanging.
Time Estimate: 30-45 minutes
Step 4: Start Knotting
Editor’s Choice

FUZANWJ 330pc Picture Hanging Kit – Wall Hangers, Nails, Wire, Screw Eye…

Macrame for Beginners: A Step-by-Step Guide to Learning Macrame Knots, P…
MIGO Creates DIY Macrame Kit for Beginners with 9 Macrame Projects Ebook…
Step 5: Create Patterns and Design
As you become comfortable with the square knot, start experimenting with different patterns. You can create a variety of designs by combining square knots, half knots, and spiral knots.
- Choose a pattern you like, such as a diamond or chevron.
- Follow the knotting techniques you learned to create the design.
- Continue knotting until you reach your desired length.
Why this matters: Personalizing your wall hanging with unique patterns makes it truly your own. Feel free to get creative and make adjustments as you go.
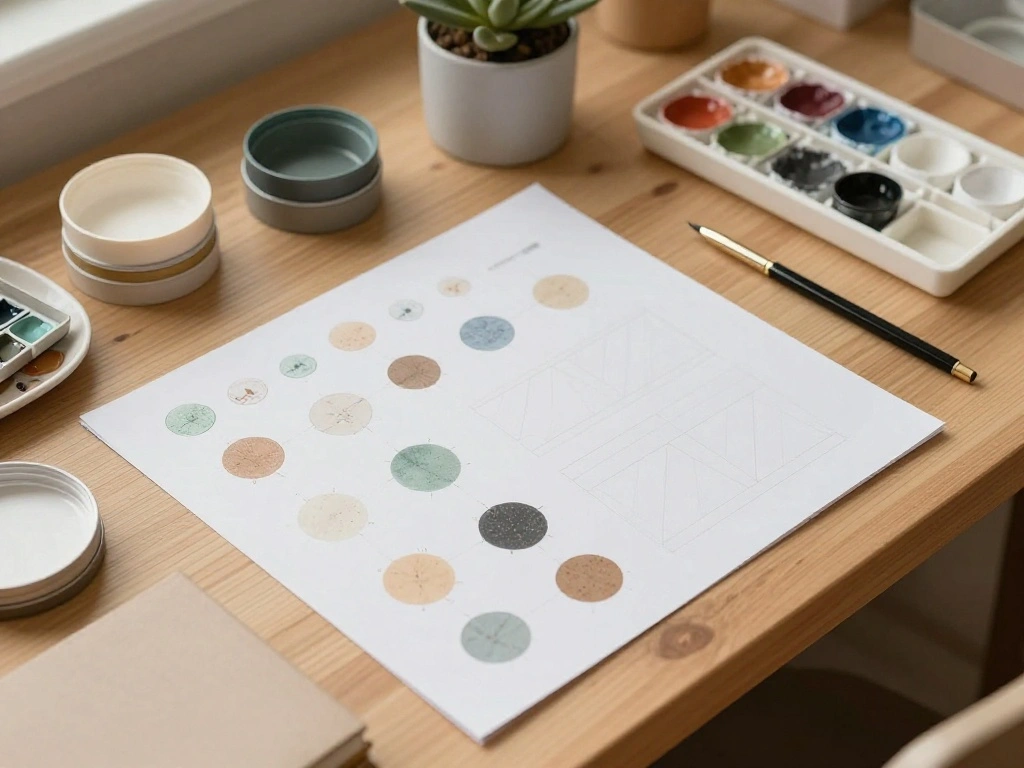
Pro Tip: Sketch out a rough design on paper before starting to visualize your pattern.
Time Estimate: 1-1.5 hours
Step 5: Create Patterns and Design
Editor’s Choice

The Macrame Bible: The complete reference guide to macrame knots, patter…
100Pcs Leather Necklace Cord with Clasps, Rope Necklace String, 25Color …
MIGO Creates DIY Macrame Kit for Beginners with 9 Macrame Projects Ebook…
Step 6: Finishing Touches
Once you finish knotting, it’s time to add the finishing touches. This includes trimming the ends of the cords and optionally brushing them out to create a fringed look.
- Use scissors to trim the cords to your desired length.
- If you want a fringed appearance, gently comb out the ends.
- Finally, hang your completed macrame wall hanging on the wall!
Why this matters: The finishing touches enhance the aesthetic of your piece and ensure it looks polished and professional.
Warning: Be careful not to cut too much off at once—it’s easier to trim more later than to fix a mistake.
Time Estimate: 20-30 minutes
Step 6: Finishing Touches
Editor’s Choice


Macrame Hat Rack for Wall 31×66 in Hat Organizer with 15 Clips Hanging H…

Scissors, iBayam 8″ All Purpose Scissors Bulk 3-Pack, Ultra Sharp 2.5mm …
Pro Tips
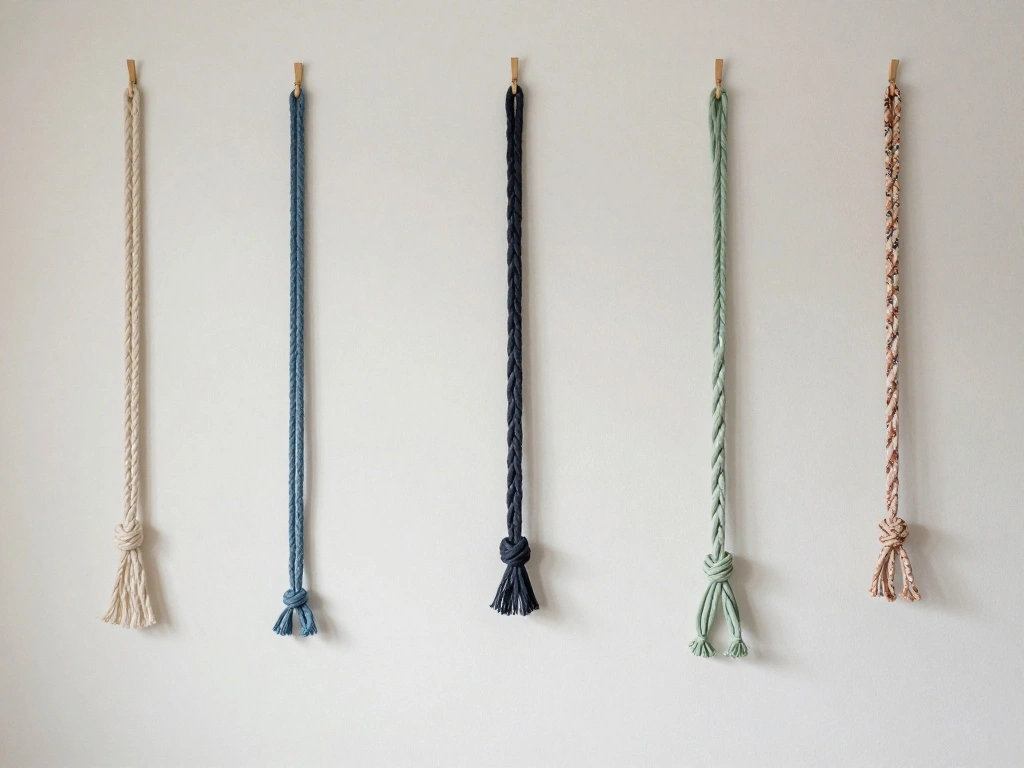
- Choosing Cord: Opt for natural fibers like cotton for a softer look and feel.
- Incorporate Color: Use dyed cords to add a pop of color to your design.
- Practice Knots: Before starting on your wall hanging, practice different knots on scrap pieces of cord.
- Use a Pattern Guide: Consider following a pattern guide for complex designs to ensure accuracy.
- Keep It Loose: Avoid pulling the knots too tight, as this can cause distortion in your design.
Pro Tips
Editor’s Choice
The Macrame Bible: The complete reference guide to macrame knots, patter…

LUSTEMBER 1mm Stretchy Bracelet String, Sturdy Rainbow Elastic String El…

PULITUO Drill Set, 149-Piece Home Tool Set with 12V Pink Cordless Drill,…
Common Mistakes to Avoid
Warning: Don’t cut the cord too short. Always measure twice before cutting to ensure you have enough material to work with.
Warning: Avoid overly tight knots. This can make your finished hanging look uneven and restrict flexibility.
Warning: Don’t skip the practice. Familiarize yourself with the knots before starting your project to avoid frustration.
Common Mistakes to Avoid
Editor’s Choice
Macrame for Beginners: A Step-by-Step Guide to Learning Macrame Knots, P…

BEUNITONE DIY Crochet Bag Kit for Beginners Blue Handbag Macrame Kit for…
NOANTA Natural Macrame Cord 3mm x 109Yards, Beige Macrame Rope, Cotton C…
Troubleshooting Section
Problem: My knots are uneven.
Solution: Adjust the tension on your cords and re-knot sections if necessary.
Problem: The hanging looks too loose.
Solution: Tighten your knots carefully without pulling too hard.
Problem: I don’t have enough cord.
Solution: Use shorter lengths to create a smaller design or purchase additional cord.
Troubleshooting Section
Editor’s Choice
MIGO Creates DIY Macrame Kit for Beginners with 9 Macrame Projects Ebook…

Dunkive Rosary Cord Knotting Tool with Flush Cutter for Crafting, #7#9 a…

KURUI 700PCs Small Nails for Hanging Pictures & 8oz Small Hammer for Wom…
Variations/Alternative Methods
Consider creating a macrame plant hanger for a different approach. This requires similar skills but adds functionality. Another option is to use a different type of knot, like the spiral knot, for a unique design. Each method provides a distinct aesthetic and allows for creativity.
Variations/Alternative Methods
Editor’s Choice
Macrame for Beginners: A Step-by-Step Guide to Learning Macrame Knots, P…
NOANTA Natural Macrame Cord 3mm x 109Yards, Beige Macrame Rope, Cotton C…

Picture Hanging Kit, 315pcs Hanging Hardware with Hooks, Wire, Nails, D …
FAQs
What if I don’t have macrame cord? You can use any sturdy string or rope, but cotton macrame cord is preferred for its flexibility and ease of use.
How long should I let my wall hanging hang? It depends on your preference, but typically 5-10 inches above the ground is ideal for visibility.
Is it safe to hang near a window? Ensure the wall hanging is secured properly to avoid falling, especially if it’s exposed to wind.
FAQs
Editor’s Choice

Luxury 100% “Filo di Scozia Cotton Women’s Tank with Macramé Lace (S – …
BEUNITONE DIY Crochet Bag Kit for Beginners Blue Handbag Macrame Kit for…

SOFFEE DESIGN Set of 5 Floral Wall Hooks, French Garden Eye-catching Ent…
Conclusion
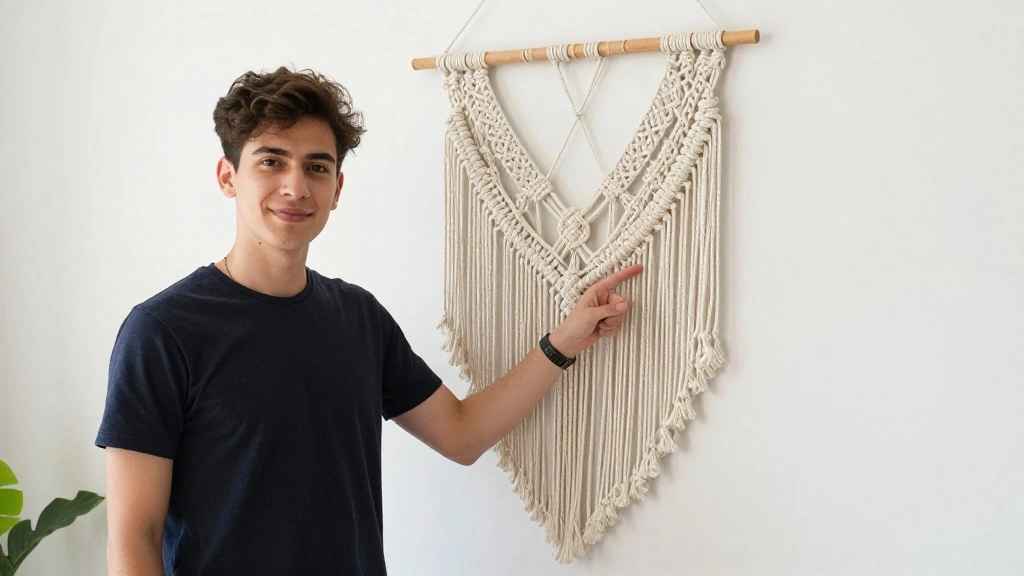
Congratulations! You’ve successfully created your very own macrame wall hanging. Take a moment to admire your handiwork and the unique flair it brings to your space. Now that you have the basics down, consider exploring other macrame projects, like plant hangers or keychains, to continue honing your skills.
Remember, every piece you make will improve your technique, and the possibilities are endless. Share your creations with friends and family, and don’t hesitate to experiment with different designs and colors. Happy crafting!