Are you tired of bland walls and looking for a way to personalize your space without breaking the bank? Creating your own printable wall art can be a fun and fulfilling project that allows you to express your unique style. Whether you’re a beginner or an experienced designer, this guide will show you how to create stunning art pieces that you can print and display in your home.
By the end of this article, you will learn how to design beautiful wall art using Canva, a user-friendly design tool that’s completely free to use. You’ll go through each step, from setting up your Canva account to selecting the right dimensions for your print, and even how to download your finished art piece.
This is a beginner-friendly guide that will take approximately 1-2 hours to complete. Not only will you walk away with your very own printable wall art, but you’ll also gain valuable design skills that you can use in future projects!
Image Prompt: A bright, inviting workspace featuring a laptop with Canva open, alongside art supplies like markers, scissors, and paper.
TL;DR Summary
- Learn to create printable wall art using Canva for free.
- Follow a step-by-step process suitable for beginners.
- Complete the project in about 1-2 hours.
- Get tips and tricks to enhance your design process.
TL;DR Summary
Editor’s Choice

Canon PIXMA TS4320 Wireless Color Inkjet Printer for Duplex Printing, Wh…

Astrobrights/Neenah Bright White Cardstock, 8.5″ x 11″, 65 lb/176 gsm, W…
Prerequisites/Materials Needed
- Canva Account: Create a free account on Canva.
- Design Ideas: Gather inspiration or themes for your wall art.
- Design Software: Access to a computer or tablet with internet.
- Printer: A printer with color capability, or access to a printing service.
- Paper: High-quality paper for printing your art.
Prerequisites/Materials Needed
Editor’s Choice

HP Paper Printer | 8.5 x 11 Paper | Premium 32 lb | 1 Ream – 500 Sheets …

XPPen Artist Pro 22 Gen2 2.5K QHD Drawing Tablet with Screen, 16384 Pen …

Brother Work Smart 1360 Wireless Color Inkjet All-in-One Printer with Au…
Skill Level & Time Estimate
Skill Level: beginner
Total Time Estimate: approximately 1-2 hours
Here’s a breakdown of the time needed for each major step:
- Setting up your Canva account: 10 minutes
- Choosing a template: 15 minutes
- Designing your art: 30-60 minutes
- Downloading and printing: 15 minutes
Skill Level & Time Estimate
Editor’s Choice
HP DeskJet 2855e Wireless All-in-One Color Inkjet Printer, Scanner, Copi…
Pacon Drawing Paper, White, Standard Weight, 9″ x 12″, 500 Sheets
Step 1: Set Up Your Canva Account
To begin your journey in creating printable wall art, first, you need to set up a free Canva account. Follow these steps:
- Go to the Canva website.
- Click on the ‘Sign Up’ button located at the top right corner.
- Choose to sign up using your email, Google, or Facebook account.
- Follow the prompts to complete your registration.
Warning: Make sure to remember your login details, as you will need them every time you access your designs.
Why this matters: Having a Canva account allows you to save your designs and access a variety of templates and tools that make the design process easier.
Time estimate: 10 minutes
Step 1: Set Up Your Canva Account
Editor’s Choice

Framed Vintage Reading Woman Wall Art Floral Book Painting Picture Canva…


Makeup Bag Gifts for Artists Women, Art Lover Gift Thank You Gifts for P…
Step 2: Choose Your Template
Once your account is set up, it’s time to choose a template that will serve as the backbone of your wall art. Here’s how:
- Log in to your Canva account.
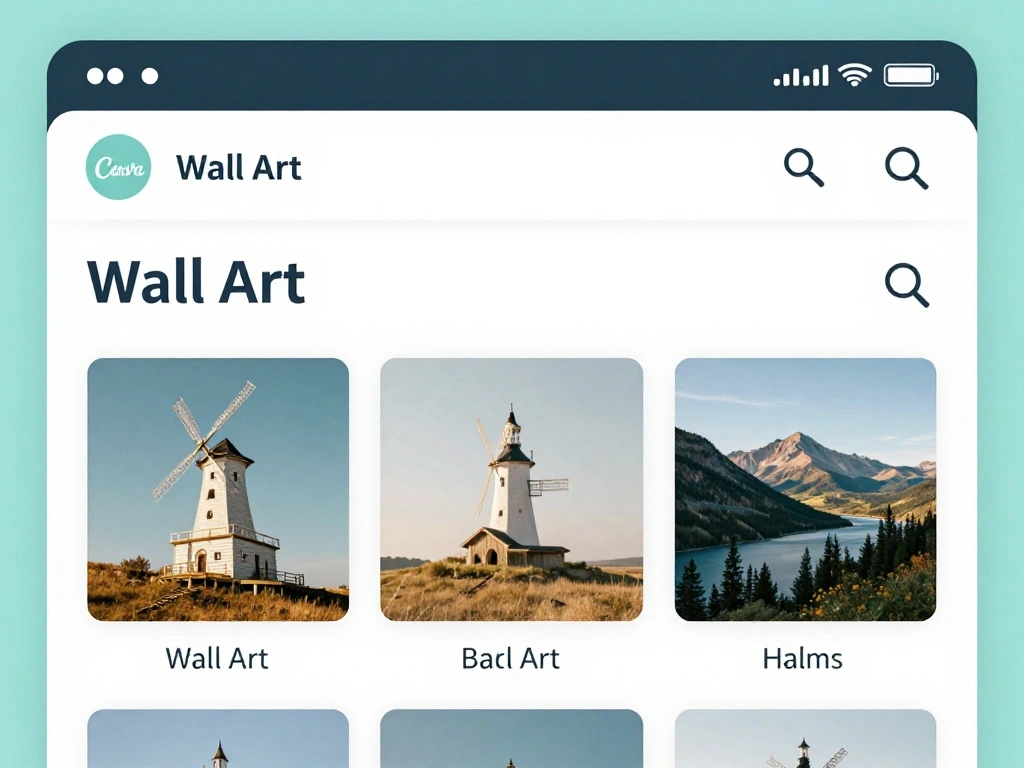
- In the search bar, type ‘Wall Art’ and press enter.
- Browse through the available templates.
- Select a template that resonates with your style by clicking on it.
Pro Tip: Look for templates that allow for customization—this will help you add your personal touch.
Why this matters: Starting with a template saves time and gives you a professional look without needing advanced design skills.
Time estimate: 15 minutes
Step 2: Choose Your Template
Editor’s Choice

Forever Friends Picture Photo Frame, Unique and Cute Picture Frame, Frie…

PRINA 81 Drawing Set Sketching Kit, Pro Sketch Pencils Art Supplies with…

FINGERINSPIRE 4 Pcs Minimalist Figures Painting Stencil with Brush 8.3×1…
Step 3: Customize Your Design
Now that you have selected a template, it’s time to make it your own. Follow these steps to customize your wall art:
- Click on any text box in the template to edit the text.
- Change the font, size, and color using the options in the top toolbar.
- To add images, click on ‘Elements’ and search for graphics or upload your own.
- Adjust the layout until you’re satisfied with how it looks.
Pro Tip: Use complementary colors to enhance visual appeal and maintain harmony in your design.
Why this matters: Customization allows you to reflect your personality and style in your wall art, creating something truly unique.
Time estimate: 30-60 minutes
Step 3: Customize Your Design
Editor’s Choice

Epson EcoTank Photo ET-8550 Wireless Wide-Format Color All-in-One Supert…
Epson Velvet Fine Art Paper (8.5×11 Inches, 20 Sheets) (S041636), White
Step 4: Review Your Design
Before finalizing, take a moment to review your design. Here’s how to ensure your wall art looks great:
- Zoom in and out to check for any errors or misalignments.
- Ensure that text is easy to read and images are clear.
- Ask a friend or family member for feedback.
Warning: Don’t skip this step. A small mistake can become noticeable once printed!
Why this matters: Reviewing your design helps you catch any last-minute mistakes and ensures a polished final product.
Time estimate: 15 minutes
Step 4: Review Your Design
Editor’s Choice
Canon PIXMA TS4320 Wireless Color Inkjet Printer for Duplex Printing, Wh…
Epson Velvet Fine Art Paper (8.5×11 Inches, 20 Sheets) (S041636), White
Step 5: Download Your Art
Once you’re satisfied with your design, it’s time to download it for printing. Follow these steps:
- Click on the ‘Share’ button at the top right corner.
- Select ‘Download’ from the dropdown menu.
- Choose the file type (PDF Print is recommended for wall art).
- Click ‘Download’ to save the file to your computer.
Pro Tip: Ensure you select ‘Crop marks and bleed’ if you plan to print professionally for better results.
Why this matters: Downloading in the correct format ensures that your art retains its quality when printed.
Time estimate: 5 minutes
Step 5: Download Your Art
Editor’s Choice
Epson EcoTank Photo ET-8550 Wireless Wide-Format Color All-in-One Supert…
Epson Velvet Fine Art Paper (8.5×11 Inches, 20 Sheets) (S041636), White
Step 6: Print Your Art
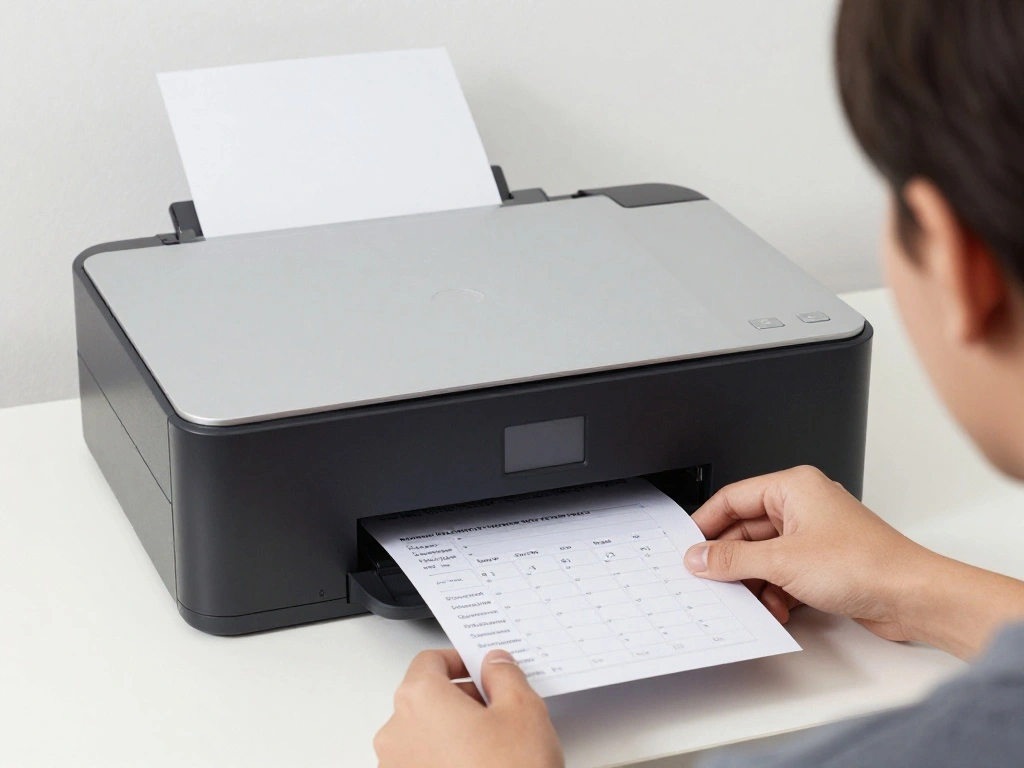
Now that you have your design downloaded, it’s time to print it! Here’s how to do it:
- Open the downloaded file on your computer.
- If using a home printer, ensure it has enough ink and the correct paper loaded.
- Go to ‘File’ and select ‘Print’ to open the printing options.
- Choose your desired settings (such as color, quality, and orientation) and press ‘Print’.
Warning: Always do a test print on plain paper first to check for alignment and colors.
Why this matters: Proper printing ensures your artwork looks as vibrant and professional as it does on-screen.
Time estimate: 15 minutes
Step 6: Print Your Art
Editor’s Choice

datacolor Spyder – Monitor Calibrator for Graphic Designers, Photographe…
Epson EcoTank Photo ET-8550 Wireless Wide-Format Color All-in-One Supert…
HP HeavyWeight Project Paper, Matte, 8.5×11 in, 40 lb, 250 sheets, works…
Step 7: Frame Your Art
After printing your wall art, it’s time to frame it. Follow these steps:
- Select a frame that complements your art; consider color and style.
- Carefully place your print into the frame, ensuring it’s aligned properly.
- Secure the back of the frame to hold the print in place.
Pro Tip: Choose a mat for added depth and a professional finish.
Why this matters: Framing elevates your art, making it ready to be displayed proudly in your home.
Time estimate: 10 minutes
Step 7: Frame Your Art
Editor’s Choice

Food Warming Mats for Countertop Extra Large(XXL 36″x15″),Electric Heati…

Inspirational Wall Art for Bedroom, Motivational Office Wall Art Decor, …
Inspirational Wall Art for Bedroom, Motivational Office Wall Art Decor, …
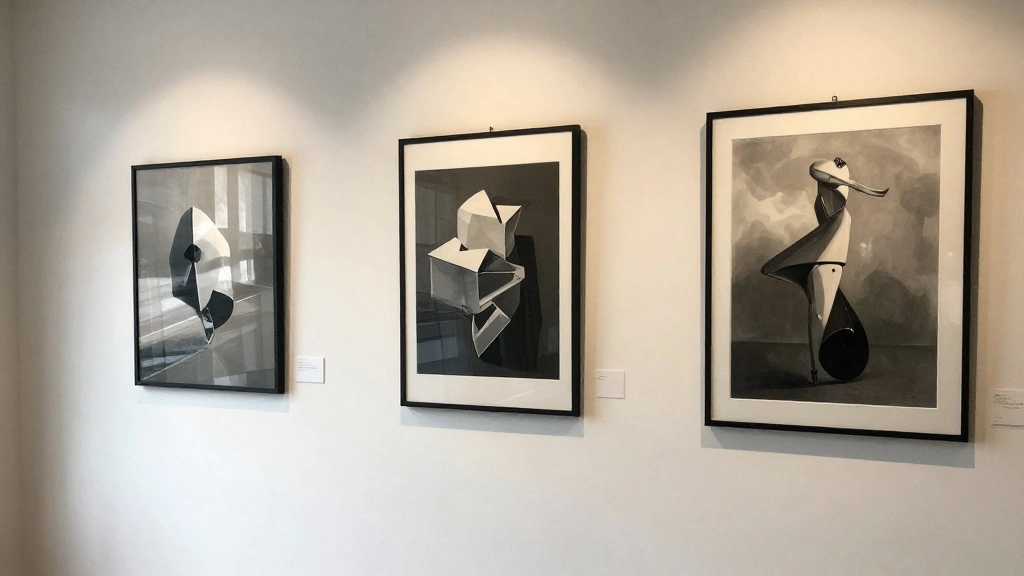
Step 8: Hang Your Art
Your wall art is now framed and ready to be displayed! Here’s how to hang it:
- Choose the perfect spot on your wall—consider lighting and visibility.
- Use a level to mark where the top of the frame will go.
- Insert wall hooks or nails based on the weight of your frame.
- Carefully hang your art, ensuring it’s straight.
Warning: Avoid hanging artwork in direct sunlight to prevent fading.
Why this matters: Proper placement enhances the overall aesthetic of your space and protects your art.
Time estimate: 10 minutes
Step 9: Enjoy Your Creation!
Now that your wall art is hung, step back and admire your hard work! Here’s how to make the most of it:
- Take a moment to appreciate your creativity and effort.
- Share your artwork with friends or on social media.
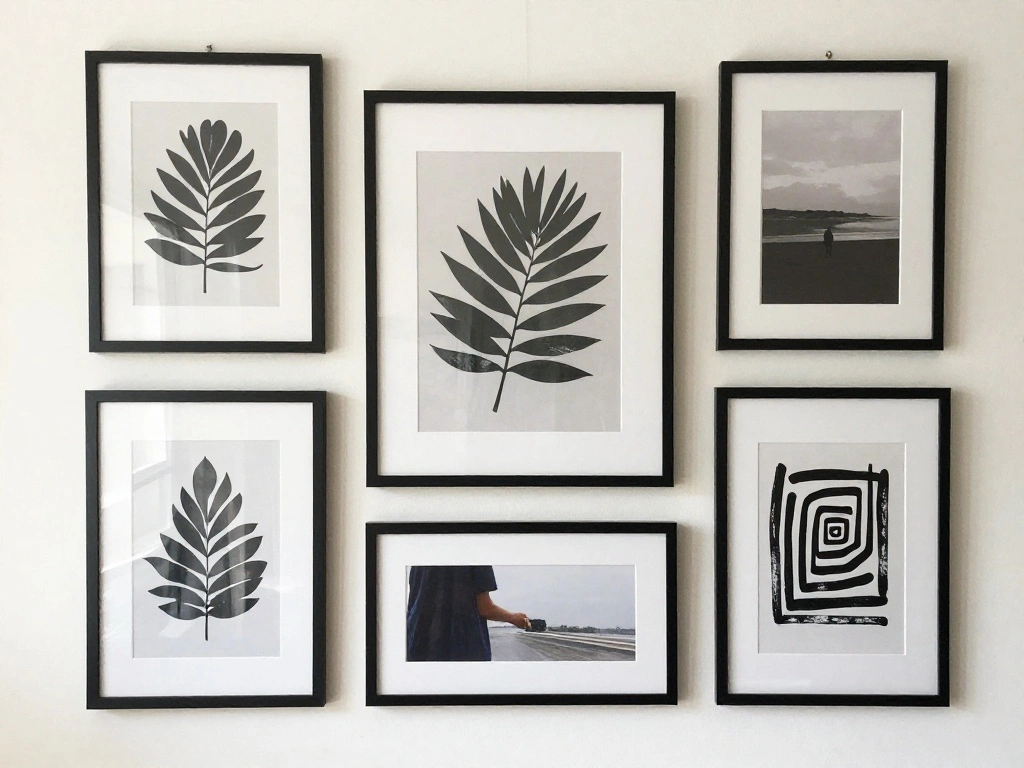
- Consider creating more pieces to build a cohesive gallery wall.
Why this matters: Celebrating your achievements motivates you to create more and enhances your living space.
Time estimate: 5 minutes
Pro Tips
- Color Harmony: Use color wheel tools to find complementary colors for your designs.
- Typography: Experiment with different fonts to see what best fits your theme.
- Layering: Use layers in your design for depth—overlap images and text for a dynamic look.
- Consistent Style: Keep a consistent style across multiple pieces for a unified display.
- Digital Options: Consider creating digital versions of your art for use as wallpapers or social media posts.
Common Mistakes to Avoid
Warning: Always double-check dimensions before printing to avoid resizing issues.
Warning: Avoid overcrowding your design with too many elements, which can make it look cluttered.
Warning: Don’t forget to proofread your text; typos can spoil a great design.
Warning: Ensure your printer settings are correct to avoid color discrepancies.
Warning: Don’t skip the review phase; it’s crucial for catching errors.
Troubleshooting Section
Problem: My print colors look dull.
Solution: Check your printer settings and make sure you’re using the correct paper type.
Problem: My design doesn’t fit the paper size.
Solution: Adjust your design dimensions in Canva before downloading.
Problem: The text is hard to read.
Solution: Choose a bolder font or increase the size.
Problem: My art looks pixelated.
Solution: Always download in high-resolution formats like PDF Print.
Problem: The frame doesn’t fit my print.
Solution: Check dimensions before framing and adjust your design if necessary.
Variations/Alternative Methods
While this guide focused on using Canva, consider these alternative methods:
- Adobe Spark: Similar functionality with some different templates and tools. Best for those familiar with Adobe products.
- Procreate: Ideal for those who prefer drawing and painting their designs on a tablet.
- Mobile Apps: Apps like Over or PicMonkey can also be used for creating wall art on-the-go.
Each method has its strengths; choose based on your comfort level and design needs.
FAQs
What if I don’t have a printer? You can use a local print shop or an online printing service to get your art printed professionally.
How long should I wait before hanging my art? Let the print dry completely before hanging, typically 24 hours for best results.
Is it safe to use my designs for commercial purposes? As long as you use Canva’s free elements, you can use your designs commercially, but check licensing for specific elements.
What if my design doesn’t look good printed? Always do a test print on regular paper to check colors and alignment before using high-quality paper.
Can I edit my design after downloading? No, once downloaded, you cannot make changes to the file. You will need to go back to Canva to edit and re-download.
Conclusion
Congratulations! You’ve successfully created your own printable wall art in Canva. Take a moment to appreciate your hard work and the unique piece you’ve designed. Now that you have the skills, consider creating additional pieces or experimenting with different styles.
For your next steps, explore more design tutorials or join online communities that focus on art and design. This will keep you inspired and help you improve your skills further. Remember, every piece you create adds personal flair to your living space and contributes to your growth as a designer!