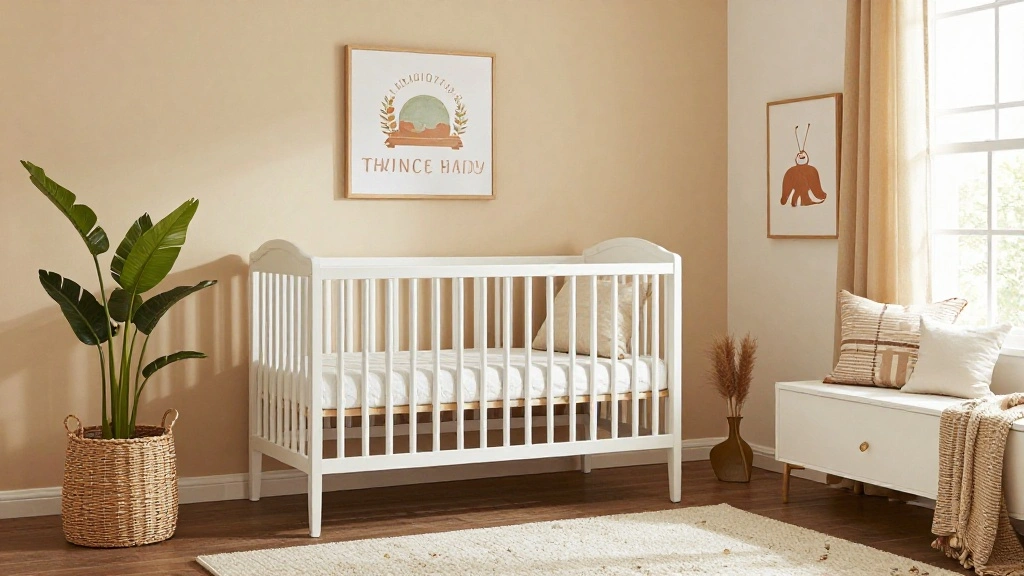
Are you feeling overwhelmed by the thought of decorating your nursery? You’re not alone! Many parents struggle to create a cozy and visually appealing space for their little ones, often leading to a chaotic mix of styles and colors. This guide aims to help you build a cohesive nursery wall decor look from scratch, ensuring that your nursery is not only stylish but also reflective of your personality and the warmth of your new family member.
By the end of this guide, you will have a beautifully designed nursery wall that harmonizes with the overall theme of the room. You will learn how to select a color palette, choose the right decor elements, and arrange them effectively to create a balanced look. Expect to get hands-on as we guide you through each step!
This guide is designed for beginner decorators and will take approximately 2-3 hours to complete, depending on how much planning you do beforehand. Grab your tools, and let’s get started creating a dreamy space for your baby!
TL;DR Summary
- Identify a cohesive color palette for your nursery.
- Select decor elements that match your theme.
- Arrange items thoughtfully for a balanced look.
- Use personal touches to make the space unique.
TL;DR Summary
Editor’s Choice

Shario Nursery Book Shelves, 4-Pack White Floating Shelves for Wall Kids…

Color Collective’s Palette Perfect: Color Combinations Inspired by Fashi…

Pink Striped Floral Wall Art Set of 3 Rustic Farmhouse Botanical Canvas …
Prerequisites/Materials Needed
- Color Palette: Choose 3-5 coordinating colors
- Wall Art: 2-4 wall art pieces (prints, canvas, or framed photos)
- Decor Accents: 2-3 decorative items (shelves, toys, or plants)
- Hanging Tools: Picture hooks, adhesive strips, or nails
- Measuring Tape: To ensure proper placement and spacing
Prerequisites/Materials Needed
Editor’s Choice
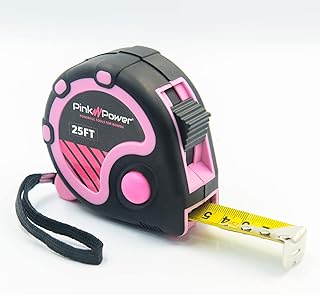
Pink Power 25ft Pink Tape Measure – Measuring Tape for Women’s Tool Kit …

Maitys Boho Wall Decor Set of 3, Wood & Rattan Daisy Flower Wall Hanging…

Cute Baby Newborn Baby Pregnant Women And Expectant Mothers Poster Canva…
Skill Level & Time Estimate
Skill Level: beginner
Total time estimate: 2-3 hours
Breakdown of time:
- Choosing a color palette: 30 minutes
- Selecting decor elements: 1 hour
- Arranging items: 1 hour
Skill Level & Time Estimate
Editor’s Choice

Cute Pink Butterfly Wall Decor 24 pcs, Girls Room Wall Decals, Danish Pa…

Caliart Watercolor Paint Set, 50 Colors Portable Water Color Palette Kit…

Nurse Cow Stuffed Animal, 8 Inches Navy Cow Thank You Nurse Week Graduat…
Step 1: Choose a Color Palette
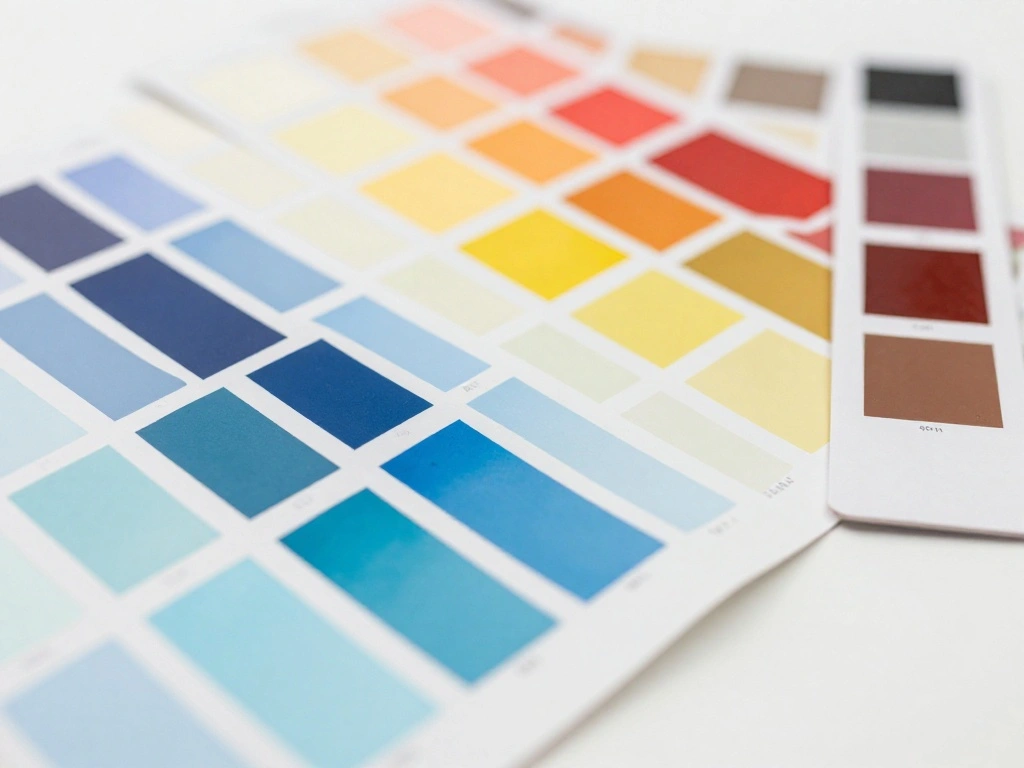
Start by selecting a color palette that reflects the atmosphere you want to create. A cohesive color scheme will unify your decor and make the space feel harmonious. Follow these steps:
- Look for inspiration in magazines, Pinterest, or online galleries.
- Select 3-5 colors that complement each other. Consider soft pastels, bold primary colors, or neutral tones.
- Gather swatches or samples to see how they look together in the nursery lighting.
Pro Tip: Use a color wheel to find complementary colors that work well together.
Warning: Avoid using too many colors, as this can create a chaotic look. Stick to your selected palette for consistency.
Time estimate: 30 minutes.
Step 1: Choose a Color Palette
Editor’s Choice

Urine Trouble Sample | Kidney Nurse Urologist Nephrologist Zip Hoodie

kangaroo Headband Holder Hair Bows Organizer for Baby Girls Large Capaci…

3pcs Pink Aura Collection Gradient Canvas wall art Positive Minimalist F…
Step 2: Select Decor Elements
Now that you have your color palette, it’s time to choose decor elements that align with your theme. This step is crucial for creating a cohesive look in your nursery. Here’s how to do it:
- Consider wall art options, such as prints, decals, or framed photos.
- Choose decorative accents, such as shelves, toys, or plants, that fit your color scheme.
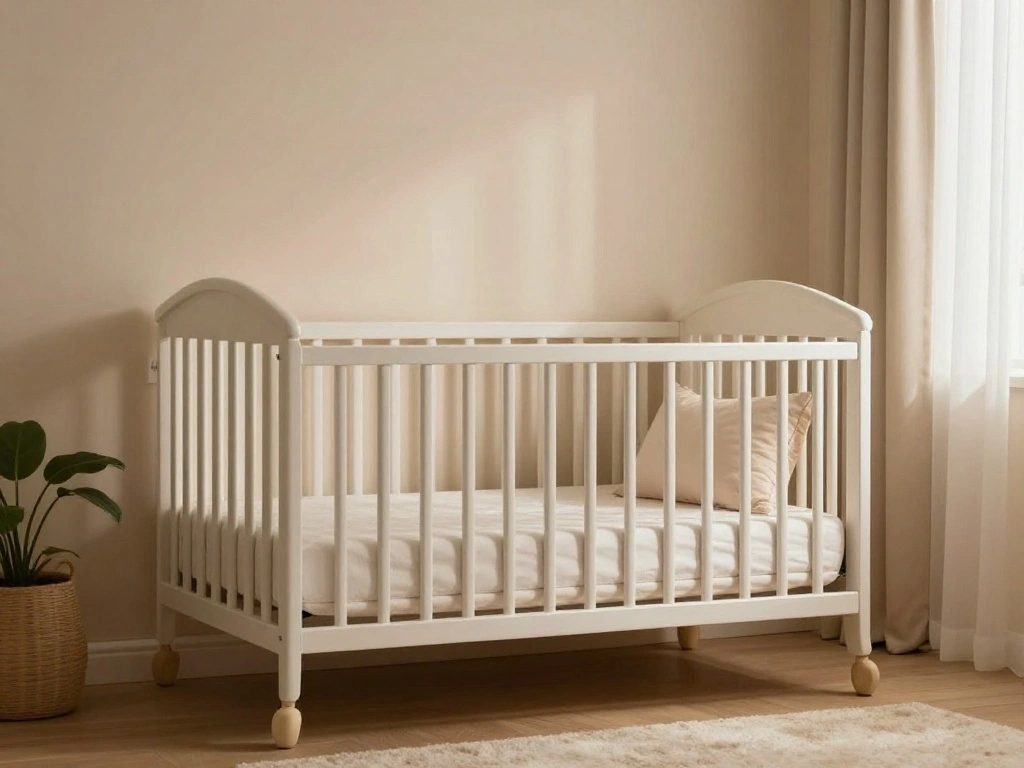
- Select furniture pieces like a crib or changing table that harmonize with your decor style.
Pro Tip: Look for items that serve multiple purposes, like storage ottomans that match your decor.
Warning: Avoid overcrowding the space with too many items, which can lead to visual clutter.
Time estimate: 1 hour.
Step 2: Select Decor Elements
Editor’s Choice
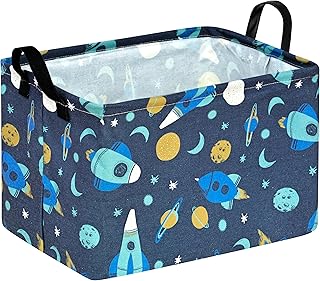
Baby Waterproof Storage Basket Toys Organizer Nursery Bins for Women Kid…

BAYKA Pink Floating Shelves for Wall Set of 3, 15.7in Wood Wall Shelves …

DONFENTHY 3 Pieces Inspirational Pink Floral Wall Decor Wooden Hanging W…
Step 3: Create a Layout Plan
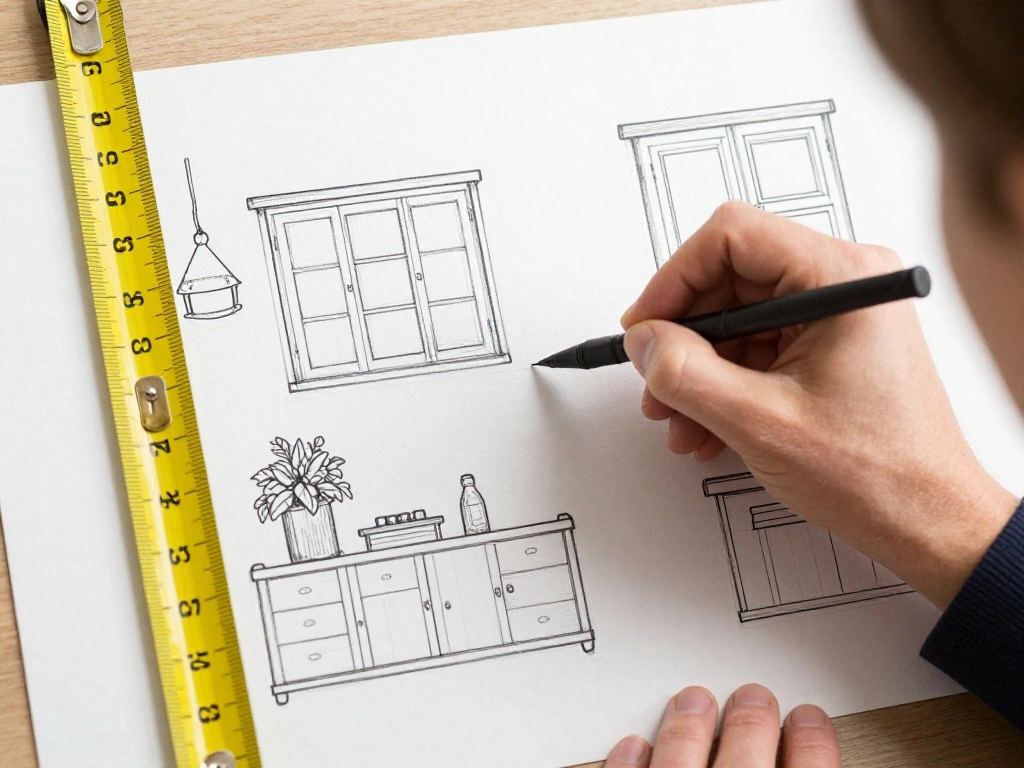
Before hanging or placing anything, create a layout plan to visualize how your items will work together. This step helps ensure that everything fits well and maintains a cohesive appearance. Follow these steps:
- Use a piece of paper to sketch out the wall where you’ll place your decor.
- Draw where each item will go, considering spacing and balance.
- Take measurements of your wall to help determine item placement.
Pro Tip: Use painter’s tape to outline where items will go on the wall to visualize your layout before making it permanent.
Warning: Be cautious of hanging items too high or too low; aim for eye-level to create a pleasing sight.
Time estimate: 30 minutes.
Step 3: Create a Layout Plan
Editor’s Choice
Pink Power 25ft Pink Tape Measure – Measuring Tape for Women’s Tool Kit …

SOFFEE DESIGN Set of 5 Floral Wall Hooks, French Garden Eye-catching Ent…
DONFENTHY 3 Pieces Inspirational Pink Floral Wall Decor Wooden Hanging W…
Step 4: Hang Wall Art
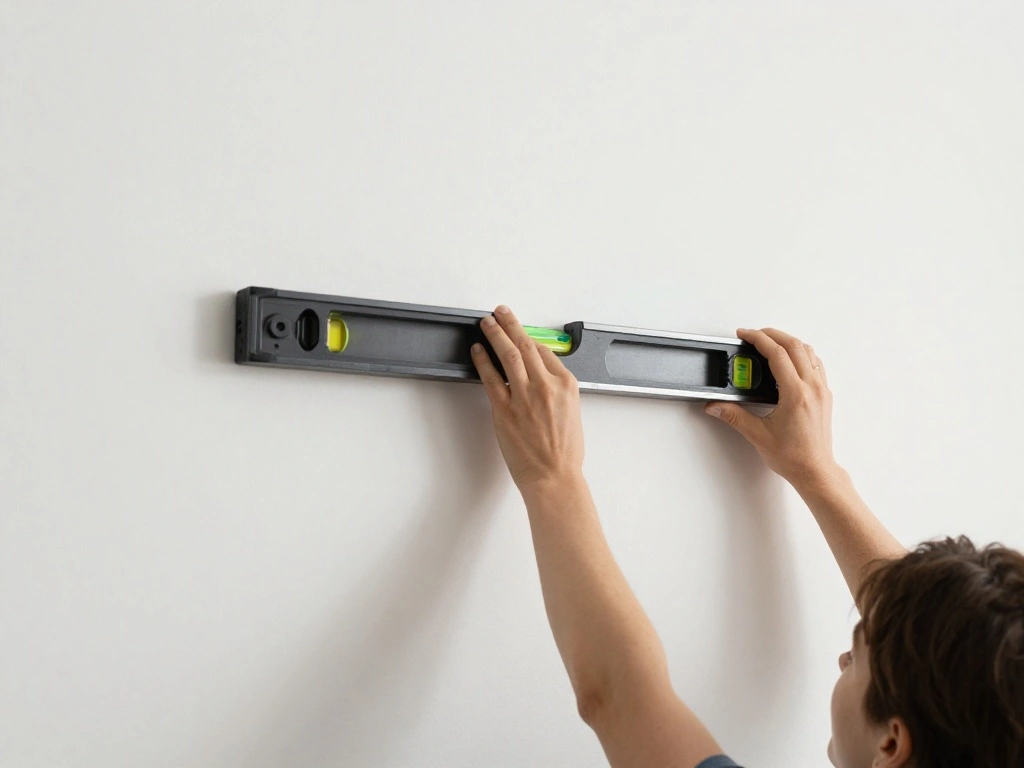
With your layout planned, it’s time to hang the wall art. This step is vital for defining the focal point of your nursery. Here’s how to do it:
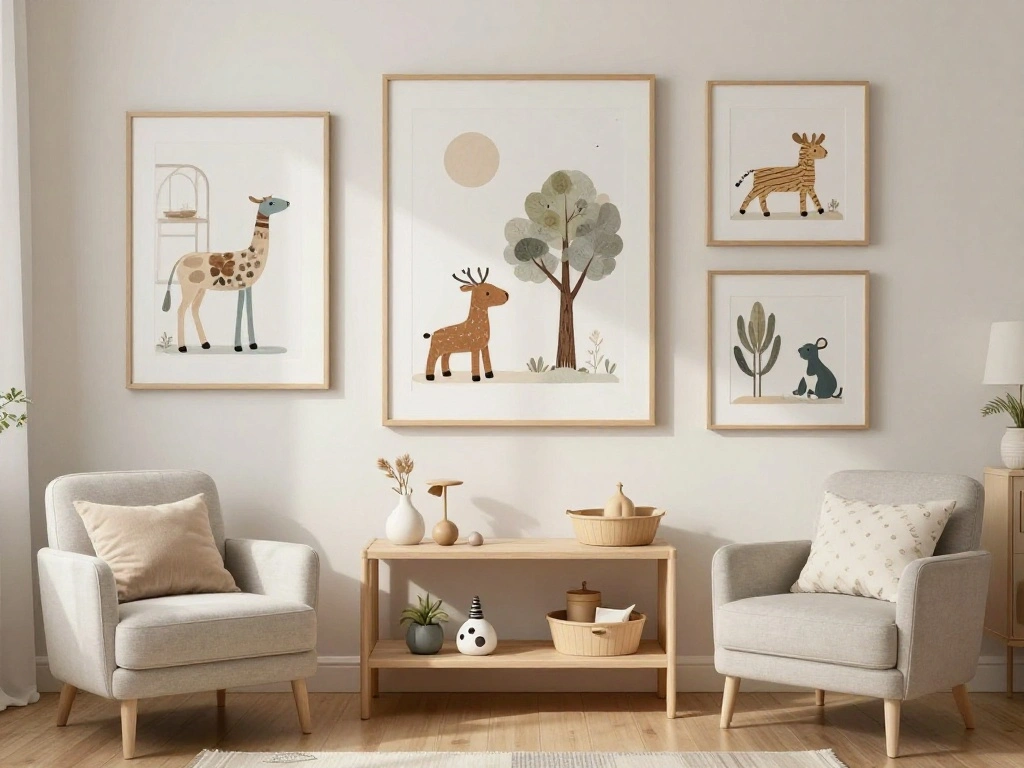
- Start with the largest piece of art to establish your focal point.
- Measure and mark the desired height on the wall, ensuring it’s at eye level.
- Use appropriate hanging tools for your wall type (hooks, nails, or adhesive strips).
Pro Tip: Hang art in groups for a gallery feel, ensuring to keep a consistent distance between pieces.
Warning: Double-check the stability of the hanging items to avoid accidents.
Time estimate: 30 minutes.
Step 4: Hang Wall Art
Editor’s Choice
DONFENTHY 3 Pieces Inspirational Pink Floral Wall Decor Wooden Hanging W…

KURUI 700PCs Small Nails for Hanging Pictures & 8oz Small Hammer for Wom…
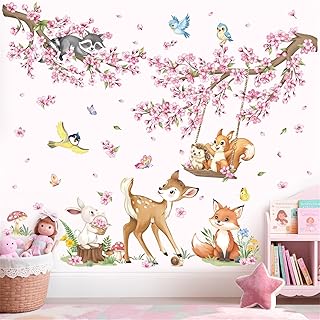
decalmile Woodland Animals Pink Flower Wall Stickers Cherry Blossom Bran…
Step 5: Arrange Decorative Accents

Now it’s time to arrange your decorative accents, which add personality to the nursery. This step enhances the overall aesthetic and completes your design. Here’s how:
- Start with larger items, placing them first to anchor the space.
- Layer smaller items around the larger ones, creating visual interest.
- Use varying heights for items to maintain a dynamic look.
Pro Tip: Group items in odd numbers for a more visually appealing arrangement.
Warning: Avoid placing too many items on surfaces, as this can create a cluttered look.
Time estimate: 1 hour.
Step 5: Arrange Decorative Accents
Editor’s Choice

Nurse Gifts for Women, Funny Nurse Mug with Gold Print, Nurses Week Reti…
Shario Nursery Book Shelves, 4-Pack White Floating Shelves for Wall Kids…
Maitys Boho Wall Decor Set of 3, Wood & Rattan Daisy Flower Wall Hanging…
Step 6: Add Personal Touches

Adding personal touches makes your nursery unique and special. This step helps create a warm and inviting atmosphere. Here’s how to personalize your space:
- Incorporate family photos or meaningful artwork.
- Include items that reflect your interests, such as books or toys from your childhood.
- Consider adding a hand-painted sign with your baby’s name or initials.
Pro Tip: Personal touches spark joy and make the nursery feel like home.
Warning: Avoid items that could pose safety hazards, such as sharp objects or small choking hazards.
Time estimate: 30 minutes.
Step 6: Add Personal Touches
Editor’s Choice

Personalized Wooden Plaque Custom Hairdresser Man Woman Custom Engraved …

Acqooeakt Vintage Fashion Black and White Wall Art Feminist Women Poster…
Small 5×7 Picture Frame with Velvet Finish, Cute Pink Decorative Photo F…
Step 7: Final Adjustments
After everything is in place, step back and evaluate your work. This step is essential for ensuring that your nursery feels harmonious and complete. Here’s what to do:
- Take a moment to look at the overall layout and feel of the room.
- Make any necessary adjustments to item placements or arrangements.
- Ensure that everything is safely secured and stable.
Pro Tip: Sometimes, small changes can make a big difference, so don’t hesitate to tweak placements until it feels right.
Warning: Avoid rushing through this step; take your time to ensure satisfaction with the final look.
Time estimate: 30 minutes.
Step 7: Final Adjustments
Editor’s Choice
Boho Floral Flowers Storage Basket – Rectangular Decorative Box Collapsi…

EMITEVER Picture Hanging Strips Heavy Duty, Damage Free Picture Hangers …

Qykwz Black Women Floral Wall Art Prints, Elegant Modern African America…
Step 8: Add Lighting Elements
Lighting plays a crucial role in setting the mood of your nursery. This step enhances the ambiance and functionality of the space. Here’s how to incorporate lighting:
- Select soft, warm lighting options such as lamps or fairy lights.
- Place lamps on side tables or shelves for added glow.
- Consider blackout curtains for nap times to control natural light.
Pro Tip: Use dimmable lights for flexibility during nighttime feedings or diaper changes.
Warning: Avoid harsh, bright lights that can disrupt a calming environment.
Time estimate: 30 minutes.
Step 8: Add Lighting Elements
Editor’s Choice

PoKat 23” Table Lamp with Flower Lampshade for Night Stands, Birthday G…

String Lights, 8 Light Modes 6ft 20 LED Rose Flower Garlands for Indoor …

Pink Girls Kitchen Curtains 27.5W x 39L Inch Small Mini White Cute Ombre…
Step 9: Enjoy Your Beautiful Nursery

Congratulations on completing your cohesive nursery wall decor! This final step is all about enjoying the fruits of your labor. Here’s what to do:
- Spend time in the nursery, getting comfortable with the new space.
- Invite family and friends to see your beautiful creation.
- Consider adding a few cozy touches, like a rocking chair or soft blankets, for added comfort.
Pro Tip: Regularly update your decor as your child grows to keep the space fresh and engaging.
Warning: Avoid overcrowding the nursery as your child grows; keep it functional and safe.
Time estimate: 30 minutes.
Step 9: Enjoy Your Beautiful Nursery
Editor’s Choice

SAETSFEG Rocking Chair Nursery Teddy Upholstered Glider Rocker Rocking A…

Pink Vintage Wildflower Nursery Decor Banner For Girls, Baby Girl Room D…

Bedsure GentleSoft White Throw Blanket for Couch – Graduation Gifts Teac…
Pro Tips
- Layer Textures: Incorporate various textures such as soft fabrics and wooden elements for depth.
- Use Removable Decals: They are great for changing the theme as your child grows.
- Incorporate Storage: Stylish storage solutions keep the nursery organized and clutter-free.
- Mix Patterns Wisely: Use patterns in moderation to maintain a cohesive look.
- Keep Safety in Mind: Ensure all decor elements are safe and suitable for children.
Pro Tips
Editor’s Choice

Black Girl Reading Wall Art African American Woman Canvas Wall Decor Bla…

CNA Gifts for Women, CNA Week Gifts, Best Certified Nursing Assistant Gi…

DECRAFTS Seagrass Storage Basket with Lid Rectangular Small Woven Shelf …
Common Mistakes to Avoid
Warning: Overcrowding the space can lead to chaos. Stick to a few key pieces.
Warning: Ignoring safety can introduce hazards. Ensure all items are child-safe.
Warning: Using too many colors can create a jarring effect. Keep your palette limited.
Warning: Not measuring before hanging can lead to poorly placed items. Always measure first.
Warning: Neglecting lighting can affect mood. Choose warm, soft lighting for comfort.
Common Mistakes to Avoid
Editor’s Choice

Tarklanda Moon Star Dream Catcher Decor, 2pcs Boho Home Moon Star Dreamc…
Acqooeakt Vintage Fashion Black and White Wall Art Feminist Women Poster…

Maitys 3 Pieces Boho Daisy Wall Decor Natural Rattan Flower Wall Hanging…
Troubleshooting Section
Problem: The decor feels cluttered.
Solution: Remove one or two items to simplify the space.
Problem: Colors clash.
Solution: Identify the dominant color and adjust other colors to complement it.
Problem: Items are too high or low.
Solution: Adjust the heights of the art and decor items for a more balanced look.
Problem: The nursery feels cold or uninviting.
Solution: Add soft textures, such as blankets or cushions, to create warmth.
Problem: Lighting is too harsh.
Solution: Switch to softer bulbs or add dimmable options for flexibility.
Troubleshooting Section
Editor’s Choice
Black Girl Reading Wall Art African American Woman Canvas Wall Decor Bla…

Hoikwo 3 Pack Butterfly Wall Shelves, White Pink Floating Book Shelves, …
Pink Vintage Wildflower Nursery Decor Banner For Girls, Baby Girl Room D…
Variations/Alternative Methods
Gallery Wall: Instead of a single large piece, create a gallery wall using various small art pieces.
Theme-based Decor: Choose a specific theme (like animals or space) for a more targeted approach.
Seasonal Updates: Consider changing decor elements seasonally to keep the space fresh and engaging.
Variations/Alternative Methods
Editor’s Choice
ZUKIY Woman by the Autumn Lake – 8×10 Unframed Autumn Lakeside Wall Art …

Black Girl Magic You Are Capable Confident Butterfly Inspirational Quote…
Pink Vintage Wildflower Nursery Decor Banner For Girls, Baby Girl Room D…
FAQs
What if I don’t have a lot of space? Use vertical space by adding shelves and wall-mounted decor items.
How long should I wait before changing the decor? Consider updating as your child grows or once a year for a fresh look.
Is it safe to use wall decals? Yes, as long as they are non-toxic and securely attached.
What if I can’t find matching decor? Look for DIY options to create personalized pieces that fit your theme.
Can I mix different styles? Yes, but maintain a common color palette to ensure cohesion.
FAQs
Editor’s Choice
Shario Nursery Book Shelves, 4-Pack White Floating Shelves for Wall Kids…

Her Vibe is Pretty Wall Decal Decor Vivid Butterflies Wall Sticker Inspi…

Layered 12 Inch Large Wooden Letters for Wall Decor, Flowered Paintable …
Conclusion
Congratulations on completing your nursery wall decor! You have created a beautiful, cohesive space for your little one that reflects your personal style and warmth. Take a moment to enjoy the fruits of your labor and celebrate this exciting new chapter in your life.
As your child grows, consider updating the decor to reflect their interests and personality. For inspiration, keep an eye on design blogs and platforms like Pinterest. Enjoy your journey into parenthood!