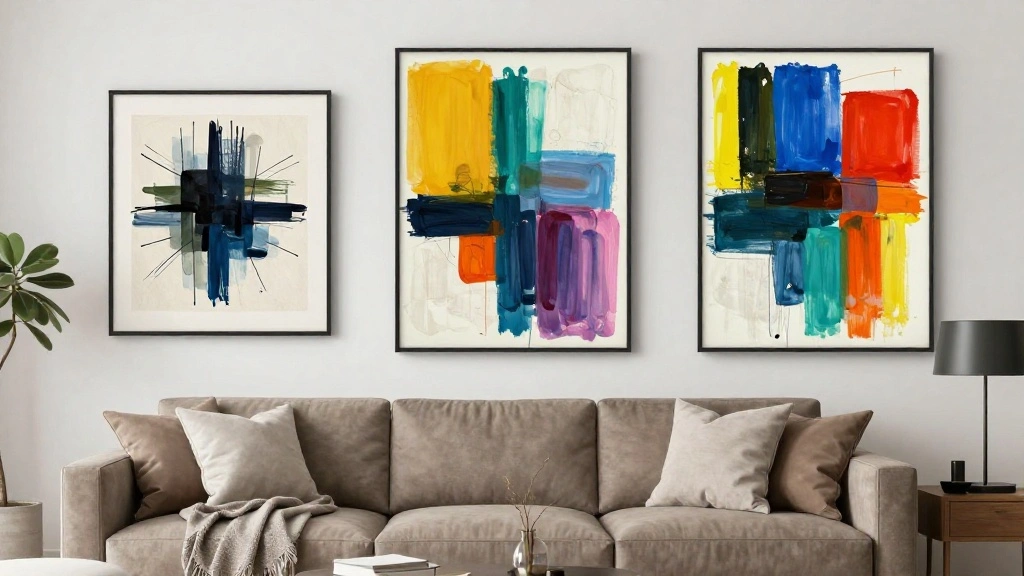
Are you looking to add a personal touch to your walls but don’t know where to start? You’re not alone! Many people feel intimidated by the idea of creating abstract art, fearing they lack the necessary skills. But fear not! In this guide, we will take you through the process of painting your own stunning abstract canvas wall art. By following these simple steps, you will create a unique piece that reflects your personality and style.
As a beginner, you’ll learn how to choose your materials, develop a color palette, and apply different painting techniques to produce beautiful, abstract designs. You will also discover how to make your artwork stand out while overcoming any initial fears of the canvas. This guide is designed to be easy to follow, even if you have zero painting experience.
With an estimated time of 2-3 hours, this project is perfect for a weekend activity! Get ready to unleash your creativity and transform your blank canvas into an expression of art. Difficulty Level: Beginner
TL;DR Summary
- Gather materials: Use a large canvas, acrylic paints, and various brushes.
- Choose a color palette: Select colors that resonate with you.
- Apply paint: Use techniques like pouring, splattering, or brushing to create abstract designs.
- Finish and display: Allow your art to dry and find the perfect spot to show it off!
TL;DR Summary
Editor’s Choice

Professional Artist Paint Brush Set of 12 – Painting Brushes Kit for Kid…

TMOL Acrylic Paint Set, 24 Colors (2 oz/Bottle) with 12 Art Brushes, Art…

Simetufy Canvas Boards for Painting 52 Pack 8 x 10 Inch Blank Flat Canva…
Prerequisites/Materials Needed
- Canvas: 16×20 inches or larger
- Acrylic paints: 6-10 colors
- Brushes: Variety pack (flat and round)
- Palette: For mixing colors
- Water cup: For rinsing brushes
- Paper towels: For cleaning up
- Apron or old clothes: To protect your clothing
Prerequisites/Materials Needed
Editor’s Choice

ESRICH Canvas Boards for Painting, 5 Pack Canvases for Painting 8×10 Cot…

162 Pcs Paint Brushes Bulk, Round Flat Tip Acrylic Paint Brushes Set for…

Shuttle Art Acrylic Paint, 36 Colors Acrylic Paint Set with Brushes & Pa…
Skill Level & Time Estimate
Skill Level: Beginner
Total time estimate: 2-3 hours
Breakdown of time:
- Gathering materials: 15 minutes
- Choosing colors: 30 minutes
- Painting process: 1.5-2 hours
- Drying time: 1 hour (or longer, as needed)
Skill Level & Time Estimate
Editor’s Choice

Shuttle Art Acrylic Paint, 50 Colors Acrylic Paint Set, 2oz/60ml Bottles…

Paint Brushes Set of 24 Pieces Wooden Handles Brushes with Canvas Brush …

Simetufy 12 Pack 8×10 Canvas Boards for Painting, Blank Flat Canvas Pane…
Step 1: Gather Your Materials
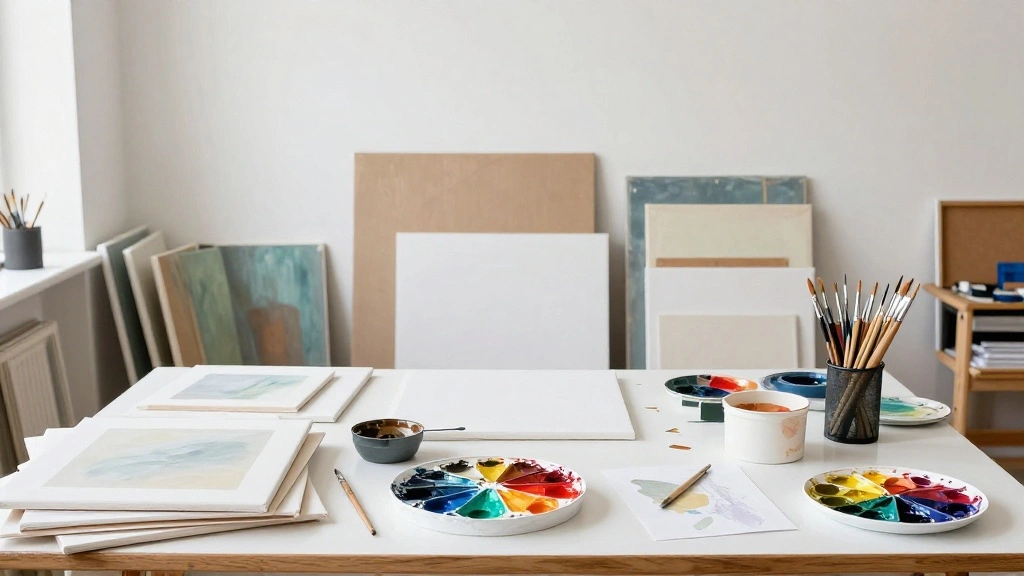
Start by assembling all the materials you need to create your artwork. This step is crucial because having everything ready will streamline your painting process.
- Choose a suitable workspace, preferably a well-lit area.
- Place your canvas on an easel or flat surface.
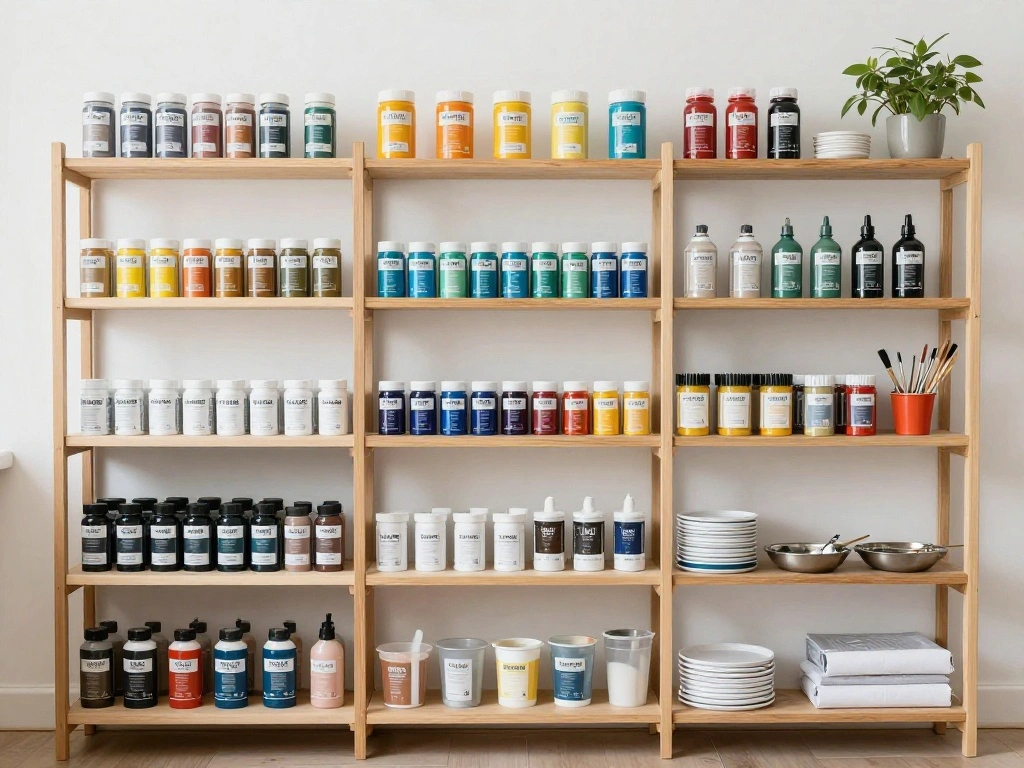
- Gather your acrylic paints, brushes, palette, and cleaning supplies.
Warning: Ensure your workspace is protected with newspaper or a plastic sheet to avoid paint stains on surfaces.
Pro Tip: Organize your paints by color to make it easier to access while painting. This will save time and keep your creative flow uninterrupted.
Time estimate: 15 minutes
Step 1: Gather Your Materials
Editor’s Choice
Paint Brushes Set of 24 Pieces Wooden Handles Brushes with Canvas Brush …
Shuttle Art Acrylic Paint, 36 Colors Acrylic Paint Set with Brushes & Pa…

U.S. Art Supply 66″ High Classroom Silver Aluminum Flip Chart Easel & Pr…
Step 2: Choose Your Color Palette
Your color palette will set the mood for your artwork. Selecting colors that resonate with you is essential for creating a piece that you’ll love.
- Look at color inspiration online or in nature to find colors that appeal to you.
- Select 6-10 acrylic colors that complement each other.
- Mix colors on your palette to create new shades if desired.
Warning: Avoid choosing too many colors; this can make your artwork look chaotic. Stick to a cohesive palette for the best results.
Pro Tip: Use a color wheel to understand color relationships and choose harmonious combinations.
Time estimate: 30 minutes
Step 2: Choose Your Color Palette
Editor’s Choice
Shuttle Art Acrylic Paint, 36 Colors Acrylic Paint Set with Brushes & Pa…

JimKing Creative Color Wheel, Paint Mixing Learning Guide, Art Class Tea…

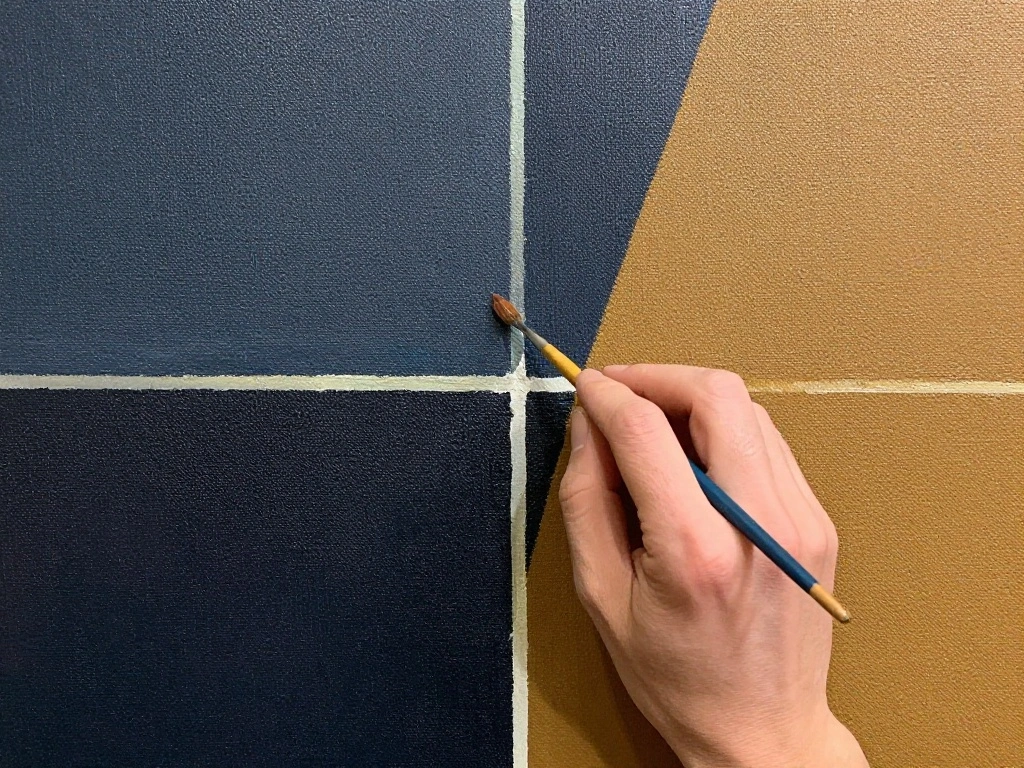
Step 3: Start Painting the Background
Creating a background helps set the stage for your artwork. This step allows you to experiment with colors and techniques without worrying about the final outcome.
- Begin by applying a base color to your canvas using a large brush.
- Mix additional colors on your palette and apply them randomly to the canvas.
- Blend colors using a dry brush or sponge for a more textured look.
Warning: Avoid overworking the paint; it can muddy the colors and ruin the effect. Apply colors in layers and allow them to dry between applications.
Pro Tip: Use a spray bottle to lightly mist your canvas with water before applying paint for smoother blending.
Time estimate: 30-45 minutes
Step 3: Start Painting the Background
Editor’s Choice

CONDA Palette Knife Painting Stainless Steel Spatula Palette Knife Oil P…

Smallbudi 15 Colors Large Acrylic Paint Set (33.8 oz,1000 ml) Art Painti…
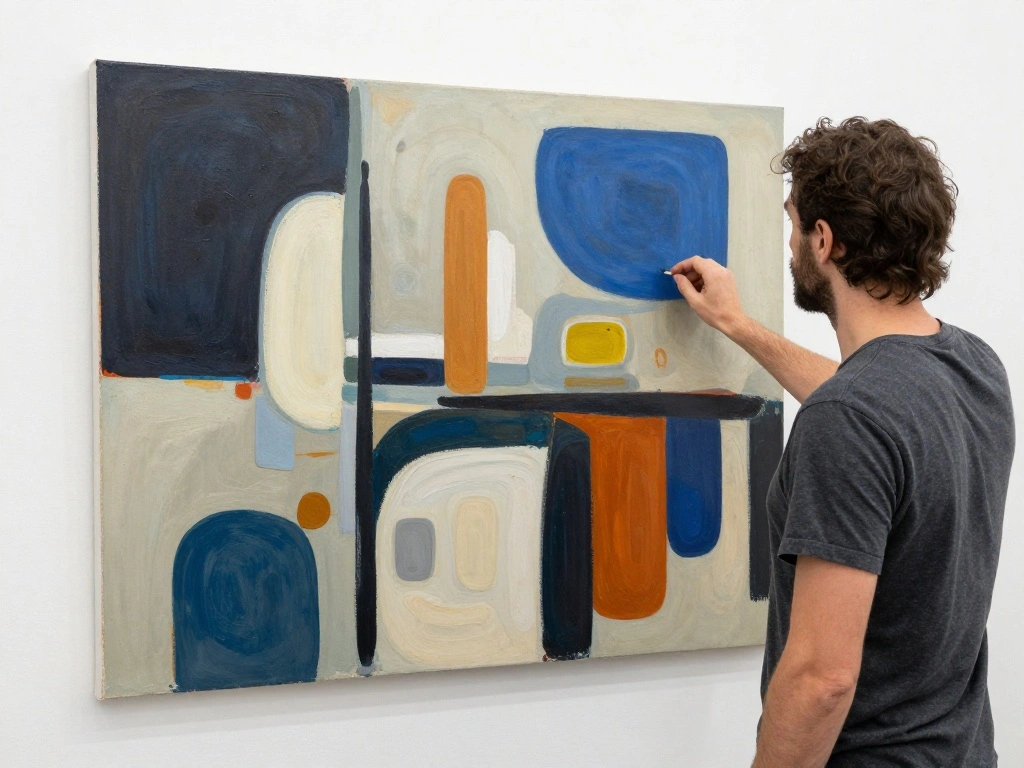
Step 4: Add Abstract Elements
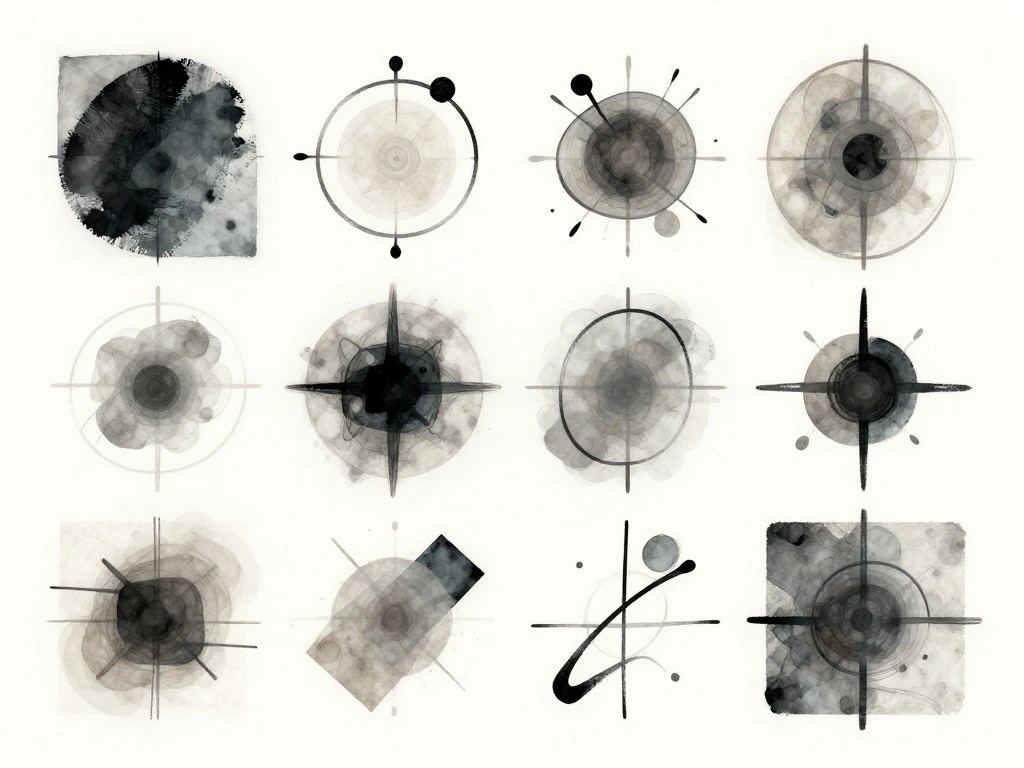
Now it’s time to let your creativity shine by adding abstract elements to your piece. This step is all about expression and experimentation.
- Use different brush sizes and techniques (like splattering or pouring) to apply paint.
- Incorporate shapes, lines, or dots using the brushes or palette knife.
- Step back occasionally to assess your work and make adjustments as needed.
Warning: If you’re unsure, start with light colors and gradually build up the intensity. You can always add more, but it’s difficult to remove paint once it’s applied.
Pro Tip: Don’t hesitate to layer colors; transparency can create depth and interesting effects.
Time estimate: 45-60 minutes
Step 4: Add Abstract Elements
Editor’s Choice

Shuttle Art Acrylic Paint, 36 Colors Acrylic Paint Set with Brushes & Pa…
Paint Brushes Set of 24 Pieces Wooden Handles Brushes with Canvas Brush …
Step 5: Incorporate Texture
Adding texture can enhance your artwork and create visually appealing surfaces. This step allows you to experiment with different materials and tools.
- Use a palette knife to apply thick layers of paint in certain areas.
- Incorporate materials like sponges, fabric, or even sand for varied textures.
- Experiment with different tools to create unique marks and impressions.
Warning: Be careful not to overdo it; too much texture can overwhelm your design. Keep a balance between smooth and textured areas.
Pro Tip: Layering texture over dried paint can create fascinating effects and depth.
Time estimate: 30-45 minutes
Step 5: Incorporate Texture
Editor’s Choice
CONDA Palette Knife Painting Stainless Steel Spatula Palette Knife Oil P…

NAROA Artist Natural Sea Sponges for Painting 8 Pack | Unbleached Unique…

Bluebird Thick Modeling Paste White 28.2 Oz / 800gm – High Density, Acry…
Step 6: Evaluate and Adjust
Before finalizing your artwork, it’s vital to step back and evaluate your piece. This allows you to see what works and what needs adjustment.
- Take a few steps back to view your artwork from a distance.
- Identify areas that may need more color, texture, or balance.
- Make adjustments as needed, adding more paint or texture where necessary.
Warning: Don’t overwork the piece; sometimes less is more. Trust your instincts about when it feels complete.
Pro Tip: Ask for feedback from friends or family for a fresh perspective on your artwork.
Time estimate: 30 minutes
Step 6: Evaluate and Adjust
Editor’s Choice
Shuttle Art Acrylic Paint, 36 Colors Acrylic Paint Set with Brushes & Pa…
Simetufy 12 Pack 8×10 Canvas Boards for Painting, Blank Flat Canvas Pane…
CONDA Palette Knife Painting Stainless Steel Spatula Palette Knife Oil P…
Step 7: Final Touches and Drying
Once you are satisfied with your artwork, it’s time for the final touches and to allow it to dry completely.
- Consider adding a protective layer, such as varnish or sealant, once the paint is dry.
- Clean your brushes and workspace thoroughly.
- Find a suitable place to display your finished artwork.
Warning: Avoid placing your artwork in direct sunlight while it dries, as this can alter the colors.
Pro Tip: Document your process with photos! This can inspire you for future projects.
Time estimate: 30 minutes
Step 7: Final Touches and Drying
Editor’s Choice

Krud Kutter Brush-Wash Cleaner and Renewer, 32 oz, Paint Brush Cleaner f…

Liquitex BASICS Gloss Varnish, 250ml (8.4oz) Bottle
Pro Tips
- Experiment Freely: Don’t be afraid to try new techniques or colors.
- Keep It Simple: Sometimes, less is more; focus on a few key elements.
- Stay Relaxed: Allow your creativity to flow without pressure; enjoy the process.
- Use Quality Brushes: Invest in good-quality brushes for better results and ease of use.
- Look for Inspiration: Browse art online, visit galleries, or take nature walks for ideas.
Pro Tips
Editor’s Choice
Professional Artist Paint Brush Set of 12 – Painting Brushes Kit for Kid…

FIXSMITH Stretched White Blank Canvas – 11×14 Inch, 8 Pack, Primed,100% …
Common Mistakes to Avoid
Warning: Choosing too many colors can make your artwork look chaotic. Focus on a cohesive palette instead.
Warning: Overworking the paint can muddy colors. Layer your paint and let it dry before adding more.
Warning: Neglecting to protect your workspace can lead to stains. Always cover surfaces with newspaper or plastic.
Warning: Forgetting to step back can cause you to miss balance issues. Regularly assess your work from a distance.
Warning: Rushing the drying process may affect the final outcome. Be patient and allow sufficient drying time.
Common Mistakes to Avoid
Editor’s Choice

Canvas Painters Drop Cloth (Size 9 x 12 Feet – Pack of 2) – Pure Cotton …
Shuttle Art Acrylic Paint, 36 Colors Acrylic Paint Set with Brushes & Pa…
ESRICH Canvas Boards for Painting, 5 Pack Canvases for Painting 8×10 Cot…
Troubleshooting Section
Problem: Paint looks muddy.
Solution: Use a clean brush for each color and let layers dry before adding more.
Problem: Colors don’t pop.
Solution: Add contrasting colors to enhance vibrancy or apply a gloss medium.
Problem: Canvas is too busy.
Solution: Simplify by painting over some areas or adding a unifying color.
Problem: Paint is not adhering.
Solution: Ensure your canvas is primed before starting, or use a gesso layer.
Problem: Artwork feels incomplete.
Solution: Add final touches or elements, and trust your instincts about balance.
Troubleshooting Section
Editor’s Choice
Krud Kutter Brush-Wash Cleaner and Renewer, 32 oz, Paint Brush Cleaner f…

Liquitex Professional Fluid Medium, 237ml (8-oz), Gloss

55PCS Acrylic Paint Set of 36 Colors 2fl oz 60ml Bottles 12 Brushes,Non …
Variations/Alternative Methods
- Pouring Technique: Use a pouring medium with acrylics to create fluid art. This method yields unique designs and is perfect for abstract art.
- Mixed Media: Combine painting with other materials like collage or fabric to create depth and interest.
- Digital Art: Use digital tools to create abstract designs that can be printed on canvas. This method allows for easy experimentation without the mess.
Variations/Alternative Methods
Editor’s Choice

COLOUR BLOCK 151-Piece Professional Art Supply Set with Mixed Media, Pai…

PicassoTab-X11 Standalone Drawing Tablet • No Computer Needed • Pro …
16.9 fl oz (500 mL) Acrylic Pouring Medium, Improves Flow and Consistenc…
FAQs
What if I don’t have acrylic paints?
Consider using watercolors or oil paints, but be aware they require different techniques and drying times.
How long should I let my painting dry?
Allow at least 24 hours before handling. Thick layers may require longer.
Is it safe to paint indoors?
Yes, as long as you have good ventilation. Open windows or use a fan to circulate air.
What if I make a mistake?
Embrace it! Many abstract artists incorporate ‘mistakes’ into their final piece for added character.
Can I frame my canvas?
Yes! Framing can enhance the presentation of your artwork, but ensure it’s completely dry first.
FAQs
Editor’s Choice
ESRICH Canvas Boards for Painting, 5 Pack Canvases for Painting 8×10 Cot…

Pro Grade Paint Brushes, 5-Piece Paint Brush Set, Flat & Angle Brushes f…
Shuttle Art Acrylic Paint, 36 Colors Acrylic Paint Set with Brushes & Pa…
Conclusion
Congratulations on completing your abstract canvas wall art! You’ve taken the first step in exploring your creative side and expressing yourself through art. Remember that every piece you create is a reflection of your unique perspective, and there is no right or wrong in abstract art.
Now that you’ve finished, consider creating more pieces or experimenting with different styles. Share your artwork with friends or family, or even explore local art communities to connect with like-minded individuals. Keep painting and enjoy the journey!