Problem Statement: Have you ever looked at a blank wall and felt overwhelmed about how to decorate it? The idea of a gallery wall can seem daunting, especially when it comes to choosing the right frames. Without a clear method, you might end up with a cluttered or mismatched look that doesn’t reflect your unique style.
Solution Preview: This guide will walk you through a simple, step-by-step method to create a stunning gallery wall that showcases your personality and style. You’ll learn how to choose and arrange various frame sizes harmoniously, creating a visual masterpiece in your space.
What You’ll Learn: By the end of this guide, you’ll understand how to select the right frames, plan your layout, and hang them for maximum impact. You’ll feel confident in your ability to curate a beautiful display that tells your story.
Difficulty Level: beginner
Time Estimate: 2-3 hours
Engaging Hook: Transform your blank wall into a captivating gallery that draws the eye and sparks conversation!
TL;DR Summary
- Understand the importance of mixing frame sizes for visual interest.
- Gather materials and plan your layout before hanging frames.
- Follow step-by-step instructions to achieve a harmonious gallery wall.
- Avoid common mistakes to ensure a polished final look.
TL;DR Summary
Editor’s Choice

Command 15 lb Large Picture Hanging Strips 14 Pairs (28 Strips), Damage-…

Camden Reed Mixed Gallery Wall Frame Set, (2) 16×20 Inch, (1) 11×14 Inch…

Picture Hanging Tool with Level, Level Ruler Precision Wall Mount Guide …
Prerequisites/Materials Needed
- Frames: Various sizes (at least 5-7 different sizes)
- Artwork/Photos: A mix of your favorite pieces (prints, photos, etc.)
- Measuring Tape: For precise spacing
- Pencil: To mark placements on the wall
- Level: To ensure frames are straight
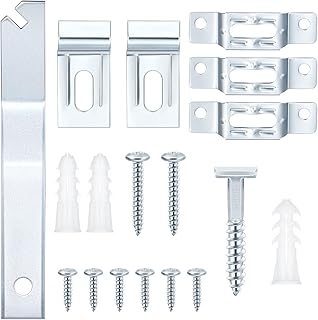
- Hammer and Nails: For hanging frames
- Backing Paper: Optional, for a clean finish
Prerequisites/Materials Needed
Editor’s Choice

4-in-1 Laser Tape Measure with Level and Crosshairs, 16FT AutoLock Measu…

Vittanly 15 Pack Picture Frames Collage Wall Decor for Mounting or Table…

KURUI 303Pcs Picture Hanging Kit, Picture Hangers Assorted Kit with Heav…
Skill Level & Time Estimate
Skill Level: beginner
Total Time Estimate: 2-3 hours
Breakdown of time:
- Gathering materials: 30 minutes
- Planning layout: 1 hour
- Hanging frames: 1-2 hours
Skill Level & Time Estimate
Editor’s Choice

upsimples 19 Pack Picture Frames Collage Wall Decor for Mounting or Tabl…

PREXISO Multi Surface Laser Level LED Light Vial, 30Ft Horizontal & Vert…
Yaocom 30 Set Frame Lock Security Hanging Kits T-Screw Security Artwork …
Step 1: Gather Your Materials
Start by collecting all the necessary materials listed in the prerequisites. Pro Tip: Choose frames that vary in size, color, and texture to create depth and interest.
1. Go to your local store or browse online for frames. Aim for a mix of sizes, like small (8×10 inches), medium (16×20 inches), and large (20×24 inches).
2. Select artwork or photos to display. Consider personal memories, favorite quotes, or art prints.
3. Ensure you have tools ready: measuring tape, pencil, and hammer.
Why this matters: Having all materials at hand will streamline your process and keep you focused on creating your gallery wall.
Estimated Time: 30 minutes
Step 1: Gather Your Materials
Editor’s Choice
KURUI 303Pcs Picture Hanging Kit, Picture Hangers Assorted Kit with Heav…

LUCKYLIFE Picture Frames Collage Wall Decor 10-Pack, Gallery Wall Frame …

ArtDirect Custom Framing for Your Photo or Art – Upload Any Image and We…
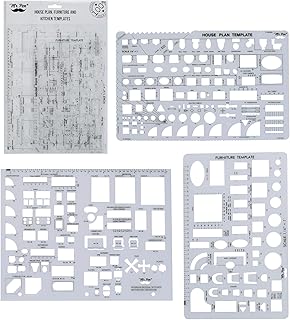
Step 2: Plan Your Layout
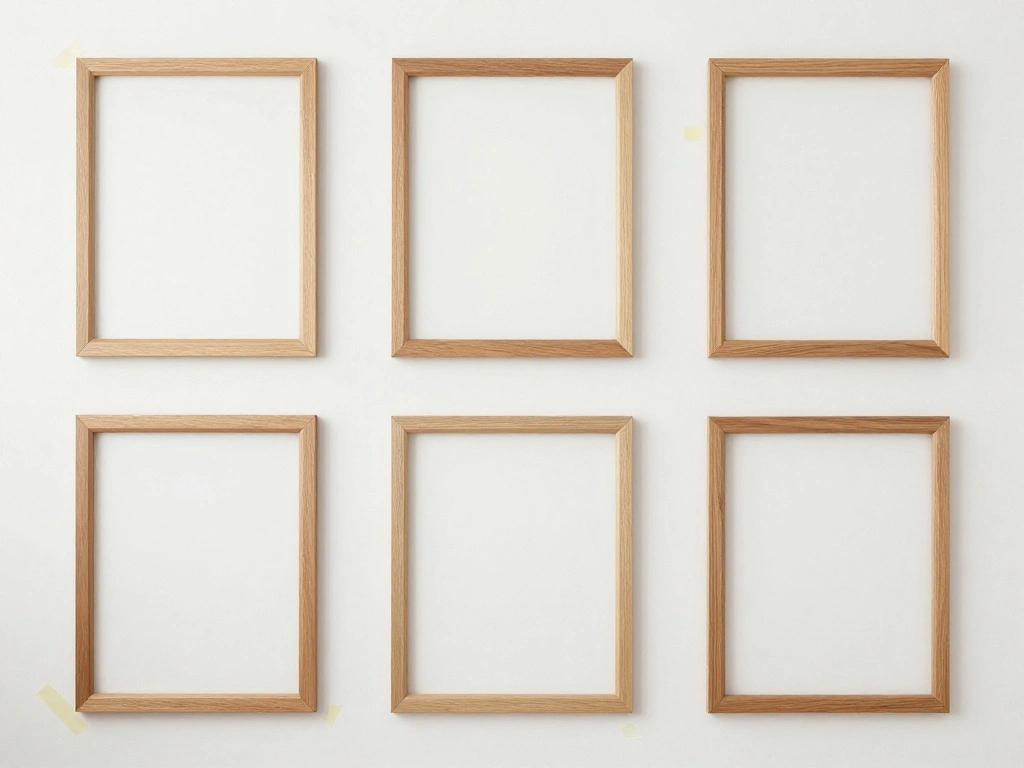
Before you start hanging frames, take time to plan their layout on the floor. Pro Tip: Use painter’s tape to outline the frames’ sizes on the wall to visualize spacing.
1. Lay your frames on the floor in different arrangements. Experiment with overlapping and spacing.
2. Once satisfied, use painter’s tape to mark the outline of each frame on the wall.
3. Step back to assess how the arrangement looks from different angles.
Why this matters: Planning your layout helps you avoid unnecessary holes in the wall and ensures a balanced look.
Estimated Time: 1 hour
Step 2: Plan Your Layout
Editor’s Choice

Scotch Greener Masking Tape, 0.94 in x 60 Yard, 2050, 1 roll
upsimples 19 Pack Picture Frames Collage Wall Decor for Mounting or Tabl…
Step 3: Measure and Mark
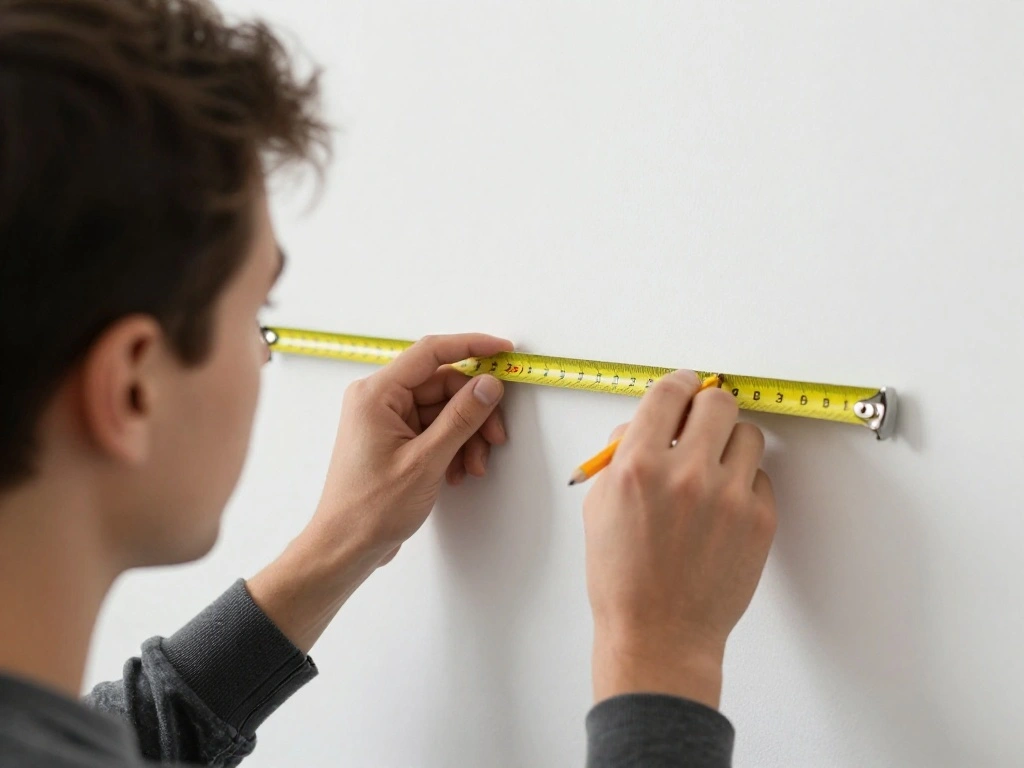
With your layout planned, it’s time to measure and mark where each frame will hang. Pro Tip: Use a level to ensure your frames will hang straight.
1. Measure the distance from the floor to the bottom of each frame outline on the wall.
2. Mark the spots where nails will go with a pencil for easy reference.
3. Double-check your measurements and ensure everything is level.
Why this matters: Accurate measurements are crucial for a professional-looking gallery wall.
Estimated Time: 30 minutes
Step 3: Measure and Mark
Editor’s Choice

Carpenter Pencils with Sharpener, 2.8mm Mechanical Pencil Set with 26 Re…

Digital Caliper, Esydon Upgraded Calipers 6 inch, Measuring Tool, Electr…

Torpedo Level Magnetic, Firecore 9 Inch Shockproof Small Leveler Tool wi…
Step 4: Hang the Frames
Now comes the exciting part—hanging your frames on the wall! Pro Tip: Start with the center frame and work outwards for balance.
1. Begin with the largest or central frame. Hammer a nail at the marked spot.
2. Hang the frame and adjust it to make sure it’s level.
3. Continue with adjacent frames, following your planned layout, one at a time.
Why this matters: Hanging from the center creates a symmetrical and organized look, making your gallery wall more appealing.
Estimated Time: 1 hour
Step 4: Hang the Frames
Editor’s Choice

KURUI Wall Anchors Kit for Hanging Wall Art Decor, 160Pcs Drywall Anchor…

WEIDDW Laser Level with Tripod, Self Leveling Laser Level 4×360°, Green…

Go Hang It! Pro, All-in-One Picture Hanging Kit – Picture Leveling and H…
Step 5: Step Back and Adjust
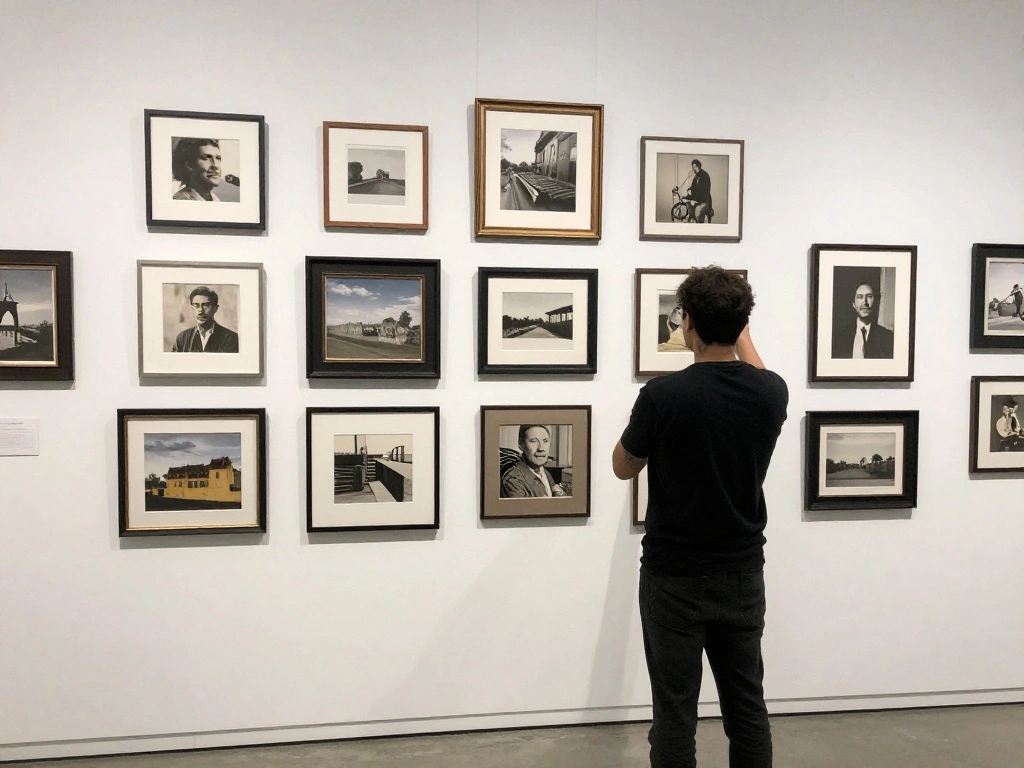
After hanging all your frames, step back to assess the overall look. Pro Tip: Don’t hesitate to adjust frames for a better layout.
1. Stand at different angles to see if the arrangement feels balanced.
2. Adjust any frames that seem out of place or crooked.
3. Take a photo and review it to see how it looks from a distance.
Why this matters: This step allows you to fine-tune your gallery wall, ensuring it captures the desired aesthetic.
Estimated Time: 20 minutes
Step 5: Step Back and Adjust
Editor’s Choice
Torpedo Level Magnetic, Firecore 9 Inch Shockproof Small Leveler Tool wi…
Mr. Pen- House Plan, 3 pcs, Interior Design and Furniture Templates, Cle…
KURUI 303Pcs Picture Hanging Kit, Picture Hangers Assorted Kit with Heav…
Step 6: Add Finishing Touches
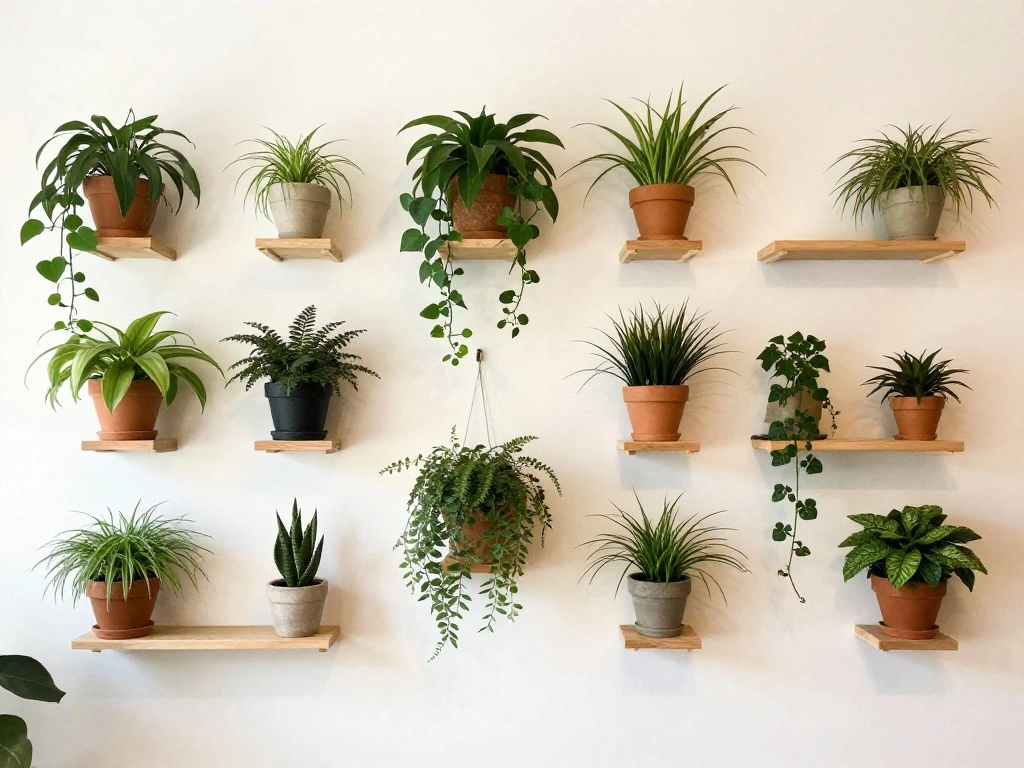
Now that your frames are hung, it’s time to add finishing touches. Pro Tip: Consider adding decorative elements like plants or shelves nearby.
1. Look for any empty spaces around the gallery wall that could benefit from accessories.
2. Consider adding small decor items like plants or wall art that complements the frames.
3. Ensure that the wall feels cohesive and inviting.
Why this matters: Finishing touches enhance the overall aesthetic and make your gallery wall feel complete.
Estimated Time: 30 minutes
Step 6: Add Finishing Touches
Editor’s Choice

Costa Farms Live Indoor House Plants (3-Pack), Hand Selected Easy to Mai…

Large Framed Boho Modern Neutral Abstract Wall Art for Living Room, 3 Pi…

QsQueen Scalloped Wood Wall Shelf – 17 Inch Floating Shelf with Wood B…
Step 7: Maintain Your Gallery Wall

After completing your gallery wall, consider maintenance. Pro Tip: Periodically check for dust and adjust frames as needed.
1. Schedule time every few months to clean the frames and artwork.
2. If you add new pieces, be ready to rearrange for a fresh look.
3. Ensure the wall remains visually appealing by rotating artwork occasionally.
Why this matters: Regular maintenance keeps your gallery wall looking its best and allows you to showcase new memories.
Estimated Time: 15 minutes every few months
Step 7: Maintain Your Gallery Wall
Editor’s Choice

MagicFiber Microfiber Cleaning Cloth, 6 Pack – Premium Cloth for Glasses…

JJRING Large Art Supply Storage Tote Bag With 2 Mesh Side Pockets & Fron…
Step 8: Celebrate Your Work
Finally, take a moment to celebrate your new gallery wall! Pro Tip: Invite friends over to showcase your hard work.
1. Enjoy your creation by taking photos and sharing them with family and friends.
2. Reflect on the journey and the memories captured in your artwork.
3. Consider making it a seasonal project to refresh your gallery wall regularly.
Why this matters: Celebrating your accomplishment reinforces the joy of decorating your space and sharing it with others.
Estimated Time: 10 minutes
Step 8: Celebrate Your Work
Editor’s Choice

Black Girl Spiritual Wall Art, African American Woman Motivational Wall …

Cindeer 6 Pcs Modern Minimalist Wall Decor Abstract Woman Wall Art Singl…

ANERZA 16 PCS Framed Black Girl Wall Art Decor, African American Wall Pr…
Step 9: Explore Additional Decor Options
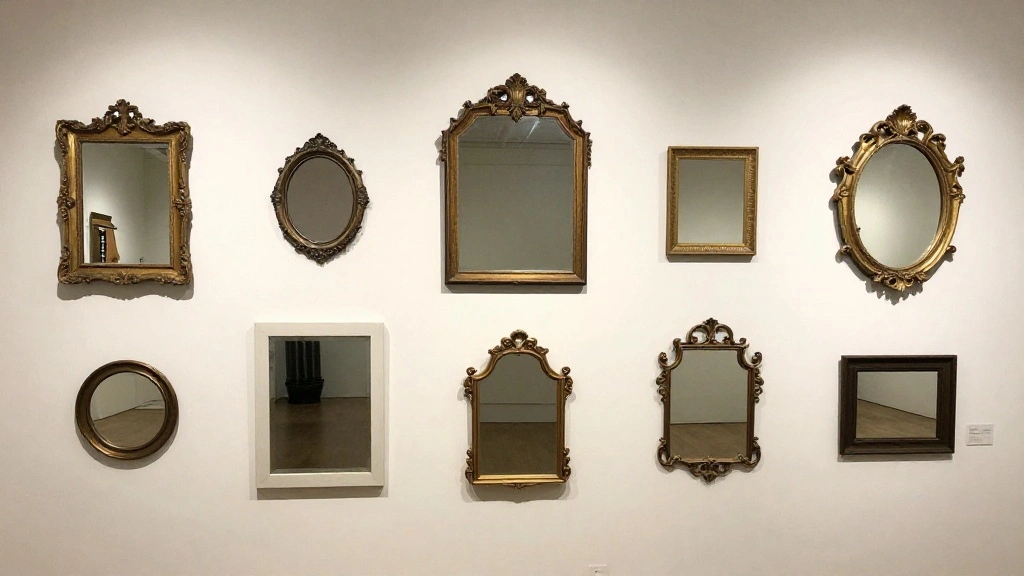
Consider expanding your gallery wall concept with additional decor. Pro Tip: Think beyond frames for unique expressions of your style.
1. Look for alternative decor items like mirrors, clocks, or wall sculptures that can complement your frames.
2. Experiment with colors and textures that enhance the visual interest.
3. Keep your personal style in mind while curating your wall decor.
Why this matters: Diversifying your wall decor adds layers and personality, making your space uniquely yours.
Estimated Time: 30 minutes
Step 9: Explore Additional Decor Options
Editor’s Choice

5 Pcs Vintage Gold Mirror Luxury Set Small Gold Mirrors Vintage Gallery …

3D Round Metal Wall Art, Handmade Art Metal Round Nature Decorative Wall…

Inbagi 8 Pcs Wall Clock Bulk Large Silent Battery Operated Classroom Clo…
Pro Tips
- Frame Colors: Use a mix of colors to create a vibrant look, but keep a few neutral frames for balance.
- Theme Consistency: Choose artwork with a consistent theme or color palette to unify the display.
- Spacing: Keep equal spacing between frames for a clean look, but feel free to overlap for a more eclectic vibe.
- Personal Touch: Include personal items like travel mementos or family photos to make the gallery wall uniquely yours.
- Gallery Style: Research different gallery wall styles (grid, salon style) to find one that fits your space.
Pro Tips
Editor’s Choice
Command 15 lb Large Picture Hanging Strips 14 Pairs (28 Strips), Damage-…
Sheffield Home 9 Piece Gallery Wall Frame Set, 11×14 Inch, Light Natural
Common Mistakes to Avoid
Warning: Avoid using too many small frames, as they can make the wall feel cluttered. Instead, balance small frames with larger ones for visual interest.
Warning: Don’t hang frames too high; eye-level is the best height for viewing.
Warning: Avoid using mismatched frames without a unifying element; it can lead to a chaotic look.
Common Mistakes to Avoid
Editor’s Choice

Luocute Picture Hanging Level Tool, Sturdy ABS Material Frame Positionin…
KURUI 303Pcs Picture Hanging Kit, Picture Hangers Assorted Kit with Heav…
10 Pack Vintage Picture Frames for Wall or Tabletop Display Ornate Vinta…
Troubleshooting Section
Problem: Frames are crooked after hanging.
Solution: Use a level to readjust frames and ensure they hang straight.
Problem: Wall feels too busy.
Solution: Remove a frame or two to create breathing room.
Problem: Artwork clashes in color.
Solution: Swap out a piece for one with a more complementary color scheme.
Troubleshooting Section
Editor’s Choice
upsimples 19 Pack Picture Frames Collage Wall Decor for Mounting or Tabl…
Torpedo Level Magnetic, Firecore 9 Inch Shockproof Small Leveler Tool wi…
Variations/Alternative Methods
Option 1: Use a grid layout for a more structured look, perfect for a modern aesthetic.
Option 2: Create a salon-style wall with frames of varying sizes and orientations for an eclectic feel. Each method has its pros and cons based on your space and style.
Variations/Alternative Methods
Editor’s Choice

upsimples 19 Pack Picture Frames Collage Wall Decor for Mounting or Tabl…

Park Tool Frame and Fork End Alignment Gauge Set
FAQs
What if I don’t have enough frames? You can mix in other decor items like mirrors or wall hangings to fill gaps.
How long should I wait to rearrange my gallery wall? Consider changing it seasonally or whenever you feel inspired to refresh your space.
Is it safe to hang heavy frames? Yes, as long as you use appropriate wall anchors and nails for the weight of the frames.
FAQs
Editor’s Choice

KURUI 700PCs Small Nails for Hanging Pictures & 8oz Small Hammer for Wom…

Family Picture Frame, Best Friend Picture Frame Gifts for Best Friend Wo…

BONNYCO Gold Mirrors for Wall Pack of 3, Round Wall Mirrors Bedroom Room…
Conclusion
Congratulations on completing your gallery wall! You’ve transformed a blank space into a personal showcase of your favorite memories and styles.
Next steps could include exploring seasonal changes for your wall or expanding your decor style to other areas of your home. Keep experimenting and have fun with your decor!
Remember, your home is a reflection of you, and your gallery wall is a beautiful expression of your journey. Enjoy showing it off to friends and family!