
Is your hallway feeling bland and uninspiring? A blank wall can make your space feel smaller and less inviting. If you want to create an engaging atmosphere in your home, a gallery wall is an excellent solution! This guide will take you through the steps to design a stunning hallway gallery wall that not only captivates but also guides the eye smoothly through your space.
By the end of this guide, you will have a beautifully curated gallery wall that showcases your personality and style. You will learn about selecting art pieces, arranging them cohesively, and creating visual interest. Each step is designed to help you maximize the impact of your hallway while ensuring a seamless flow.
Difficulty Level: Intermediate
Time Estimate: 2-3 hours
Get ready to transform your hallway into a visual journey that invites guests to explore. Let’s dive into the steps to create your very own gallery wall!
TL;DR Summary
- Choose a theme for your gallery wall to create a cohesive look.
- Select art pieces that resonate with your style and personality.
- Plan your layout on the floor before hanging anything.
- Ensure proper spacing and alignment for a polished finish.
TL;DR Summary
Editor’s Choice

Luocute Picture Hanging Level Tool, Sturdy ABS Material Frame Positionin…

upsimples 11×14 Picture Frame Set of 5, Display Pictures 8×10 with Mat o…

Prerequisites/Materials Needed
- Art Pieces: 5-10 varying sizes
- Frames: Matching or complementary styles
- Measuring Tape: 1
- Pencil: 1
- Level: 1
- Hammer or Drill: Depending on wall type
- Nails or Hanging Hardware: As needed
Prerequisites/Materials Needed
Editor’s Choice

upsimples 19 Pack Picture Frames Collage Wall Decor for Mounting or Tabl…

KURUI Picture Hangers, 385Pcs Picture Hanging Kit with Heavy Duty Pictur…

3-in-1 Picture Hanging Tool, All-in-One Art Hanging Kit with Leveling, P…
Skill Level & Time Estimate
Skill Level: Intermediate
Total Time Estimate: 2-3 hours
Breakdown of time:
- Choosing art pieces: 30 minutes
- Planning layout: 1 hour
- Hanging artwork: 1-2 hours
Skill Level & Time Estimate
Editor’s Choice

KURUI 303Pcs Picture Hanging Kit, Picture Hangers Assorted Kit with Heav…
3-in-1 Picture Hanging Tool, All-in-One Art Hanging Kit with Leveling, P…

Vittanly 15 Pack Picture Frames Collage Wall Decor for Mounting or Table…
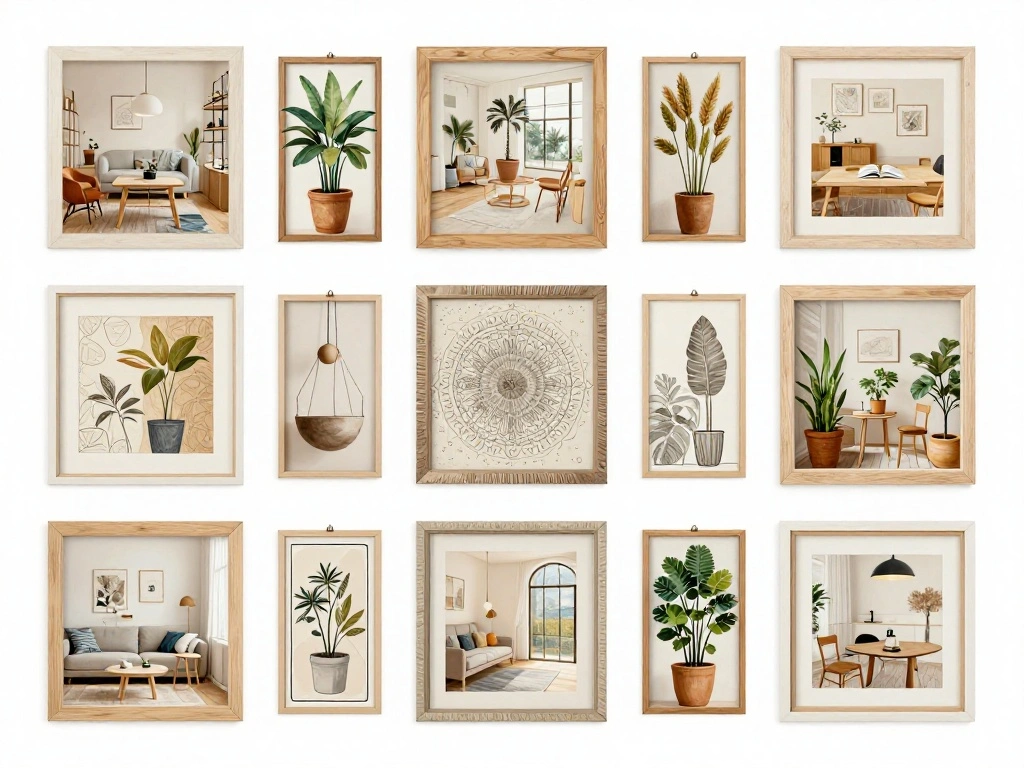
Step 1: Choose a Theme
Begin by selecting a theme for your gallery wall. This could be based on colors, styles, or subjects that resonate with you. A cohesive theme helps create a unified look that guides the eye. To choose your theme:
- Consider the overall decor of your hallway.
- Reflect on what styles or colors you love.
- Decide if you want to focus on personal photos, artwork, or a mix.
Pro Tip: Use a mood board to visualize your theme before gathering pieces.
Why this matters: A well-defined theme sets the foundation for your gallery wall’s aesthetic.
Step 1: Choose a Theme
Editor’s Choice
KURUI 303Pcs Picture Hanging Kit, Picture Hangers Assorted Kit with Heav…

4 Pack Ornate Vintage Picture Frame Sets, 5 x 7 Inch Ornate Vintage Phot…
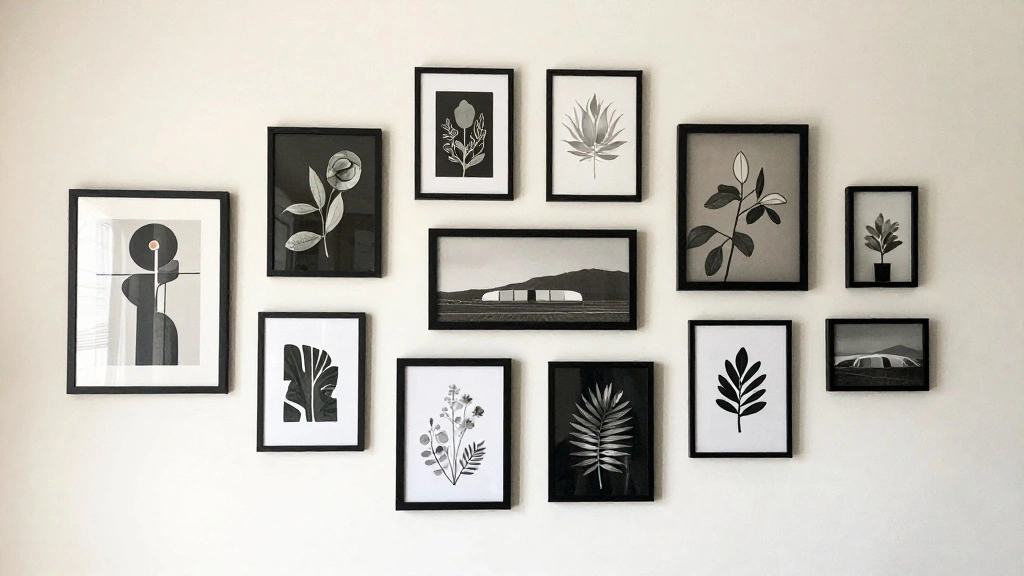
Step 2: Select Art Pieces
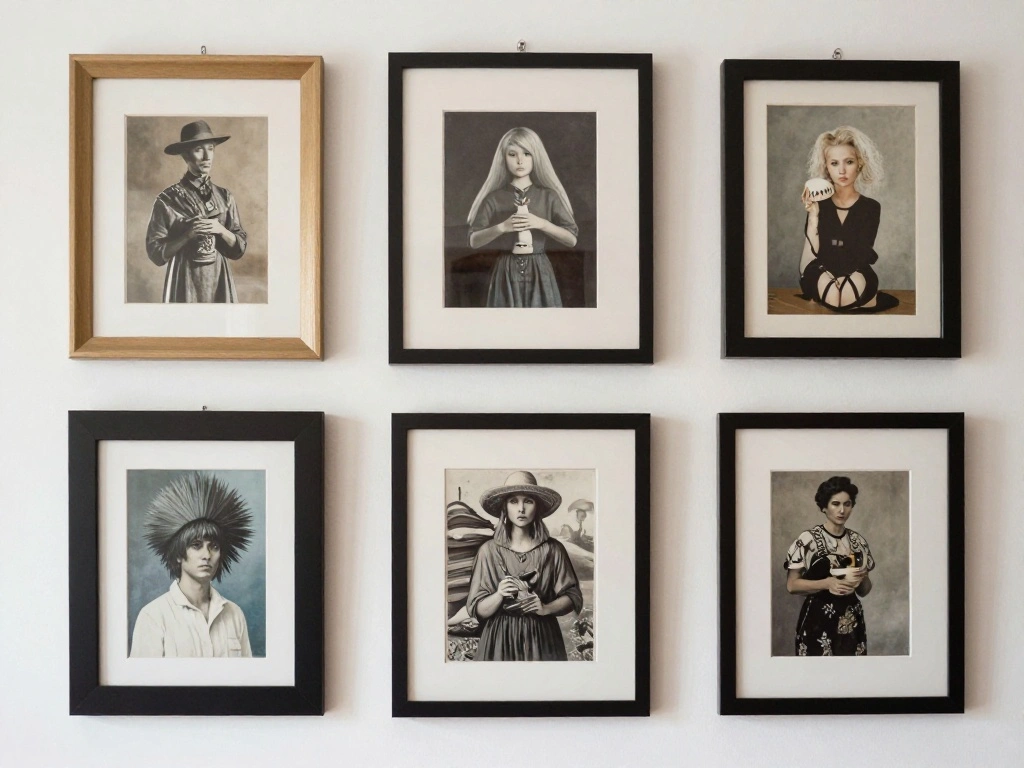
Once you have a theme, it’s time to select art pieces. Gather a mix of sizes and styles to create visual interest. Follow these sub-steps:
- Visit local art stores or browse online for pieces that fit your theme.
- Choose at least five pieces in varying sizes to keep the arrangement dynamic.
- Consider personal photos or prints that hold special meaning.
Pro Tip: Don’t be afraid to mix media; incorporate paintings, prints, and photographs for a layered look.
Why this matters: Diverse art pieces enhance the visual journey and prevent monotony.
Step 2: Select Art Pieces
Editor’s Choice
KURUI 303Pcs Picture Hanging Kit, Picture Hangers Assorted Kit with Heav…

16 PCS Framed Eclectic Wall Art Decor, Mid Century Modern Maximalist Hom…

Giftgarden 14 Pack Black Picture Frames Set, 2pcs 11×14 Matted for 8×10,…
Step 3: Plan Your Layout
Before hanging anything, plan your layout on the floor. This allows you to visualize the arrangement and make adjustments easily. Follow these steps:
- Lay out your art pieces on the floor in the order you want to hang them.
- Experiment with different arrangements until you find one you love.
- Take a photo of your layout for reference when hanging.
Pro Tip: Use painter’s tape on the wall to outline where each piece will go for easier alignment.
Why this matters: A well-planned layout saves time and ensures a balanced look.
Step 3: Plan Your Layout
Editor’s Choice

STAS Cliprail Pro Picture Hanging System Set White – Covers 29.53 ft of …

4 Rolls Premium Painters Tape, Blue Tape, Masking Tape, Paint Tape for M…
Step 4: Measure and Mark
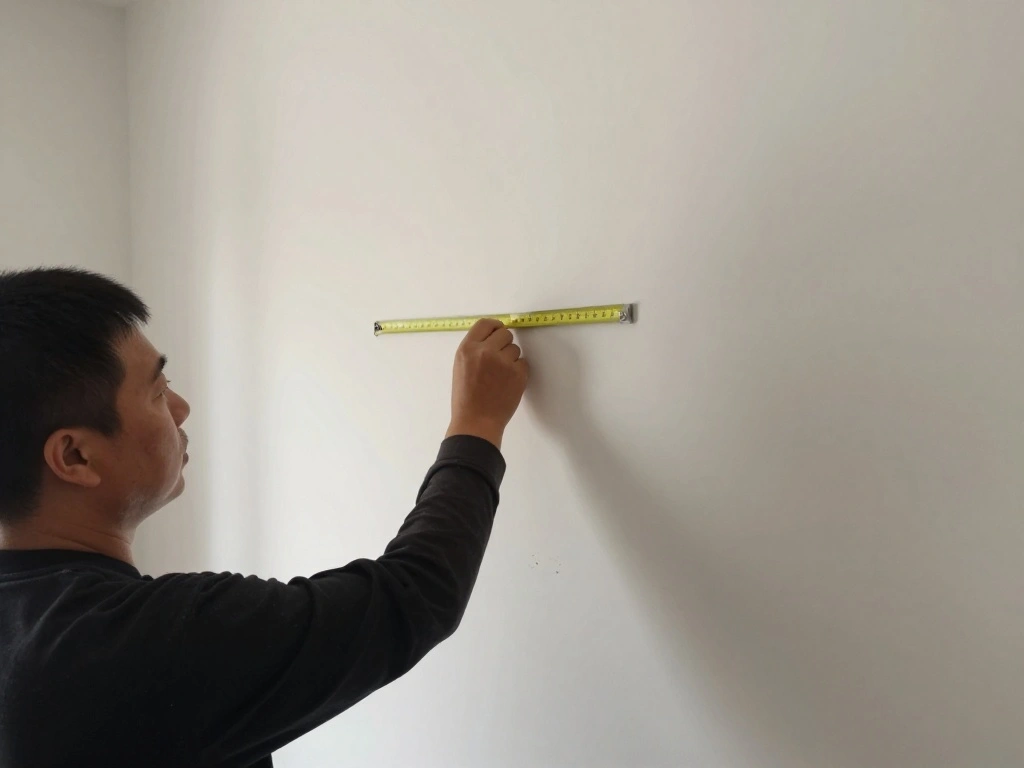
Now that you have your layout ready, measure and mark where each piece will go. Accurate measurements ensure everything is aligned properly. Follow these steps:
- Use your measuring tape to determine the center point of the wall.
- Measure the distance between pieces for even spacing.
- Mark the spots lightly with a pencil.
Warning: Double-check your measurements; incorrect spacing can lead to an unbalanced look.
Why this matters: Precise measurements create a professional look and prevent last-minute adjustments.
Step 4: Measure and Mark
Editor’s Choice

Nicpro Carpenter Pencil with Sharpener, Mechanical Pencils Set with 26 R…

Torpedo Level Magnetic, Firecore 9 Inch Shockproof Small Leveler Tool wi…

GDMINLO Soft Tape Measure Double Scale Body Sewing Flexible Tailor Craft…
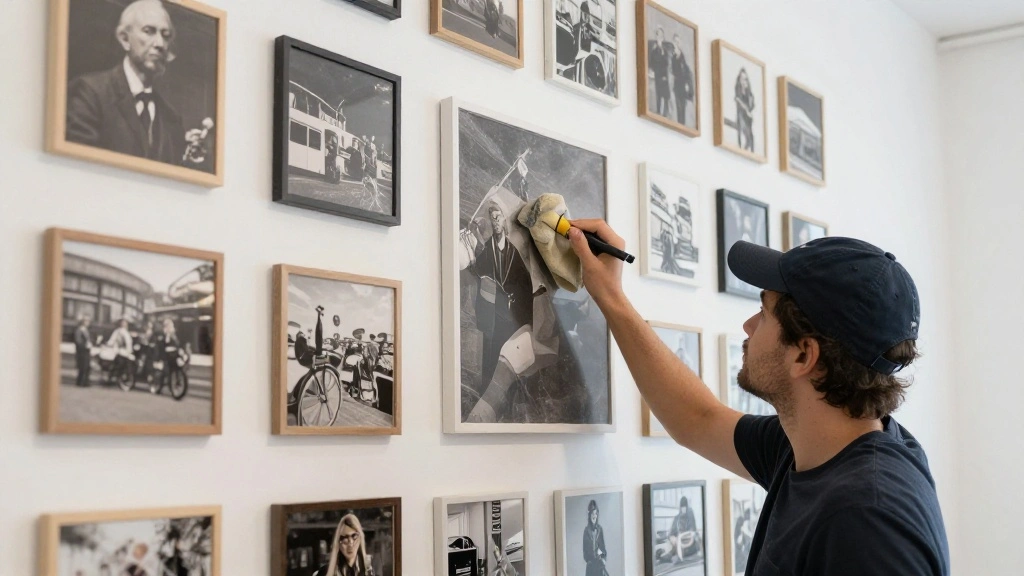
Step 5: Hang Your Artwork
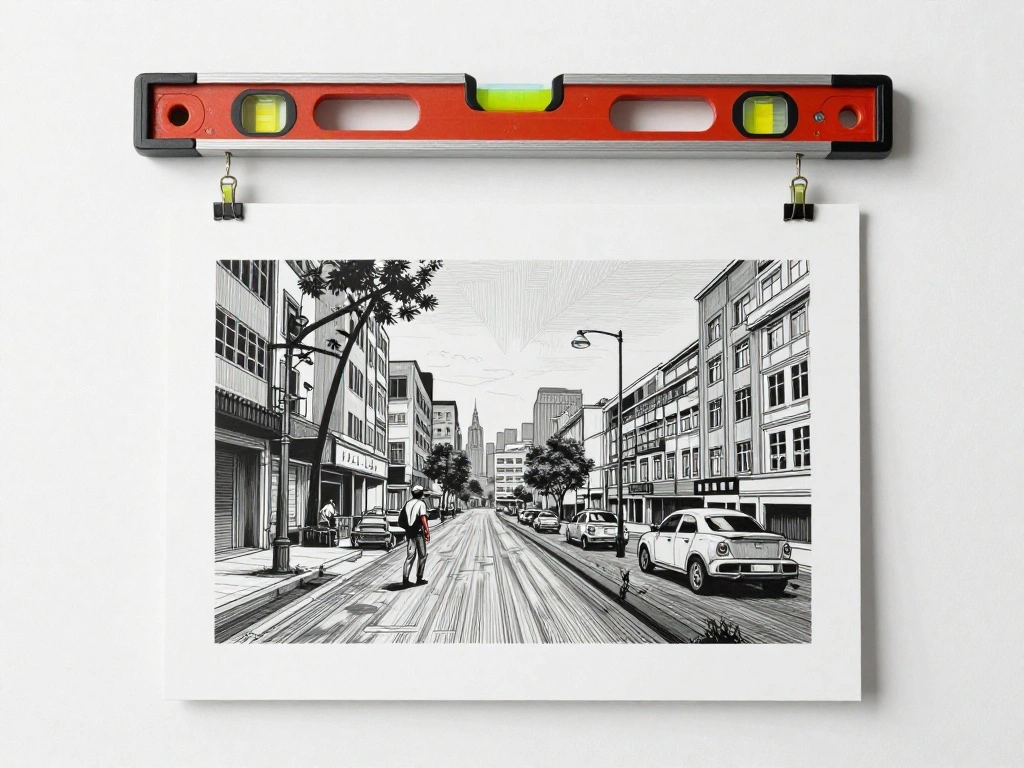
It’s time to hang your artwork! Follow the marks you made to ensure everything aligns perfectly. Here’s how:
- Start with your largest piece and hang it first.
- Use a level to ensure it is straight.
- Continue hanging pieces from the center outwards, referring to your photo as a guide.
Pro Tip: Use picture-hanging strips for a damage-free option if you are renting.
Why this matters: Properly hung artwork creates a polished appearance and enhances the overall atmosphere.
Step 5: Hang Your Artwork
Editor’s Choice
Torpedo Level Magnetic, Firecore 9 Inch Shockproof Small Leveler Tool wi…

Creating Your Picture Book Dummy: A Layout Guide for 32, 40, & 48 Page P…
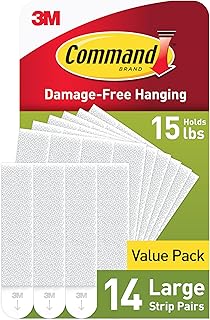
Command 15 lb Large Picture Hanging Strips 14 Pairs (28 Strips), Damage-…
Step 6: Adjust and Fine-Tune
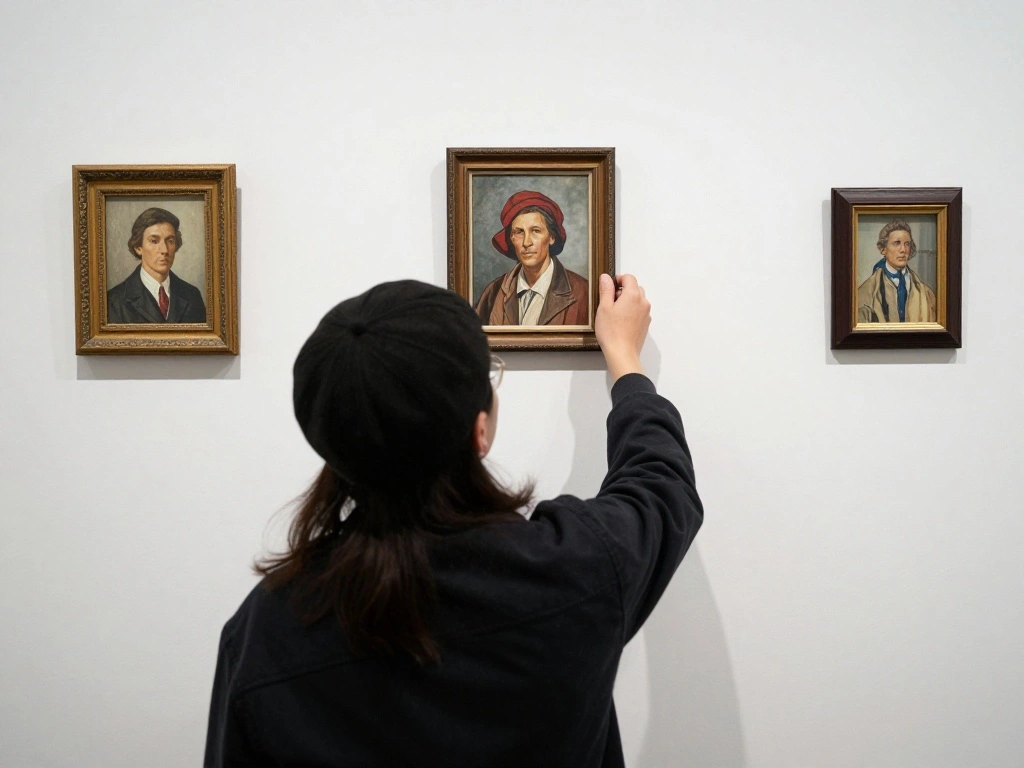
After hanging all pieces, step back and assess the arrangement. Make any necessary adjustments to ensure everything flows well. Follow these steps:
- Stand at a distance to view the entire wall.
- Look for any pieces that feel misaligned or off-balance.
- Adjust as needed; don’t hesitate to swap pieces around!
Pro Tip: Ask a friend for their opinion; a fresh set of eyes can offer valuable insight.
Why this matters: Fine-tuning ensures a cohesive and visually appealing gallery wall.
Step 6: Adjust and Fine-Tune
Editor’s Choice

Angrox Geometric Drawings Templates Measuring Geometry Rulers 15 Pcs wit…
KURUI 303Pcs Picture Hanging Kit, Picture Hangers Assorted Kit with Heav…
Luocute Picture Hanging Level Tool, Sturdy ABS Material Frame Positionin…
Step 7: Add Lighting (Optional)
Consider adding lighting to enhance your gallery wall. Proper lighting can highlight your art and create a warm atmosphere. Here’s how to do it:
- Choose wall-mounted sconces or picture lights that suit your style.
- Install them at an appropriate height to illuminate your artwork without glare.
- Ensure the lighting complements the overall design of the hallway.
Pro Tip: Use dimmable lights for adjustable ambiance throughout the day.
Why this matters: Good lighting enhances the visual impact of your gallery wall.
Step 7: Add Lighting (Optional)
Editor’s Choice

Linkind A19 LED Light Bulbs Dimmable, 60W Equivalent, Energy Efficient 9…

EZVALO Picture Light for Wall, 4800mAh Rechargeable Wireless Remote Batt…

TRLIFE Wall Sconce Plug in, Dimmable Wall Sconce with Switch Swing Arm W…
Step 8: Accessorize Your Gallery Wall
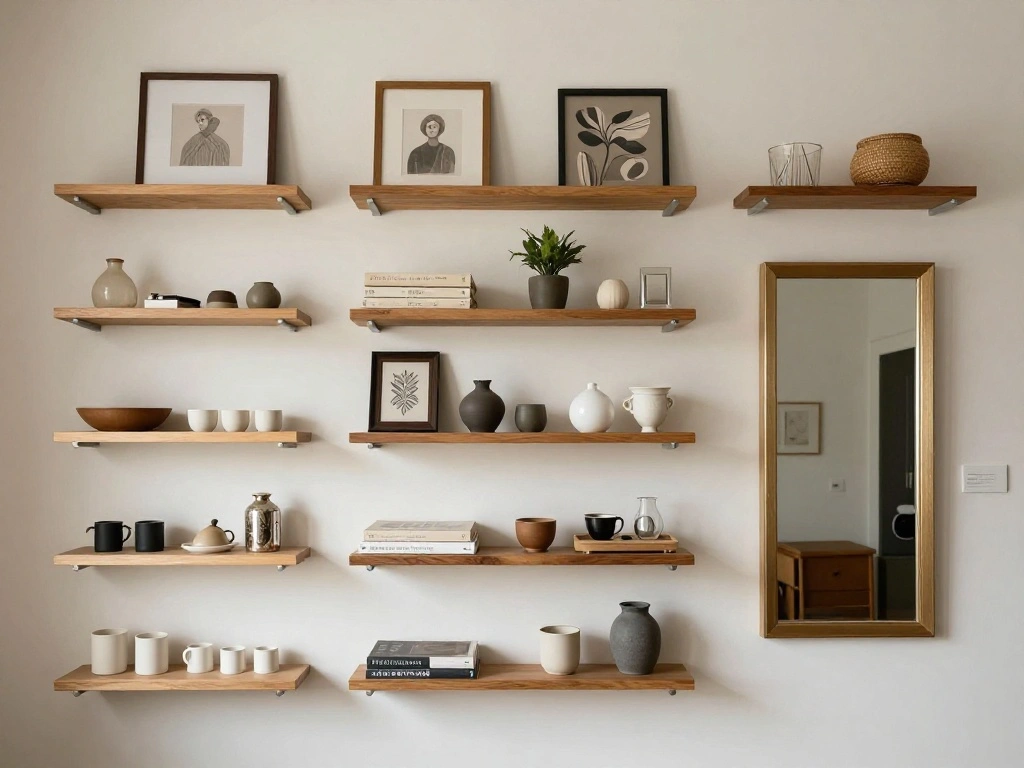
Add finishing touches to your gallery wall by incorporating accessories. This can help personalize the space even further. Follow these steps:
- Add decorative shelves to display small objects or plants.
- Incorporate a mirror to reflect light and create depth.
- Use wall hooks to hang additional items like hats or scarves.
Pro Tip: Coordinate accessories with your art theme for a cohesive look.
Why this matters: Accessories add layers and personality to your gallery wall.
Step 8: Accessorize Your Gallery Wall
Editor’s Choice

Bathroom Mirror for Wall, 24 Inch Round Mirror, Matte Gold Metal Framed …

2 Pack Stainless Steel Shelf 12″x48″ 320LB, Commercial Wall Mounted Meta…

Hicarer 12 Pcs Adjustable Hooks for Gallery Picture Hanging System Pictu…
Step 9: Maintain Your Gallery Wall
Once your gallery wall is complete, regular maintenance keeps it looking fresh. Here’s how:
- Periodically dust each piece to keep them looking their best.
- Consider rotating art pieces seasonally to refresh the space.
- Inspect hanging hardware to ensure everything is secure.
Pro Tip: Take a photo of your gallery wall for reference when making changes.
Why this matters: Regular upkeep ensures your gallery wall remains a vibrant focal point in your home.
Step 9: Maintain Your Gallery Wall
Editor’s Choice

GalleryOne Clearline Picture Hanging System Set- Covers 9.75 ft of Wall …

USANOOKS Microfiber Cleaning Cloth Grey – 12 Pcs (12.5″x12.5″) – High Pe…
Pro Tips
- Theme Consistency: Stick to a color palette or style throughout the pieces.
- Vary Frame Styles: Mixing frame styles can add depth to your gallery wall.
- Use a Template: If unsure, cut paper templates of your art pieces to visualize placement.
- Gallery Wall Books: Explore books or online resources for inspiration.
- Layering: Consider layering smaller pieces in front of larger ones for added interest.
Pro Tips
Editor’s Choice

Pacific Arc Even Ellipse Master Template Guide, 79 Ellipses in 5 project…
upsimples 19 Pack Picture Frames Collage Wall Decor for Mounting or Tabl…

Wall Art: Volume 1: Graphic Design Book | Wall Art | Coffee Table Book
Common Mistakes to Avoid
Warning: Avoid these common mistakes to ensure your gallery wall looks its best:
- Overcrowding: Too many pieces can overwhelm the viewer. Keep it balanced.
- Ignoring Scale: Make sure the sizes of your art pieces complement each other.
- Poor Spacing: Inconsistent spacing can make the wall look chaotic. Stick to a plan.
Common Mistakes to Avoid
Editor’s Choice

Laser Level Line Tool, Multipurpose Laser Level Kit Standard Cross Line …
Vittanly 15 Pack Picture Frames Collage Wall Decor for Mounting or Table…
Troubleshooting Section
Problem: Artwork looks misaligned.
Solution: Use a level to check alignment, and make minor adjustments as needed.
Problem: Wall space feels cluttered.
Solution: Remove one or two pieces to create balance.
Problem: Artwork is too high or low.
Solution: Remeasure and reposition using the original marks for accuracy.
Problem: Lighting is too harsh.
Solution: Adjust the angle or switch to softer bulbs.
Problem: Color scheme looks off.
Solution: Consider replacing one piece with something that better fits your theme.
Troubleshooting Section
Editor’s Choice

Command 20 lb XL 8 Pairs Heavyweight Picture Hanging Strips (16 Strips),…

120W LED Wall Pack Light with Dusk-to-Dawn Sensor, 16800LM 5000K LED Sec…

DEWALT Line Laser, Self-Leveling, Cross Line, Red Beam (DW088K)
Variations/Alternative Methods
- Floating Shelves: Use floating shelves for a more dynamic display.
- Gallery Rail: Install a gallery rail for easy swapping of art pieces.
- Magnetic Wall: Create a magnetic wall for an ever-changing gallery display.
Variations/Alternative Methods
Editor’s Choice

EWPC11 Picture Hanging Rail 1-5/8″ Tall x 11/16″ Moulding. Unfinished, P…

Magnetic Paint & Primer (Water Based) – Standard Yield 32oz, MISTD-1530

BAYKA Floating Shelves for Wall, Wall Mounted Rustic Wood Shelves for Ba…
FAQs
- What if I don’t have enough wall space? Consider using a smaller gallery wall or creating a vertical display.
- How long should I wait before changing the art? There’s no set time; change it whenever you feel the urge to refresh!
- Is it safe to hang heavy artwork? Yes, just ensure you use appropriate hardware for the weight.
- Can I mix different styles in one gallery wall? Absolutely! Just make sure there’s a common thread, like color or theme.
- What if I’m renting? Use adhesive strips or hooks to minimize damage when hanging art.
FAQs
Editor’s Choice

Venusmiles 15 Pack Picture Frames Collage Wall Decor, Gallery Frame Set …

Command 20 lb XL 8 Pairs Heavyweight Picture Hanging Strips (16 Strips),…

Forbena 48 Inch Black Picture Ledge Shelf Set of 4, Extra Long Floating …
Conclusion
Congratulations on creating a stunning gallery wall! You have transformed your hallway into an eye-catching display that reflects your style and personality. Remember, the journey doesn’t end here; feel free to update and refresh the art as your tastes evolve.
Next, consider exploring other areas in your home that could benefit from a gallery wall or unique decor. Your creativity can inspire others, so share your beautiful space with friends and family!