Are you tired of staring at bare walls that lack personality and charm? Many people want to create a stunning atmosphere in their homes but feel held back by the high costs of wall art. This guide offers an affordable solution, showing you how to recreate an expensive wall art look without breaking the bank. By the end of this article, you will have a beautiful, customized piece of art that will elevate your home decor.
You will learn how to select materials, design your artwork, and execute the project step-by-step. This project is designed for beginners and should take around 2-3 hours to complete. Get ready to unleash your creativity and transform your walls into a stunning gallery that reflects your style!
Let’s dive into the art of creating your masterpiece. You don’t need to be an artist; just follow these simple steps, and you’ll be amazed at the results!
TL;DR Summary
- Create a beautiful wall art piece for under $20.
- Follow 7 simple steps designed for beginners.
- Use affordable materials and unleash your creativity.
- Transform your space in just 2-3 hours!
TL;DR Summary
Editor’s Choice

Paint Brushes Set of 24 Pieces Wooden Handles Brushes with Canvas Brush …

Simetufy 12 Pack 8×10 Canvas Boards for Painting, Blank Flat Canvas Pane…

Shuttle Art Acrylic Paint, 36 Colors Acrylic Paint Set with Brushes & Pa…
Prerequisites/Materials Needed
- Canvas or cardboard (1 piece, 16″ x 20″)
- Acrylic paints (3 colors of your choice)
- Paintbrushes (1 medium, 1 small)
- Painter’s tape (1 roll)
- Palette or paper plate (1 for mixing)
- Water container (1 for cleaning brushes)
- Paper towels (1 roll)
- Optional: Stencils or stamps for designs
Prerequisites/Materials Needed
Editor’s Choice

Acrylic Paint Brush Set, 1 Packs / 10 pcs Watercolor Brushes Painting Br…
Simetufy 12 Pack 8×10 Canvas Boards for Painting, Blank Flat Canvas Pane…

TMOL Acrylic Paint Set, 24 Colors (2 oz/Bottle) with 12 Art Brushes, Art…
Skill Level & Time Estimate
Skill Level: beginner
Total time estimate: 2-3 hours
Step breakdown:
- Gather materials: 15 minutes
- Prepare the canvas: 30 minutes
- Design and paint: 1-2 hours
- Drying time: 30 minutes
Skill Level & Time Estimate
Editor’s Choice
Simetufy 12 Pack 8×10 Canvas Boards for Painting, Blank Flat Canvas Pane…
Paint Brushes Set of 24 Pieces Wooden Handles Brushes with Canvas Brush …

22 PCS Paint Palettes for Kids, Plastic Paint Pallets with 10 Wells, Acr…
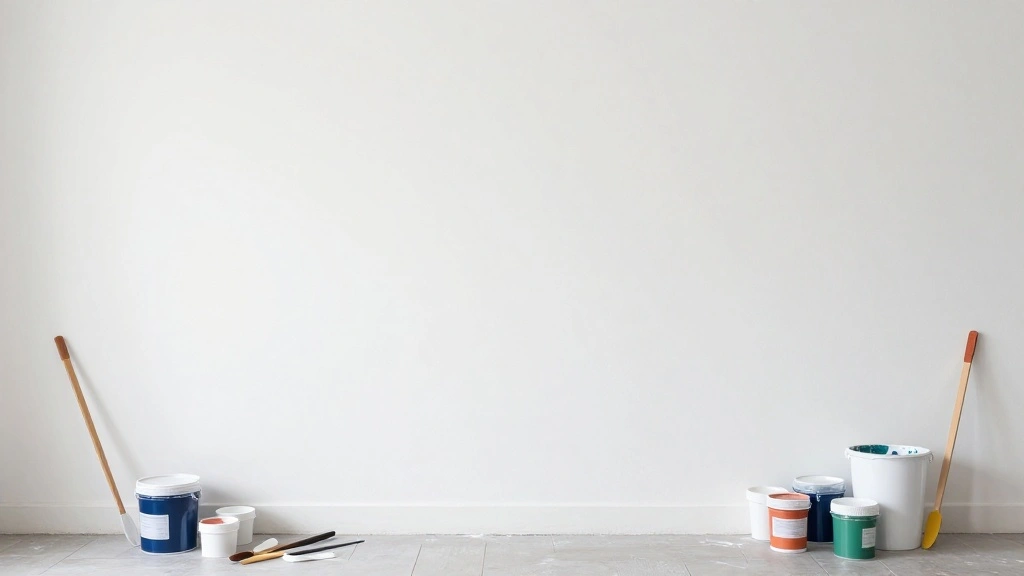
Step 1: Gather Your Materials
Start by collecting all the materials listed in the prerequisites. Having everything at hand will make the process smoother and more enjoyable. Follow these steps:
- Check your space and make sure you have a flat working area.
- Lay out all materials like canvas, paints, brushes, and any additional items.
- Organize your paints by color for easy access during the painting process.
Pro Tip: Choose colors that complement your existing decor for a cohesive look.
Why this matters: Having your materials ready will save you time and help you stay focused on creating your art.
Time estimate: 15 minutes
Step 1: Gather Your Materials
Editor’s Choice
TMOL Acrylic Paint Set, 24 Colors (2 oz/Bottle) with 12 Art Brushes, Art…

Soucolor Acrylic Paint Brushes Set, Easter Basket Stuffers, 20Pcs Round …
Simetufy 12 Pack 8×10 Canvas Boards for Painting, Blank Flat Canvas Pane…
Step 2: Prepare Your Canvas
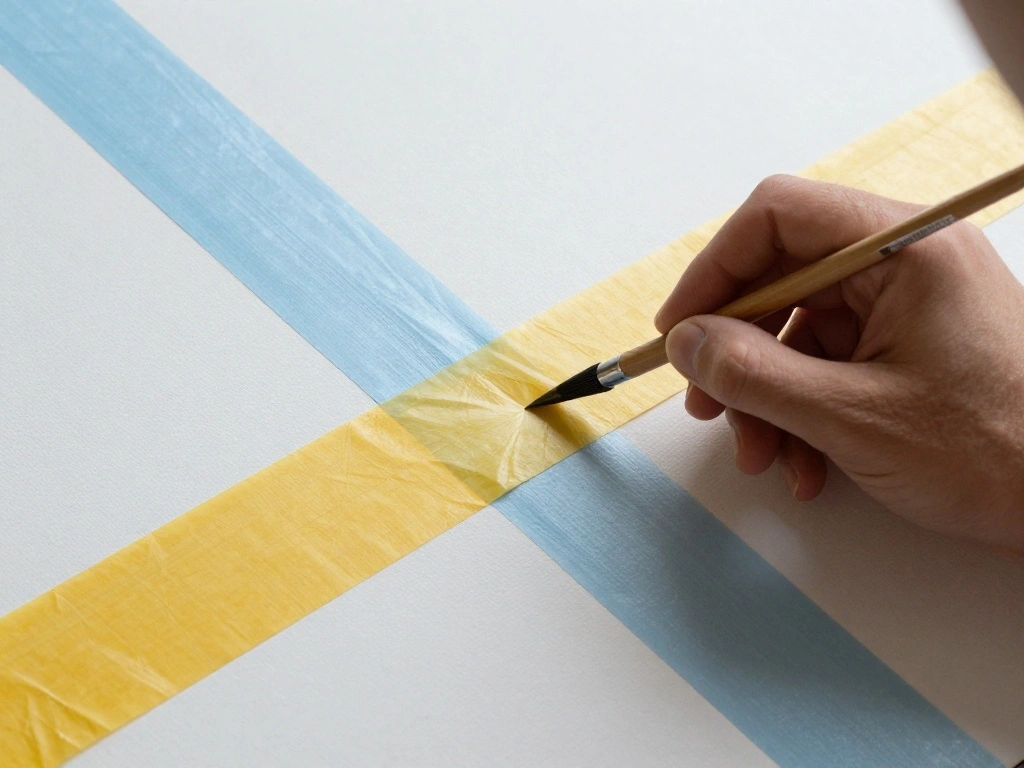
Now that you have your materials, it’s time to prepare your canvas for painting. This step is essential for achieving a professional look. Follow these instructions:
- Lay your canvas or cardboard flat on your working surface.
- Use painter’s tape to create borders or sections for your design if desired.
- Ensure the surface is clean and free of dust or debris.
Warning: Make sure the tape is applied smoothly to avoid paint bleeding.
Why this matters: Preparing your canvas properly ensures a clean and polished final product.
Time estimate: 30 minutes
Step 2: Prepare Your Canvas
Editor’s Choice

HOMEXCEL Microfiber Cleaning Cloth 12 Pack, 12.5 x 12.5 inch Microfiber …

FIXSMITH Stretched White Blank Canvas – 11×14 Inch, 8 Pack, Primed,100% …

4 Rolls Premium Painters Tape, Blue Tape, Masking Tape, Paint Tape for M…
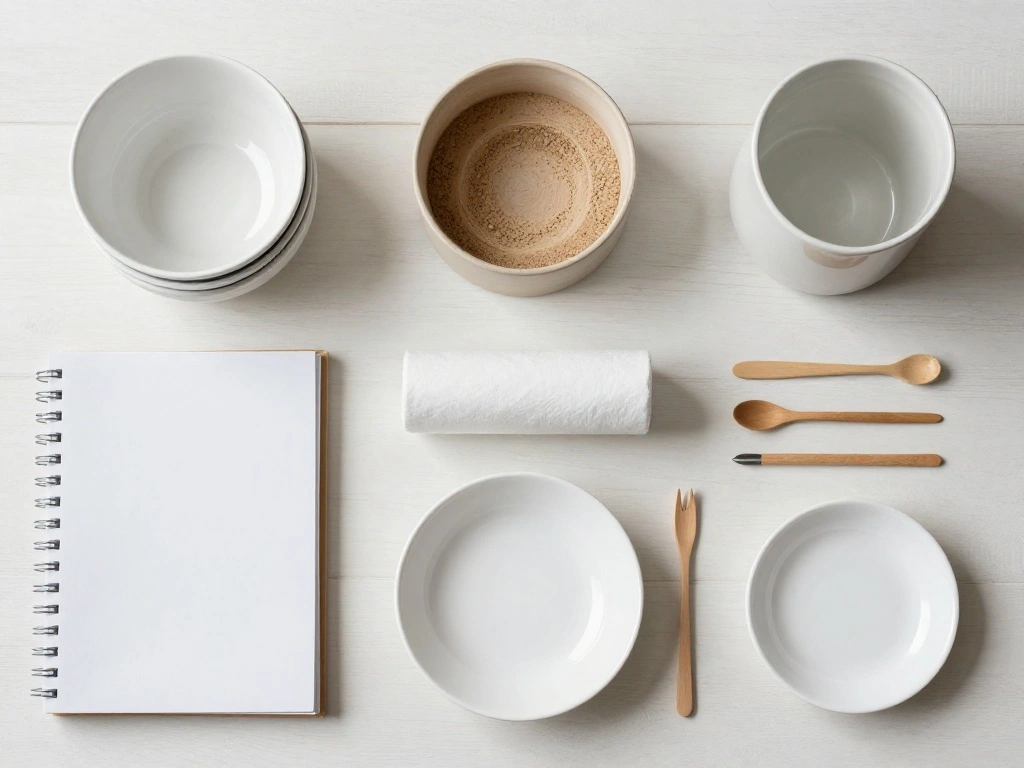
Step 3: Plan Your Design

Before you start painting, planning your design will save you time and effort. You can sketch ideas or use stencils. Here’s how:
- Think about the colors and shapes you want to incorporate.
- If using stencils, decide where to place them on the canvas.
- Consider creating a mood board for inspiration if you need help visualizing your art.
Pro Tip: Look online for design ideas that resonate with your personal taste.
Why this matters: A well-thought-out design will guide your painting process and enhance the final outcome.
Time estimate: 20 minutes
Step 3: Plan Your Design
Editor’s Choice

All-In-One Vision Board Kit for Women: 150 Aesthetic Picture & Quote/Aff…

Color Me Beautiful: Discover Your Natural Beauty Through the Colors That…

HOWAF 15pcs 4th of July Face Paint Stencils for USA Patriotic Makeup Sup…
Step 4: Start Painting
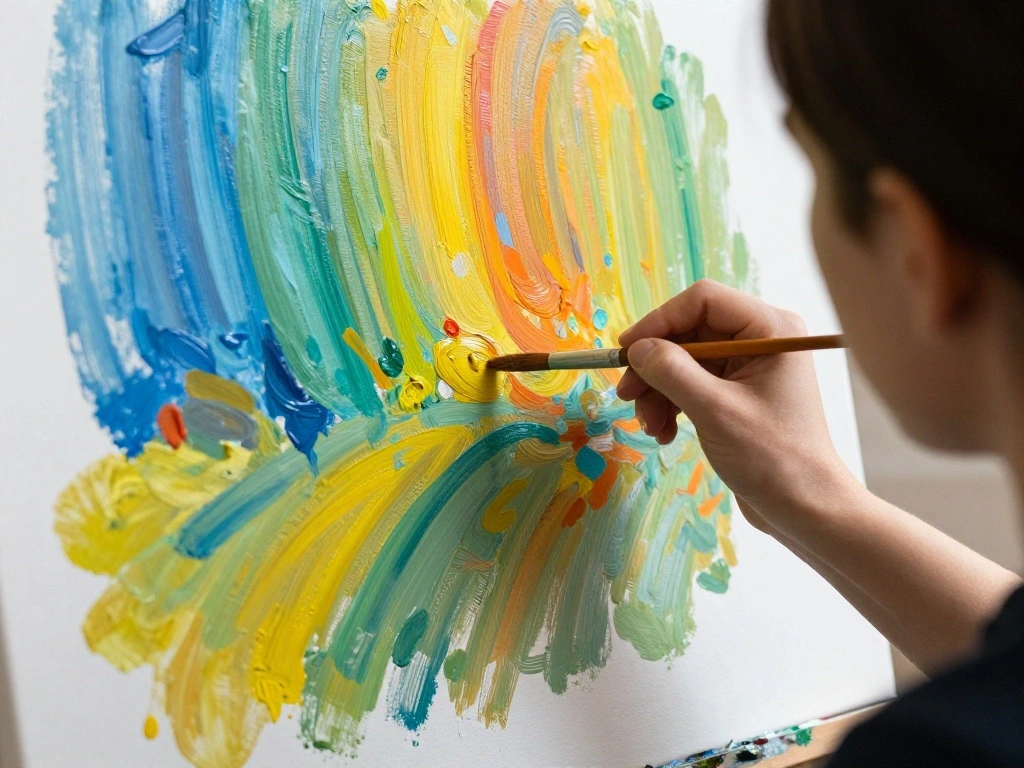
Now comes the exciting part—painting your canvas! Follow these steps to bring your design to life:
- Begin with the base colors, using the medium brush to cover larger areas.
- Allow the first layer to dry before adding details.
- Use the smaller brush for intricate designs or outlines once the base layer is complete.
Warning: Wear old clothes or an apron, as paint can stain.
Why this matters: Layering your paint will create depth and dimension in your artwork.
Time estimate: 1-2 hours
Step 4: Start Painting
Editor’s Choice
Soucolor Acrylic Paint Brushes Set, Easter Basket Stuffers, 20Pcs Round …

Makeup Bag Gifts for Artists Women, Art Lover Gift Thank You Gifts for P…

KEVIN&SASA CRAFTS Painting Apron for Men and Women, Professional for Acr…
Step 5: Let It Dry

After painting, it’s crucial to let your artwork dry completely before moving it. Follow these steps:
- Place your canvas in a well-ventilated area.
- Allow it to dry for at least 30 minutes or until the paint feels dry to the touch.
- Ensure no dust or debris settles on the wet paint during this time.
Pro Tip: If you’re in a hurry, use a fan to speed up the drying process.
Why this matters: Proper drying prevents smudging and ensures your art stays intact.
Time estimate: 30 minutes
Step 5: Let It Dry
Editor’s Choice

4″ Axial Exhaust Fan, DC12V 3000RPM 120mm Air Exhaust Fume Smoke Extract…
27 x 36 Inch Tool Saver Machine Cover 420d Waterproof Fabric Equipment D…
Simetufy 12 Pack 8×10 Canvas Boards for Painting, Blank Flat Canvas Pane…
Step 6: Remove the Tape
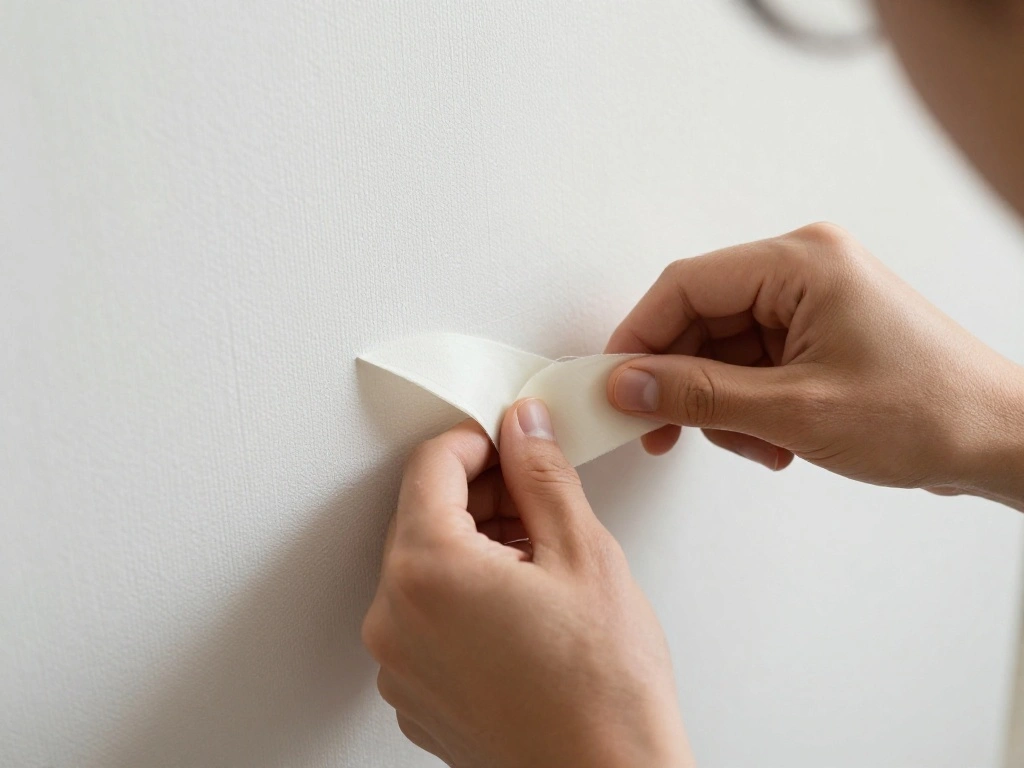
Once your artwork is dry, carefully remove the painter’s tape to reveal clean edges. Here’s how to do it:
- Gently peel off the tape from one corner.
- Slowly pull it away at a 45-degree angle to avoid tearing the canvas.
- Inspect the edges and touch up any areas if necessary with a small brush.
Warning: Go slowly to prevent damaging your artwork.
Why this matters: Removing the tape carefully will give your art a professional, finished look.
Time estimate: 15 minutes
Step 6: Remove the Tape
Editor’s Choice
Simetufy 12 Pack 8×10 Canvas Boards for Painting, Blank Flat Canvas Pane…
4 Rolls Premium Painters Tape, Blue Tape, Masking Tape, Paint Tape for M…

6Pcs Miniature Paint Brushes Set with Triangular Handles – for Acrylics,…
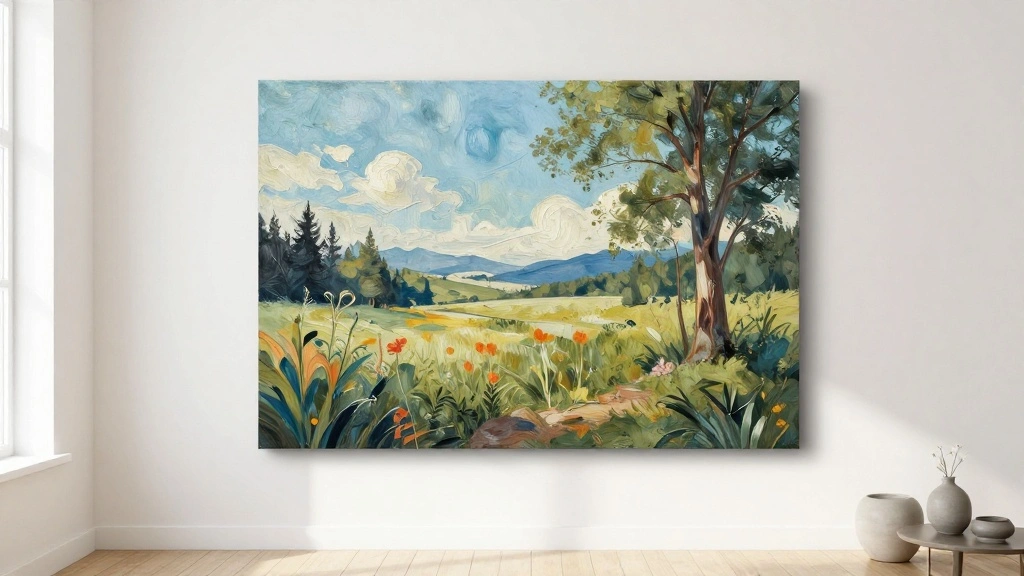
Step 7: Display Your Artwork
Your masterpiece is complete! Now it’s time to display it. Follow these steps to showcase your art:
- Choose a prominent wall space that needs some flair.
- Use picture hooks or adhesive strips to hang your canvas.
- Consider adding accent lighting to highlight your new artwork.
Pro Tip: Hang your art at eye level for the best visual impact.
Why this matters: Properly displaying your artwork enhances its beauty and makes your space feel inviting.
Time estimate: 15 minutes
Step 7: Display Your Artwork
Editor’s Choice

Command 20 lb XL 8 Pairs Heavyweight Picture Hanging Strips (16 Strips),…

EZVALO Picture Light for Wall, 4800mAh Rechargeable Wireless Remote, 16i…

184 Pieces Picture Hanging Kit, 20lb, 30lb, and 50lb Picture Hangers, Me…
Pro Tips
- Color Mixing: Experiment with mixing colors on your palette to create unique shades.
- Layering Techniques: Use a sponge or a rag to apply paint for a textured effect.
- Incorporate Textures: Add fabric or paper elements to your canvas for added dimension.
- Use a Sealant: Once dry, apply a sealant to protect your artwork from dust and fading.
- Create a Series: Make several pieces that complement each other for a cohesive gallery wall.
Pro Tips
Editor’s Choice

4PCS Double-Side Round Paint Sponge Applicators – 3.1 Inch Blue Round De…

Mod Podge Spray Acrylic Sealer that is Specifically Formulated to Seal C…

Liquitex BASICS Acrylic Paint, 250ml (8.5-oz) Tube, Titanium White
Common Mistakes to Avoid
Warning: Don’t rush the drying process, as this can lead to smudges. Always allow adequate drying time.
Warning: Avoid using too many colors; stick to a theme to maintain visual appeal.
Warning: Don’t overuse tape; it can cause the paint to lift when removed. Use it strategically for clean edges.
Common Mistakes to Avoid
Editor’s Choice

Nicpro 30pcs Paint Brush Set, Aesthetic Pastel Paintbrushes with Paint S…


Double Sided Tape for Clothes, Body and Fashion (75 Pack) | Clothing and…
Troubleshooting Section
Problem: Paint bleeding under the tape.
Solution: Ensure the tape is firmly pressed down before painting and consider using a sealant on the edges.
Problem: Colors look dull when dry.
Solution: Apply a second coat of paint once the first layer is dry.
Problem: Canvas warping.
Solution: Use a thicker canvas or ensure it’s properly supported while drying.
Troubleshooting Section
Editor’s Choice
4 Rolls Premium Painters Tape, Blue Tape, Masking Tape, Paint Tape for M…

Shuttle Art Acrylic Paint, 36 Colors Acrylic Paint Set with Brushes & Pa…

ESRICH Canvas Boards for Painting 12×16 Inch, 3 Pack Canvas for Painting…
Variations/Alternative Methods
- Collage Art: Use magazine cutouts and glue for a different artistic approach.
- Fabric Art: Use fabric pieces instead of paint for a textured look.
- Digital Art: Create a digital design and print it on canvas for a modern touch.
Variations/Alternative Methods
Editor’s Choice

Lifewit 4 Pack Paper Organizer Storage, 32 x 23 cm/12×9 Multi-Purpose Pl…

Personalized Custom Canvas Prints: Photo On Canvas (Framed 11X14) Transf…

ARTISTRO 24 Dual-Tip Fabric Markers – Fabric Decorating Kit – Permanent …
FAQs
- What if I don’t have acrylic paints? You can use any paint you have available, but acrylics are best for vibrant colors.
- How long should I let my art dry? Allow at least 30 minutes or until the paint feels dry to the touch.
- Is it safe to use adhesive strips? Yes, they are designed for hanging items without damaging walls.
- What if I make a mistake while painting? You can always paint over mistakes once the layer is dry.
- Can I use this method for larger canvases? Yes, just ensure you have enough paint and space to work.
FAQs
Editor’s Choice

Artkey Acrylic Paint Set, 16 Colors 2 oz/59 ml Acrylic Paint Kit for Pro…
Command 15 lb Large Picture Hanging Strips 14 Pairs (28 Strips), Damage-…

Blosssound 10 Set Pre Printed Canvas Pre Drawn Canvas Painting with Ease…
Conclusion
Congratulations on completing your stunning wall art! You’ve transformed your space without spending a fortune. Take a moment to admire your handiwork and enjoy the sense of accomplishment that comes with creating something beautiful.
As a next step, consider creating more pieces to form a gallery wall or gifting one to a friend. Explore different styles and techniques to expand your creative skills. Remember, art is a journey, not a destination—keep experimenting and having fun!