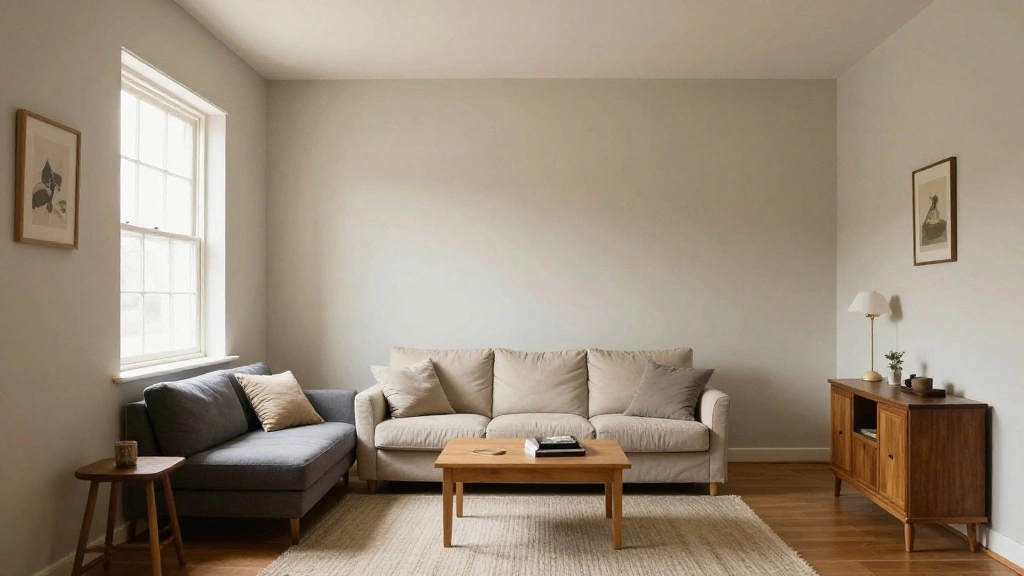
Are your walls looking bare and uninspired? Feeling overwhelmed by the idea of decorating on a budget? You’re not alone! Many face the challenge of creating a beautiful space without breaking the bank. Fortunately, you can transform your walls into a stunning focal point without spending a fortune.
In this guide, you’ll discover how to decorate your walls room-by-room while staying on a budget. By the end, you will have actionable steps to create a vibrant and personalized atmosphere in your home.
This guide is tailored for beginners and can be completed in approximately 3-4 hours. We’ll cover everything from choosing the right materials to specific decorating techniques that will elevate your space. Let’s get started and make your walls a true reflection of your style!
TL;DR Summary
- Transform your walls on a budget with practical tips.
- Follow a step-by-step plan for each room.
- Learn how to use affordable materials creatively.
- Achieve a stylish look without overspending.
Prerequisites/Materials Needed
- Paint or wallpaper samples (1-2 colors)
- Framed artwork or prints (3-5 pieces)
- Wall decals or stickers (2-3 packs)
- DIY materials (canvas, fabric, etc.)
- Hanging tools (nails, hooks, tape)
- Measuring tape
- Level tool
- Brushes or rollers (1 set)
Skill Level & Time Estimate
Skill Level: beginner
Total time estimate: 3-4 hours
Major steps time breakdown:
1. Planning & Choosing Materials: 1 hour
2. Preparing Walls: 30 minutes
3. Painting or Applying Wallpaper: 1-2 hours
4. Hanging Art & Decor: 1 hour
Step 1: Plan Your Design
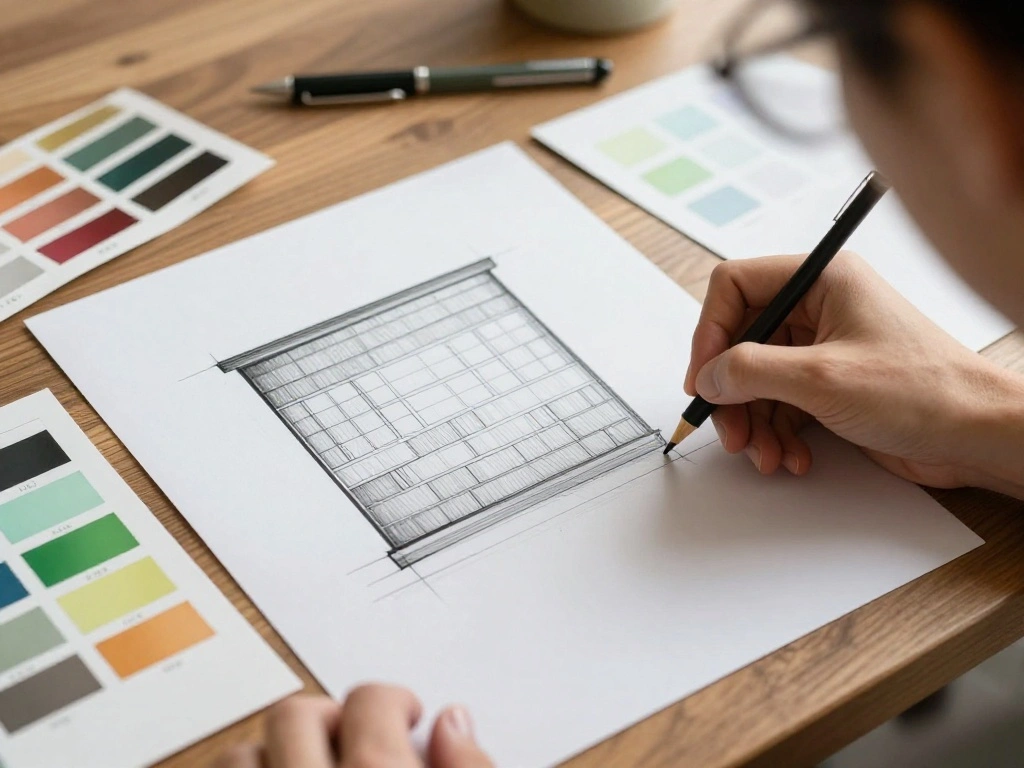
Start by planning your wall design. This step is crucial as it sets the tone for the entire room. Consider the following sub-steps:
- Decide on a color scheme that complements your furniture and decor.
- Gather inspiration from magazines, websites, or social media.
- Sketch a rough layout of where you want to hang art or place decals.
Pro Tip: Use color swatches to visualize how different hues look together in your space.
Why this matters: Planning ensures that your design is cohesive and intentional, avoiding costly mistakes later on.
Time estimate: 1 hour.
Step 2: Prepare Your Walls
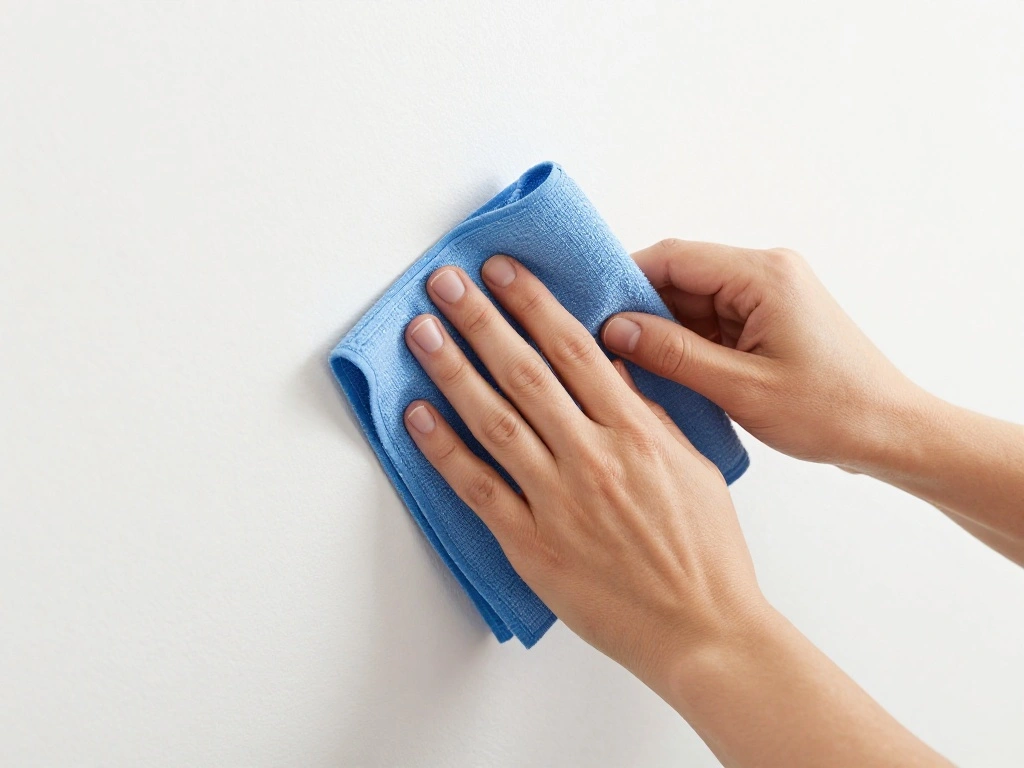
Before decorating, ensure your walls are clean and ready for new materials. Follow these steps:
- Clear the area around the wall.
- Dust and wipe down the walls to remove any dirt or grime.
- Fill any holes or cracks with spackle and sand smooth.
Warning: Make sure to let any repairs dry completely before proceeding.
Why this matters: A clean and smooth surface allows paint or decor to adhere better, resulting in a more polished finish.
Time estimate: 30 minutes.
Step 3: Choose Your Wall Color
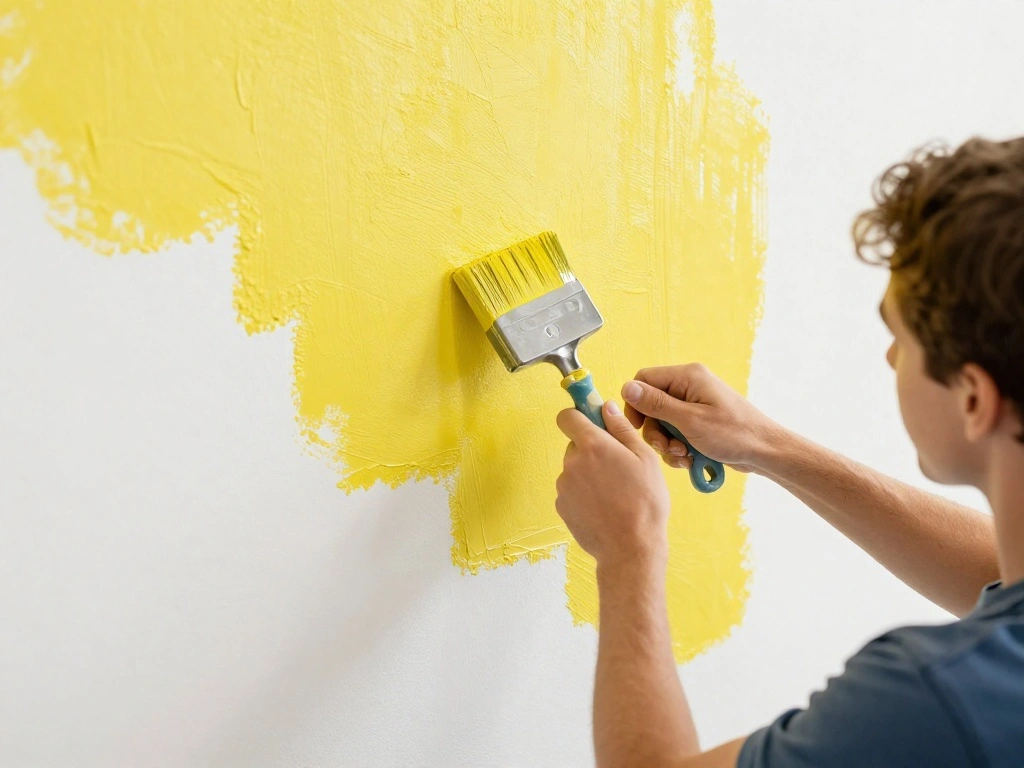
Now it’s time to add color! This step can dramatically change the look of your space. Here’s how to do it:
- Select your paint or wallpaper based on your earlier design plan.
- Use painter’s tape to outline areas you want to paint.
- Apply your chosen color using a brush or roller.
Pro Tip: Consider an accent wall to save on paint while still making a bold statement.
Why this matters: Color can set the mood of a room and create a welcoming atmosphere.
Time estimate: 1-2 hours.
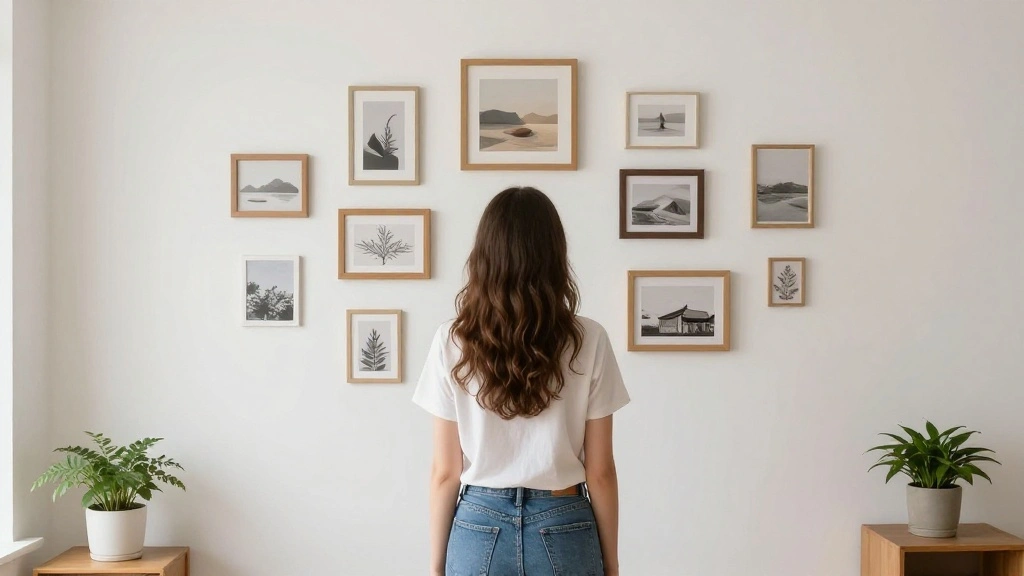
Step 4: Hang Art and Decor
With your walls now colorful, it’s time to hang art and decor. Follow these steps:
- Decide on the arrangement of your artwork.
- Use a level to ensure frames are hung straight.
- Securely hang each piece using nails or hooks.
Warning: Avoid placing heavy items on weak hooks to prevent accidents.
Why this matters: Properly hung art creates a polished look and showcases your personal style.
Time estimate: 1 hour.
Step 5: Add Finishing Touches
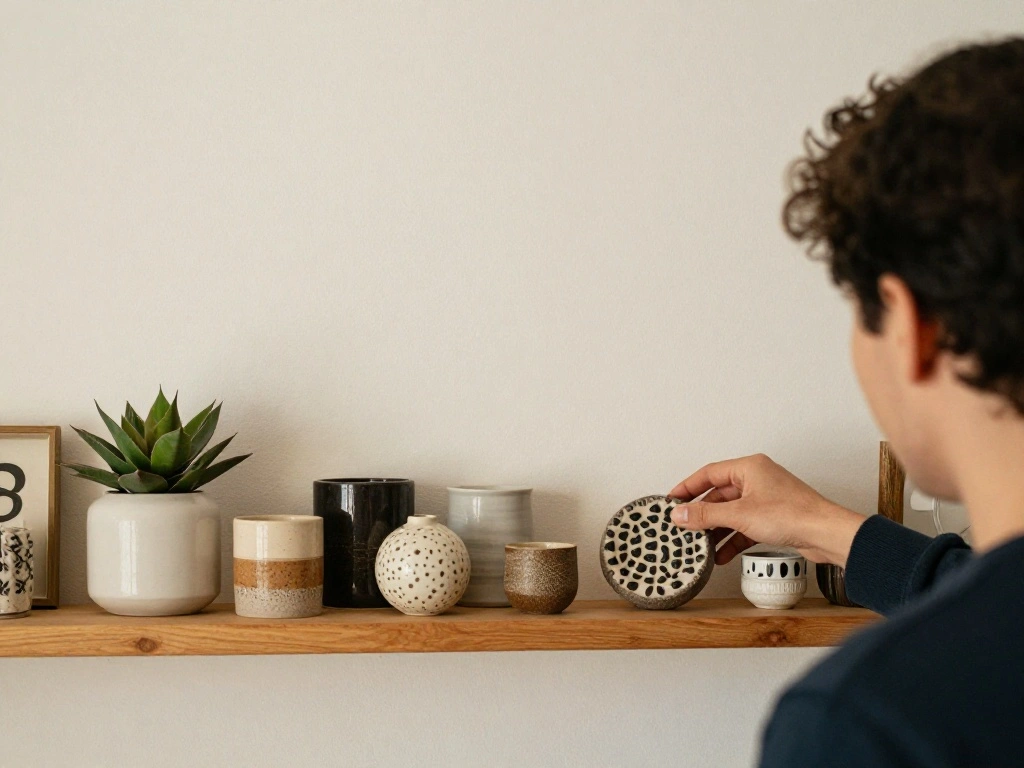
To complete your wall decor, add finishing touches. Here’s how:
- Incorporate wall decals or stickers for an extra layer of design.
- Add shelves for books or decorative items.
- Consider plants or hanging items to bring life to your walls.
Pro Tip: Use a mix of textures and materials for visual interest.
Why this matters: Finishing touches can personalize your space and make it feel complete.
Time estimate: 30 minutes.
Step 6: Evaluate and Adjust
Once everything is in place, take a step back and evaluate your work. Here’s what to do:
- Inspect your wall decor from different angles.
- Identify any areas that may need tweaking or adjustments.
- Make any necessary changes to improve the overall look.
Warning: Don’t hesitate to rearrange decor until you’re satisfied with the arrangement.
Why this matters: Final adjustments ensure that your decor reflects your style and vision perfectly.
Time estimate: 30 minutes.
Pro Tips
- Mix and Match: Use a variety of art styles to create an eclectic look.
- Layer Textures: Combine different materials (wood, metal, fabric) for depth.
- DIY Decor: Create your own art using inexpensive materials for a personal touch.
- Seasonal Changes: Update decor seasonally for a fresh look without major costs.
- Use Mirrors: Incorporate mirrors to make a space feel larger and brighter.
Common Mistakes to Avoid
Warning: Not measuring before hanging art can lead to uneven placements. Always measure and mark!
Warning: Forgetting to clean walls can cause paint to peel. Always prep surfaces first.
Warning: Overcrowding walls with too much decor can look cluttered. Keep it balanced and intentional.
Troubleshooting Section
Problem: Paint is peeling off the wall.
Solution: Ensure walls are clean and properly prepped next time.
Problem: Art looks crooked.
Solution: Use a level when hanging to ensure straightness.
Problem: Wall decals aren’t sticking.
Solution: Clean the wall before applying and press firmly.
Variations/Alternative Methods
1. Removable Wallpaper: Great for renters; easy to apply and remove.
2. Fabric Panels: Hang large fabric swatches instead of paint for a softer look.
3. Gallery Wall: Create a dynamic gallery wall with a mix of frames and sizes.
FAQs
What if I don’t have a steady hand for painting? Consider using a paint sprayer for a smoother finish.
How long should I wait before hanging items on freshly painted walls? Wait at least 24 hours for the paint to cure.
Is it safe to use adhesives for hanging art? Yes, if they are rated for the weight of your items.
Conclusion
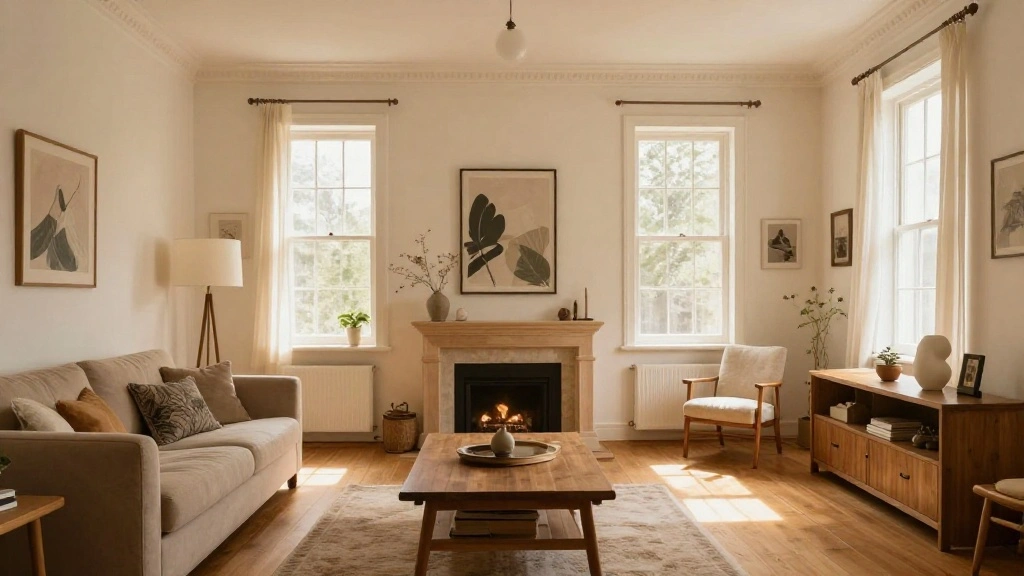
Congratulations on transforming your walls! You’ve taken significant steps to enhance your living space while sticking to your budget. Now that you’ve completed this guide, consider tackling other areas of your home or experimenting with seasonal decor changes.
Your walls are a canvas for your creativity, so continue exploring new ideas and styles. Remember, decorating is a journey, not just a destination. Enjoy your newly decorated space!