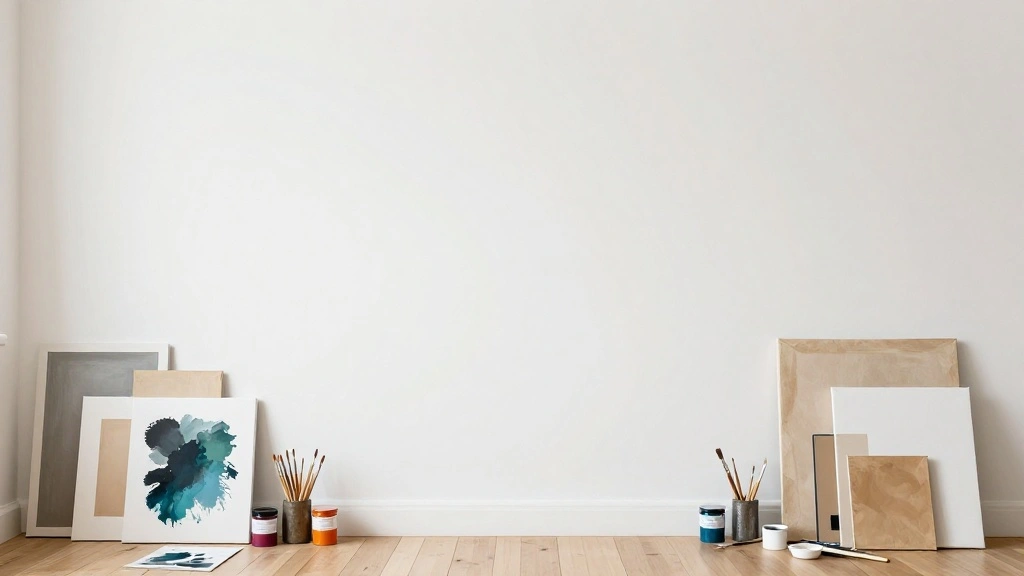
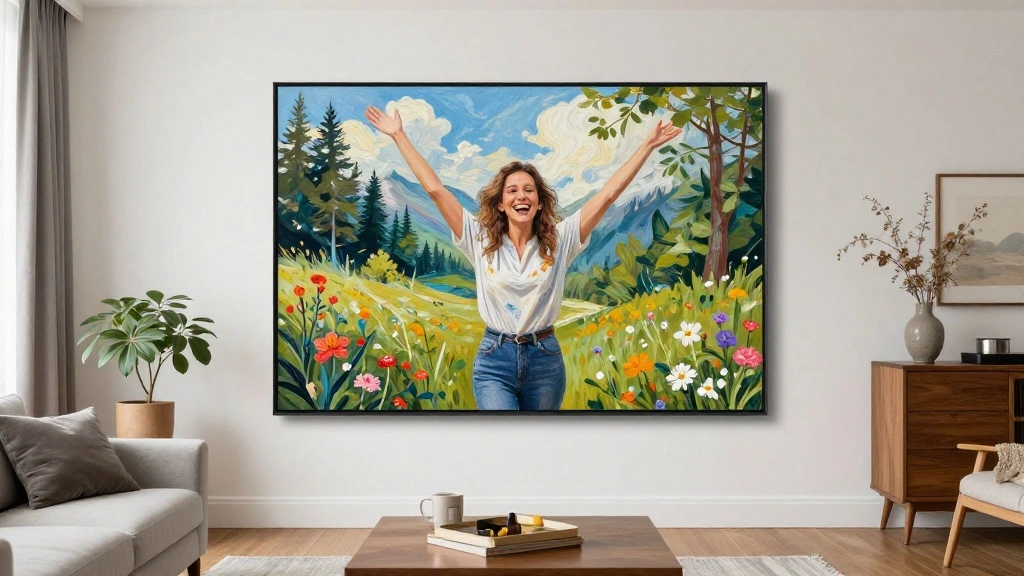
Are your walls feeling dull and uninspired? Transforming your space with oversized wall art can be a game-changer, but many people shy away from it due to high costs. The good news is that creating your own stunning wall art doesn’t have to break the bank! In this guide, you will learn how to craft beautiful, oversized wall art for under $40, bringing life and personality into your home.
By the end of this project, you will have a custom piece of art that not only enhances your decor but also reflects your unique style. Whether you’re a complete beginner or just looking to try something new, this guide walks you through each step with easy-to-follow instructions. You will learn about the materials needed, techniques for creating eye-catching designs, and tips for hanging your masterpiece.
This project is rated as beginner level and is estimated to take around 2-3 hours to complete. So grab your supplies and let’s transform your space into a gallery-like experience that you can be proud of!
TL;DR Summary
- Create oversized wall art for under $40.
- Estimated time: 2-3 hours.
- Beginner-friendly steps and materials.
- Customizable designs to match your decor.
TL;DR Summary
Editor’s Choice

TMOL Acrylic Paint Set, 24 Colors (2 oz/Bottle) with 12 Art Brushes, Art…

20 Pcs Paint Brushes, Acrylic Painting Brush Set, Watercolor Brushes, Ac…

Simetufy 12 Pack 8×10 Canvas Boards for Painting, Blank Flat Canvas Pane…
Prerequisites/Materials Needed
- Canvas: 2 large canvases (36″ x 48″)
- Paint: Acrylic paints in 3-5 colors
- Brushes: Variety pack (large and small sizes)
- Palette: Disposable paper palette or a plate
- Water Container: For rinsing brushes
- Drop Cloth: To protect your workspace
- Pencil: For sketching designs
- Hanging Tools: Picture hooks or adhesive strips
Prerequisites/Materials Needed
Editor’s Choice

Professional Artist Paint Brush Set of 12 – Painting Brushes Kit for Kid…

Nicpro 30pcs Paint Brush Set, Aesthetic Pastel Paintbrushes with Paint S…
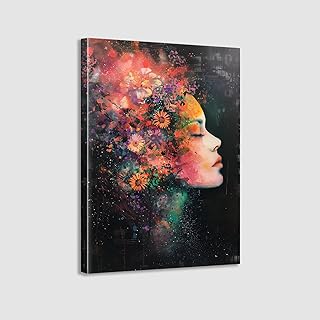
Framed Canvas Wall Art Beautiful Woman With Colorful Flowers, White Flow…
Skill Level & Time Estimate
Skill Level: beginner. Total time estimate: 2-3 hours. Here’s a breakdown of the time:
- Gathering materials: 30 minutes
- Designing and sketching: 30 minutes
- Painting: 1-2 hours
- Drying time: 30 minutes
- Hanging: 30 minutes
Skill Level & Time Estimate
Editor’s Choice

Paint Brushes Set of 24 Pieces Wooden Handles Brushes with Canvas Brush …
Simetufy 12 Pack 8×10 Canvas Boards for Painting, Blank Flat Canvas Pane…

Shuttle Art Acrylic Paint, 36 Colors Acrylic Paint Set with Brushes & Pa…
Step 1: Gather Your Materials
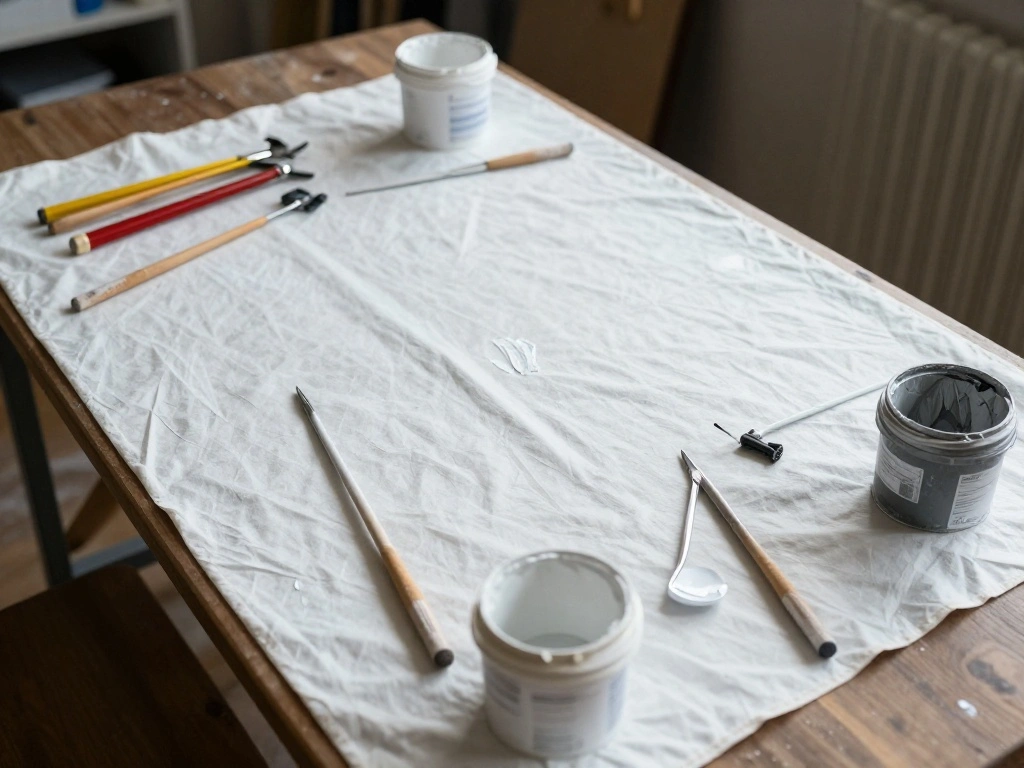
Start by collecting all the materials listed in the prerequisites section. This ensures that you have everything you need at hand before beginning your project. Follow these steps:
- Find a suitable workspace with good lighting.
- Lay out your drop cloth to protect surfaces.
- Organize your paints, brushes, and canvas so that they are easily accessible.
Pro Tip: Gather a few inspiration images to get your creative juices flowing. Why this matters: Having your materials ready helps streamline the process and keeps you focused. Time estimate: 30 minutes.
Step 1: Gather Your Materials
Editor’s Choice

ESRICH Canvas Boards for Painting, 5 Pack Canvases for Painting 8×10 Cot…
Step 2: Sketch Your Design
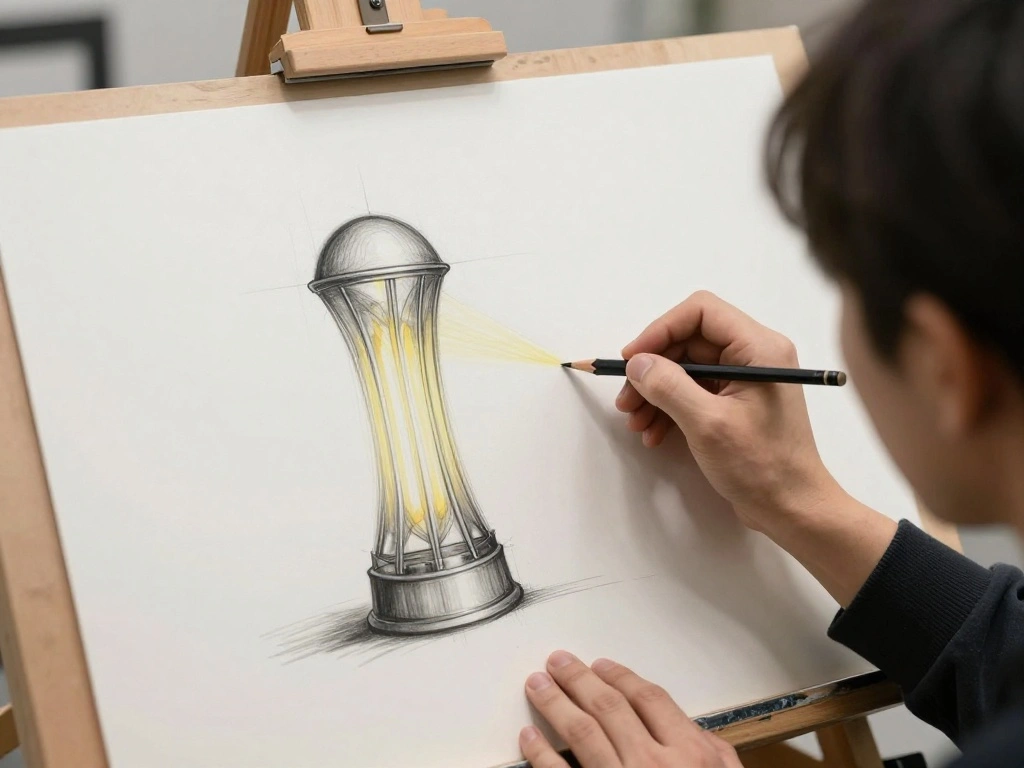
Use a pencil to lightly sketch your design on the canvas. This step is crucial as it sets the foundation for your artwork. Follow these steps:
- Choose a design that resonates with you—abstract, geometric, or floral.
- Lightly outline the main shapes and elements on the canvas.
- Step back occasionally to ensure the layout looks balanced.
Pro Tip: Keep your lines light, so they can be painted over easily later. Why this matters: A well-planned sketch ensures your final piece is cohesive and visually appealing. Time estimate: 30 minutes.
Step 2: Sketch Your Design
Editor’s Choice

SKYDUE 360 Rotating Purple Pen & Art Supply Organizer – 5 Slot Desk Orga…
Framed Canvas Wall Art Beautiful Woman With Colorful Flowers, White Flow…
Step 3: Select Your Color Palette
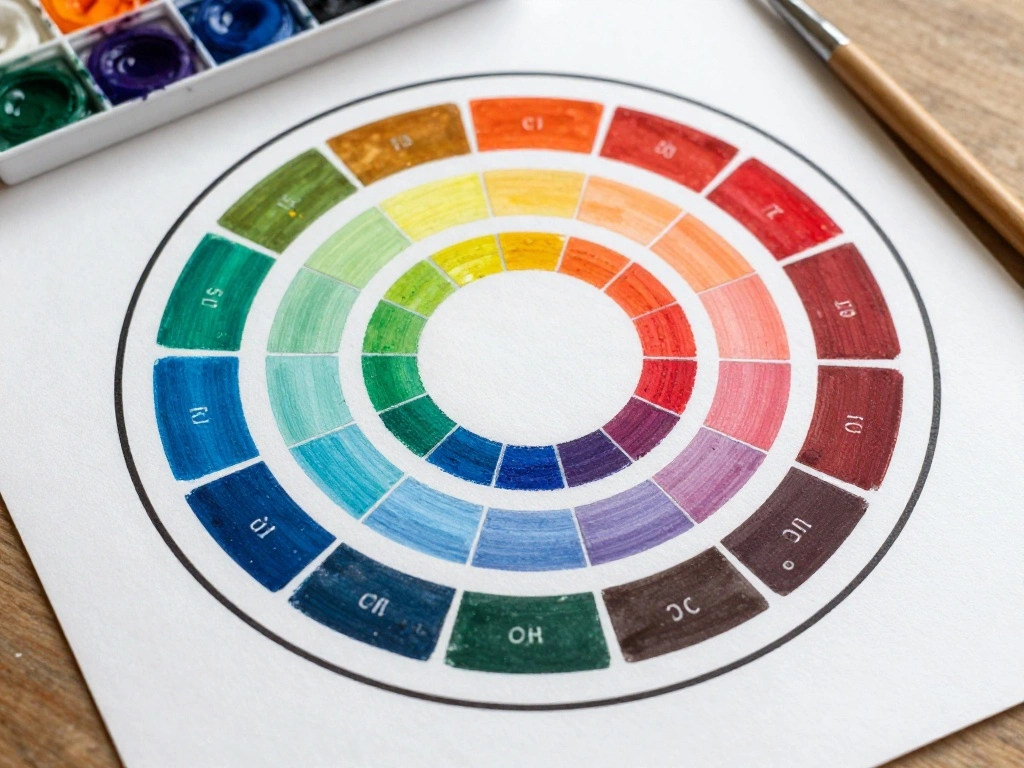
Choosing the right colors is vital to creating a striking piece of art. Here’s how to do it:
- Pick 3-5 colors that complement each other. Consider using a color wheel for guidance.
- Test your colors on a scrap piece of paper to see how they look when mixed.
- Set aside your colors and ensure they are within reach while painting.
Pro Tip: Use analogous colors for a harmonious look or contrasting colors for a bold statement. Why this matters: The right color choices can drastically enhance the visual impact of your art. Time estimate: 20 minutes.
Step 3: Select Your Color Palette
Editor’s Choice

5Pcs Mirror Empty Nail Art Palettes Plate Round Glass Manicure Palette N…

Artkey Acrylic Paint Set, 16 Colors 2 oz/59 ml Acrylic Paint Kit for Pro…

60 Pcs Paint Brushes,Round Flat Small Brush Bulk for Detail Painting
Step 4: Start Painting the Background
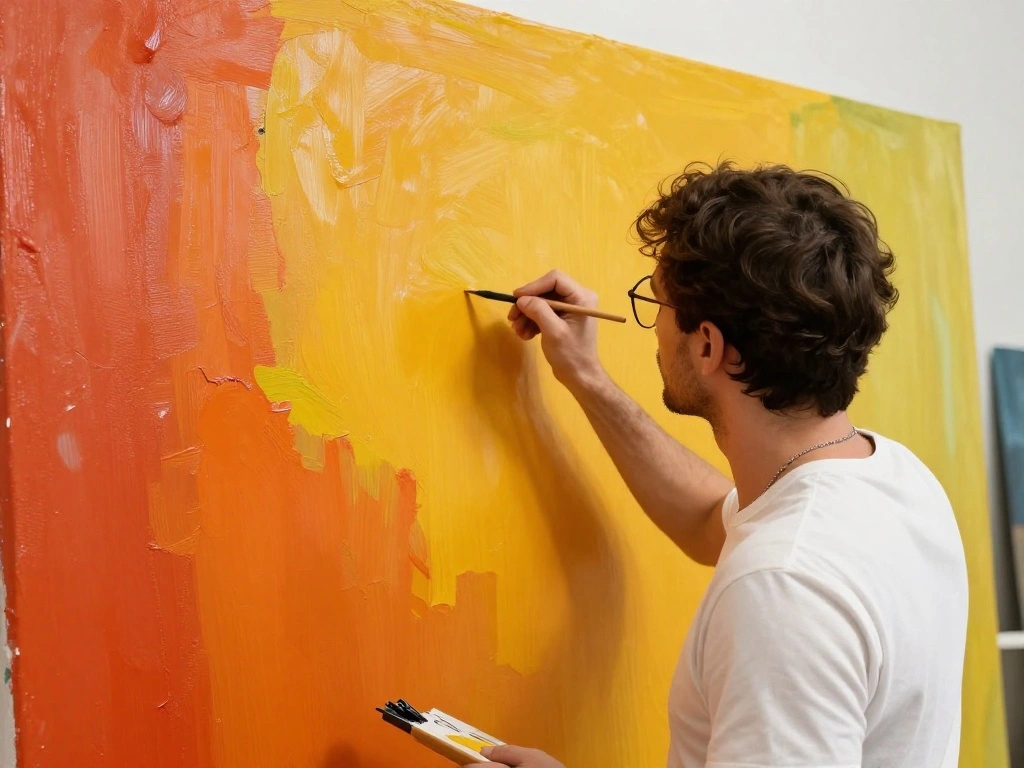
Now it’s time to bring your canvas to life! Begin with the background colors. Follow these steps:
- Choose a color for the background and fill the entire canvas using a large brush.
- Use even strokes to cover the canvas smoothly.
- Allow the background to dry completely before moving on to the next steps.
Warning: Ensure that the paint is dry to avoid smudging when adding details. Why this matters: A well-finished background sets the tone for the entire artwork. Time estimate: 1 hour.
Step 4: Start Painting the Background
Editor’s Choice

Teacher Earrings for Women, Artist Paint Palette and Brush Pencil Earrin…

MEEDEN Soft Body Acrylic Paints Set: Matte Finish 24 Colors x 60ml/2oz F…

Sexy Woman Body Painting on Canvas Wall Art Nude Abstract Modern Prints …
Step 5: Add Main Design Elements
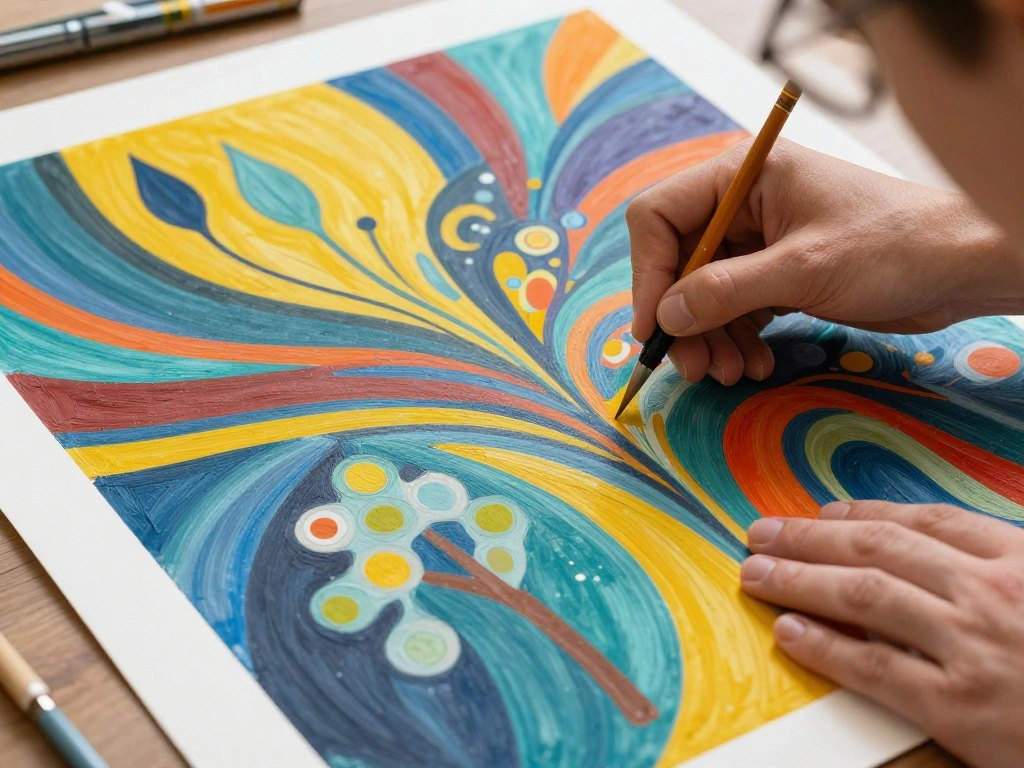
Once the background is dry, it’s time to paint the main design elements. Follow these steps:
- Using a smaller brush, start painting your outlined designs with your chosen colors.
- Fill each shape carefully, ensuring clean edges.
- Consider layering colors for depth and texture.
Pro Tip: Don’t be afraid to mix colors on the canvas for unique shades. Why this matters: This step brings your artwork to life and showcases your creativity. Time estimate: 1 hour.
Step 5: Add Main Design Elements
Editor’s Choice

5 Pack Mini Acrylic Paint Set,12 Colors Acrylic Paints Strips for Adults…
Framed Canvas Wall Art Beautiful Woman With Colorful Flowers, White Flow…
Professional Artist Paint Brush Set of 12 – Painting Brushes Kit for Kid…
Step 6: Refine and Add Details
Now that the main elements are painted, it’s time to refine your artwork. Here’s how:
- Evaluate your piece and identify areas that need more detail or finishing touches.
- Use a fine brush to add lines, dots, or patterns for intricacy.
- Step back frequently to see the overall effect from a distance.
Pro Tip: Adding white or black accents can enhance contrast significantly. Why this matters: The details make your artwork stand out and feel complete. Time estimate: 30 minutes.
Step 6: Refine and Add Details
Editor’s Choice

Shuttle Art Acrylic Paint Set, 30 x12ml Tubes Artist Quality Non Toxic R…

Anezus Tiny Detail Paint Brushes 30 Pcs Fine Paint Brushes Set with 3 Si…
Step 7: Allow to Dry Completely

Before moving forward, let your artwork dry completely. Here’s how to ensure it dries properly:
- Place the canvas in a well-ventilated area away from direct sunlight.
- Check the drying progress periodically.
- Be patient; this step is crucial for a flawless finish.
Pro Tip: You can use a fan to speed up drying if needed, but avoid blowing air directly onto the paint. Why this matters: Proper drying prevents smudging and ensures the paint sets well. Time estimate: 30 minutes.
Step 7: Allow to Dry Completely
Editor’s Choice

Large Canvases for Painting 36×48 Inch 2-Pack, 12.3 oz Triple Primed Aci…

Lasko Portable Utility Fan, 12” 289 CFM Pivoting High Velocity Air Mov…
Step 8: Prepare for Hanging

Once your artwork is dry, it’s time to prepare it for hanging. Follow these steps:
- Decide where you want to hang your art and mark the spot on the wall.
- For heavier pieces, use picture hooks; for lighter ones, adhesive strips work well.
- Measure to ensure the artwork hangs at eye level for the best visual impact.
Warning: Ensure that the hooks or strips can support the weight of your artwork. Why this matters: Proper hanging ensures your artwork remains secure and visually appealing. Time estimate: 20 minutes.
Step 8: Prepare for Hanging
Editor’s Choice

iBayam 2 Pack Tape Measure Measuring Tape for Body Fabric Sewing Tailor …

Command 15 lb Large Picture Hanging Strips 14 Pairs (28 Strips), Damage-…

184 Pieces Picture Hanging Kit, 20lb, 30lb, and 50lb Picture Hangers, Me…
Step 9: Hang Your Artwork
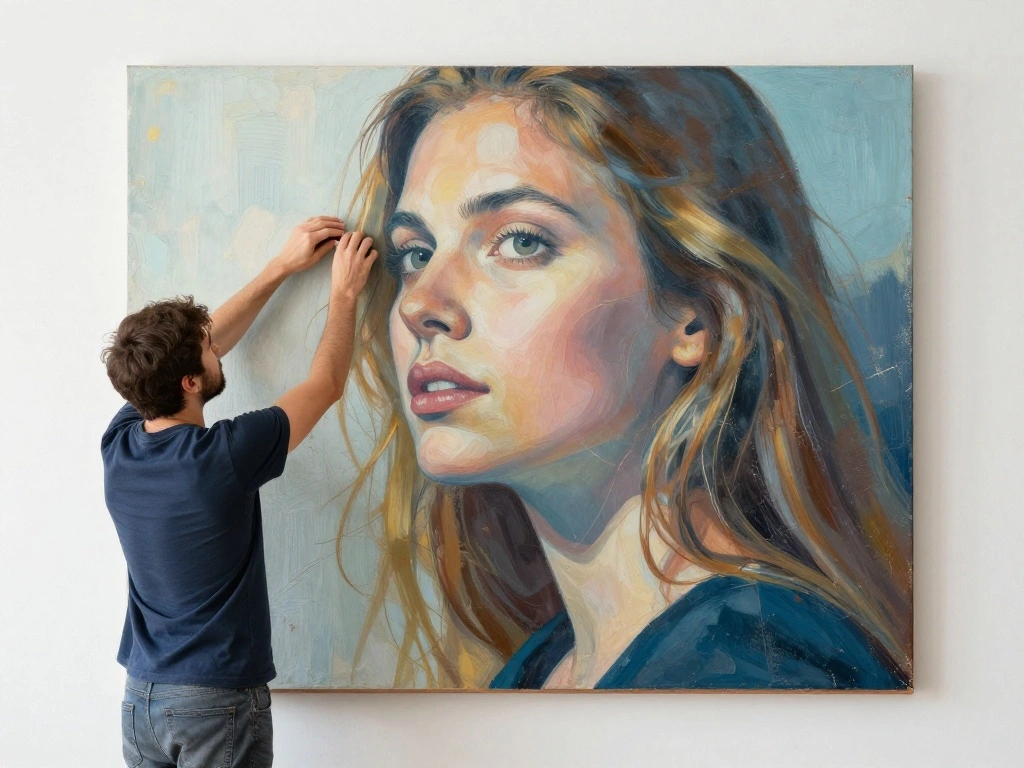
Now, it’s time for the exciting part—hanging your artwork! Follow these steps:
- Carefully lift the artwork and align it with your pre-marked spot.
- Attach the picture hooks or adhesive strips according to package instructions.
- Step back after hanging to ensure it’s straight and looks good in the space.
Pro Tip: Use a level to make sure your artwork hangs straight. Why this matters: Properly hung art transforms your space and showcases your hard work. Time estimate: 20 minutes.
Step 9: Hang Your Artwork
Editor’s Choice


Picture Hanging Kit, 315pcs Hanging Hardware with Hooks, Wire, Nails, D …

Command 20 lb XL 8 Pairs Heavyweight Picture Hanging Strips (16 Strips),…
Step 10: Enjoy Your New Artwork
Congratulations! You’ve completed your DIY oversized wall art. Now, take a moment to enjoy your creation. Here’s what to do next:
- Invite friends or family to see your handiwork.
- Consider sharing your project on social media or with local art groups.
- Reflect on what you learned and plan your next art project!
Pro Tip: Keep experimenting with different styles and techniques to enhance your skills. Why this matters: Celebrating your work boosts your confidence and encourages creative exploration. Time estimate: 10 minutes.
Step 10: Enjoy Your New Artwork
Editor’s Choice
Simetufy 12 Pack 8×10 Canvas Boards for Painting, Blank Flat Canvas Pane…

Shuttle Art Acrylic Paint, 36 Colors Acrylic Paint Set with Brushes & Pa…
Paint Brushes Set of 24 Pieces Wooden Handles Brushes with Canvas Brush …
Pro Tips
- Color Mixing: Experiment with mixing colors on your palette to create unique shades.
- Layering: Add layers of paint to create depth and texture in your artwork.
- Texture Tools: Use sponges or cloth to create interesting texture effects.
- Inspiration Sources: Look at online galleries for inspiration before starting your design.
- Art Community: Engage with local art groups for feedback and ideas.
Pro Tips
Editor’s Choice

LEADO Painting Candle – Painter Gifts, Gifts for Artists, Painters Women…

10PCS Palette Knife, Stainless Steel Painting Knife Set, Flexible Spatul…

Common Mistakes to Avoid
Warning: Not using enough paint can result in a streaky finish. Ensure you apply ample paint to cover the canvas entirely.
Warning: Skipping the drying time can lead to smudging. Be patient and let each layer dry properly.
Warning: Ignoring balance can lead to an awkward looking piece. Step back frequently to assess your composition.
Warning: Using the wrong hanging hardware can cause your artwork to fall. Always check weight limits.
Warning: Forgetting to protect your workspace can create a mess. Always lay down a drop cloth before painting.
Common Mistakes to Avoid
Editor’s Choice
Professional Artist Paint Brush Set of 12 – Painting Brushes Kit for Kid…

Nude Black Woman Art, Sexy Woman Painting – Canvas Wall Art for Living R…
5 Pack Mini Acrylic Paint Set,12 Colors Acrylic Paints Strips for Adults…
Troubleshooting Section
Problem: Paint is smudging.
Solution: Allow more drying time before adding layers. Make sure to paint in a well-ventilated area.
Problem: The artwork looks unbalanced.
Solution: Step back and reassess your design. You can always add more elements to create harmony.
Problem: Canvas is warping.
Solution: Ensure your canvas is properly stretched and supported while painting.
Problem: Colors don’t match your decor.
Solution: Consider adding more accents or using contrasting colors to tie everything together.
Problem: Artwork falls off the wall.
Solution: Check your hanging hardware and ensure it can support the weight of your canvas.
Troubleshooting Section
Editor’s Choice

VOCHIC 10 Pack 8 x 10In Canvas Boards and Easel Set Sip and Paint Kit fo…

Heavy Duty Canvas Pliers and Staple Remover Set, Stainless Steel Anti-Co…
Mepase 6 Pcs Painting Artist Gift Sets for Women Include Canvas Tote Bag…
Variations/Alternative Methods
- Collage Art: Instead of painting, you can use magazine cutouts and decoupage for a textural piece.
- Fabric Art: Use fabric swatches instead of paint for a soft, textured look.
- Mixed Media: Combine painting with other materials like wood, metal, or beads for a unique piece.
Variations/Alternative Methods
Editor’s Choice

Ninth Street Women: Lee Krasner, Elaine de Kooning, Grace Hartigan, Joan…

Sun Catcher Kits for Adults, 228pcs DIY Suncatcher Making Supplies Arts …

2 Pcs Occlusion Bands BFR Bundle for Women Adjustable Best Fabric Blood …
FAQs
What if I don’t have a large canvas? You can use multiple smaller canvases arranged together to create an oversized effect.
How long should I let the paint dry? It’s best to let each layer dry for at least 30 minutes to avoid smudging.
Is it safe to use acrylic paints? Yes, acrylic paints are non-toxic and safe for indoor use, but ensure good ventilation when painting.
What if I make a mistake? Don’t worry! You can paint over mistakes once the paint is dry.
Can I use spray paint instead? Yes, spray paint can create a different effect, but be cautious of overspray and always work in a well-ventilated area.
FAQs
Editor’s Choice
Sexy Woman Body Painting on Canvas Wall Art Nude Abstract Modern Prints …
Nicpro 30pcs Paint Brush Set, Aesthetic Pastel Paintbrushes with Paint S…

AmazingSpark 6 Set Paint and Sip Kit for Adults 8″x 10″ Pre Drawn Canvas…
Conclusion
Congratulations on completing your DIY oversized wall art! You’ve not only beautified your space but also tapped into your creativity. Now that you’ve mastered this technique, consider exploring other art forms or styles to continue your artistic journey.
Share your creation with friends or on social media to inspire others, and don’t hesitate to try different materials or methods in your next project. Art is all about expression, so keep experimenting and enjoy the process!