Are you tired of blank walls? Seasonal decor can elevate your home’s ambiance, but professional art pieces often come with a hefty price tag. With a little creativity and effort, you can transform your living space without breaking the bank.
In this guide, you will learn how to print and frame stunning seasonal wall art from the comfort of your home for under $10 each season. You will achieve beautiful results that reflect the essence of each season, whether it’s spring blooms, summer sunsets, autumn leaves, or winter wonderlands.
This project is perfect for beginners, requiring no special skills or tools. You’ll discover how to gather materials, select and print art, and create a lovely frame setup.
Estimated time for this project is around 2-3 hours. Get ready to add a personal touch to your home decor and impress your guests with your creativity!
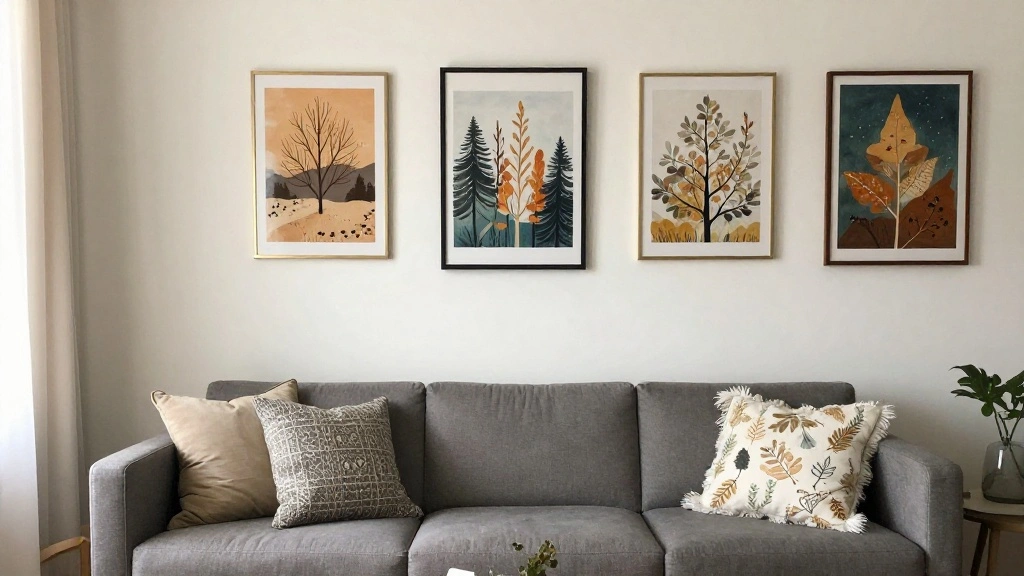
Image Prompt: Show a cozy, well-decorated room with seasonal art on the walls, capturing the essence of each season.
TL;DR Summary
- Print and frame seasonal wall art at home for less than $10 per season.
- Learn to gather materials, find art online, and print it yourself.
- Follow easy steps to create beautiful frames.
- Perfect for beginners with a total time of about 2-3 hours.
TL;DR Summary
Editor’s Choice

Family Picture Frame, Best Friend Picture Frame Gifts for Best Friend Wo…

Laura Ashley Elegant Stationery Scissors with Decorative Handles – Aes…

Patelai 120 Sheets Stationery Writing Paper 8.5 x 11 Classroom Double Si…
Prerequisites/Materials Needed
- Printing Materials:
- Printer (inkjet or laser)
- High-quality paper (photo paper or cardstock)
- Art files (downloadable printables)
- Framing Materials:
- Frame (size according to your art)
- Backing board (if not included with frame)
- Glass or acrylic cover (if not included with frame)
- Tools:
- Scissors
- Ruler
- Double-sided tape or glue
Prerequisites/Materials Needed
Editor’s Choice

Canon PIXMA TS4320 Wireless Color Inkjet Printer for Duplex Printing, Wh…

Neenah Paper Exact Index Card Stock, 94 Bright, 110 lb Index Weight, 8.5…

Vittanly 15 Pack Picture Frames Collage Wall Decor for Mounting or Table…
Skill Level & Time Estimate
Skill Level: beginner
Total time estimate: 2-3 hours
This includes:
- Gathering materials: 15-30 minutes
- Selecting and printing art: 30-60 minutes
- Framing art: 30-60 minutes
Skill Level & Time Estimate
Editor’s Choice
HP DeskJet 2855e Wireless All-in-One Color Inkjet Printer, Scanner, Copi…

FIXSMITH 8×10 Picture Frame 1 Pack, Photo Frame with HD Plexiglass, Disp…

300 Sheets Glossy Photo Paper, 8.5in x 11in Inkjet Photo Printer Paper, …
Step 1: Choose Your Seasonal Theme
Begin by deciding on the theme for your seasonal wall art. Think about what represents the current season best: flowers for spring, beach scenes for summer, foliage for autumn, or snowflakes for winter. This step is essential as it sets the tone for your entire project.
1. Make a list of seasonal elements you love.
2. Decide on colors that represent the season.
3. Consider how the art will fit into your existing decor.
Pro Tip: Create a mood board with images or colors that inspire you.
Estimated time: 15-20 minutes.
Step 1: Choose Your Seasonal Theme
Editor’s Choice

12 Pack Craft Scissors Decorative Edge, 6.5″ Pattern Scissors for Kids &…

Utaqer Friendship Picture Frame, Good Friends Are Like Stars, Picture Gi…

Qykwz Black Women Floral Wall Art Prints, Elegant Modern African America…
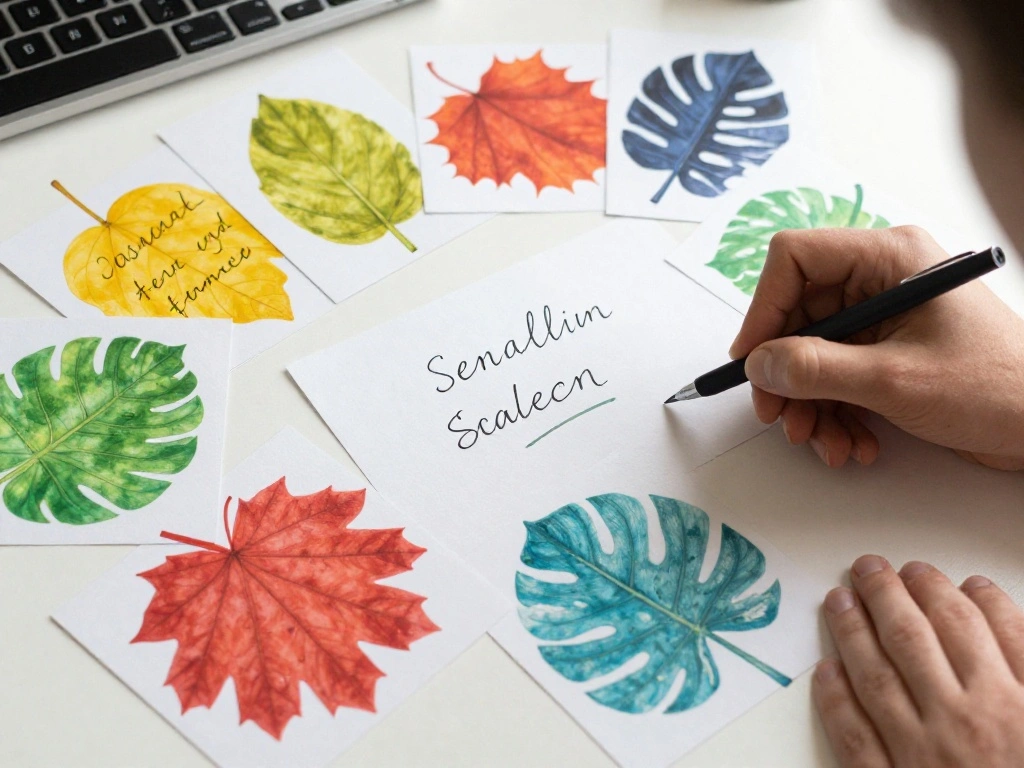
Step 2: Find Art Online

Now that you have a theme, search for printable art online. There are various websites offering free or affordable downloadable printables. This step is crucial as it will provide the artwork that reflects your chosen theme.
1. Use search terms like ‘free seasonal printable art’ in Google.
2. Check sites like Etsy, Pinterest, or Creative Market.
3. Choose high-resolution images (300 DPI is ideal for printing).
Warning: Ensure the images are copyright-free or that you have permission to use them.
Estimated time: 30-45 minutes.
Step 2: Find Art Online
Editor’s Choice

Best Friend Birthday Gifts for Women Teen Girls, Mothers Day Gifts for B…

Liene M100 4×6” Photo Printer, Phone Printer 100 Sheets & 3 Cartridges,…

Surreal Woman Canvas Wall Art, Cool Grid Addiction Girl Poster, Unique F…
Step 3: Download and Save Your Art Files

Once you’ve selected your art, it’s time to download the files. This step is vital to ensure you have all your chosen pieces ready for printing.
1. Click the download button on your chosen art file.
2. Save the images in a dedicated folder on your computer.
3. Make sure to note the dimensions of each file for printing.
Pro Tip: Rename the files based on the season for easier organization.
Estimated time: 10-15 minutes.
Step 3: Download and Save Your Art Files
Editor’s Choice

Claw Hammer Small Hammer 8oz Camping Hammer Comfortable Hammers Tools St…

Laura Ashley 4×6 Pink Flower Textured Hand-Crafted Resin Picture Frame w…

Double A Everyday Ledger Paper 11 x 17, 20 lb, 96 Bright, White Multipur…
Step 4: Prepare Your Printer
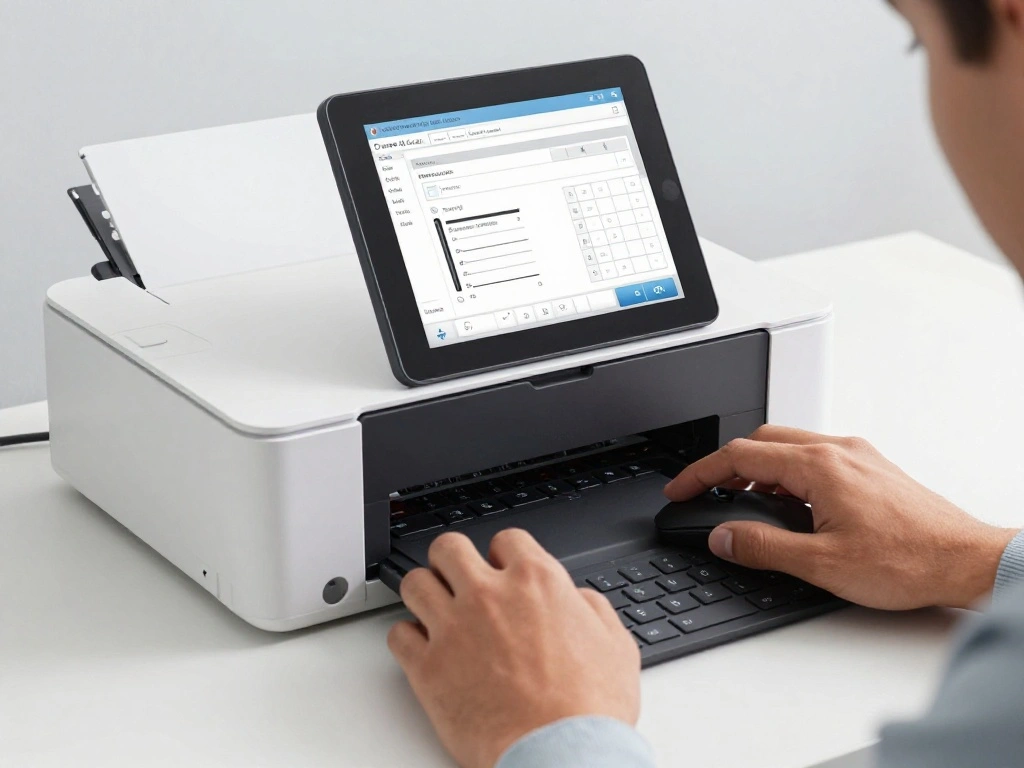
Before printing, ensure your printer is ready to produce high-quality images. This step focuses on printer settings and paper selection to get the best results.
1. Load high-quality paper into your printer.
2. Open the downloaded art file on your computer.
3. Adjust printer settings to ‘best quality’ to enhance print results.
Warning: Always print a test page first to ensure colors and quality are correct.
Estimated time: 15-20 minutes.
Step 4: Prepare Your Printer
Editor’s Choice

Calibrite Display Pro HL Monitor Calibration Colorimeter for LCD Mini LE…

Epson EcoTank ET-2800 Wireless Color All-in-One Cartridge-Free Supertank…

PPD Watercolor Printer & Printable Fine Art Paper for Inkjet Printer, Te…
Step 5: Print Your Art
Now it’s time to print your selected art! This step is where your vision comes to life.
1. Click ‘Print’ and select the correct paper size.
2. Wait for the printer to complete the job and carefully remove the prints.
3. Allow the prints to dry if using inkjet to avoid smudging.
Pro Tip: Print multiple designs if you want to rotate art throughout the season.
Estimated time: 15-30 minutes.
Step 5: Print Your Art
Editor’s Choice
Canon PIXMA TS4320 Wireless Color Inkjet Printer for Duplex Printing, Wh…

African Women Scrapbook Paper: Decorative Double-Sided Craft Papers For …
Laura Ashley 4×6 Pink Flower Textured Hand-Crafted Resin Picture Frame w…
Step 6: Trim Your Prints to Size
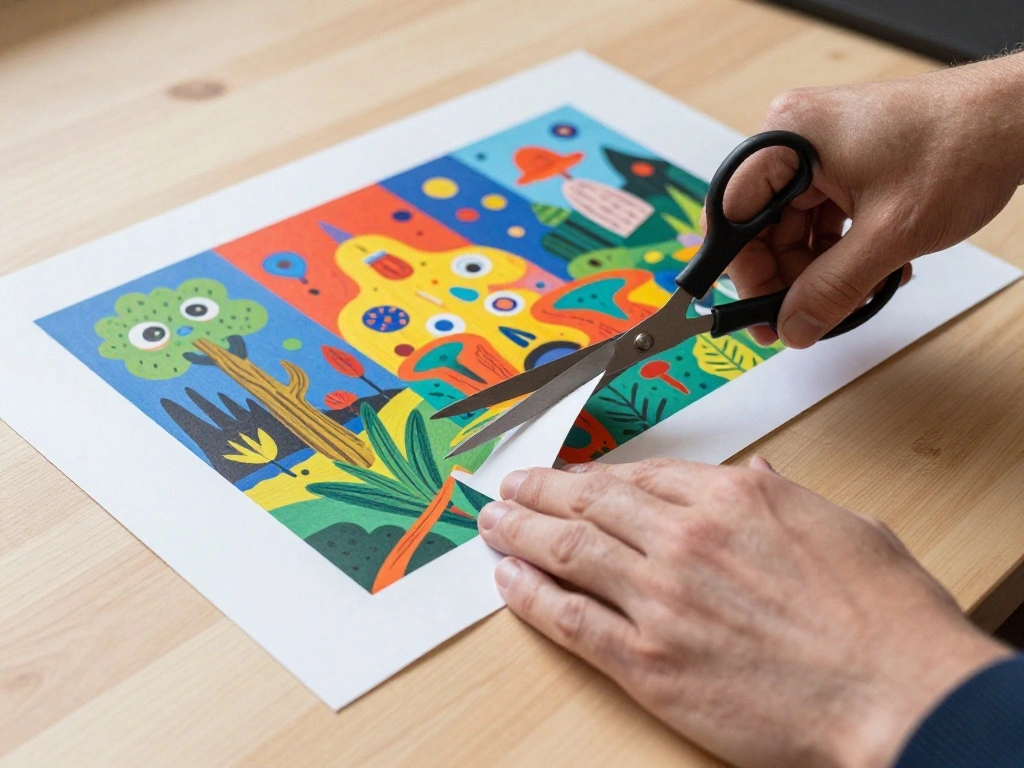
After printing, you may need to trim the prints to fit your chosen frames. This step ensures that your art looks professional and fits perfectly.
1. Measure the dimensions of your frame.
2. Use scissors or a paper cutter to carefully trim the edges of your prints.
3. Double-check that the size matches your frame.
Warning: Always cut slowly to avoid mistakes.
Estimated time: 15-20 minutes.
Step 6: Trim Your Prints to Size
Editor’s Choice

Westcott 12” TrimAir Wood Guillotine Paper Cutter & Paper Trimmer, 30 S…

Fiskars Micro-Tip Spring Assisted Scissors, Precision Cutting Stainless …

Copkim 50 Pieces Tape Measure Retractable and Easy Read with Fractions M…
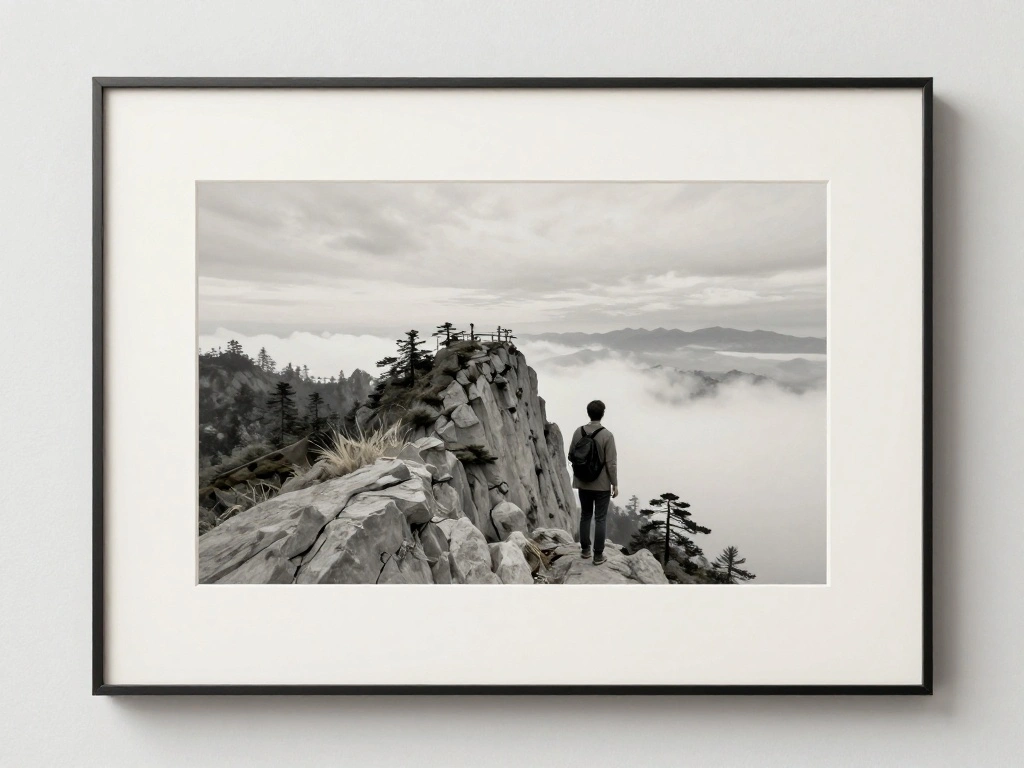
Step 7: Assemble the Frame

Now that your prints are ready, it’s time to assemble the frames. This step is crucial as it protects your art and enhances its presentation.
1. Open the back of the frame and place the backing board inside.
2. Position your trimmed art in the center.
3. Secure the back of the frame, ensuring everything is held tightly.
Pro Tip: Use double-sided tape to secure the art to the backing board if it’s slipping.
Estimated time: 15-20 minutes.
Step 7: Assemble the Frame
Editor’s Choice

GEMTEND 2026 Graduation Gift for Her Him, Behind You, All Your Memories-…
Laura Ashley Elegant Stationery Scissors with Decorative Handles – Aes…

Fearless Tape – Double Sided for Clothing Body & Dresses (50 Strips) | C…
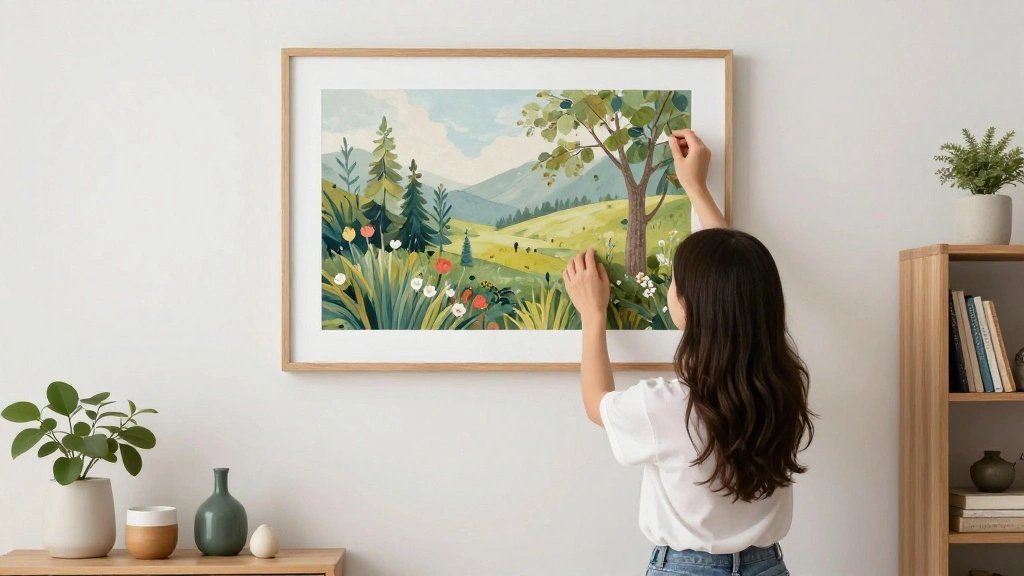
Step 8: Hang or Display Your Art
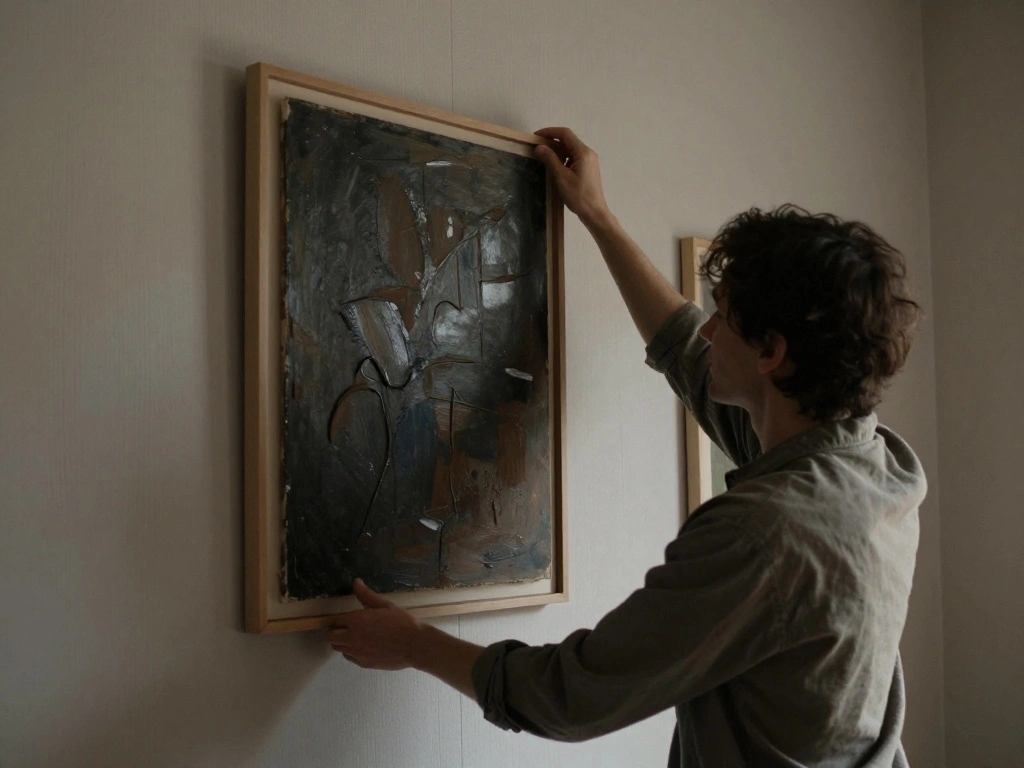
With your art framed, it’s time to display it! This step is about finding the perfect location in your home.
1. Choose a wall or shelf that accommodates your frames.
2. Use nails, adhesive hooks, or display stands for hanging.
3. Step back and make sure the art is level and visually appealing.
Pro Tip: Group frames in a gallery style for a more dynamic display.
Estimated time: 20-30 minutes.
Step 8: Hang or Display Your Art
Editor’s Choice

KURUI 303Pcs Picture Hanging Kit, Picture Hangers Assorted Kit with Heav…

Women’s Eyewear Frame Set, Geometric Multi-Color Plastic Modern Minimali…

150 Pack Adhesive Hooks Wall Hooks 24lb(Max) Self Adhesive Hooks Heavy D…
Step 9: Gather Feedback and Adjust
After displaying your art, take a moment to gather feedback or make adjustments. This step helps you refine your decor and maximize your enjoyment of the art.
1. Ask family or friends for their thoughts on the display.
2. If something feels off, consider rearranging the art or changing the frame style.
3. Take note of how the art fits in with the overall room decor.
Pro Tip: You can rotate art as the seasons change to keep your decor fresh.
Estimated time: 10-15 minutes.
Step 9: Gather Feedback and Adjust
Editor’s Choice
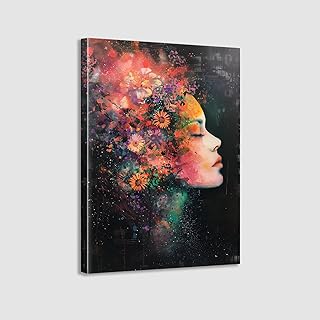
Framed Canvas Wall Art Beautiful Woman With Colorful Flowers, White Flow…

Inspirational Wall Art for Bedroom, Motivational Office Wall Art Decor, …

KURUI 700PCs Small Nails for Hanging Pictures & 8oz Small Hammer for Wom…
Step 10: Enjoy Your Seasonal Art!
With everything completed, it’s time to enjoy your new seasonal wall art! This step allows you to appreciate your hard work and creativity.
1. Take a moment to soak in your decorated space.
2. Share your creations on social media or with friends to inspire others.
3. Plan your next seasonal art project!
Pro Tip: Set reminders to change your art with each new season.
Estimated time: 5-10 minutes.
Pro Tips
- Use Quality Materials: Always opt for high-quality paper and frames for the best results.
- Explore Different Art Styles: Incorporate various art styles like watercolor, photography, or digital art for diversity.
- Shop Sales: Look for sales on printing supplies and frames to save even more money.
- Seasonal Themes: Plan art that can transition well into different seasons, like floral patterns for spring and summer.
- Involve Family: Make this a family project to create memories while decorating your home.
Common Mistakes to Avoid
Warning: Avoid printing on low-quality paper. It can ruin the appearance of your art.
Warning: Don’t forget to check the frame size before printing. It saves you from cutting your prints unnecessarily.
Warning: Avoid using the wrong printer settings. Always select the highest quality for vibrant prints.
Troubleshooting Section
Problem: Printer jams during printing.
Solution: Check for paper misalignment and ensure the paper is properly loaded.
Problem: Colors look faded.
Solution: Adjust printer settings to ‘best quality’ and ensure you’re using the right paper type.
Problem: Art doesn’t fit the frame.
Solution: Double-check frame dimensions before printing and trim prints as needed.
Variations/Alternative Methods
- Digital Frames: Use a digital frame for rotating images digitally without printing. Great for those who love technology.
- Collage Style: Create a collage of smaller prints for a unique look.
- Seasonal Banners: Instead of framed art, create seasonal banners that can hang across a wall for a playful touch.
FAQs
- What if I don’t have a printer? You can use a local print shop or online printing service to print your artwork.
- How long should I let my prints dry? Allow at least 10-15 minutes for inkjet prints to dry before framing.
- Is it safe to use adhesive hooks for hanging? Yes, if the weight of the frame is within the hook’s capacity. Always check the packaging for weight limits.
Conclusion
Congratulations! You have successfully printed and framed seasonal wall art for your home. Enjoy the beauty and personalization that your new decor brings!
Now that you’ve completed this project, consider exploring other DIY home decor ideas or starting a new seasonal art piece for the upcoming season.
Remember, creativity knows no bounds, so keep experimenting and have fun with your home decor journey. Your walls are now a canvas for your imagination!
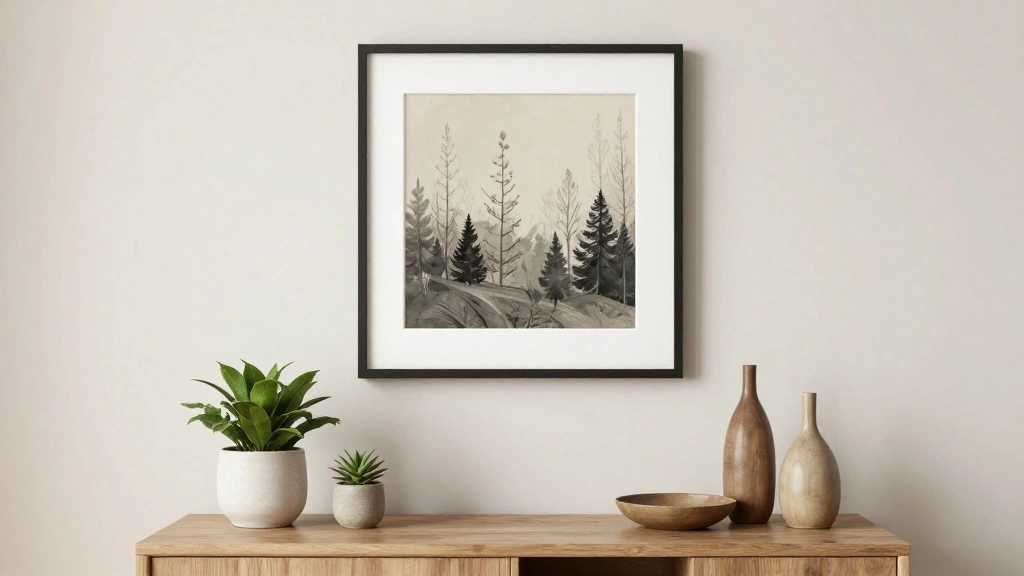
Image Prompt: Show a beautifully decorated room with seasonal art prominently displayed, evoking warmth and creativity.