Creating a beautiful nursery often feels overwhelming, especially when it comes to wall decor. You might worry about the costs piling up and how to find art that truly resonates with you and your baby’s personality. The good news is that you don’t have to spend a fortune to beautify your little one’s space!
This guide will show you how to make stunning DIY nursery wall art for under $20. By the end, you will have personalized artwork that you can proudly display in your child’s room, adding a unique touch that reflects your style and love.
You will learn about materials needed, step-by-step instructions, and tips to enhance your artwork. This project is designed for beginner DIYers and can be completed in just 1-2 hours. So, roll up your sleeves, and let’s dive into the exciting world of DIY nursery wall art!
TL;DR Summary
- Create personalized nursery wall art for under $20.
- Gather basic materials like canvas, paint, and stencils.
- Follow six simple steps to complete your art.
- Enjoy a fun, creative project that enhances your child’s room.
TL;DR Summary
Editor’s Choice

Sexy Woman Body Painting on Canvas Wall Art Nude Abstract Modern Prints …

FINGERINSPIRE 4 Pcs Minimalist Figures Painting Stencil with Brush 8.3×1…

Nicpro 30pcs Paint Brush Set, Aesthetic Pastel Paintbrushes with Paint S…
Prerequisites/Materials Needed
- Canvas: 1-2 pieces (size of your choice, e.g., 12×16 inches)
- Acrylic Paint: Various colors (1-2 small bottles each)
- Paint Brushes: 2-3 different sizes
- Stencils or Printouts: for designs (optional)
- Pencil: for sketching designs
- Palette or Plate: for mixing paint
- Water Cup: for rinsing brushes
- Paper Towels: for cleaning up
Prerequisites/Materials Needed
Editor’s Choice

ESRICH Acrylic Paint Brushes Set, 10 Packs/ 100 Pcs Watercolor Brushes,N…

FINGERINSPIRE 4 Styles Woman Stencils 8.3×11.7 Inch Water Drop Woman Ste…
Nicpro 30pcs Paint Brush Set, Aesthetic Pastel Paintbrushes with Paint S…
Skill Level & Time Estimate
Skill Level: beginner
Total Time Estimate: 1-2 hours
Here’s a rough breakdown of time:
- Gathering materials: 15 minutes
- Planning and sketching: 15-30 minutes
- Painting: 45-60 minutes
- Drying time: 30 minutes (optional)
Skill Level & Time Estimate
Editor’s Choice

PRINA 81 Drawing Set Sketching Kit, Pro Sketch Pencils Art Supplies with…

Artist Gifts Women, The Earth Without Art Journal 200 Pages Notebook A5 …
Tenare 12pcs Large Flower Hibiscus Stencils Tropical Palm Leaves Hibiscu…
Step 1: Gather Your Materials
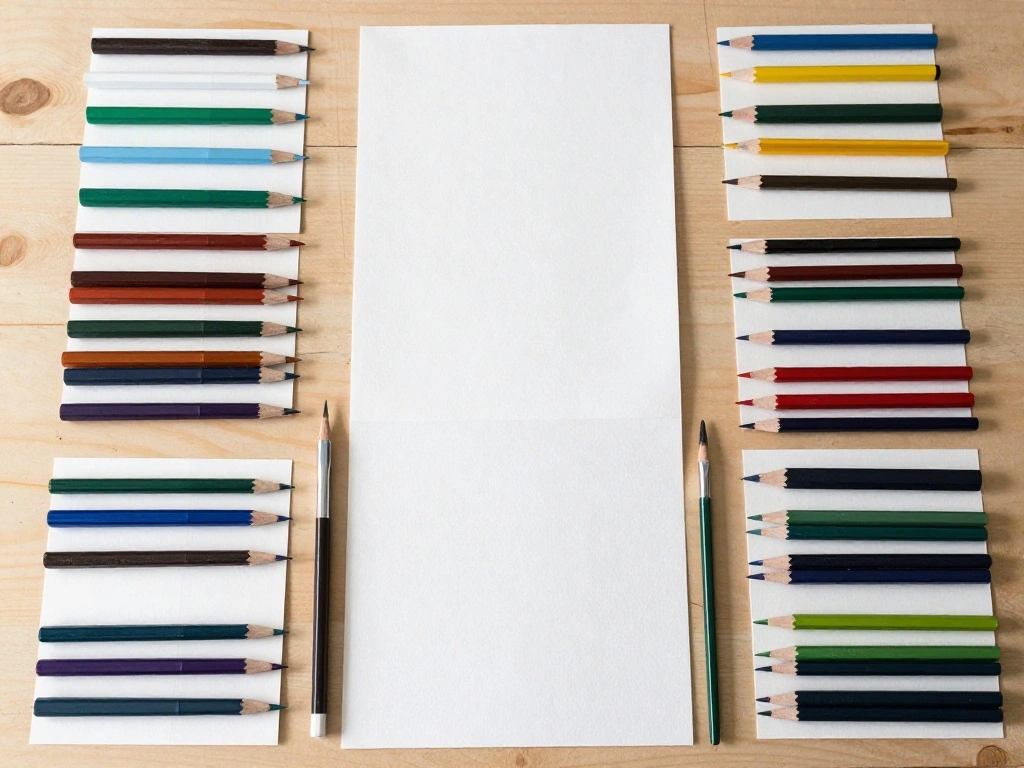
Start by collecting all the materials listed in the prerequisites. This step is crucial as it helps streamline your creative process.
- Find a comfortable workspace with good lighting.
- Gather your canvas, paint, brushes, and any stencils or printouts you want to use.
- Organize your materials neatly to avoid distractions while you work.
Pro Tip: Lay down newspaper or a plastic sheet on your workspace to protect it from paint spills. Why this matters: Having everything in one place will keep you focused and make your painting experience enjoyable.
Time estimate: 15 minutes.
Step 1: Gather Your Materials
Editor’s Choice
FINGERINSPIRE 4 Styles Woman Stencils 8.3×11.7 Inch Water Drop Woman Ste…

Nude Black Woman Art, Sexy Woman Painting – Canvas Wall Art for Living R…

Apple Barrel Acrylic Paint, Peachy Pink 2 fl oz Classic Matte Acrylic Pa…
Step 2: Plan Your Design
Now it’s time to get creative! Planning your design will guide your painting process and ensure you’re satisfied with the final product.
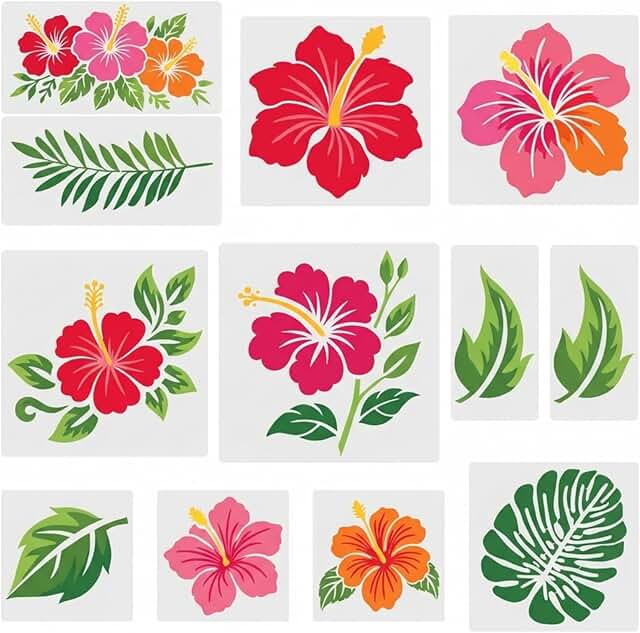
- Sketch your design lightly on the canvas with a pencil.
- If using stencils, decide where you want to place them.
- Consider colors and patterns that complement your nursery’s theme.
Pro Tip: Look for inspiration online or in children’s books to spark your creativity. Why this matters: A clear plan will make the painting process smoother and more enjoyable, helping you avoid frustration.
Time estimate: 30 minutes.
Step 2: Plan Your Design
Editor’s Choice

Fulmoon 48 Set Mini Acrylic Paint Set for Kids 12 Colors/8 Colors Adults…

Sherr 20 Pcs Stretched Pre Drawn Canvas African American Canvas to Paint…
FINGERINSPIRE 4 Styles Woman Stencils 8.3×11.7 Inch Water Drop Woman Ste…
Step 3: Start Painting

With your design in place, it’s time to bring your vision to life with paint!
- Choose your first color and pour a small amount onto your palette.
- Use a brush to fill in your design, starting with larger areas first.
- Apply a second coat after the first layer dries, if needed.
Pro Tip: Don’t rush; take your time to create smooth, even layers. Why this matters: Quality work takes time, and rushing can lead to mistakes that require corrections.
Time estimate: 45-60 minutes.
Step 3: Start Painting
Editor’s Choice

Soucolor Acrylic Paint Brushes Set, Easter Basket Stuffers, 20Pcs Round …

10 Pack 8×10 Inch Canvas and Easel Set, Art Canvas Boards Bulk with Ease…

15 Pcs Adult Aprons Bulk with Pockets Adjustable Bib Chef Apron for Wome…
Step 4: Add Details and Finishing Touches
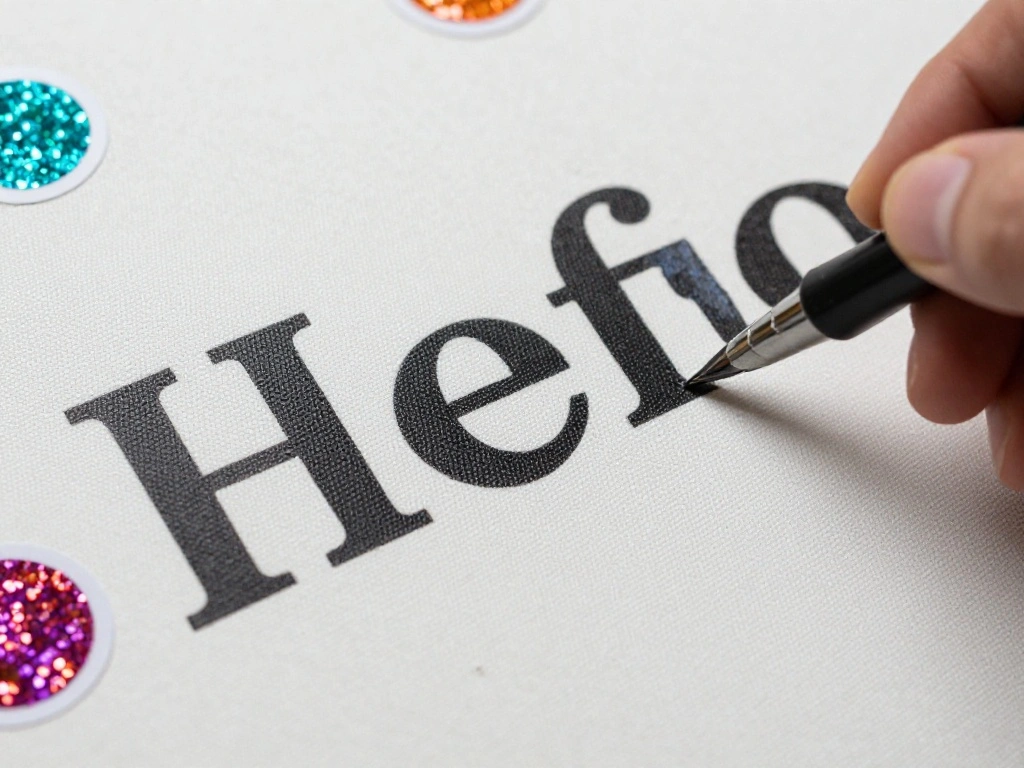
This step is where your artwork really comes to life! Adding details can elevate your piece.
- Use smaller brushes to add intricate designs or patterns.
- Consider adding embellishments like glitter or stickers for texture.
- Once satisfied, let your artwork dry completely before moving it.
Pro Tip: Step back periodically to assess your work from a distance; this helps you see if any adjustments are needed. Why this matters: Small details can make a big difference in the overall look of your artwork, making it feel polished.
Time estimate: 30 minutes.
Step 4: Add Details and Finishing Touches
Editor’s Choice

U-RIGHT Cute Retractable Ballpoint Pens for Women Girls, Fancy Decorativ…
Soucolor Acrylic Paint Brushes Set, Easter Basket Stuffers, 20Pcs Round …

100Pcs Inspirational Feminist Stickers Pack,Girl Power Rights Feminism C…
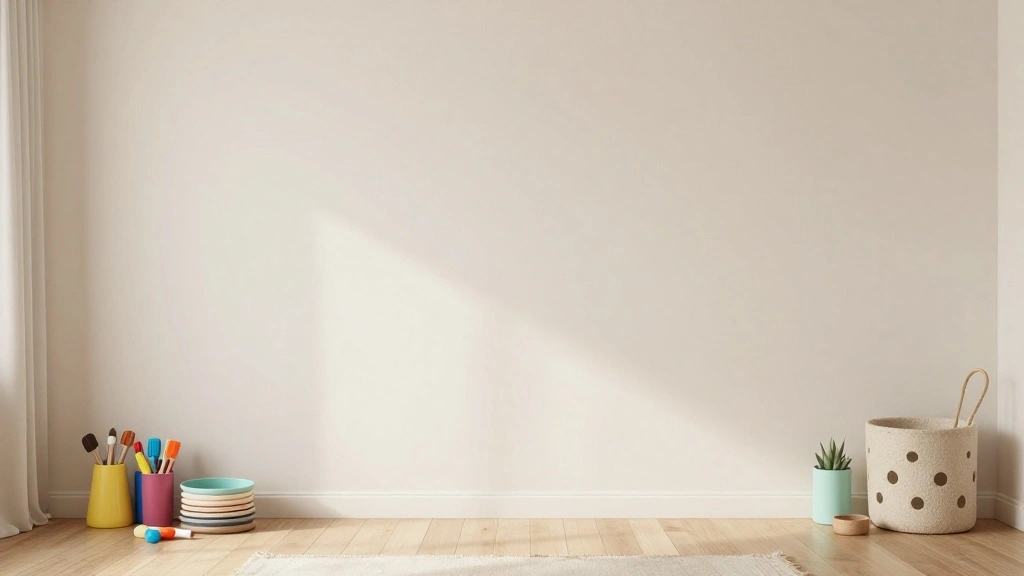
Step 5: Prepare for Hanging
Your artwork is now complete! It’s time to prepare it for display in the nursery.
- Make sure the artwork is completely dry.
- Attach hanging hardware to the back of the canvas if necessary.
- Choose a suitable spot in the nursery for a perfect display.
Pro Tip: Use a level to ensure your artwork hangs straight. Why this matters: Properly displaying your artwork enhances its beauty and ensures it fits well in the space.
Time estimate: 15 minutes.
Step 5: Prepare for Hanging
Editor’s Choice


Glamativity 4 Pack Gold Wall Art Decor, Minimalist Single Line Real Meta…
Framed Canvas Wall Art Beautiful Woman With Colorful Flowers, White Flow…
Step 6: Enjoy Your Creation!
Congratulations! You’ve just created beautiful DIY nursery wall art. Now it’s time to enjoy the fruits of your labor.
- Hang your artwork in the chosen spot in the nursery.
- Take a moment to admire your work and reflect on the process.
- Consider taking a photo to remember this creative milestone!
Pro Tip: Involve your child as they grow by letting them help pick colors or themes for future projects. Why this matters: This not only personalizes your space but also creates lasting memories together.
Time estimate: 15 minutes.
Step 6: Enjoy Your Creation!
Editor’s Choice

AmazingSpark 6 Set Paint and Sip Kit for Adults 8″x 10″ Pre Drawn Canvas…

Friendship Gifts Wooden Picture Frame for Friends, It’s the Friends We M…
FINGERINSPIRE 4 Pcs Minimalist Figures Painting Stencil with Brush 8.3×1…
Pro Tips
- Color Mixing: Experiment with mixing colors on your palette to create unique shades.
- Layering Techniques: Use a sponge or cloth to create texture with paint.
- Theme Consistency: Keep your color scheme and design consistent with the nursery’s theme for a cohesive look.
- Incorporate Quotes: Consider adding a favorite quote or saying that resonates with your family.
- Seasonal Updates: Change your art with the seasons for a fresh feel in the nursery.
Pro Tips
Editor’s Choice

Pink Golf Accessories for Women, Acrylic Paint Ink 16 Pcs Golf Essential…

Artist’s Best 11 Piece Assorted Double Ended Sculpture Tool Set || for C…

OOTSR 8 Drawing Stencil Templates for Wood Art, Inspirational Quote Sign…
Common Mistakes to Avoid
Warning: Skipping the drying time can smudge your artwork. Allow ample time for each layer to dry before adding more paint.
Warning: Using too much water with acrylic paint can make it too thin. Use just enough to clean brushes without diluting the paint.
Warning: Not planning your design can lead to a cluttered look. Always sketch or plan out your art before you begin painting.
Common Mistakes to Avoid
Editor’s Choice
Nicpro 30pcs Paint Brush Set, Aesthetic Pastel Paintbrushes with Paint S…

LED Note Board with 8 Highlighters, Lumiboard Led Drawing Board with 3 M…

Professional Artist Paint Brush Set of 12 – Painting Brushes Kit for Kid…
Troubleshooting Section
Problem: My paint is clumping.
Solution: Make sure your brushes are clean and not overloaded with paint. Thin your paint with a little water if needed.
Problem: The colors look dull once dry.
Solution: Apply a clear acrylic sealer to enhance colors and shine.
Problem: My artwork looks uneven.
Solution: Use a smaller brush to touch up areas that need more paint or smoothing out.
Troubleshooting Section
Editor’s Choice

CONDA Palette Knife Painting Stainless Steel Spatula Palette Knife Oil P…

Mod Podge Spray Acrylic Sealer that is Specifically Formulated to Seal C…
Nicpro 30pcs Paint Brush Set, Aesthetic Pastel Paintbrushes with Paint S…
Variations/Alternative Methods
- Fabric Art: Use fabric scraps instead of paint for a textured look. Great for those who prefer sewing!
- Photo Collage: Create a collage of family photos or art prints instead of traditional painting.
- Digital Art: Use digital tools to create art and print on canvas for a modern twist.
Variations/Alternative Methods
Editor’s Choice

Where Women Create: The Art of the Studio, Creative Spaces and Sanctuari…

Best Friend Birthday Gifts for Women Teen Girls, Mothers Day Gifts for B…

Sewing is My Heart Funny Quilting Sewing Fabric for Women T-Shirt
FAQs
- What if I don’t have a canvas? You can use thick cardboard or wood as a substitute.
- How long should I let the paint dry? Usually, 30 minutes between coats, and at least 1 hour after finishing.
- Is it safe to use acrylic paint? Yes, acrylic paints are non-toxic, but ensure good ventilation while working.
- What if I make a mistake while painting? Acrylic paint can often be painted over, so don’t worry! Just let it dry first.
FAQs
Editor’s Choice

Chalkola Acrylic Paint Set for Adults & Kids – 56 Pcs Canvas Painting Ki…
Nude Black Woman Art, Sexy Woman Painting – Canvas Wall Art for Living R…
Soucolor Acrylic Paint Brushes Set, Easter Basket Stuffers, 20Pcs Round …
Conclusion

You did it! You’ve successfully created stunning DIY nursery wall art that brings personality and warmth to your child’s space. Now, as you admire your handiwork, think about how you can incorporate your child’s input for future projects.
Consider exploring other DIY projects for your home or nursery that encourage creativity and bonding. Continue making memories and enjoy decorating your space together!