Are you struggling to bring life to your blank walls? A gallery wall can transform a dull space into a vibrant focal point, but it often feels overwhelming to start. The good news is you don’t need to break the bank or have advanced skills to create a stunning display. This guide will show you how to create a stylish gallery wall for under $100.
By following these steps, you will accomplish a beautiful gallery wall that reflects your personality and style. You will learn how to select the right artwork, plan your layout, and execute the design flawlessly—all on a budget!
This project is designed for beginner DIYers and will take approximately 2-3 hours. Get ready to elevate your home décor with a gallery wall that doesn’t just fill a space but tells your unique story.
TL;DR Summary
- Gather materials for your gallery wall project.
- Choose and prepare your artwork for display.
- Plan your layout for a balanced composition.
- Hang your pieces securely and enjoy your new space!
TL;DR Summary
Editor’s Choice

ANERZA 16 PCS Framed Black Girl Wall Art Decor, African American Wall Pr…

Inspirational Wall Art for Bedroom, Motivational Office Wall Art Decor, …

Prerequisites/Materials Needed
- Art Prints or Photos (5-10 pieces)
- Frames (matching or varied, based on preference)
- Measuring Tape
- Pencil
- Level
- Hammer
- Nails or Picture Hanging Strips
- Optional: Command Strips (for easy removal)
Prerequisites/Materials Needed
Editor’s Choice

Wiooffen 14Pcs Women in History Posters Classroom Decor: Motivational Qu…
SUMGAR 4×6 Picture Frame 6×4 Photo Frame White Wood Farmhouse Boho Wall …

Art3d 16 Sets Hook and Loop Tape Sticky Back,1 in.x 4 in. Double-Sided C…
Skill Level & Time Estimate
Skill Level: beginner
Total time estimate: 2-3 hours
Skill Level & Time Estimate
Editor’s Choice
JINYO Fashion Women Wall Art Prints Set of 4, Pink and Black Bathroom De…
ANERZA 16 PCS Framed Black Girl Wall Art Decor, African American Wall Pr…
Command 15 lb Large Picture Hanging Strips 14 Pairs (28 Strips), Damage-…
Step 1: Gather Your Materials

Begin your gallery wall project by gathering all the necessary materials. This step sets the foundation for your design. Follow these sub-steps:
- Decide on the type of artwork you want to display. Consider prints, photos, or even personal artworks.
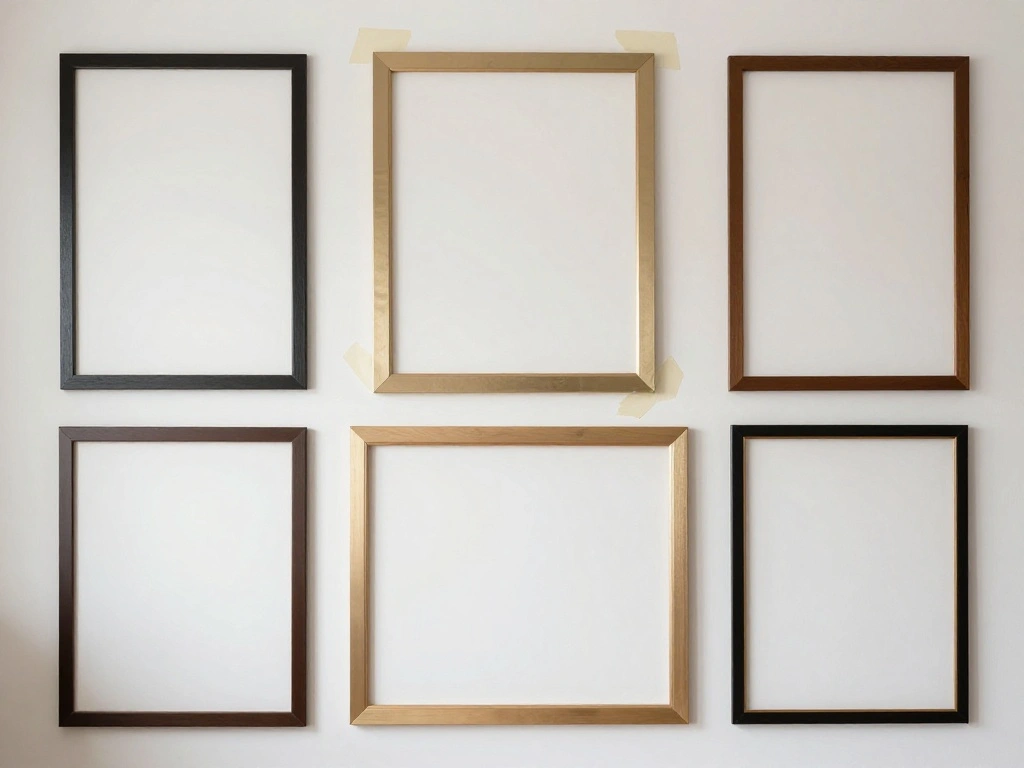
- Choose frames that suit your style—mixing different styles can add interest.
- Collect your tools: measuring tape, pencil, hammer, and level.
Pro Tip: Look for inexpensive frames at thrift stores or online marketplaces to stay under budget.
Why this matters: Having all your materials ready allows for a smooth workflow, preventing interruptions during assembly.
Time estimate: 30 minutes.
Step 1: Gather Your Materials
Editor’s Choice

Hi-Spec Tool Set 25pc Pink Household DIY Tool Kit for Women. Small Mini …

Peryiter 3 Pcs Modern Minimalist Wall Decor Abstract Metal Wall Art Meta…

GAVVENN “Sit Like a Lady Framed Wall Art, Vintage Feminist Quote Art Pri…
Step 2: Select and Prepare Your Artwork
Choose the art pieces that will fill your gallery wall. Follow these steps to select and prepare your artwork:
- Pick a theme or color palette that resonates with you.
- Print or frame your selected photos or artwork. Ensure they are the right size for your space.
- Consider adding personal touches like quotes or small mementos.
Warning: Make sure your prints are high resolution to avoid pixelation when enlarged.
Why this matters: Selecting the right pieces ensures that your gallery wall feels cohesive and reflects your personality.
Time estimate: 45 minutes.
Step 2: Select and Prepare Your Artwork
Editor’s Choice

HYBLOM Inspirational Quote Motivational Wall Art – Hippie Boho Home Deco…

Metal Glass Photo Frames 4×6 Jeweled Picture Frames with Rhinestones, Ho…
Peryiter 3 Pcs Modern Minimalist Wall Decor Abstract Metal Wall Art Meta…
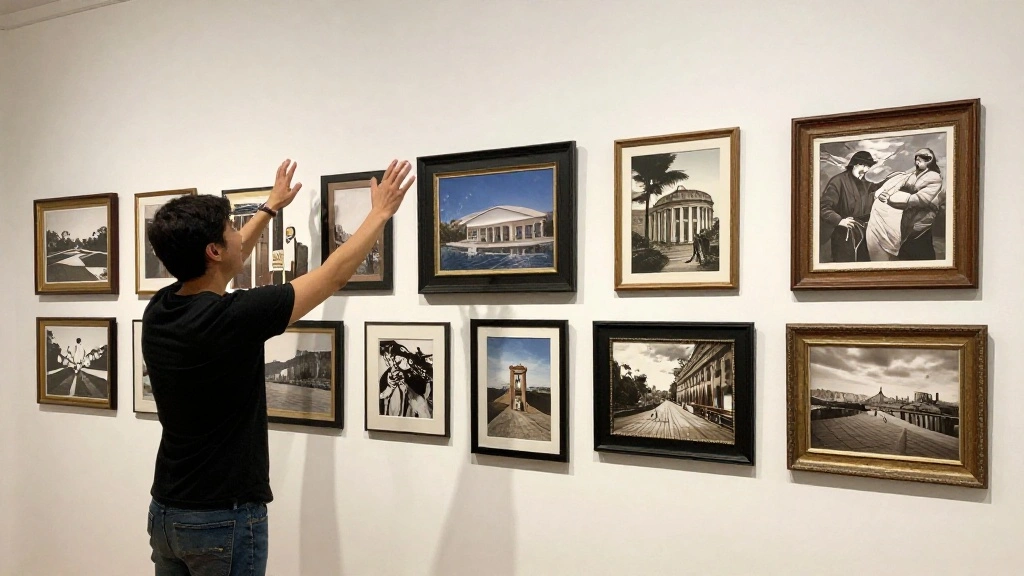
Step 3: Plan Your Layout
Before you start hanging, planning your layout is crucial for achieving a balanced look. Follow these steps:
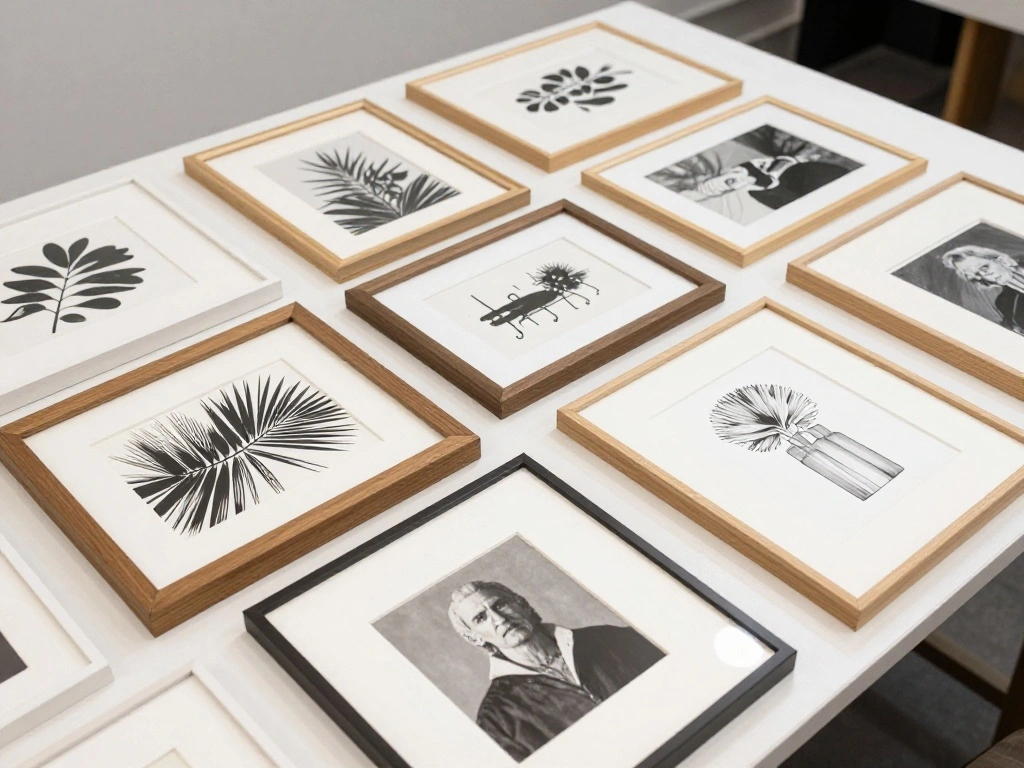
- Lay your frames on the floor to visualize the arrangement.
- Consider using a mix of frame sizes for an eclectic look or uniform sizes for a clean aesthetic.
- Take a photo of your layout for reference when you start hanging.
Pro Tip: Use painter’s tape to outline the frame sizes on the wall to visualize the spacing without making holes.
Why this matters: A well-planned layout prevents unnecessary holes in the wall and ensures a harmonious visual flow.
Time estimate: 30 minutes.
Step 3: Plan Your Layout
Editor’s Choice

Best Friend Picture Frame, Bff Gifts, Friendship Gifts For Women Friends…

Rainbow Aesthetic Masking Tape Tapes Stickers Scrapbooking Decoration Su…

Poster Master Woman Taking A Picture Poster – Retro Swimsuit Print – Bik…
Step 4: Mark and Prepare the Wall
Once your layout is set, it’s time to prepare the wall for hanging. Follow these steps:
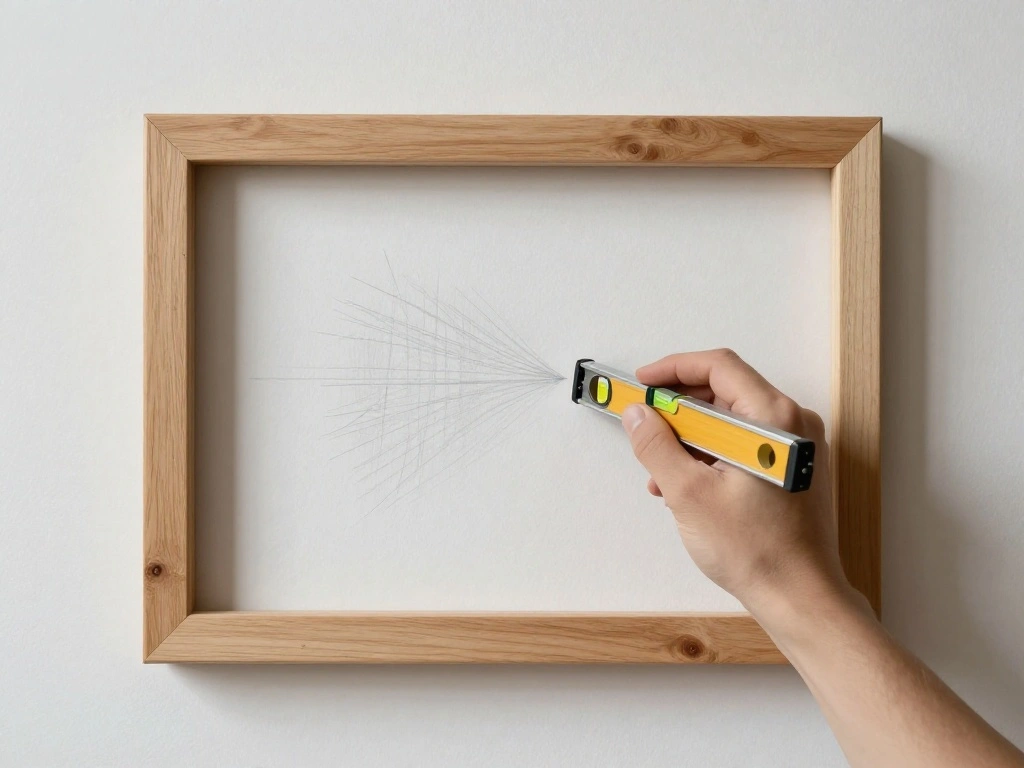
- Measure and mark where each frame will hang using a pencil.
- Use a level to ensure your marks are straight.
- Decide on the hanging method, whether nails or command strips.
Pro Tip: For heavier frames, use nails for added security; for lighter ones, command strips are a great option.
Why this matters: Proper marking ensures that your frames hang straight and at the right height, creating a polished look.
Time estimate: 20 minutes.
Step 4: Mark and Prepare the Wall
Editor’s Choice

Mr. Pen- Claw Hammer, 8oz, Yellow, Magnetic, Small Claw Nail Hammer for …

Command 20 lb XL 8 Pairs Heavyweight Picture Hanging Strips (16 Strips),…
Step 5: Hang Your Artwork
Now that your wall is prepared, it’s time to hang your artwork. Follow these steps:
- Start with the central piece to anchor your layout.
- Use a hammer to drive nails into the marked spots or adhere command strips to the back of your frames.
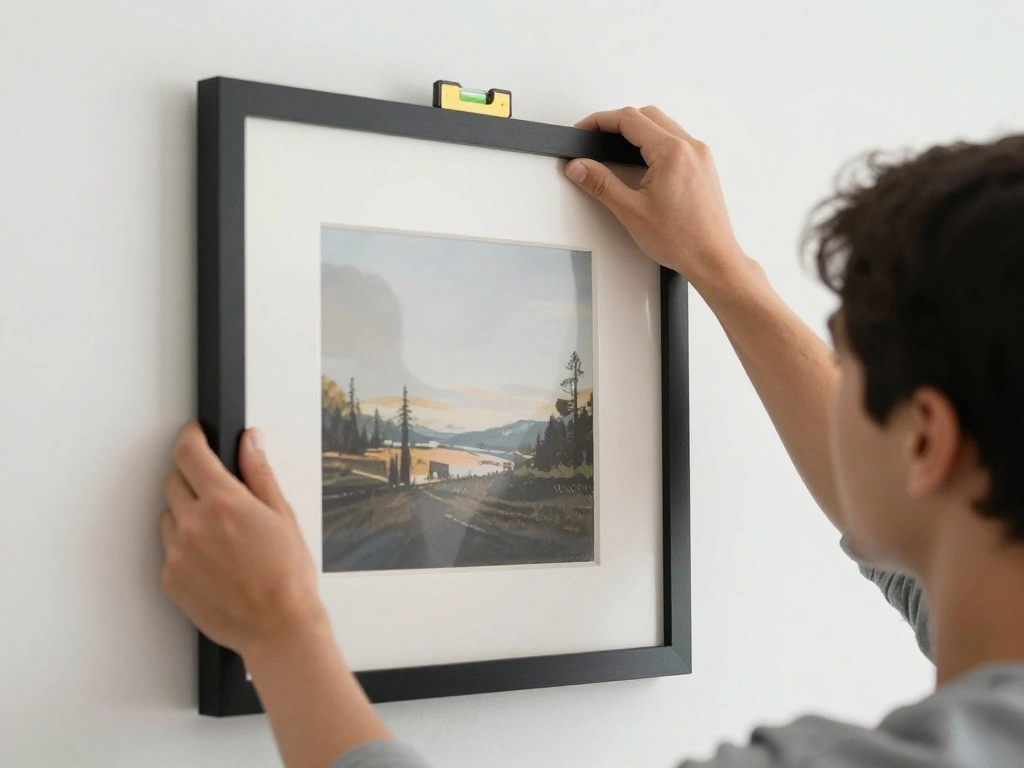
- Hang each piece, checking with a level as you go.
Warning: Be cautious with heavy frames; ensure they are secure to avoid falls.
Why this matters: Hanging in the right sequence and checking for levelness creates a professional look.
Time estimate: 30 minutes.
Step 5: Hang Your Artwork
Editor’s Choice

Laura Ashley 4×6 Pink Flower Textured Hand-Crafted Resin Picture Frame w…

YOUMI 6 in 1 Multifunctional Floral Hammer & Screwdriver Tool Set Claw H…

15 lb Large Picture Hanging Strips 14 Pairs (28 Strips), Damage-Free Han…
Step 6: Adjust and Rearrange if Needed

After hanging, take a step back and evaluate your gallery wall. Here’s what to do:
- Observe the arrangement from different angles to see if adjustments are needed.
- If something feels off, don’t hesitate to rearrange the frames until you’re satisfied.
- Make sure all frames are securely hung and aligned.
Pro Tip: Use a small piece of poster putty on the back of frames to help them stay in place and avoid wall damage.
Why this matters: Small adjustments can make a big difference in achieving a polished final look.
Time estimate: 15 minutes.
Step 6: Adjust and Rearrange if Needed
Editor’s Choice
Inspirational Wall Art for Bedroom, Motivational Office Wall Art Decor, …

Car Cleaning Gel Car Clean Detailing Putty, Universal Car Interior Clean…
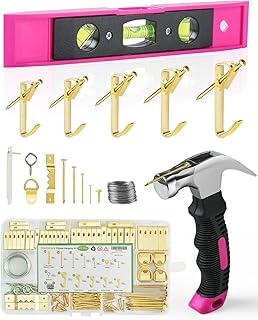
Picture Hanging Kit, Magnetic Hammer and Nails and Level Set for Hanging…
Step 7: Add Finishing Touches
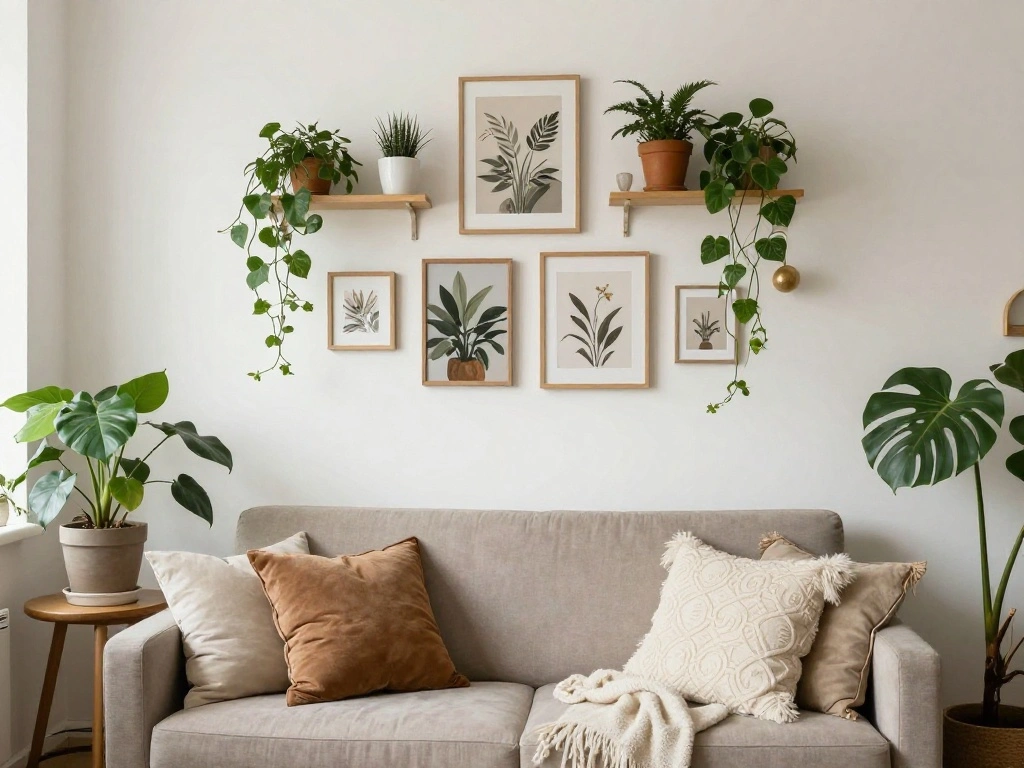
Now that your gallery wall is set, it’s time to add the finishing touches. Follow these steps:
- Consider adding decorative elements like plants or shelves in the vicinity to enhance the display.
- Make sure lighting highlights the artwork; consider using picture lights or strategically placed lamps.
- Personalize your gallery with unique items like small sculptures or handmade crafts.
Pro Tip: Use LED strip lights behind frames for a modern touch that adds ambiance.
Why this matters: Finishing touches elevate your gallery wall, making it feel complete and inviting.
Time estimate: 20 minutes.
Step 7: Add Finishing Touches
Editor’s Choice

Planters’ Choice 9 Herb Indoor Window Garden Kit – Birthday Gifts – Hous…

GRAPMKTG Home Decor Pulp Reading Women Thinker Statue Aesthetic Sculptur…

Picture Light Battery Rechargeable, 3Pack Picture Light for Wall with Re…
Step 8: Enjoy Your New Gallery Wall
Congratulations! You’ve created a beautiful gallery wall. Here’s how to enjoy your new space:
- Take a moment to appreciate your work and the transformation of the space.
- Invite friends or family over to showcase your stylish gallery wall.
- Consider documenting your space with before-and-after photos to celebrate your success.
Pro Tip: Regularly update your gallery wall with new artwork to keep it fresh and exciting.
Why this matters: Celebrating your work and sharing it with others enhances your enjoyment and pride in your space.
Time estimate: 10 minutes.
Step 8: Enjoy Your New Gallery Wall
Editor’s Choice

Vintage Gold Framed Ophelia Wall Art, Romantic Victorian Gothic Oil Pain…

Vittanly 20 Pack Picture Frames Collage Wall Decor, Multi Sizes Includin…

Drsoum Glam Fashion Makeup Room Decor Framed Pink Beauty Girly Elegantes…
Pro Tips
- Shop Smart: Look for sales or use coupons at local art stores to save more.
- Mix Media: Combine different types of art like paintings, photographs, and textiles for a dynamic look.
- Consider Height: Hang art at eye level for the best impact, generally around 57-60 inches from the floor.
- Seasonal Changes: Change out artwork with the seasons to keep your space feeling fresh.
- Get Creative: Use unexpected items like fabric or wall decals to add texture to your gallery wall.
Pro Tips
Editor’s Choice

Vintage Eclectic Wall Art Prints Set of 9, Abstract Eclectic Wall Decor …

Purple Flower Jewelry Dish Glass Ring Holder Dish Jewelry Tray Cute Vani…

Forever Friends Picture Photo Frame, Unique and Cute Picture Frame, Frie…
Common Mistakes to Avoid
Warning: Not measuring the space can lead to awkward placements. Always take measurements before hanging.
Warning: Overcrowding frames can make your wall feel cluttered. Leave space between frames for visual breathing room.
Warning: Failing to use a level can result in crooked frames, ruining the aesthetic. Always double-check with a level before securing frames.
Common Mistakes to Avoid
Editor’s Choice
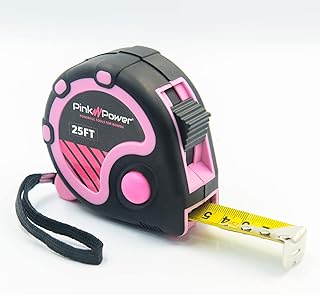
Pink Power 25ft Pink Tape Measure – Measuring Tape for Women’s Tool Kit …
Vittanly 20 Pack Picture Frames Collage Wall Decor, Multi Sizes Includin…
Troubleshooting Section
Problem: Frames are crooked after hanging.
Solution: Use a level to adjust frames; if they’re secured with nails, gently remove and rehang them.
Problem: Artwork looks cluttered.
Solution: Rearrange pieces to create more space; consider removing one piece if necessary.
Problem: Heavy frames are falling off the wall.
Solution: Ensure you’re using appropriate hardware for the weight; switch to heavier-duty nails or use command strips designed for heavier frames.
Variations/Alternative Methods
If you want to try different styles, consider the following variations:
- Grid Layout: Arrange frames in a precise grid for a modern look. This works best with uniform frames.
- Salon Style: Create an eclectic mix of frame styles and sizes, filling the wall from top to bottom.
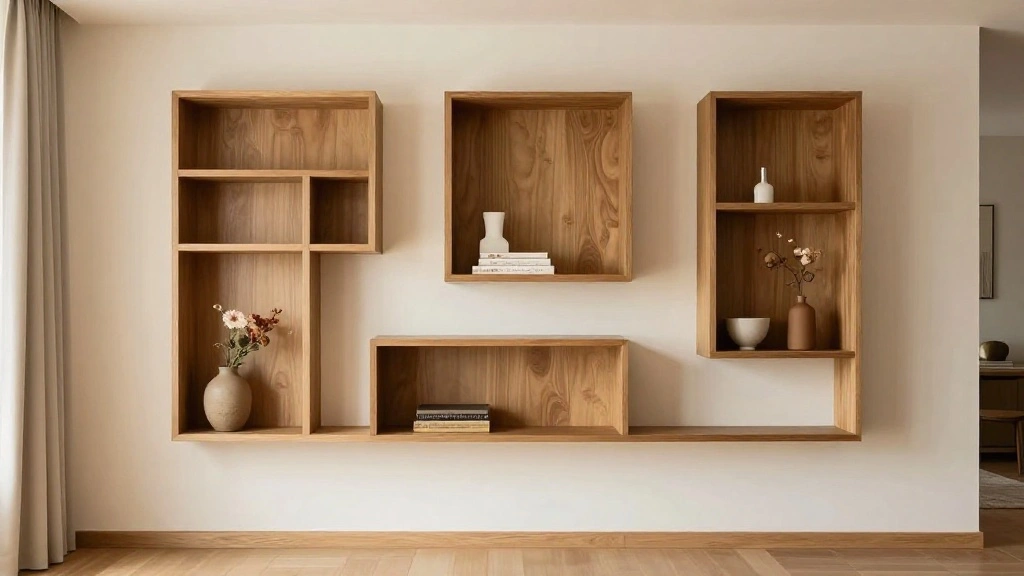
- Floating Shelves: Use shelves to display artwork and objects, allowing for easy changes and a relaxed feel.
FAQs
What if I don’t have enough artwork? You can use photos, prints, or even fabric swatches as temporary art until you find more pieces.
How long should I wait before changing the artwork? Consider changing it every 6 months or seasonally for a fresh look.
Is it safe to use command strips on my wall? Yes, as long as they are rated for the weight of the frames you are hanging.
Conclusion
Congratulations on completing your gallery wall! You took on a creative project that not only beautified your space but also allowed you to express yourself. Now that your gallery wall is complete, consider exploring other DIY home décor projects to continue enhancing your living space. Remember, your creativity has no limits!
Share photos of your completed gallery wall with friends and family or on social media; it’s a great way to inspire others. Enjoy your beautifully styled wall and the compliments that come with it!