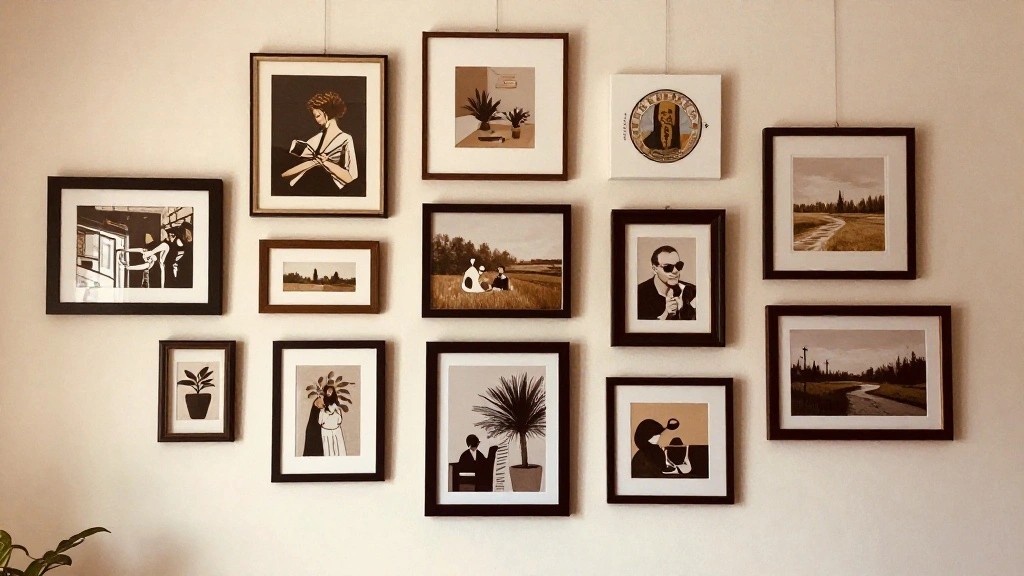
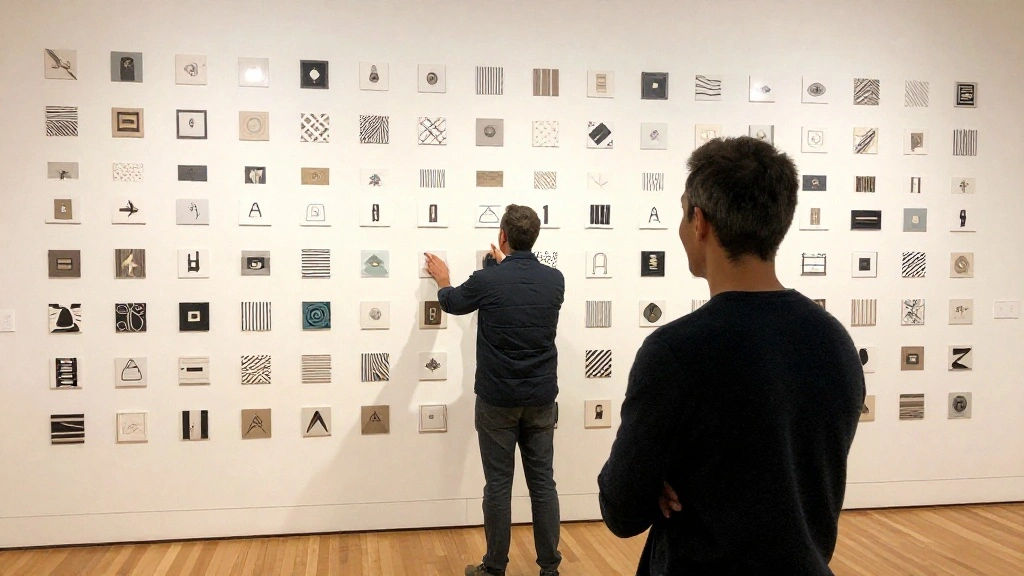
Are you tired of crooked frames and uneven spacing on your gallery wall? This common problem can make your beautiful artwork look disorganized and unprofessional. Fortunately, you don’t have to struggle with this anymore! By following a few simple steps, you can achieve a perfectly level gallery wall that will impress your guests and elevate your space.
In this guide, you will learn how to plan, measure, and hang your frames with confidence. You’ll master techniques to ensure that everything is aligned and spaced just right, leading to a polished and stunning display. By the end of this article, you will feel empowered to tackle your gallery wall project successfully.
This project is designed for beginners and should take approximately 1-2 hours to complete, depending on the size of your wall and number of frames. So gather your materials, and let’s transform your wall into a stunning gallery!
TL;DR Summary
- Gather all necessary materials and plan your layout before starting.
- Use a level and measuring tape to ensure everything is aligned.
- Securely hang your frames using appropriate hardware.
- Adjust spacing for a balanced look.
Recommended Products

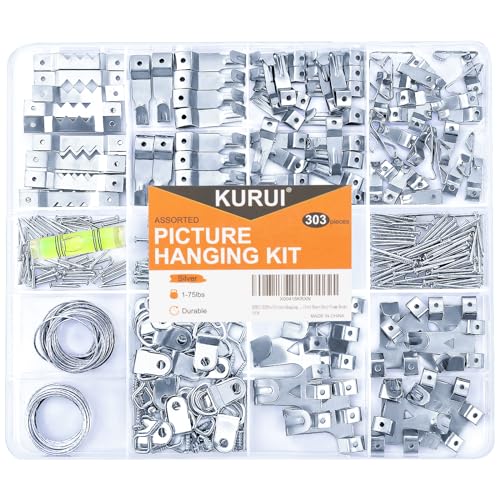
EFFORTLESS ORGANIZATION: Our 303pcs Heavy Duty Picture Hanging Kit boasts an exceptional design with categorized compartments, saving you precious time that would otherwise be spent searching for the right hardware. Plus, when you're done using it, everything neatly tucks away, eliminating any post-project mess. Can replace picture hanging strips.

Easy Picture Hanging with Precision : Hang your saw-tooth or wire picture frames effortlessly without the hassle of measuring. Our unique positioning system ensures accurate nail hole placement every time, eliminating guesswork.
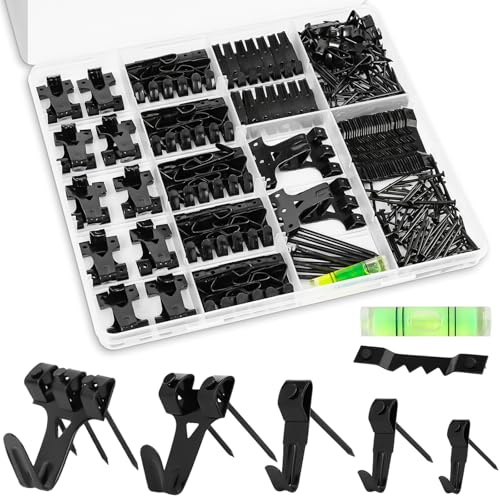
EFFORTLESS ORGANIZATION: Our 385pcs Heavy Duty Picture Hanging Kit boasts an exceptional design with categorized compartments, saving you precious time that would otherwise be spent searching for the right hardware. Plus, when you're done using it, everything neatly tucks away, eliminating any post-project mess. Can replace picture hanging strips.
TL;DR Summary
Editor’s Choice

Torpedo Level Magnetic, Firecore 9 Inch Shockproof Small Leveler Tool wi…

KURUI 303Pcs Picture Hanging Kit, Picture Hangers Assorted Kit with Heav…

Digital Caliper, Sangabery 0-6 inches Caliper with Large LCD Screen, Aut…
Prerequisites/Materials Needed
- Materials:
- Frames (various sizes) [quantity as needed]
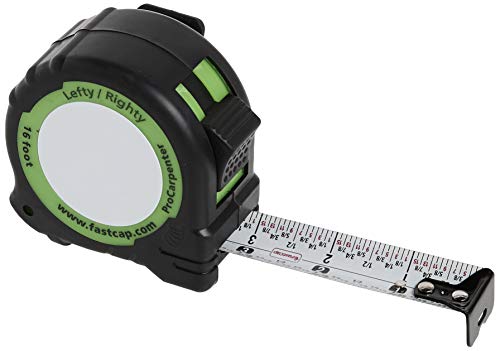
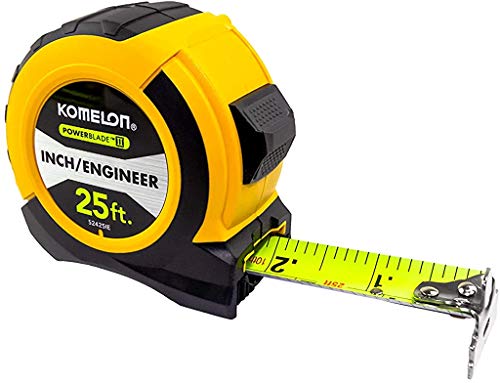
- Measuring tape [1]
- Level [1]
- Pencil [1]
- Picture hanging hardware (hooks, nails, or adhesive strips) [as needed]
- Hammer (if using nails) [1]
- Wall cleaner (optional) [1]
Recommended Products

Torpedo Level Magnetic: Featuring a magnetic base, Firecore spirit level attaches securely to metal surfaces for a variety of needs.

VERSATILE VIALS - The 12" Torpedo Level has 4 vials for quick and accurate readings: Vertical, Horizontal, 45 Angle, and Multi-Pitch Vial. The multi-pitch vial reads slope in 1/8'' per foot increments

High accuracy 9-inch spirit level for easy leveling
Prerequisites/Materials Needed
Editor’s Choice

Level Hang Magnetic Ruler, Precisely measure the frame dimensions for Wa…
KURUI 303Pcs Picture Hanging Kit, Picture Hangers Assorted Kit with Heav…

Motovera Self Leveling Laser Level 100ft, Green Cross Line with Tripod, …
Skill Level & Time Estimate
Skill Level: beginner
Total time estimate: 1-2 hours
Breakdown:
- Planning layout: 15-30 minutes
- Measuring and marking: 20-30 minutes
- Hanging frames: 30-60 minutes
Recommended Products
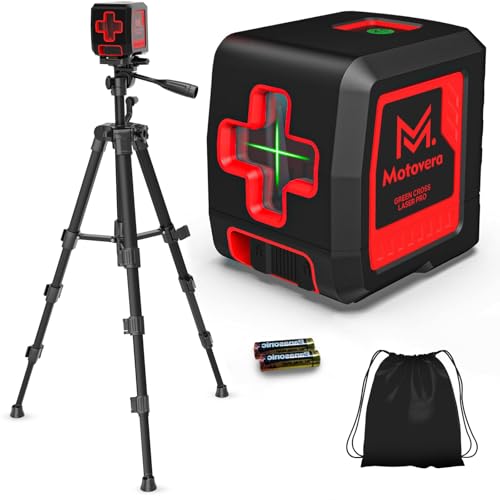
【Ultra-Bright Green Beam & High-Precision Accuracy】Powered by an advanced green laser diode, this tool delivers 4X the brightness of standard red lasers (laser level 360 self leveling). The vivid green cross-line remains clearly visible indoors up to 100ft, even in well-lit conditions. Enjoy professional-grade precision with ±1/9 inch accuracy at 33ft (±3mm @10m) and a wide 110° projection angle. Whether tiling a wall or installing shelving, achieve perfect alignment with zero guesswork. (Class II <5mW, IP54 dust/water resistant),

【2 Way to Turn ON】(Please install the battery correctly). When the pendulum is in the locked position, press the power button to enter the manual mode; slide the pendulum from the locked position to the unlocked position to enter the self-leveling mode (if you enter the self-leveling mode when it is not level: >4°, the laser line will keep flashing as a reminder). Not applicable to distance measurement. Class 2 (IEC/EN60825-1/2014)output power <1mW

【Post-sale reminder】: All users purchasing "weiddw" products enjoy a 12-month free warranty.
Skill Level & Time Estimate
Editor’s Choice
Torpedo Level Magnetic, Firecore 9 Inch Shockproof Small Leveler Tool wi…

CRAFTSMAN 25-Ft Tape Measure with Fraction Markings, Retractable, Self-L…
KURUI 303Pcs Picture Hanging Kit, Picture Hangers Assorted Kit with Heav…
Step 1: Plan Your Layout
Begin by deciding on the arrangement of your frames. This step is crucial because it sets the foundation for your gallery wall. Follow these sub-steps:
- Gather all your frames and lay them on the floor to visualize your arrangement.
- Experiment with different layouts until you find one that you like.
- Consider using a piece of paper to outline the size of your wall space and sketch the arrangement.
Pro Tip: Take a photo of your layout for reference when you start hanging the frames. Warning: Avoid overcrowding the wall; leave some space between frames for a balanced look. This step should take about 15-30 minutes.
Recommended Products
Dual Reading Capability: The Standard/Standard Reverse features standard measurements that are readable when the tape is extended from either the right or left hand

Self centering blade shows the midpoint of any measurement

AUTOMATIC LOCK - Self locking mechanism allows blade to lock automatically and retract at the push of a button.
Step 1: Plan Your Layout
Editor’s Choice
Torpedo Level Magnetic, Firecore 9 Inch Shockproof Small Leveler Tool wi…
CRAFTSMAN 25-Ft Tape Measure with Fraction Markings, Retractable, Self-L…
KURUI 303Pcs Picture Hanging Kit, Picture Hangers Assorted Kit with Heav…
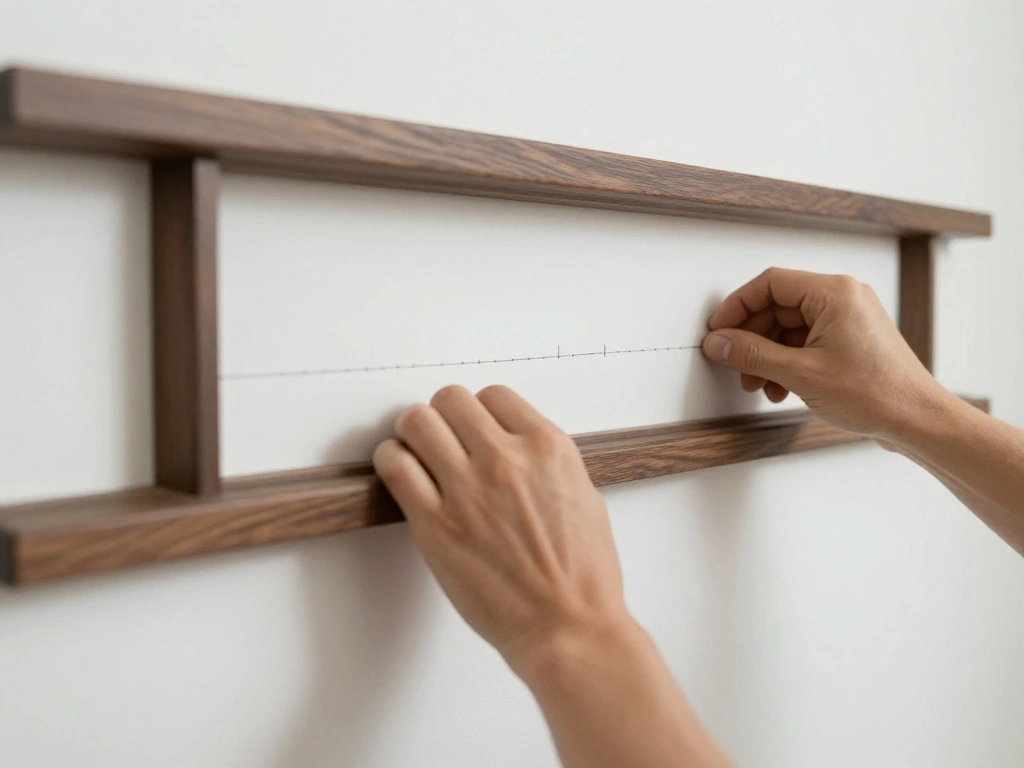
Step 2: Measure and Mark
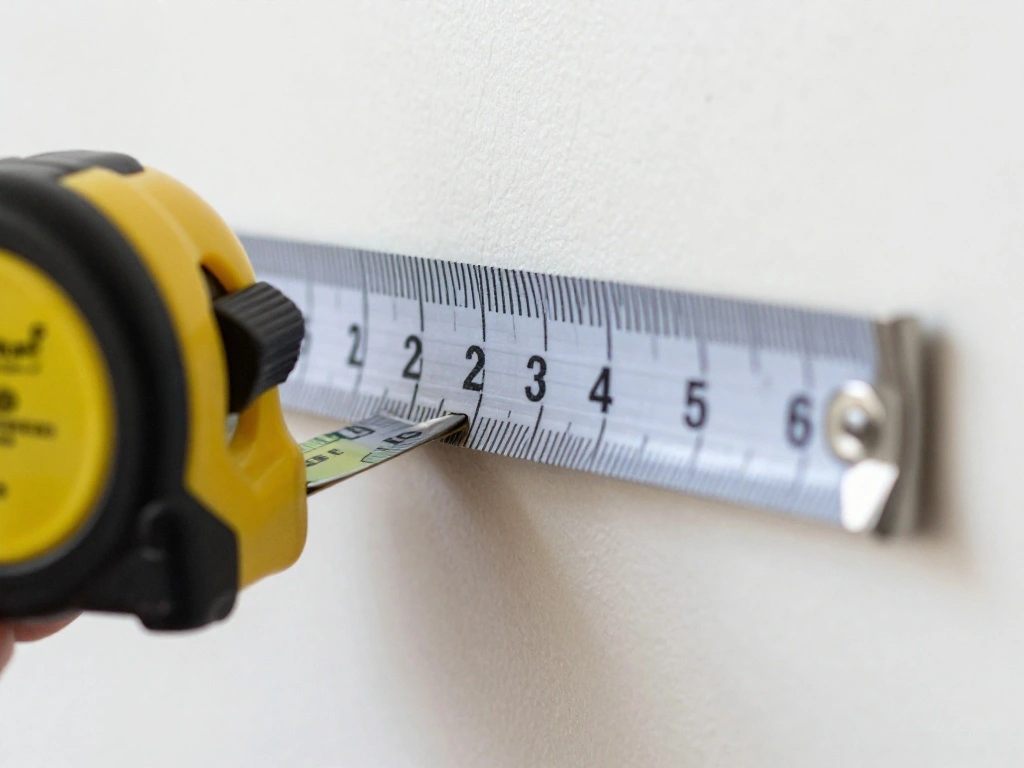
Once you’ve decided on your layout, it’s time to measure and mark where each frame will go. Accurate measurements ensure everything hangs straight. Follow these steps:
- Use a measuring tape to find the center of your wall.
- Mark this spot lightly with a pencil.
- Measure the distance between frames and mark these on the wall.
- Use a level to ensure your marks are straight.
Pro Tip: Double-check your measurements before proceeding to avoid any mistakes. Warning: If you skip this step, your frames may end up crooked. This step should take about 20-30 minutes.
Recommended Products

VERSATILE SIZES FOR VARIOUS PROJECTS – This wall anchors and screws assortment kit includes five essential sizes (#6*1",#7*1",#6*1-1/5",#8*1-3/5",#8*2-2/5"-5) to handle different mounting needs. With 27 sets of each size, the plastic wall anchors and phillips wood screws are neatly packed in a compact organizer box, making it easy to find the right fit for your project.

TRUSTED STRENGTH: Pack of five 15 lb. 3M CLAW(TM) Drywall Picture Hangers; each picture hanger made of hardened steel, proven to hold 15 lbs., so you can hang decor, such as pictures, mirrors and other heavy objects; Also includes five spot markers

5 SIZES FOR VARIOUS PROJECTS – This 350 pcs wall anchors assortment kit with self drilling drywall anchors contains abundant size options, which are: #5*1", #7*1" ,#6*1-1/5", #8*1-3/5", #8*1-1/4", all clearly assorted in a compact organizer box. With these most widely used sizes of plastic wall anchors and galvanized Philips screws, you can handle almost all hanging projects like a pro. It can also replace picture hanging nails to help you hang picture frame of various sizes.
Step 2: Measure and Mark
Editor’s Choice
Digital Caliper, Sangabery 0-6 inches Caliper with Large LCD Screen, Aut…
Motovera Self Leveling Laser Level 100ft, Green Cross Line with Tripod, …

Nicpro Carpenter Pencil with Sharpener, Mechanical Pencils Set with 26 R…
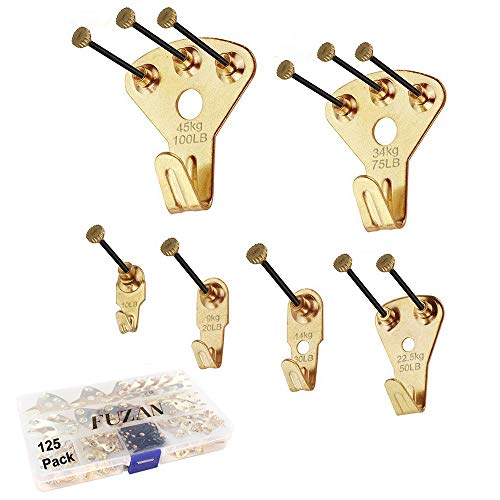
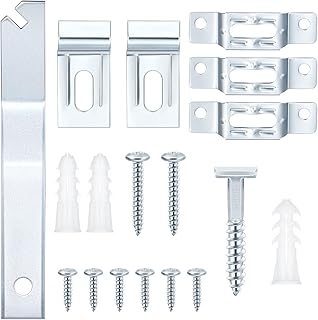
Step 3: Choose the Right Hardware
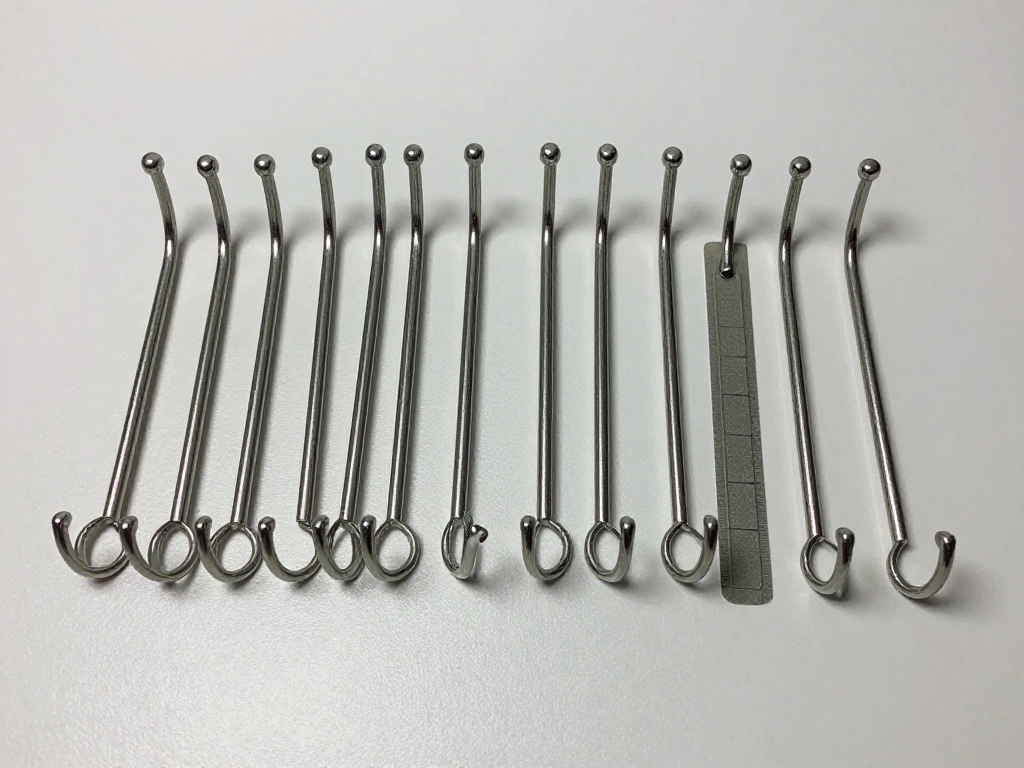
Choosing the right hanging hardware is vital for securing your frames. The type of hardware depends on the weight of your frames. Here’s what to do:
- Assess the weight of each frame to determine the appropriate hardware.
- For lighter frames, adhesive strips or small nails may suffice.
- Heavier frames require wall anchors or hooks to ensure stability.
Pro Tip: Always follow the manufacturer’s instructions for the hardware you choose. Warning: Using the wrong hardware can lead to frames falling and damaging your wall or artwork. This step should take about 10-15 minutes.
Recommended Products
【Wide application】As an effective tool, 125 PCS picture hangers is widely applicable to most items in the home or office. It can hold 10-100 pounds and easily hang photos, decorations, clocks, clothes, kitchenware, small ledges, canvas.
EFFORTLESS ORGANIZATION: Our 303pcs Heavy Duty Picture Hanging Kit boasts an exceptional design with categorized compartments, saving you precious time that would otherwise be spent searching for the right hardware. Plus, when you're done using it, everything neatly tucks away, eliminating any post-project mess. Can replace picture hanging strips.
【More Heavy Duty Hangers】:Our picture hangers kit contains more large load capacity hooks than others: Besides 50lb., 100lb., we have 80lb. and 120lb.,they are stronger, you can even use just 2 hangers for heavy items
Step 3: Choose the Right Hardware
Editor’s Choice

3M Claw 15 lb. Drywall Picture Hanger with Spot Markers, Heavyweight Han…

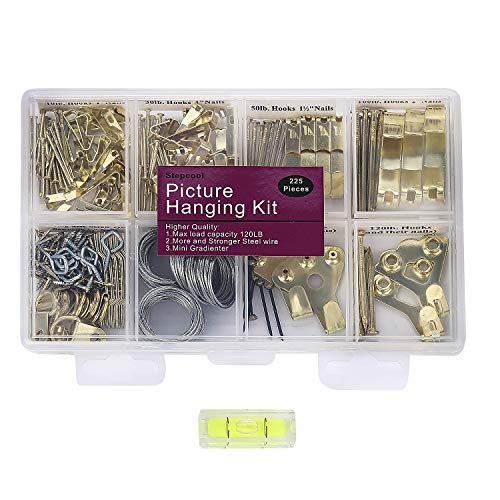
184 Pieces Picture Hanging Kit, 20lb, 30lb, and 50lb Picture Hangers, Me…

JELLYSUB 120 Pieces Small Refill Poster Strips Heavy Duty, Removable Dou…
Step 4: Hang Your Frames
Now for the exciting part—hanging your frames! Follow these steps to ensure precision:
- Start with the center frame and hang it first to establish your focal point.
- Use your level to ensure it’s straight before securing it completely.
- Continue hanging frames outward from the center, checking each one for level as you go.
Pro Tip: Use a friend to help you hold frames while you step back to check alignment. Warning: Hanging too many frames at once can lead to confusion; hang one at a time to maintain accuracy. This step should take about 30-60 minutes.
Recommended Products

HIGH-VISIBILITY BUBBLES FOR EASY READING: Features four high-visibility bubble vials (0°, 30°, 45°, and 90°) with fluorescent yellow-green contrast for quick and easy reading. Large hexagonal and top-view vial windows allow for readings from the front, back, and top—perfect for tight spaces.

Precision-Engineered for Accurate Readings: Features 3 high-visibility bubble vials (45°/90°/180°) with fluorescent yellow-green contrast for quick, easy readings. Oversized viewing windows allow readings from front, back, and top angles - perfect for tight spaces. Precision-milled bases (top/bottom) eliminate surface deviations for enhanced measurement accuracy

3 Acrylic Vials - plumb, level, and 45 degree provide the necessary jobsite measurements.
Step 4: Hang Your Frames
Editor’s Choice
KURUI 303Pcs Picture Hanging Kit, Picture Hangers Assorted Kit with Heav…
CRAFTSMAN 25-Ft Tape Measure with Fraction Markings, Retractable, Self-L…

Johnson Level & Tool 40-6517 Self-Leveling Rotary Laser System, 29 x 7″,…
Step 5: Adjust Spacing and Leveling
Now that your frames are hung, take a step back and assess. This step ensures your gallery wall looks cohesive. Do the following:
- Check the spacing between frames; adjust as necessary for a balanced look.
- Use your level to check each frame again, making sure they all align.
- If any frames are crooked, carefully adjust them while ensuring not to damage the wall or frame.
Pro Tip: Use a string line for long arrangements to help maintain even spacing. Warning: Don’t rush through this step; taking your time ensures a polished final result. This step should take about 15-30 minutes.
Recommended Products

POWER FLEXIBILITY: The laser works with two AA batteries (included) or Bosch's 3.7V Lithium-Ion 1.0 Ah battery (sold separately), for less downtime on the job.

WARM TIPS: Please press the battery firmly to ensure it is securely installed and to keep the product stable. Adjusting to manual mode will stop the beeping sound.

✅· 【After-sales notice】: All users who purchase our "CHISHIB" brand products will enjoy a 12-month free warranty service. We will provide a solution within 24 hours.
Step 5: Adjust Spacing and Leveling
Editor’s Choice
Yaocom 30 Set Frame Lock Security Hanging Kits T-Screw Security Artwork …

GDMINLO Soft Tape Measure Double Scale Body Sewing Flexible Tailor Craft…
Motovera Self Leveling Laser Level 100ft, Green Cross Line with Tripod, …
Step 6: Step Back and Enjoy
Congratulations! Your gallery wall is finally up. Take a moment to admire your hard work. Here’s what to do next:
- Take a few steps back to view the entire wall.
- Make any final adjustments if necessary, ensuring everything is level.
- Consider adding a few decorative elements around the frames for a finishing touch.
Pro Tip: Take a photo to document your beautiful work! Warning: Avoid overcrowding; leave room for future additions. This step should take about 5-10 minutes.
Recommended Products

Non-stretch, wear-resistant, vinyl-coated fiberglass tape (1/2-inch wide) for reliable strength and flexibility
Wide blade for added Standout

QUICK & EASY MEASUREMENTS: Fractions printed on the blade
Step 6: Step Back and Enjoy
Editor’s Choice
Motovera Self Leveling Laser Level 100ft, Green Cross Line with Tripod, …
KURUI 303Pcs Picture Hanging Kit, Picture Hangers Assorted Kit with Heav…
CRAFTSMAN 25-Ft Tape Measure with Fraction Markings, Retractable, Self-L…
Pro Tips
- Use Command Strips: For a damage-free hanging solution, consider using Command strips for lightweight frames.
- Lay Out on Paper: Before hanging, sketch your layout on paper to visualize the arrangement better.
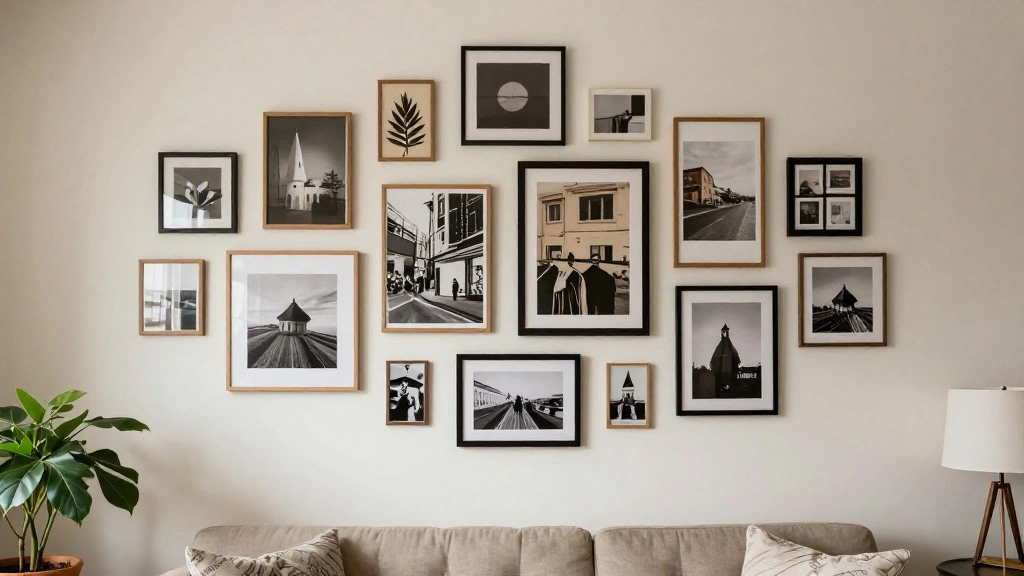
- Keep Frames Consistent: Stick to a color palette or frame style to maintain a cohesive look.
- Incorporate Variety: Mix different frame sizes and orientations for an interesting visual effect.
- Use a Gallery Template: Consider using printable gallery wall templates to guide your layout.
Recommended Products

Secure Your Decor with Ease: When it comes to keeping your home organized and showcasing your valuable decor, finding reliable wall mounting hardware is essential. That's precisely where QUALIHOME double headed wall screw anchors step in. These drywall screws provide exceptional security for all your wall additions, ensuring they remain securely mounted.

4-in-1 Picture Hangers: The picture hangers are suitable for hanging pictures and artworks. They support 30 pounds when installed in drywall (no anchor) and up to 100 pounds in wood studs

VERSATILE SIZES FOR VARIOUS PROJECTS – This wall anchors and screws assortment kit includes five essential sizes (#5*1",#7*1",#6*1-1/5",#8*1-3/5") It works for all types of hanging installation needs, and pairs great with a drywall repair kit. the plastic wall anchors and phillips wood screws are neatly packed in a compact organizer box.
Pro Tips
Editor’s Choice

15 lb Large Picture Hanging Strips 14 Pairs (28 Strips), Damage-Free Han…
Torpedo Level Magnetic, Firecore 9 Inch Shockproof Small Leveler Tool wi…

Angrox Geometric Drawings Templates Measuring Geometry Rulers 15 Pcs wit…
Common Mistakes to Avoid
Warning: Hanging without planning. This can lead to an unbalanced look. Always sketch and plan your layout first.
Warning: Not using a level. Skipping this can result in crooked frames. Always check for level before securing.
Warning: Overcrowding the wall. Too many frames can make the gallery look cluttered. Leave some space between frames.
Warning: Choosing wrong hardware. Using inadequate hardware can lead to damage. Always match the hardware to the frame weight.
Warning: Rushing the process. Take your time to ensure everything is perfect, as hasty decisions lead to mistakes.
Common Mistakes to Avoid
Editor’s Choice

upsimples 10 Pack Picture Frames Collage Wall Decor for Mounting or Tabl…

Go Hang It! Pro, All-in-One Picture Hanging Kit – Picture Leveling and H…
Motovera Self Leveling Laser Level 100ft, Green Cross Line with Tripod, …
Troubleshooting Section
Problem: Frames are crooked.
Solution: Carefully adjust the frame while using a level to ensure it’s straight.
Problem: Spacing feels uneven.
Solution: Step back to assess and adjust frames as needed, maintaining equal distance.
Problem: Wall damage from hardware.
Solution: Use putty to fill small holes and paint over if necessary. Consider using adhesive strips for lighter frames.
Problem: Frames falling off the wall.
Solution: Ensure you are using the right weight-hanging hardware. Reinforce with additional hooks or nails if necessary.
Problem: Not enough wall space for all frames.
Solution: Reassess your layout and remove one or two frames to create a more spacious arrangement.
Troubleshooting Section
Editor’s Choice

Drywall Repair Kit,2 Pack Wall Mending Agent,Wall Spackle with Scraper, …

PREXISO Multi Surface Laser Level LED Light Vial, 30Ft Horizontal & Vert…
Command 15 lb Large Picture Hanging Strips 14 Pairs (28 Strips), Damage-…
Variations/Alternative Methods
Alternative Method 1: Create a grid layout for a more structured look, aligning frames in rows and columns.
Alternative Method 2: Use a single large frame to house multiple smaller images for a unified display.
Alternative Method 3: Incorporate shelves to display both frames and decorative items for added versatility.
Variations/Alternative Methods
Editor’s Choice

FLYJOE Picture Ledge Shelf, Floating Shelves Set of 2, 48 Inches Long La…

3-in-1 Picture Hanging Tool, All-in-One Art Hanging Kit with Leveling, P…

upsimples 19 Pack Picture Frames Collage Wall Decor for Mounting or Tabl…
FAQs
What if I don’t have a level? You can use your smartphone’s leveling app as a substitute to check for straightness.
How long should I wait before adding new frames? Allow for a few days to evaluate spacing before adding additional frames.
Is it safe to use adhesive strips? Yes, if the frames are lightweight, adhesive strips can be a safe option.
What if my wall is uneven? Use adjustable hanging hardware or a wall anchor to accommodate for uneven surfaces.
Can I change the layout later? Absolutely! Gallery walls are meant to evolve, so feel free to rearrange as you collect new art.
FAQs
Editor’s Choice

Pmsanzay 4 Pack Mini Adjustable Wall Mount Hook Display Hanger Rack – St…

MOVELYST 60-Pairs(120 Strips) Large Picture Hanging Strips Heavy Duty, R…

SOLA GO! Smart Digital Pocket Level with Bluetooth, Magnetic 3-Inch
Conclusion
Congratulations on successfully creating your gallery wall! You’ve transformed your space into something uniquely yours. Take pride in your work and enjoy your new decor. Remember, you can always refresh your gallery wall with new frames or art pieces.
If you’re looking for more ways to enhance your home decor, consider exploring DIY projects or investing in additional art pieces. Your home is a canvas for your creativity, so keep building on your unique style!