Have you ever faced the dilemma of wanting beautiful wall art without the hefty price tag? You’re not alone. Many art lovers find it challenging to access affordable, high-quality prints that fit their style. The good news is that you can create stunning wall art right in the comfort of your home! By following this guide, you will learn how to print your own wall art and make it look professional.
This step-by-step guide is designed for beginners and will take approximately 2-3 hours to complete. You will discover how to select the right images, choose the best paper, and print with precision. Additionally, you’ll learn how to frame and display your artwork to enhance its appearance.
Let’s dive into the world of DIY wall art printing. With a little effort and creativity, you’ll have beautiful pieces to adorn your walls!
TL;DR Summary
- Choose high-resolution images for printing.
- Select the right type of paper for your artwork.
- Use a good quality printer for the best results.
- Frame your prints professionally to enhance their look.
TL;DR Summary
Editor’s Choice

Liene M100 4×6” Photo Printer, Phone Printer 100 Sheets & 3 Cartridges,…

Canon 7981A004 Photo Paper Plus, Matte, 8-1/2 x 11 (Pack of 50 Sheets)

Picture Frame Stapler with 2000 Refill Points, Point Drivers for Picture…
Prerequisites/Materials Needed
- Images: High-resolution digital images (2-5 images)
- Printer: Inkjet or laser printer
- Paper: Quality photo paper (at least 10 sheets)
- Software: Image editing software (e.g., Photoshop, GIMP)
- Frame: Standard or custom frames (according to print size)
- Measuring tape: For accurate measurements
- Ruler: For straight lines
- Scissors or paper cutter: For trimming prints
Prerequisites/Materials Needed
Editor’s Choice
Canon 7981A004 Photo Paper Plus, Matte, 8-1/2 x 11 (Pack of 50 Sheets)

Adobe Photoshop Elements 2026 | Software Download | Photo Editing | 3-ye…

Epson EcoTank ET-2800 Wireless Color All-in-One Cartridge-Free Supertank…
Skill Level & Time Estimate
Skill Level: beginner
Total time estimate: 2-3 hours
Time breakdown:
- Image selection: 20 minutes
- Editing images: 30 minutes
- Printing process: 30 minutes
- Framing and hanging: 1 hour
Skill Level & Time Estimate
Editor’s Choice

8×10 Picture Frame Gold – Picture Frames for Wall Hanging And Tabletop …
Canon 7981A004 Photo Paper Plus, Matte, 8-1/2 x 11 (Pack of 50 Sheets)
Liene M100 4×6” Photo Printer, Phone Printer 100 Sheets & 3 Cartridges,…
Step 1: Select High-Resolution Images

Start by choosing the right images. Look for high-resolution files to ensure your prints are clear and vibrant. Follow these steps:
- Browse your digital library or online sources for suitable images.
- Check the resolution—aim for at least 300 DPI for best quality.
- Save your selected images in a format like JPEG or PNG.
Pro Tip: Websites like Unsplash and Pexels offer free high-quality images.
Why this matters: High-resolution images prevent pixelation when printed, resulting in professional-looking artwork.
Estimated time: 20 minutes.
Step 1: Select High-Resolution Images
Editor’s Choice
Reastar Glossy Photo Paper 8.5 x 11, 36 Sheets Inkjet Photo Printer Pape…

HP Envy Photo 7975 Wireless Color Inkjet Photo Printer, Print, scan, Cop…

Photo Suite – Photo Editing Software: Edit and Retouch Photos, Create …
Step 2: Edit Your Images
Next, use an image editing software to enhance your selected images. Follow these steps:
- Open your image in the editing software.
- Adjust brightness, contrast, and color balance for optimal results.
- Crop your image to fit the desired print size.
Warning: Always save a copy of the original image before making edits.
Why this matters: Editing helps your images look their best, making your prints more appealing.
Estimated time: 30 minutes.
Step 2: Edit Your Images
Editor’s Choice
Liene M100 4×6” Photo Printer, Phone Printer 100 Sheets & 3 Cartridges,…

Epson Ultra Premium Presentation Paper MATTE (8.5×11 Inches, 50 Sheets) …

Corel PaintShop Pro 2023 | Powerful Photo Editing & Graphic Design Softw…
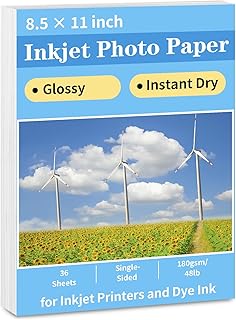
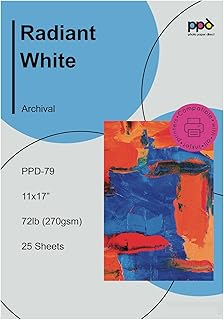
Step 3: Choose the Right Paper
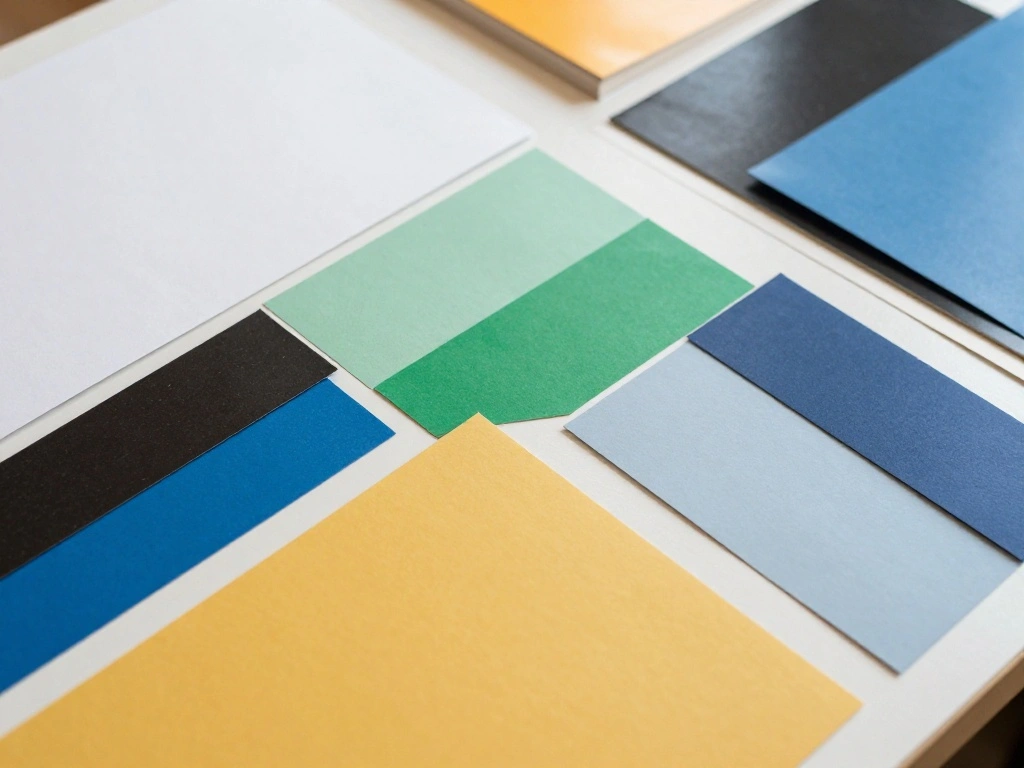
The type of paper you use can greatly affect the final print quality. Consider these options:
- For vibrant colors, choose glossy photo paper.
- For a matte finish, select a heavier matte paper.
- Ensure the paper is compatible with your printer (inkjet or laser).
Pro Tip: Test print on regular paper first to avoid wasting high-quality sheets.
Why this matters: The right paper enhances the colors and texture of your artwork.
Estimated time: 10 minutes.
Step 3: Choose the Right Paper
Editor’s Choice

Amazon Basics Multipurpose Copy Printer Paper, 8.5 x 11 Inches, 20 lb, 9…

Glossy Photo Paper For Printer 8.5 x 11″ – (100 Sheets) – Works with Ink…

Koala Matte White Cardstock Paper 8.5×11 Inches Thick 50sheets 85lb 230g…
Step 4: Configure Printer Settings

Before printing, configure your printer settings to achieve the best results. Follow these steps:
- Open the print dialog on your computer.
- Select your printer and choose the correct paper type.
- Set the print quality to ‘Best’ or ‘High’.
Warning: Ensure your printer has enough ink to avoid streaking.
Why this matters: Proper printer settings optimize color and detail in your prints.
Estimated time: 10 minutes.
Step 4: Configure Printer Settings
Editor’s Choice

KODAK Dock Plus & Dock Photo Printer Cartridge PHC-80 – Cartridge Refi…

Epson Ultra Premium Photo Paper Glossy (8.5×11 Inches, 50 Sheets) (S0421…

COLOR MUSE 3 Portable Color Matching and Paint Scanner Device with Prote…
Step 5: Print Your Artwork

It’s time to print! Follow these steps:
- Load your selected paper into the printer.
- Click ‘Print’ in your editing software.
- Carefully monitor the printing process to ensure everything runs smoothly.
Pro Tip: Print a small test image first to check colors and quality.
Why this matters: Monitoring the print process helps catch any issues before they become problems.
Estimated time: 30 minutes.
Step 5: Print Your Artwork
Editor’s Choice
HP Envy Photo 7975 Wireless Color Inkjet Photo Printer, Print, scan, Cop…

Calibrite Display Pro HL Monitor Calibration Colorimeter for LCD Mini LE…
PPD Inkjet Photo Rag Fine Art Giclee Archival Radiant White Paper 11×17″…
Step 6: Trim Your Prints
Once printed, you may need to trim your artwork for a clean look. Follow these steps:
- Use a ruler to measure and mark the desired dimensions on the print.
- Carefully cut along the marked lines using scissors or a paper cutter.
- Ensure all edges are straight for a professional appearance.
Warning: Always cut away from your body to avoid injuries.
Why this matters: Neat edges enhance the overall presentation of your prints.
Estimated time: 20 minutes.
Step 6: Trim Your Prints
Editor’s Choice

Swingline Paper Cutter, Guillotine Trimmer, 12″ Cut Length, 10 Sheet Cap…
Fiskars Micro Trip Scissors, SoftGrip Precision Cutting Shears, Non-Stic…

Stainless Steel Metal Ruler with Non-Slip Cork Back for Home Improvement…
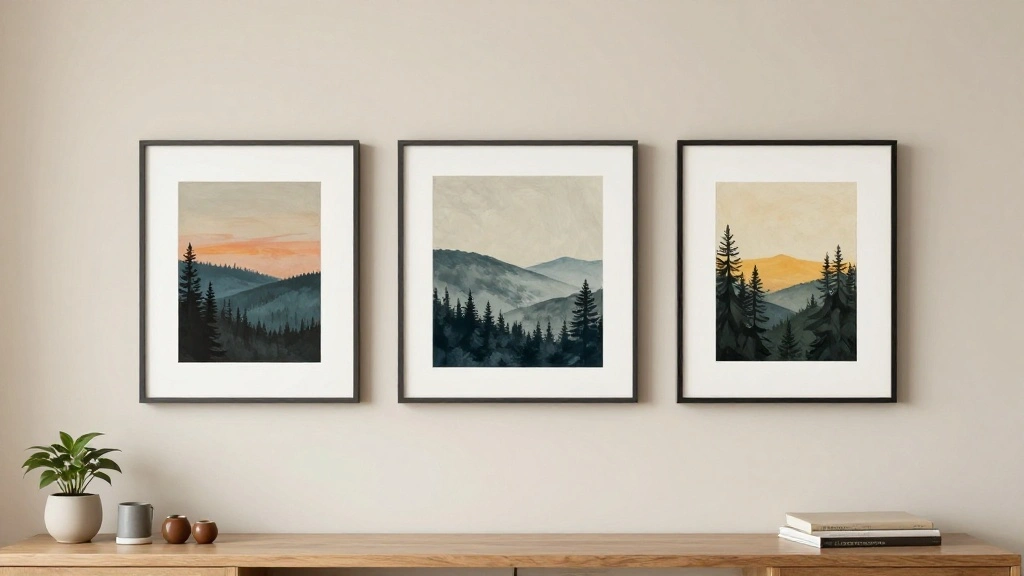
Step 7: Choose a Frame
Selecting the right frame can elevate your artwork. Consider these options:
- Choose a frame that complements the artwork style.
- Ensure the frame size matches your print dimensions.
- Consider using a mat for added elegance.
Pro Tip: A simple frame can often enhance the artwork better than an elaborate one.
Why this matters: The right frame draws attention to the art and enhances its beauty.
Estimated time: 15 minutes.
Step 7: Choose a Frame
Editor’s Choice

Vittanly 15 Pack Picture Frames Collage Wall Decor for Mounting or Table…

Fxojyvo 12×16 Frame Black, Display Picture 10×14 with Mat or 12 x 16 Wit…

Somime 25 Pack Backing Boards Only – 11×14 Uncut White Mats Matboards, A…
Step 8: Frame Your Artwork
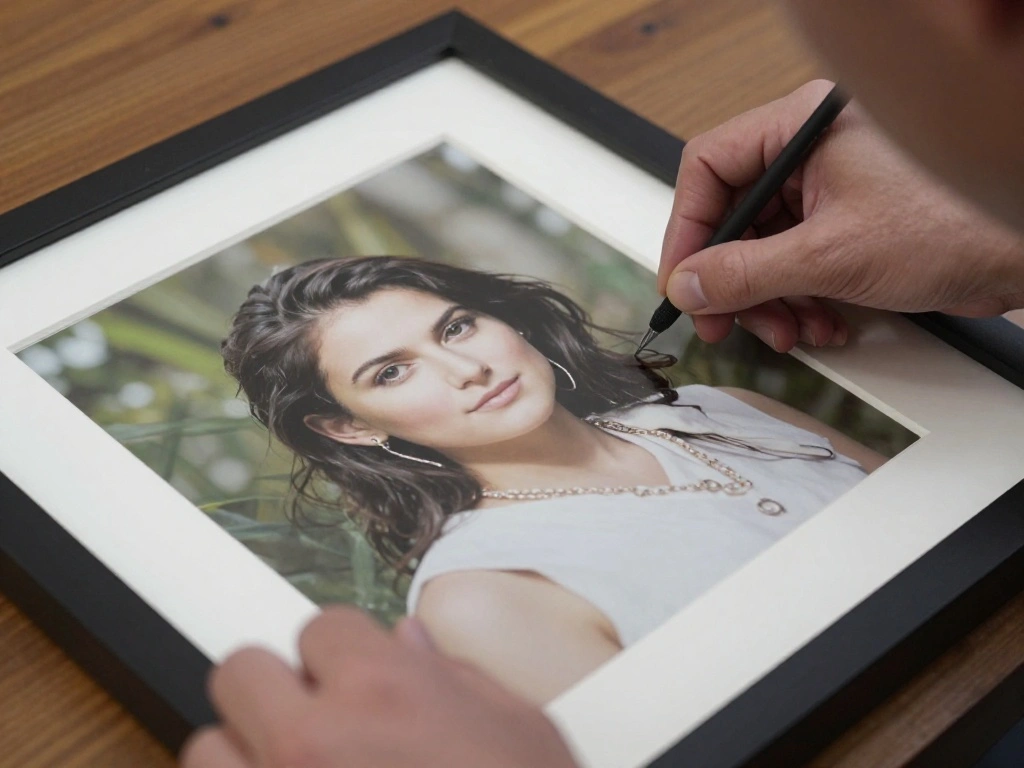
Now it’s time to frame your artwork. Follow these steps:
- Open the frame and remove any protective films.
- Place your trimmed print inside the frame carefully.
- Secure the back of the frame to hold everything in place.
Warning: Handle the glass carefully to avoid breakage.
Why this matters: Proper framing protects your artwork and prepares it for display.
Estimated time: 20 minutes.
Step 8: Frame Your Artwork
Editor’s Choice

Go Hang It! Pro, All-in-One Picture Hanging Kit – Picture Leveling and H…

Sprayway Glass Cleaner Foaming Aerosol Spray, 19oz, Pack of 2 | Ammonia-…
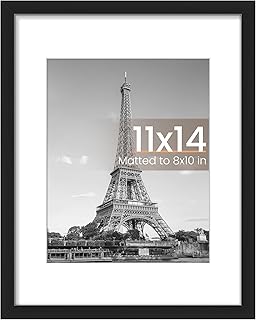
upsimples 11×14 Picture Frame, Display Pictures 8×10 with Mat or 11×14 W…
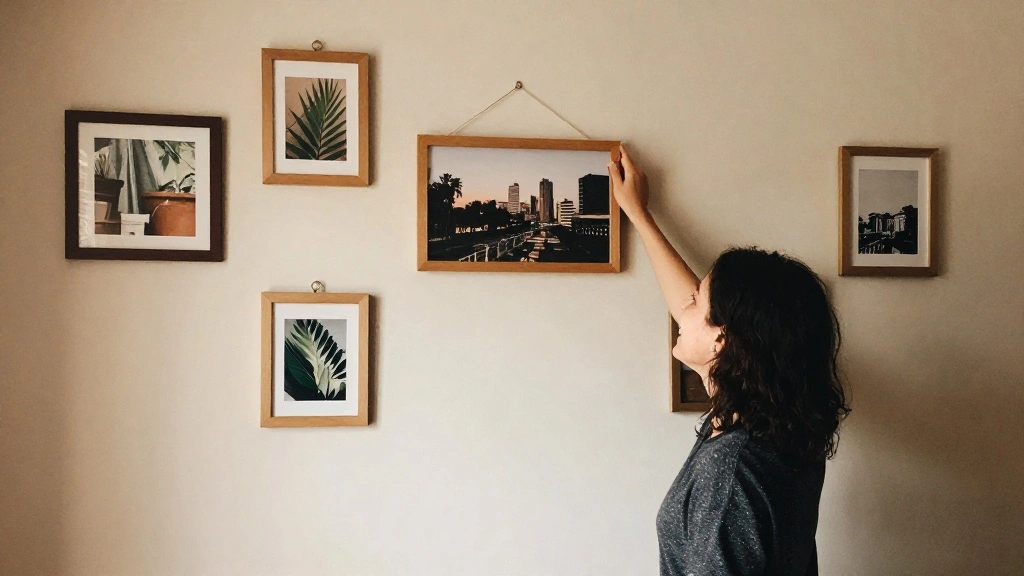
Step 9: Hang Your Artwork
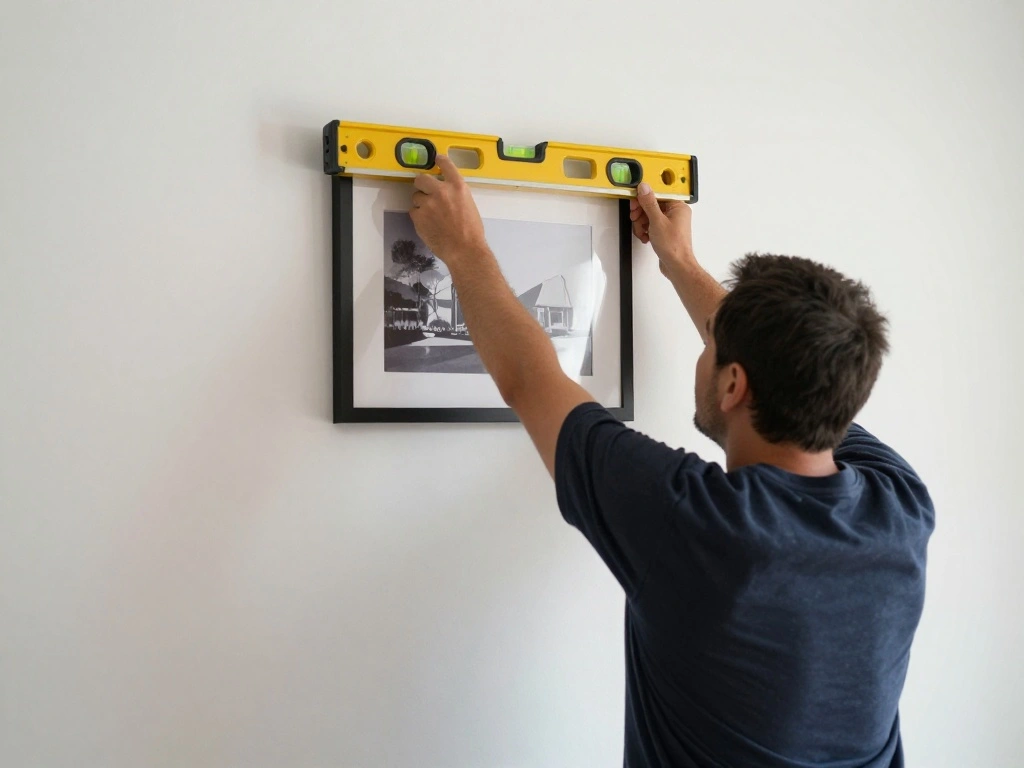
Your artwork is ready to be displayed! Follow these steps:
- Decide on the location where you want to hang the artwork.
- Measure the wall space to ensure proper placement.
- Use a level to mark where the top of the frame will sit.
- Secure the frame to the wall with appropriate hanging hardware.
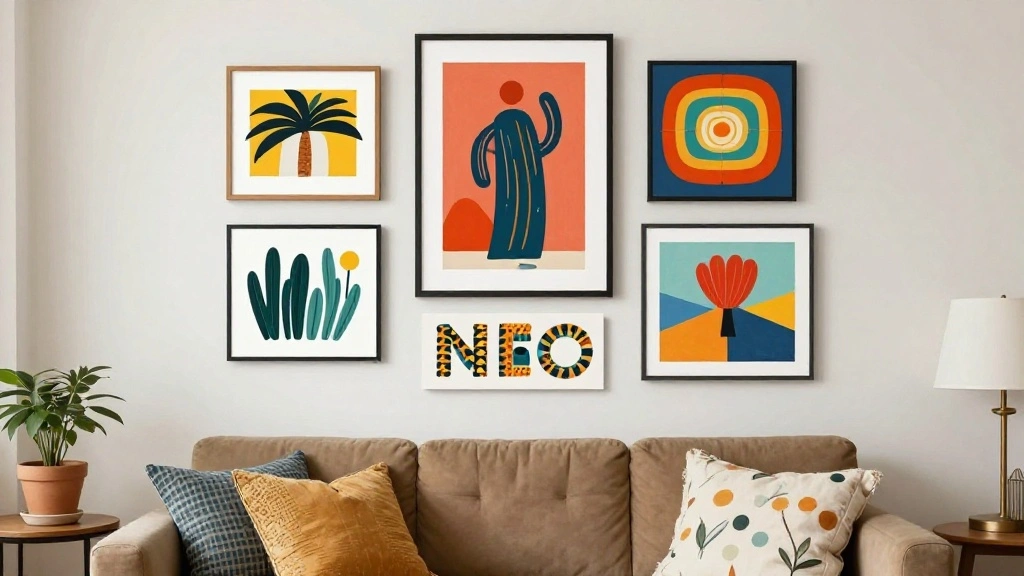
Pro Tip: Consider grouping multiple pieces for a gallery wall effect.
Why this matters: Proper placement and hanging give your artwork the attention it deserves.
Estimated time: 30 minutes.
Step 9: Hang Your Artwork
Editor’s Choice

CRAFTSMAN 25-Ft Tape Measure with Fraction Markings, Retractable, Self-L…

Blisstime Picture Hanging Kit – 100 Feet Braided Hanging Wire, 60 Pcs D …

Torpedo Level Magnetic, Firecore 9 Inch Shockproof Small Leveler Tool wi…
Step 10: Enjoy Your New Art!
Step back and admire your work! Reflect on the effort you put into creating your wall art. Here are some final tips:
- Share your creations with friends and family.
- Consider rotating your artwork seasonally for a fresh look.
- Keep an eye out for new images to print in the future.
Pro Tip: Document your process with photos to inspire others!
Why this matters: Celebrating your work fuels creativity and encourages future projects.
Estimated time: 10 minutes.
Step 10: Enjoy Your New Art!
Editor’s Choice
Epson Velvet Fine Art Paper (8.5×11 Inches, 20 Sheets) (S041636), White

Brother Work Smart 1360 Wireless Color Inkjet All-in-One Printer with Au…
upsimples 11×14 Picture Frame, Display Pictures 8×10 with Mat or 11×14 W…
Pro Tips
- Color Calibration: Calibrate your monitor and printer for accurate color representation.
- Image Backup: Always back up your images in multiple locations.
- Experiment: Don’t hesitate to try different paper types and printing techniques.
- Lighting Matters: Consider the lighting in your space when selecting colors and styles.
- Display Rotation: Regularly rotate your artwork to keep your space fresh and inspiring.
Pro Tips
Editor’s Choice

LitEnergy A4 LED Copy Board Light Tracing Box, Adjustable USB Power Artc…
Epson Velvet Fine Art Paper (8.5×11 Inches, 20 Sheets) (S041636), White
Calibrite Display Pro HL Monitor Calibration Colorimeter for LCD Mini LE…
Common Mistakes to Avoid
- Ignoring Resolution: Low-resolution images lead to pixelated prints. Always check the DPI.
- Incorrect Paper Type: Using the wrong paper can affect print quality. Match paper type to your printer.
- Skipping Test Prints: Test prints help identify any issues before using high-quality paper.
- Overlooking Framing: A hasty framing job can ruin your artwork. Take your time to frame carefully.
Common Mistakes to Avoid
Editor’s Choice

KURUI Picture Hangers, 385Pcs Picture Hanging Kit with Heavy Duty Pictur…
Epson EcoTank ET-2800 Wireless Color All-in-One Cartridge-Free Supertank…
Epson Velvet Fine Art Paper (8.5×11 Inches, 20 Sheets) (S041636), White
Troubleshooting Section
- Problem: Print colors are dull.
Solution: Ensure you are using high-quality paper and check ink levels. - Problem: Paper jams during printing.
Solution: Check for any obstructions and ensure paper is loaded correctly. - Problem: Prints are blurry.
Solution: Check the image resolution and printer settings for clarity. - Problem: Frame is too small for print.
Solution: Measure your print before purchasing a frame. - Problem: Artwork is crooked when hung.
Solution: Use a level during hanging to ensure straight placement.
Troubleshooting Section
Editor’s Choice

CorelDRAW Graphics Suite 2026 | Education Edition | Graphic Design Softw…

E-Z Ink Remanufactured Ink Cartridge Replacement for 812XL WF-7840 Ink C…

HP Paper Printer | 8.5 x 11 Paper | Premium 32 lb | 1 Ream – 500 Sheets …
Variations/Alternative Methods
- Canvas Printing: For a more textured look, consider printing on canvas instead of paper.
- Digital Displays: Use digital frames to display multiple artworks without physical prints.
- Transfer Techniques: Explore transferring images onto wood or fabric for unique displays.
Variations/Alternative Methods
Editor’s Choice

TransOurDream Heat Transfer Paper for Dark T Shirts(20 Sheets, 8.5×11),P…

FANGOR 21.5″ Large Digital Picture Frame 64GB, WiFi Photo Frame 1920×108…
Custom Framed Canvas Prints With Your Photos – Personalized Picture To C…
FAQs
- What if I don’t have a printer? You can send your images to a local print shop for professional printing.
- How long should I let my prints dry? Allow at least 24 hours for ink to fully dry before framing.
- Is it safe to hang prints in direct sunlight? No, direct sunlight can fade prints over time; consider UV-protective glass.
- What if my printer smudges the print? Ensure that the paper type is compatible and that the print settings are correct.
- Can I print on any type of paper? No, make sure the paper is designed for your specific printer type (inkjet or laser).
FAQs
Editor’s Choice

Canon PIXMA PRO-200S Professional 13″ Wireless Inkjet Photo Printer with…
HP HeavyWeight Project Paper, Matte, 8.5×11 in, 40 lb, 250 sheets, works…

Trendy Oversized Aviator Sunglasses Womens, Retro Cute Big Shades Women’…
Conclusion
Congratulations on creating your own wall art! You’ve not only saved money but also expressed your creativity in a personal way. Take a moment to enjoy your hard work and consider sharing your achievements with friends and family.
As you continue your creative journey, look for new images to print or experiment with different styles and techniques. Your walls are now a canvas for your imagination!
Keep exploring and creating, and let your home reflect your unique style!