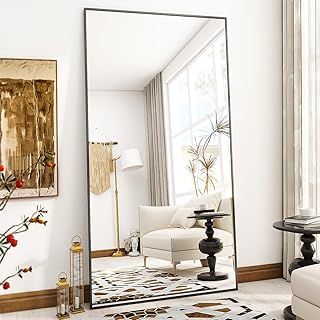
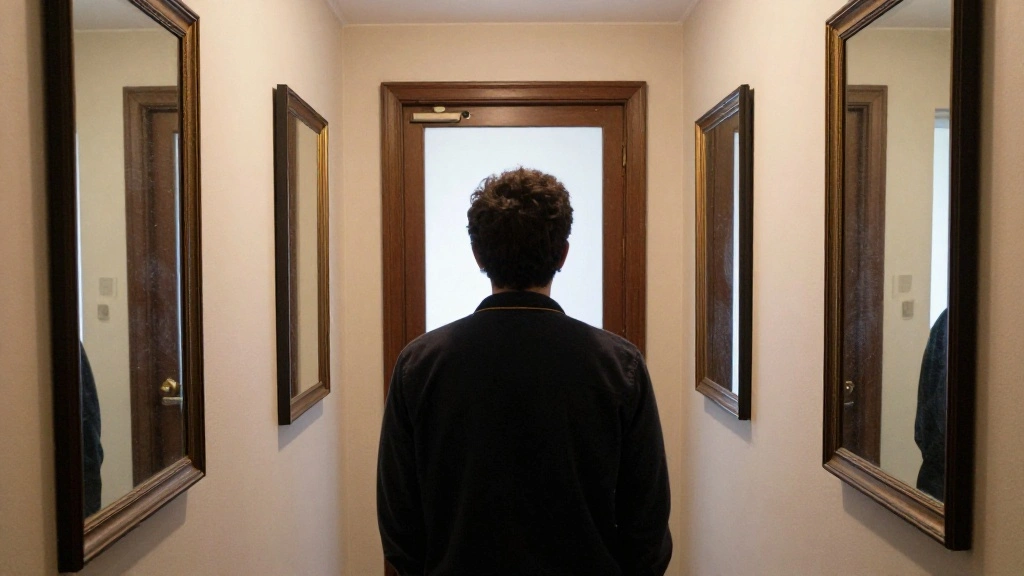
Have you ever walked into a cramped entryway and felt instantly overwhelmed? The right design elements can transform a space, and mirrors are a powerful tool in your decor arsenal. Mirrors can create the illusion of depth, making small areas feel spacious and inviting. In this guide, you will learn how to strategically use mirrors on your entryway walls to enhance your space.
By the end of this article, you will be equipped with practical tips and techniques for choosing, placing, and styling mirrors to maximize their impact. You’ll discover specific insights into mirror shapes, sizes, and frames that can complement your entryway while expanding the visual area.
With a skill level of beginner and an estimated completion time of 1-2 hours, you can easily follow these steps to achieve a more open and airy feel in your home. Let’s dive in and unlock the potential of your entryway with mirrors!
TL;DR Summary
- Use mirrors to create the illusion of space in your entryway.
- Choose the right shapes and sizes for your mirrors.
- Strategically place mirrors to reflect light and open up the area.
- Follow simple steps to enhance your entryway’s appeal.
Recommended Products

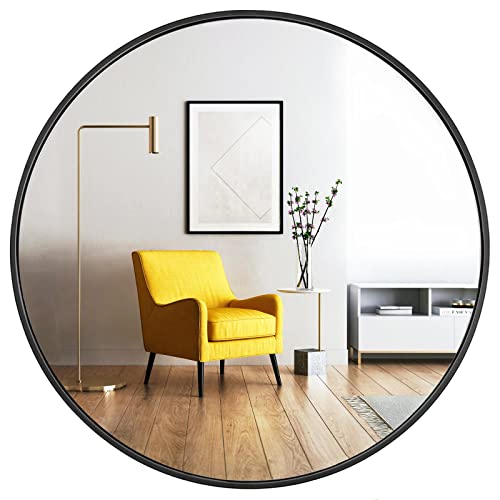
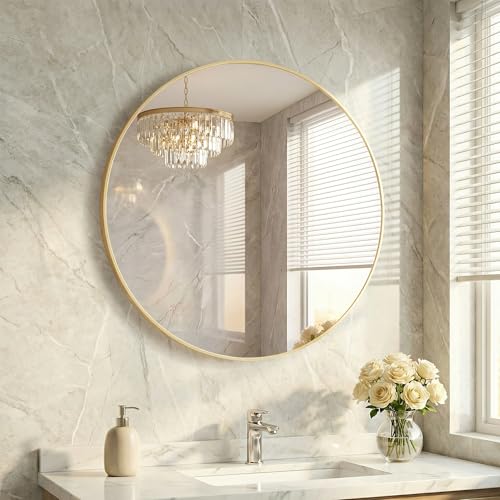
Clear Reflection: Reflection isn't distorted, which is what you most hope and indeed what this round bathroom mirror possesses. The improved lightweight glass is more durable, reducing the troubles caused by broken mirrors for you

Round Mirror High Definition: The silver coated mirror gives a high definition, natural and realistic image.

Fashionable Design - The classic circle mirror designed with modern aluminum brushed process, can match any decorative environment, highlight the beauty of space, suitable for bathroom, living room, bedroom, makeup mirror, entrance hall, walkway and other uses
TL;DR Summary
Editor’s Choice

Tstarer Vintage Decorative Gold Framed Mirror, Wall Hanging Mirrors & Ta…

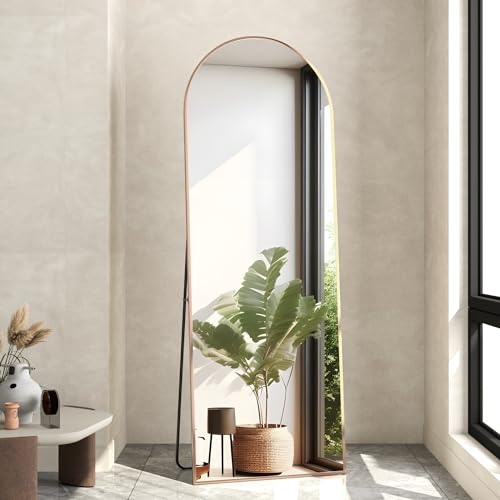
DUMOS 64″x21″ Arched Full Length Floor Mirror, Full Body Mirror with Sta…

VooBang Arched Wall Mirror, 30 x 38 inch Arch Bathroom Mirror, Wall Moun…
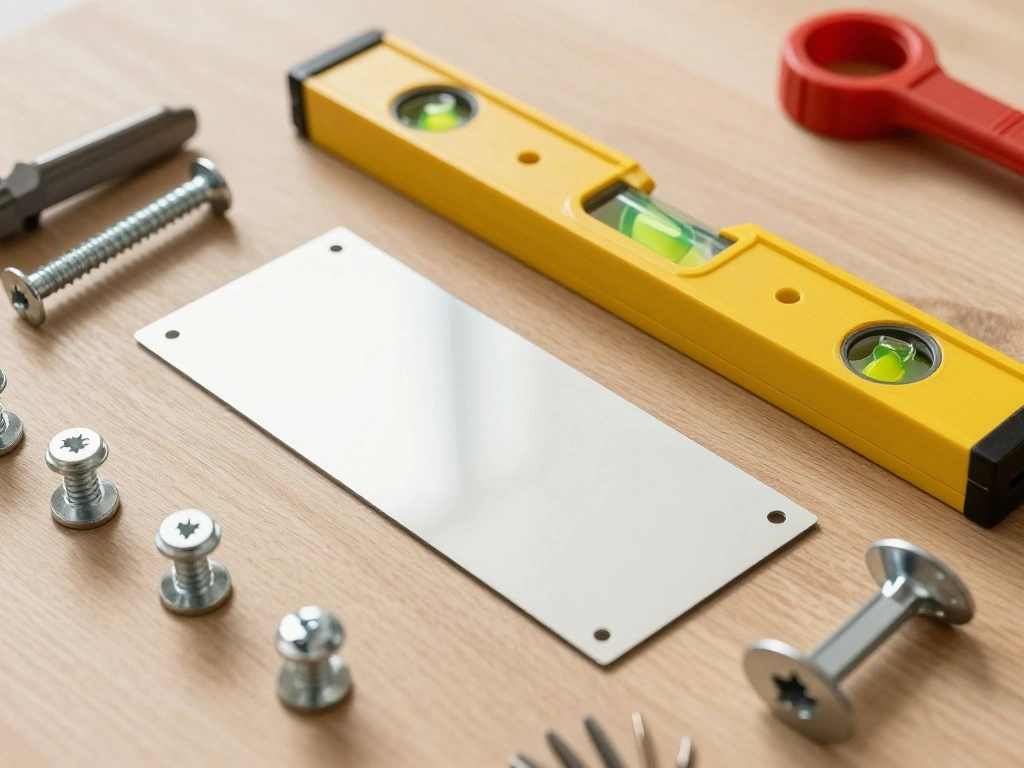
Prerequisites/Materials Needed
- Mirrors: 1-3 depending on space size (consider various shapes)
- Measuring tape: 1
- Pencil: 1
- Level: 1
- Hanging hardware: Appropriate for mirror weight
- Wall anchors: If necessary for stability
Recommended Products

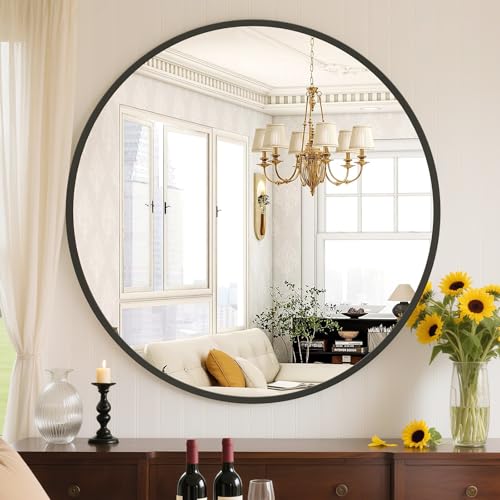
Arched Design for a Softer Look : The modern wall mirror brings a refined, architectural touch to your space—an easy way to update your bathroom, bedroom, or entryway with elegant style

Sturdy Glass: The arched bathroom mirror made of tempered glass will not distort the image at any angle. Most importantly, the improved glass is sturdy and not easily broken into sharp fragments

Elegant Arched Design – Timeless Style for Any Space : This 30" x 40" arched bathroom mirror features a smooth curve top and clean lines, adding a soft, modern touch to your bathroom, vanity, or entryway. The minimalist arch silhouette blends beautifully with traditional or contemporary decor
Prerequisites/Materials Needed
Editor’s Choice

TOGGLER SNAPTOGGLE Drywall Anchor with Included Bolts for 1/4-20 Fastene…

Bathroom Mirror for Wall, 24 Inch Round Mirror, Matte Gold Metal Framed …

Digital Caliper Measuring Tool, Stainless Steel Vernier Caliper Digital …
Skill Level & Time Estimate
Skill Level: beginner
Total time estimate: 1-2 hours
Breakdown of time:
- Selecting mirrors: 15-30 minutes
- Measuring and marking: 20-30 minutes
- Hanging mirrors: 30-60 minutes
Recommended Products

Full Size: Our OLIXIS large mirror full length is 64" in length and 21" in width, which is large enough to give you a view of your entire figure and ensure that you go out every day in perfect condition

Large Full Length Mirror: Measuring 64" x 21", this full-length mirror offers a generous viewing area that easily reflects your entire body. With a clean, minimalist design featuring a rectangular arched vertical frame and a smooth, flawless surface, it not only serves its purpose but also enhances the beauty of any space

Spacious Classified Storage for All Your Jewelry: This 43.3"H jewelry cabinet offers classified large storage: 75 earring slots, 11 necklace hooks, 48 ring slots, 2 bracelet rods, 3 shelves, 2 drawers and a flannel bag. It organizes necklaces, rings, bracelets, watches and cosmetics neatly. The foldable makeup shelf holds makeup brushes, lipsticks and foundations for convenient makeup routines.
Skill Level & Time Estimate
Editor’s Choice

Digital Caliper, Sangabery 0-6 inches Caliper with Large LCD Screen, Aut…

22 Sets of Mirror Holder Clips Kit,Crystal Clear Plastic Mirror Clip,Mir…
VooBang Arched Wall Mirror, 30 x 38 inch Arch Bathroom Mirror, Wall Moun…
Step 1: Choose the Right Mirrors
Select mirrors that fit your style and the size of your entryway. Consider the following:
- Think about function: Do you want a full-length mirror or decorative pieces?
- Choose shapes: Round mirrors soften edges, while rectangular mirrors add height.
- Consider frame styles: A sleek frame may suit modern decor, while ornate frames complement traditional styles.
Pro Tip: Take a photo of your entryway and use it to visualize how different mirrors will look in the space.
Why this matters: The right mirrors will enhance your design and create the illusion of larger space.
Time estimate: 15-30 minutes.
Recommended Products

Modern Arched Design: The arched mirror from Sweetcrispy adds a touch of vintage charm to any wall decor. Perfectly suited for modern, rustic, or bohemian interior styles, it blends seamlessly into living rooms, bedrooms, or entryways, elevating your space with timeless elegance

Crystal-Clear Reflection, Zero Distortion: See yourself in perfect clarity with SWEETCRISPY. Crafted from premium high-definition float glass, this vanity mirror delivers a sharp, 1:1 true-to-life reflection — no warping, no blur. Perfectly suited for your bathroom, vanity area, or above the sink

Clear Reflection & No Distortion: Utilizing advanced high-definition float glass, this bathroom vanity mirror delivers a sharp, distortion-free 1:1 image for an accurate and true-to-life reflection—perfect for use in a bathroom, vanity, or above the sink
Step 1: Choose the Right Mirrors
Editor’s Choice
DUMOS 64″x21″ Arched Full Length Floor Mirror, Full Body Mirror with Sta…

AAZZKANG Wall Mirror with Wood Framed Rustic Mirrors for Wall Rectangle …

Bathroom Mirror for Wall, 24 Inch Round Mirror, Matte Black Metal Framed…
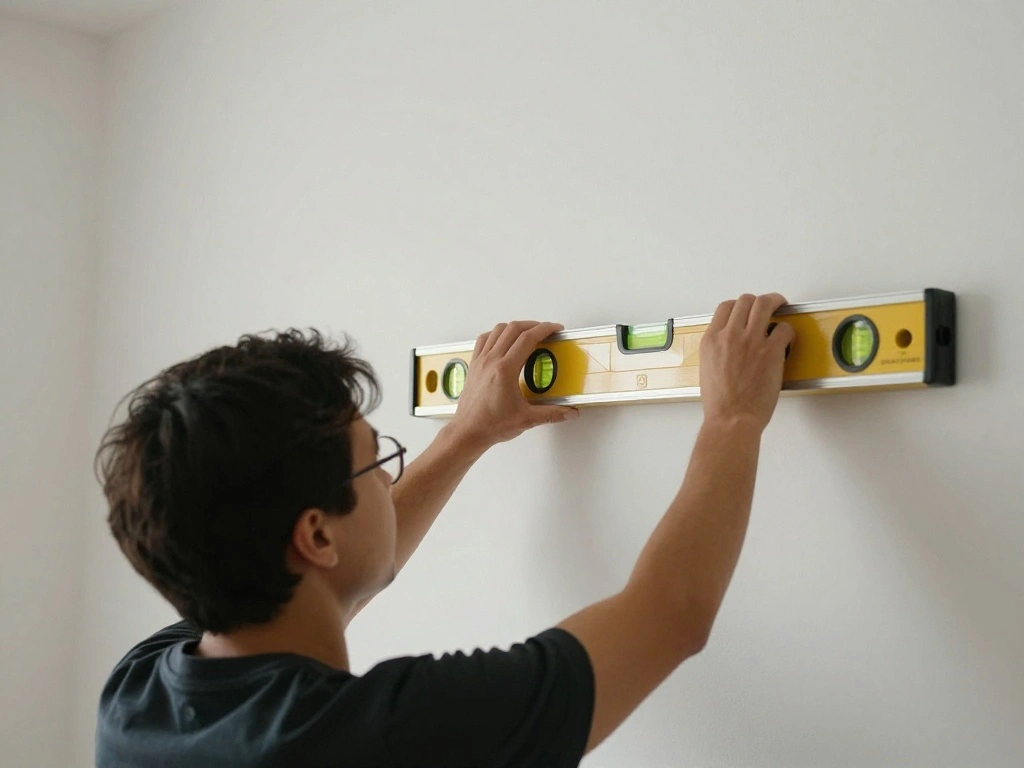
Step 2: Measure Your Space
Accurate measurements are crucial for proper mirror placement. Follow these steps:
- Use a measuring tape to determine the height and width of the wall space.
- Decide how high you want to hang the mirrors; typically, eye level is ideal.
- Mark the desired locations on the wall with a pencil.
Warning: Double-check your measurements to avoid uneven placement.
Why this matters: Accurate measurements ensure that mirrors fit well and are positioned optimally.
Time estimate: 20-30 minutes.
Recommended Products

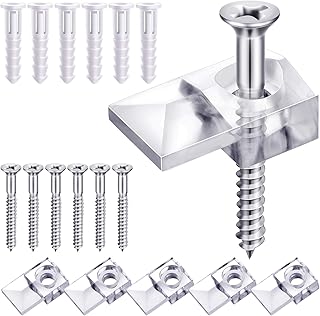
Complete Value Pack: each kit includes 20 durable mirror clips, 20 heavy duty screws, and 20 sturdy wall anchors; With enough hardware for multiple projects, it's the nice all in one solution for your home renovation needs

Practical kit: You will get 22 frame fixing clips with 22 screws and 22 fixing screws, which are enough to meet your daily needs; the mirror clip measures approx. 21 mm/ 0.83 inches in length, can be applied for installing glass that about 3/16 inches , please check the size of your mirror carefully before ordering

Complete Set for Secure Mounting: This kit includes 12 durable metal mirror holder clips and corresponding screws, each clip measuring 1.42x0.98x0.27 inches, designed to mount mirrors securely to any wall
Step 2: Measure Your Space
Editor’s Choice

CRAFTSMAN 25-Ft Tape Measure with Fraction Markings, Retractable, Self-L…

10Pcs Heavy Duty Picture Hangers with Nails, Kinxuanda Professional Pict…

Torpedo Level Magnetic, Firecore 9 Inch Shockproof Small Leveler Tool wi…
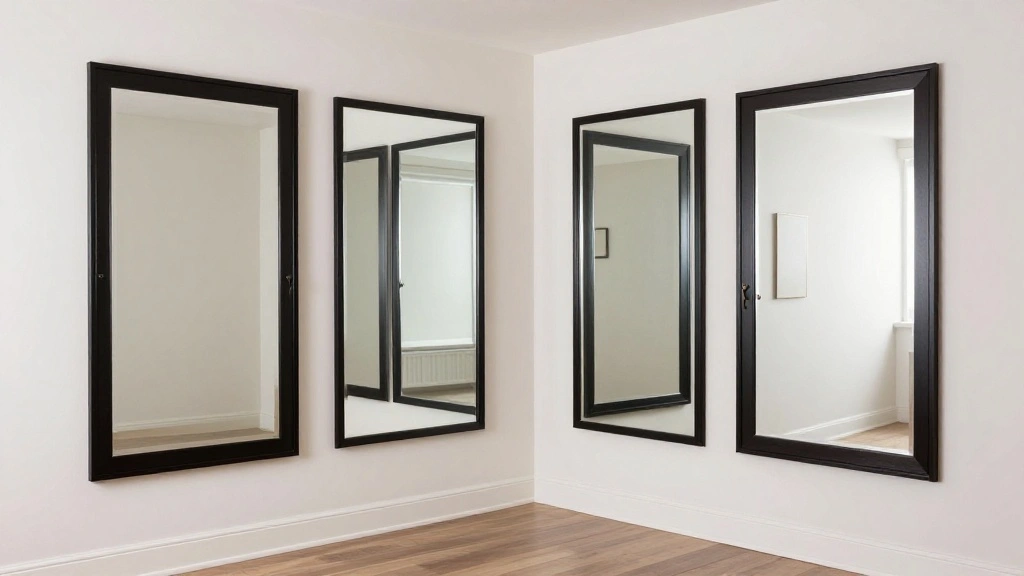
Step 3: Decide on Placement
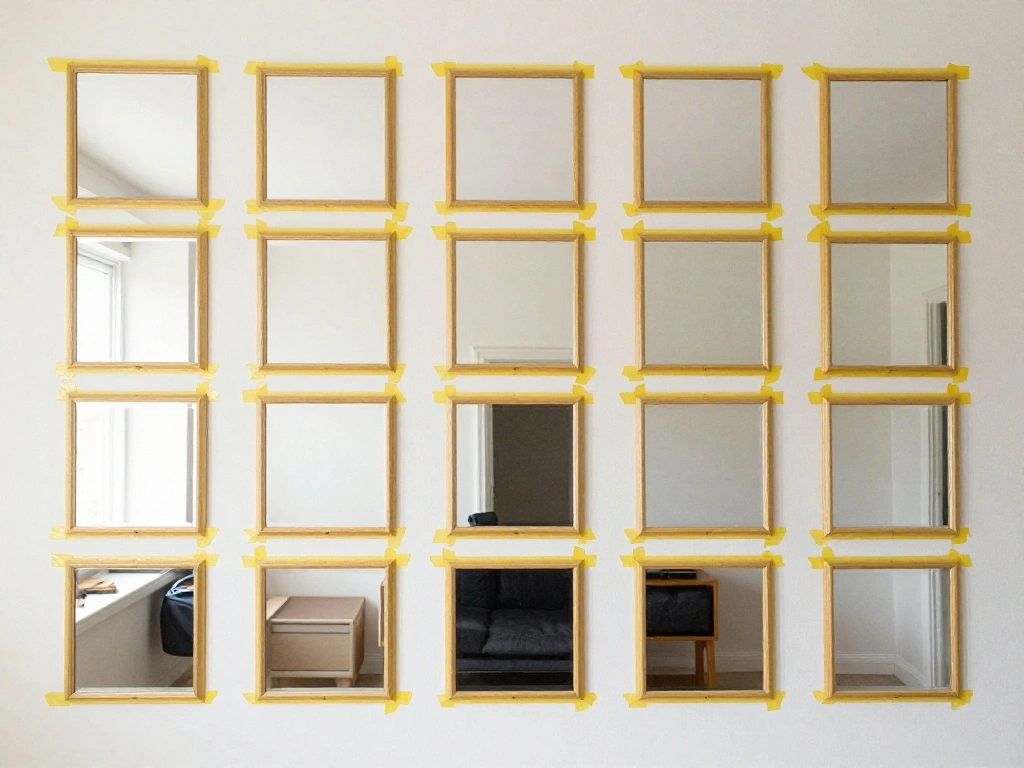
Placement is key to maximizing the visual effect of your mirrors. Consider these options:
- Place a large mirror directly across from a window to reflect natural light.
- Arrange smaller mirrors in a cluster for a gallery wall effect.
- Hang mirrors at varying heights to create interest.
Pro Tip: Use painter’s tape to outline where the mirrors will hang before drilling.
Why this matters: Thoughtful placement enhances light and depth, making your entryway feel larger.
Time estimate: 15-20 minutes.
Recommended Products

Decorative Mirror: The wall mirror with matte black finish of the frame adds a touch of modernity and sophistication to your space,featuring a sleek and modern circular design. Whether you're aiming for a contemporary or classic look, this round wall mirror effortlessly blends with different home decor styles. The timeless aesthetic adds a touch of sophistication to any room, making it an ideal focal point for your entryway, bathroom, or living room decor
Round Mirror High-Definition: Our round mirrors adopt professional precision optical coating technology to deliver crisp, lifelike reflections
Crystal-Clear HD Reflection with Zero Distortion: Crafted with silver-plated high-definition glass, this vanity mirror delivers a sharp, true-to-life reflection with no warping or visual distortion—for makeup application, grooming, and everyday use
Step 3: Decide on Placement
Editor’s Choice
VooBang Large Full Length Mirror 78″ x 35″ – Shatterproof Huge Floor Ful…

Kate and Laurel Travis Modern Round Wall Mirror Set, Set of 3, Varying S…

Scotch Greener Masking Tape, 0.94 in x 60 Yard, 2050, 1 roll
Step 4: Prepare for Hanging
Before you hang your mirrors, ensure you have everything ready:
- Gather all necessary tools: level, screws, and wall anchors.
- Check the weight of each mirror to select appropriate hanging hardware.
- Confirm that your wall can support the weight of the mirrors.
Warning: Failing to use the right hardware can lead to mirrors falling.
Why this matters: Proper preparation avoids damage and ensures safety.
Time estimate: 15 minutes.
Recommended Products

Arched Design & Versitile Application: The CIRCUMI wall mirror showcases a distinctive arched design that adds a classic touch to any room. Measuring 36x48 inches, our large arched mirror transforms itself into a striking centerpiece for your interior design. You won't regret placing one in your bathroom, living room, dining room, entryway, or any other space.

【ARCHED BATHROOM MIRROR】The arched window mirror size is 42"x24" inch.with iron Frame,modern design style,This decorative wall mirror makes a great way to add vertical space and draws your attention

Arched Design for a Softer Look : The modern wall mirror brings a refined, architectural touch to your space—an easy way to update your bathroom, bedroom, or entryway with elegant style
Step 4: Prepare for Hanging
Editor’s Choice

Wensilon (274 pcs) Plastic Drywall Wall Anchors Kit with Screws, Concr…
USA Made | Heavy-Duty Mirror Support Brackets | Adjustable 60″ Mounting …

WEIDDW Laser Level with Tripod, Self Leveling Laser Level 4×360°, Green…
Step 5: Hang the Mirrors
Now it’s time to hang your mirrors! Follow these steps:
- Use a level to mark where the top of the mirror will sit.
- Install the hanging hardware based on the mirror’s weight.
- Carefully hang the mirror, ensuring it is straight and secure.
Pro Tip: Have someone hold the mirror while you secure it for stability.
Why this matters: Securely hung mirrors prevent accidents and ensure a polished look.
Time estimate: 30-60 minutes.
Recommended Products

Full-Length Mirror: Available in two sizes—64"L x 21"W or 59"L x 16"W—this standing mirror provides a full-body view, ideal for outfit checks. Its sleek, modern design easily enhances any room, with black or gold frame options to perfectly complement your home décor

Large Full Length Mirror -This 57"×20" arched full-length mirror makes a bold statement in any space, elevating your decor with its striking design. Standing tall as a floor mirror, it lets you check your entire outfit—from head to toe—for a polished, put-together look. The elegant arch frame adds a touch of sophistication, making it both a functional piece and a decorative focal point in bedrooms, dressing areas, or entryways.
MODERN ARCHED DESIGN: The arched design of this 56 inch mirrors arch brings you a new visual experience, become the focal point of your room. Whether you want to make a small space feel larger or add a touch of luxury to your home, full body mirror for bedroom are a great place to start.
Step 5: Hang the Mirrors
Editor’s Choice
Blulu 20 Pack Mirror Holder Clips, Offset 0.24 Inch/ 6 mm, Glass Mirror …
Blulu 20 Pack Mirror Holder Clips, Offset 0.24 Inch/ 6 mm, Glass Mirror …

2026 Creative Wall Hanging Tool with Level, Picture Hanging Leveling Too…
Step 6: Style Your Mirrors
Styling your mirrors enhances their visual appeal. Consider these ideas:
- Add decorative elements: Place a small console table or plants below the mirror.
- Incorporate lighting: Use sconces or table lamps to highlight the mirrors.
- Feature artwork around your mirrors for a cohesive look.
Pro Tip: Experiment with different arrangements before finalizing your design.
Why this matters: Styling creates a welcoming atmosphere and draws attention to the mirrors.
Time estimate: 20-30 minutes.
Recommended Products
Crystal-Clear Reflection, Zero Distortion: See yourself in perfect clarity with SWEETCRISPY. Crafted from premium high-definition float glass, this vanity mirror delivers a sharp, 1:1 true-to-life reflection — no warping, no blur. Perfectly suited for your bathroom, vanity area, or above the sink

Modern Arched Design: The arched mirror from Sweetcrispy adds a touch of vintage charm to any wall decor. Perfectly suited for modern, rustic, or bohemian interior styles, it blends seamlessly into living rooms, bedrooms, or entryways, elevating your space with timeless elegance
High-Definition Without Distortion: The HAPPYMONT bathroom mirror for over sink features premium silver-plated glass that delivers a crystal-clear, scratch-resistant reflection with zero distortion. Perfect for daily grooming, shaving, and makeup application — you'll see every detail exactly as it is
Step 6: Style Your Mirrors
Editor’s Choice

Depuley Battery Operated Wall Sconce: Set of 2 Wireless Wall Lights with…

Pigort 3 Pieces Metal Flowers Wall Art- Rustic Farmhouse Decor Minimalis…
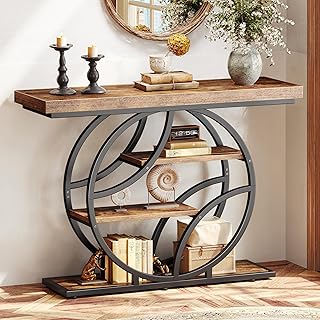
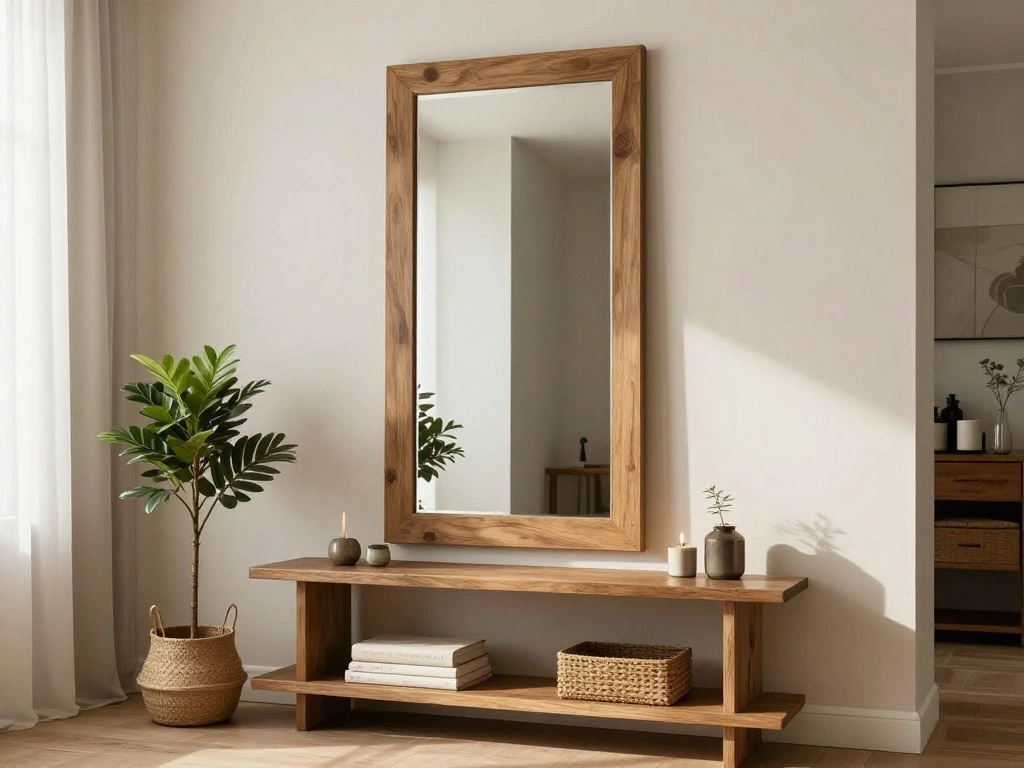
Huuger Modern Console Table, 41.3 Inch Sofa Table with Artistic Curved M…
Step 7: Evaluate and Adjust
Once everything is in place, take a moment to evaluate your work:
- Stand back and view the overall effect of the mirrors.
- Check for reflections: Ensure they reflect light and create depth.
- Make adjustments as needed. If something feels off, try moving a mirror or changing the decor.
Pro Tip: Ask a friend for their opinion; a second pair of eyes can help.
Why this matters: Evaluating your setup ensures that you’ve achieved the desired effect.
Time estimate: 15-20 minutes.
Recommended Products

【Package】 You will receive 25 mirror holder clips and 25 screws, providing ample quantity for your various needs.

Mirror Hanging Kit: You will get 30 frame fixing clips with 30 screws and 30 fixing screws, which are enough to meet your daily needs; the mirror clip measures approx. 21 mm/ 0.83 inches in length, can be applied for installing glass that is about 3/16 inches, please check the size of your mirror carefully before ordering.

【Product Include】 You will receive 16 pieces of "J" type of mirror holders, 16 screws and 16 plastic expansion anchors. The protective rubber pads to prevent your mirror from being damaged. The quantity is enough for your daily use and replacement.
Step 7: Evaluate and Adjust
Editor’s Choice
VooBang Arched Wall Mirror, 30 x 38 inch Arch Bathroom Mirror, Wall Moun…

Wotec Extra Large Double Sided Tape Heavy Duty Removable 1.18 Inch x 160…
Pro Tips
- Mix Mirror Styles: Combine different shapes and styles for a unique look.
- Use Decorative Frames: A bold frame can be a statement piece.
- Consider Reflective Surfaces: Use other reflective elements like glass tables to enhance the effect.
- Layered Lighting: Use multiple light sources to maximize reflection.
- Seasonal Decor: Change surrounding decor with seasons for a fresh look.
Pro Tips
Editor’s Choice

Orange Danish Modern Pendant Lamp, 3-Layer Shade Scandinavian Ceiling Li…
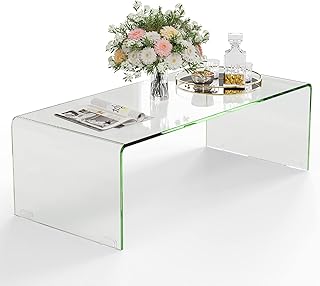
Tangkula Glass Coffee Table, 40″L × 19.5″W ×13.5″ H, Modern Home Furni…

AAZZKANG Wall Mirror Black Rectangle Mirrors for Wall with Wood Framed D…
Common Mistakes to Avoid
Warning: Hanging mirrors too high or too low can disrupt the visual flow. Always aim for eye level.
Warning: Using mirrors that are too small for the wall can make the space feel disjointed. Choose appropriately sized pieces.
Warning: Forgetting to secure mirrors properly can lead to accidents. Always use suitable hardware.
Warning: Overcrowding the area with too many mirrors can create confusion. Opt for a balanced arrangement.
Common Mistakes to Avoid
Editor’s Choice
VooBang Large Full Length Mirror 78″ x 35″ – Shatterproof Huge Floor Ful…
22 Sets of Mirror Holder Clips Kit,Crystal Clear Plastic Mirror Clip,Mir…

Copkim 50 Pcs 6 FT Mini Tape Measure Retractable Bulk Small Measuring Ta…
Troubleshooting Section
Problem: Mirrors look crooked after hanging.
Solution: Use a level to adjust the mirrors. Ensure all hardware is secure and straight.
Problem: Entryway feels cluttered despite mirrors.
Solution: Simplify decor around mirrors. Use minimalistic styling.
Problem: Mirrors do not reflect enough light.
Solution: Adjust mirror placement to face windows or light sources.
Problem: Wall damage from hanging mirrors.
Solution: Use wall anchors if necessary. Be sure to check the weight limit of the hardware used.
Troubleshooting Section
Editor’s Choice

Kazai. Key Holder ‘Toke’ | Minimalist Key Hook Design from Berlin | Mode…
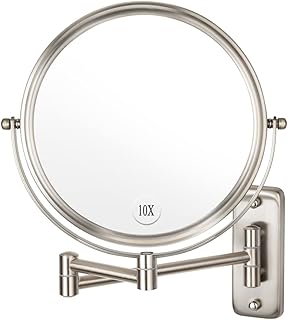
Wall Mounted Makeup Mirror – 1X/10X Magnifying Mirror Double Sided, 8 In…

Laser Level Line Tool, Multipurpose Laser Level Kit Standard Cross Line …
Variations/Alternative Methods
Consider these alternative methods for using mirrors in your entryway:
- Mirror Wall: Create an entire wall of mirrors for maximum impact.
- Sliding Mirrors: Use sliding panels that can be opened and closed to change the look of the space.
- Mirrored Furniture: Incorporate furniture with mirrored surfaces to enhance light without additional wall mirrors.
FAQs
What if I don’t have enough wall space for mirrors? Consider using smaller mirrors or a mirror collage to utilize available space effectively.
How long should I wait to hang mirrors after painting? Wait at least 24 hours to ensure the paint is fully dry.
Is it safe to hang large mirrors alone? Always have someone assist you, especially with larger mirrors, to prevent accidents.
What if my mirrors are too heavy for the wall? Use appropriate wall anchors and hardware for added security.
Can I use adhesive hooks for lightweight mirrors? Yes, but be cautious about the weight limit and ensure they are suitable for your wall type.
Conclusion
Congratulations on successfully transforming your entryway with mirrors! You should now feel a sense of accomplishment as you enjoy the expanded feel of your space. Remember that mirrors not only enhance aesthetics but also improve functionality by reflecting light and creating depth.
As you move forward, explore other areas of your home where mirrors can make a difference, such as living rooms or bedrooms. Keep experimenting and adjusting your decor to achieve that perfect balance. Keep shining and happy decorating!