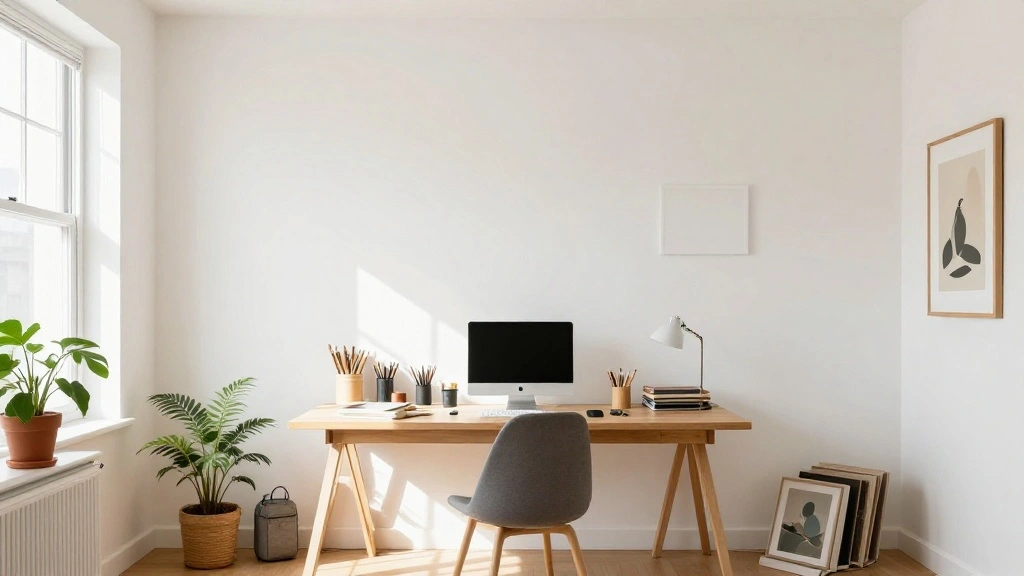
In today’s remote work environment, having a dedicated and inspiring workspace is crucial for productivity and creativity. A bland, uninspired home office can negatively impact your motivation and focus. The solution? Create a stunning gallery wall that not only beautifies your space but also enhances functionality by organizing your inspiration.
In this guide, you will learn how to curate a gallery wall that reflects your personality and serves as a source of motivation. By the end of this project, your home office will transform into a vibrant space filled with art, inspirational quotes, and personal touches.
You will discover the essential steps to select artwork, plan your layout, and hang your pieces securely. This project is designed for beginners and should take around 2-3 hours to complete. Get ready to turn your home office into a creative sanctuary!
TL;DR Summary
- Create a stunning gallery wall to enhance your home office space.
- Learn to select, plan, and hang artwork effectively.
- This project is suitable for beginners and takes around 2-3 hours.
- Follow each step to achieve a functional and visually appealing workspace.
Recommended Products

8.5 by 11 PICTURE FRAME: Designed to fit 8.5 x 11-inch certificates, diplomas, photos, magazines, awards, poster, and degrees, these graduation picture frames offer a sleek, universally compatible display solution. The minimalist design complements any document, from academic achievements to professional certifications or cherished memories.

MULTIPLE FRAMES COLLAGE: Bulk of 5 pieces Picture Frames set in the same Sizes. Perfect for Pictures 5x7 with Mat or 8x10 Without Mat. The frame opening display size will be 0.5 in smaller than the photo to hold the photo in place

Capture Your Memories: From the faces of your loved ones to great times with friends and family get-togethers, this collage photo frame lets you display an array of wonderful moments. It features 12 frames, each perfectly sized for 4x6 photos
TL;DR Summary
Editor’s Choice

Laser Level Line Tool, Multipurpose Laser Level Kit Standard Cross Line …


KURUI 303Pcs Picture Hanging Kit, Picture Hangers Assorted Kit with Heav…

Vittanly 15 Pack Picture Frames Collage Wall Decor for Mounting or Table…
Prerequisites/Materials Needed
- Artwork: 5-10 pieces (can include prints, photos, or paintings)
- Frames: Matching or complementary frames for your artwork
- Measuring Tape: To measure wall space and spacing between pieces
- Pencil: For marking placement on the wall
- Nails or Hooks: Depending on the weight of your frames
- Level: To ensure artwork is hung straight
- Hammer: For hanging nails or hooks
- Optional: Gallery wall template (can be made from paper)
Recommended Products
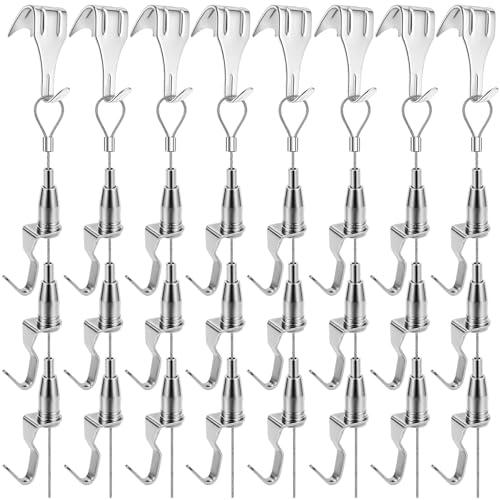
3-layer Hanging, Saving Space: 8 pcs wire kits and there are 3 hooks with each kit. 3 hooks can be used to hang up to 3 frames on a rope at the same time, saving space. If there are multiple pictures that need to be displayed, this would be suitable for hanging

EFFORTLESS ORGANIZATION: Our 303pcs Heavy Duty Picture Hanging Kit boasts an exceptional design with categorized compartments, saving you precious time that would otherwise be spent searching for the right hardware. Plus, when you're done using it, everything neatly tucks away, eliminating any post-project mess. Can replace picture hanging strips.

THE ORIGINAL GO HANG IT! Easy picture hanging with zero measuring required. Our patented positioning system marks your nail holes accurately on the first try, so you're not guessing, patching drywall, or rehanging crooked frames. Works with sawtooth, wire, and D-ring picture hangers.
Prerequisites/Materials Needed
Editor’s Choice


Family Picture Frame, Best Friend Picture Frame Gifts for Best Friend Wo…

Vintage Gold Framed Ophelia Wall Art, Romantic Victorian Gothic Oil Pain…
Skill Level & Time Estimate
Skill Level: beginner
Total time estimate: 2-3 hours
Breakdown: 1 hour for planning and selecting artwork, 1-2 hours for placement and hanging.
Recommended Products

Rechargeable Battery and 10-Hour Runtime: With its integrated 2200 mAh rechargeable battery, the Fanttik D2 laser level can work continuously for up to 10 hours on a single charge. The high-capacity battery can be recharged more than 500 times, which is very practical

WARM TIPS: Please press the battery firmly to ensure it is securely installed and to keep the product stable. Adjusting to manual mode will stop the beeping sound.
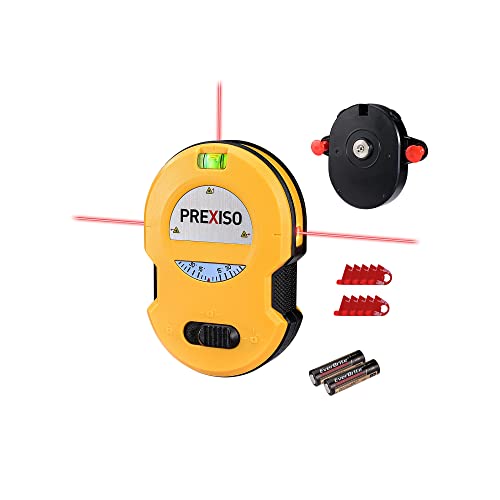
NOTE: This product is not a stud finder or a magnetic nail finder
Skill Level & Time Estimate
Editor’s Choice

Go Hang It! Pro, All-in-One Picture Hanging Kit – Picture Leveling and H…

Yaetm 16×20 Picture Frame Matted to 11×14 Set of 4, Natural Solid Oak Wo…

Picture Hanging System Click Rail Kits,in one Set Included Two of White …
Step 1: Select Your Artwork
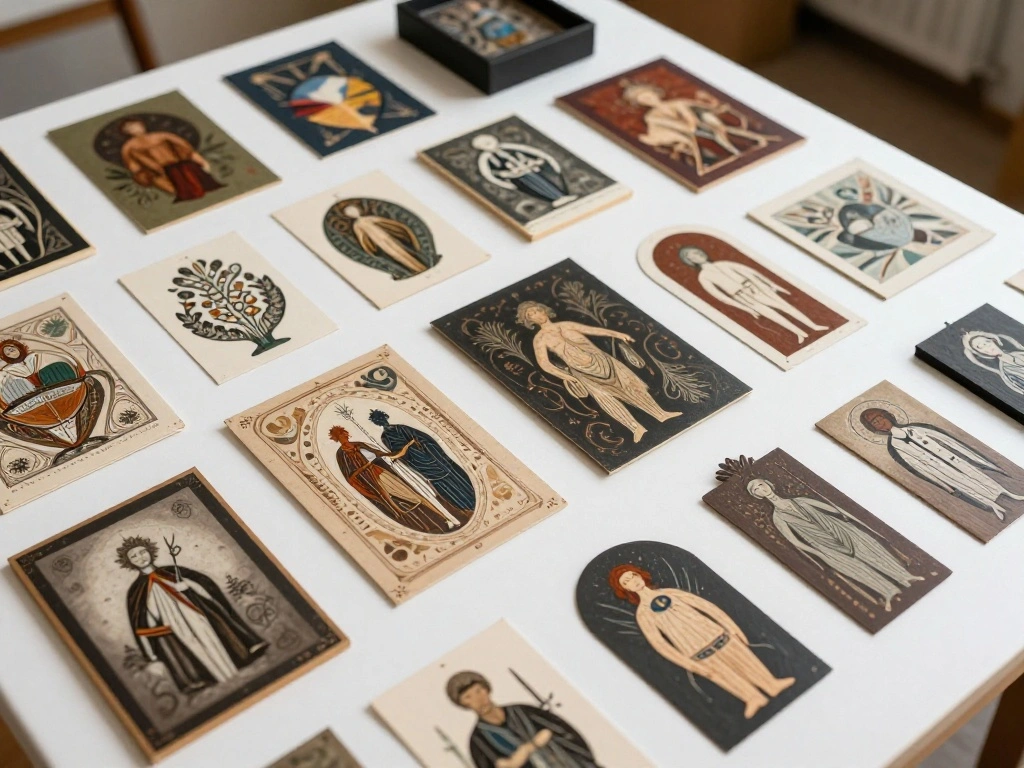
Begin by selecting the artwork you want to display. Choose pieces that resonate with you, whether they are personal photos, motivational quotes, or art that inspires creativity. Follow these steps:
- Gather potential pieces from your collection or shop for new ones.
- Consider a mix of sizes and styles for visual interest.
- Limit your selection to 5-10 pieces for a cohesive look.
Pro Tip: Consider your color scheme and choose artwork that complements your office decor. Warning: Don’t overcrowd your wall; less is often more for a sophisticated look. This step should take about 30 minutes.
Recommended Products

[Capture Your Memories] 12-Pack 4x6 inches photo frames let you display the memories you cherish most; enjoy the faces of your children, good times with friends, and family get-togethers

Multi-size: 10pcs picture frames set come with TWO black frames 8x10in, FOUR gray frames 5x7in and FOUR wood grain brown frames 4x6in. Just remember to peel off the protective film on both sides of the plexiglass.

Special Design: Opening size is 3.5x5.5 inches for 4x6 photos. The opening size is 0.5 inches smaller than the size of the photo to better fix the photo and prevent it from slipping out
Step 1: Select Your Artwork
Editor’s Choice

Maya Angelou Quotes Wall Art for Office Home Positive Inspirational DICT…
Vintage Gold Framed Ophelia Wall Art, Romantic Victorian Gothic Oil Pain…
Family Picture Frame, Best Friend Picture Frame Gifts for Best Friend Wo…
Step 2: Measure Your Wall Space
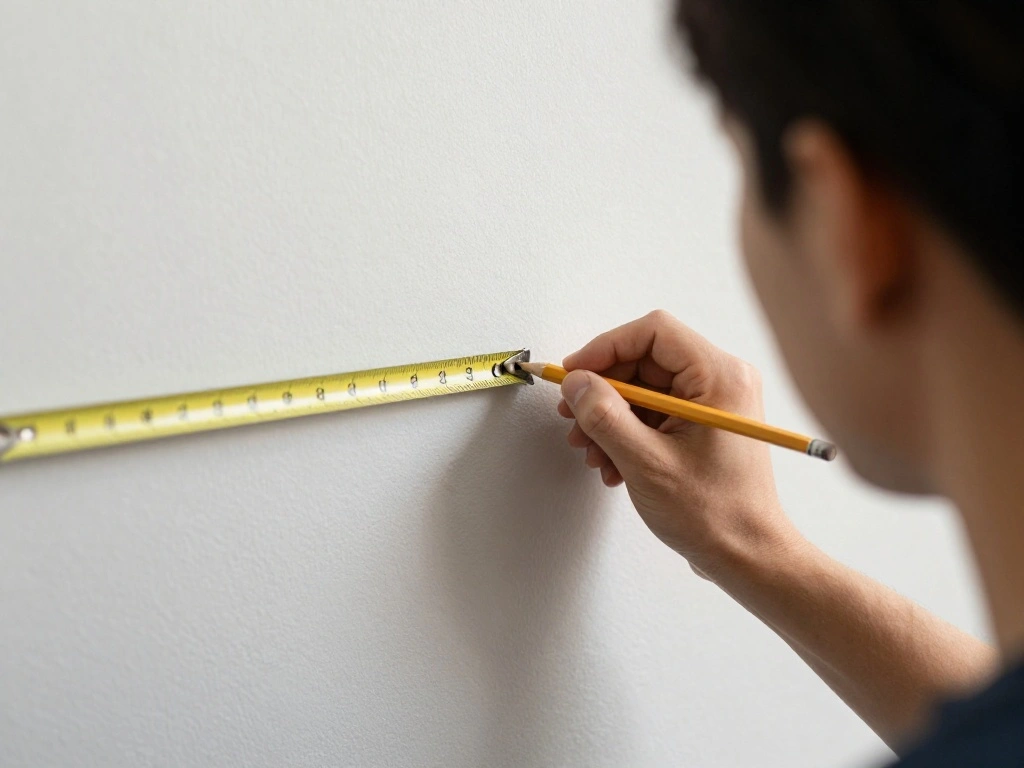
Next, measure the wall space where you intend to create your gallery. Accurate measurements will guide your layout and help ensure everything fits well. Follow these steps:
- Use a measuring tape to determine the width and height of your wall.
- Mark the center point of the wall with a pencil.
- Decide how much space you want between each piece of art.
Pro Tip: Aim for 2-4 inches between frames for a cohesive look. Warning: Double-check your measurements to avoid mistakes when hanging. This step should take around 20 minutes.
Recommended Products

Perfect Picture Hanging Kits: 310Pcs Accessories Including Wire, Hooks, Nails, etc. In A Hardware Box

INCLUDES- 3 metallic gray hangers, 6 large strips, 6 stabilizer pairs; 1 hanger holds 5 lbs
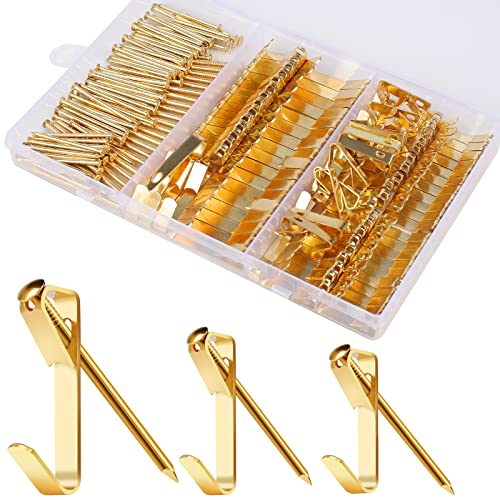
Great Assortment: You will receive 90 sets of picture hanging hardware, including 20 sets of 50LB hooks,50 sets of 30LB hooks, and 20 sets of 20LB hooks with 94 nails, With different 3 sizes of professional hanging kits very convenient.
Step 2: Measure Your Wall Space
Editor’s Choice

Motovera Self Leveling Laser Level 100ft, Green Cross Line with Tripod, …

Digital Caliper, Esydon Upgraded Calipers 6 inch, Measuring Tool, Electr…

Step 3: Plan Your Layout
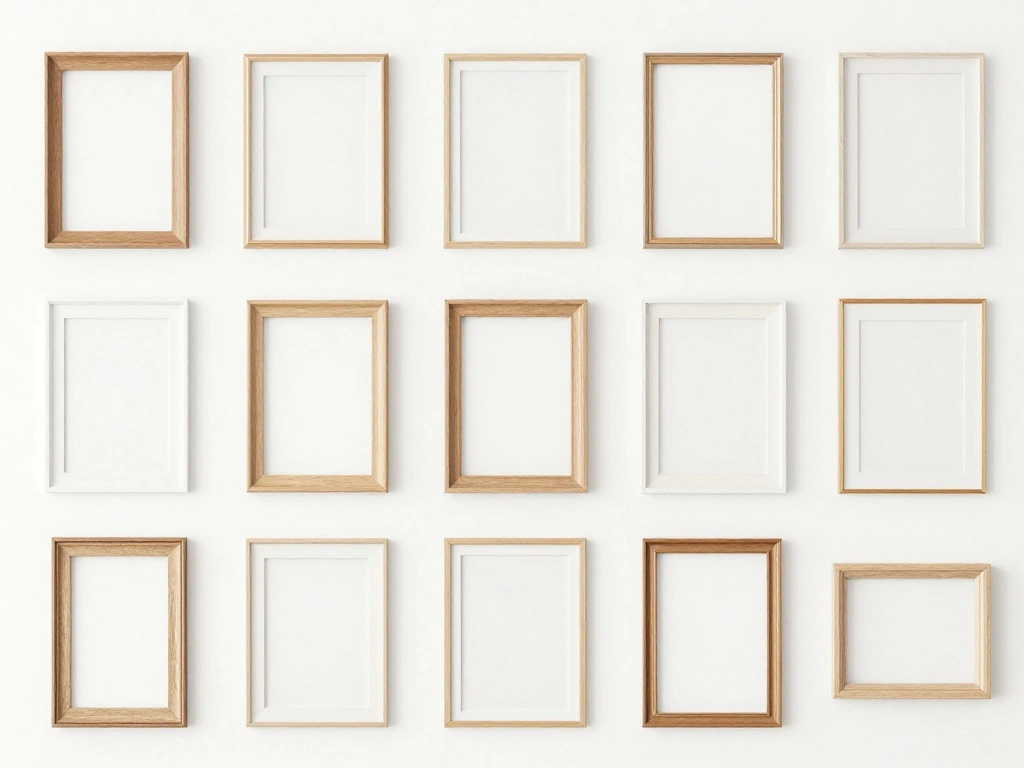
Before you start hanging artwork, plan how it will be arranged on the wall. This helps visualize the final look and ensures balance. Follow these steps:
- Lay the frames on the floor to experiment with different arrangements.
- Use a gallery wall template if available, or sketch your ideas on paper.
- Consider a symmetrical or asymmetrical layout based on your style preference.
Pro Tip: Take a photo of your layout for reference when you start hanging. Warning: Avoid placing all heavy frames on one side; balance the weight for stability. This step should take about 30 minutes.
Recommended Products

Complete Wall Art Set: this set includes 4 gold picture frames with 4 flat glass wall vases, and mounting hardware; It provides an ideal solution for creating a cohesive gallery wall, combining plant frames wall decor with functional glass wall vases for plants in one package

Versatile Sizes for Display: Vittanly 15-Pack Multi-Size Picture Frame Set includes 3x 8x10", 6x 5x7", and 6x 4x6" frames. Perfect for showcasing family photos, artwork in living rooms, bedrooms, and offices

The size of the map itself is 26 inches x 40 inches; professionally mounted on foamboard. Finished size (outside dimensions of the framed piece) is 29.5 inches x 43.5 inches. An instant conversation starter, our vintage travel map will feel right at home in a wide variety of home decors.
Step 3: Plan Your Layout
Editor’s Choice

Light-Dusty Blue Beige-Champagne Women Birthday-Decorations – 21pcs Boho…

ANERZA 16 PCS Framed Black Girl Wall Art Decor, African American Wall Pr…

Cindeer 6 Pcs Modern Minimalist Wall Decor Abstract Woman Wall Art Singl…
Step 4: Mark Placement on the Wall
Now that you have a layout plan, it’s time to mark where each piece will go on the wall. This step is crucial for accurate hanging. Follow these steps:
- Using your pencil, lightly mark the top of each frame’s position based on your layout.
- Use a level to ensure each mark is straight.
- Indicate where nails or hooks will go for each piece.
Pro Tip: If using hooks, mark where the hook will go, not just the frame’s top. Warning: Avoid making deep marks that could damage the wall. This step should take about 20 minutes.
Recommended Products

Get your gallery wall up effortlessly with Mr. Pen picture hanging kit, featuring 20 D-ring picture hangers, 20 screws, and 20 aluminum sleeves. This all-inclusive kit provides all you need to hang your art securely.
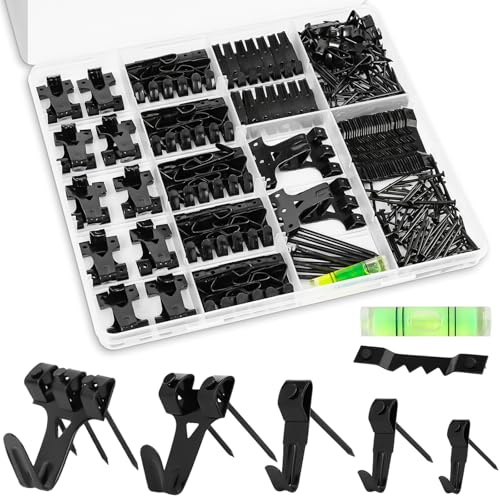
EFFORTLESS ORGANIZATION: Our 385pcs Heavy Duty Picture Hanging Kit boasts an exceptional design with categorized compartments, saving you precious time that would otherwise be spent searching for the right hardware. Plus, when you're done using it, everything neatly tucks away, eliminating any post-project mess. Can replace picture hanging strips.

Wide Assortment: 220-piece picture hanging kit includes 24 sets of 10lb picture hangers, 14 sets of 30lb picture hangers, 4 sets of 50lb picture hangers, 3 sets of 100lb picture hangers, 2 sets of 80lb, and 2 sets of 120lb picture hangers, 8 sets of D-rings, steel wire, screw eye hooks, and sawtooth hangers
Step 4: Mark Placement on the Wall
Editor’s Choice

Pica-Dry Longlife Automatic Pencil 3030
Motovera Self Leveling Laser Level 100ft, Green Cross Line with Tripod, …

PHS Anti Theft Picture Hangers – Bulk Pack – 25 Pack Security Frame Lock…
Step 5: Hang the Artwork
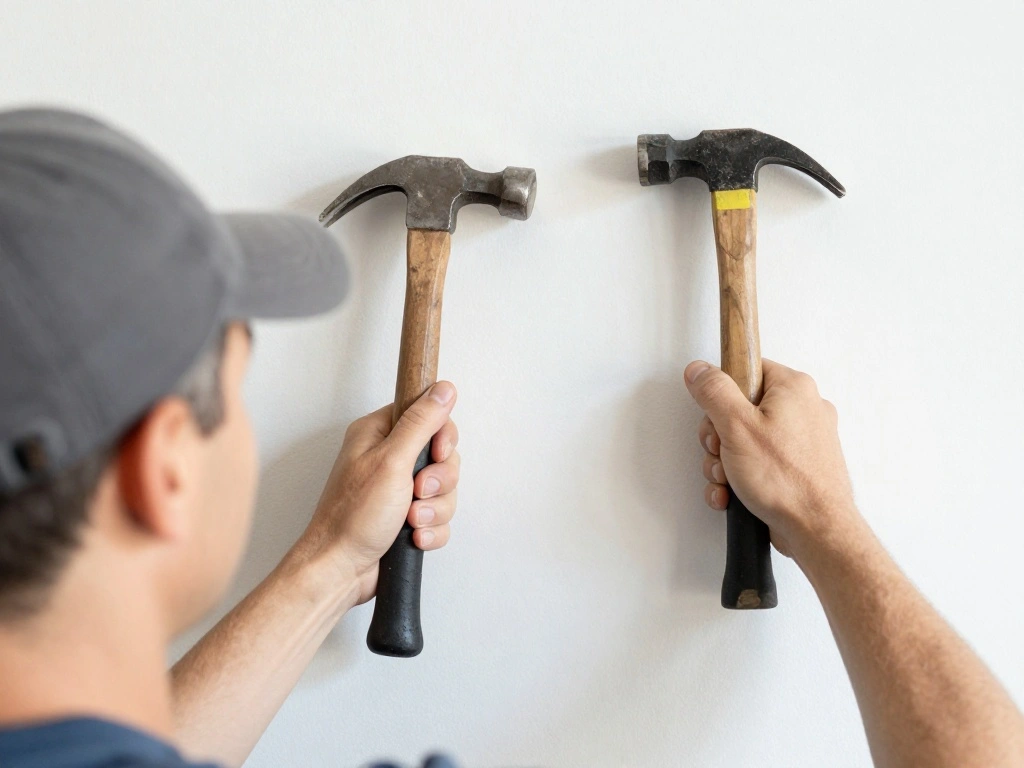
It’s time to hang your artwork! Follow your markings carefully to achieve a professional look. Follow these steps:
- Starting from the center piece, hammer in the nails or install hooks based on your markings.
- Hang each frame, checking with a level to ensure they are straight.
- Continue hanging pieces outward from the center to maintain balance.
Pro Tip: Use two hooks for larger frames to distribute weight evenly. Warning: Ensure the nails are securely in the wall before hanging to avoid falls. This step should take about 1 hour.
Recommended Products

【MULTIFUNCTION LASER LEVEL】Laser level tool cool gadgets for men Works For Indoor Designed for any situation where accurate measurements are needed, such as hang shelves, cabinets, tiles and picture frames with accuracy. All The Job That Requires A Straight Line Or Accurate Measurement.

Laser level tool comes with two bubble vials with backlights for visibility

Bright Green Laser Beam: The lase level has a bright cross-line green laser that is easily projected at a wide Angle of 110°, which can assist your leveling work.
Step 5: Hang the Artwork
Editor’s Choice

125 Pcs Heavy Duty Picture Hanging Kit With Nails for Wooden/Drywall – P…
Motovera Self Leveling Laser Level 100ft, Green Cross Line with Tripod, …
KURUI 303Pcs Picture Hanging Kit, Picture Hangers Assorted Kit with Heav…
Step 6: Step Back and Evaluate

Once all pieces are hung, take a step back to evaluate your gallery wall. This ensures everything looks balanced and appealing. Follow these steps:
- Stand at a distance to view the entire wall.
- Check for uneven spacing or misaligned frames.
- Make any necessary adjustments by repositioning frames if needed.
Pro Tip: Ask a friend for feedback; a fresh pair of eyes can catch details you may overlook. Warning: Avoid making excessive adjustments that could damage the wall. This step should take about 20 minutes.
Recommended Products

Rustic Wood and Tempered Glass - The 11x14 picture frames made of durable MDF wood compared to other flimsy PS or plastics frames. we use tempered glass is an exceptional alternative to plexiglass, eliminating the inconveniences of bending, reflection, fragility, and susceptibility to scratches. Its edges are meticulously polished, ensuring your safety and shielding you from the harm caused by sharp glass edges

Quality Material & Real Glass: YESKAY 4x6 collage picture frame is made of durable wood, with high-definition tempered glass, handmade simple, and practical, to protect your photos from dust, moisture, and scratches years and years

TRIPLE PHOTO DISPLAY – Insert your favorite images in the side:by:side openings on this three:picture frame to create an instant collage.
Step 6: Step Back and Evaluate
Editor’s Choice
ANERZA 16 PCS Framed Black Girl Wall Art Decor, African American Wall Pr…
Vintage Gold Framed Ophelia Wall Art, Romantic Victorian Gothic Oil Pain…
Step 7: Add Decorative Touches
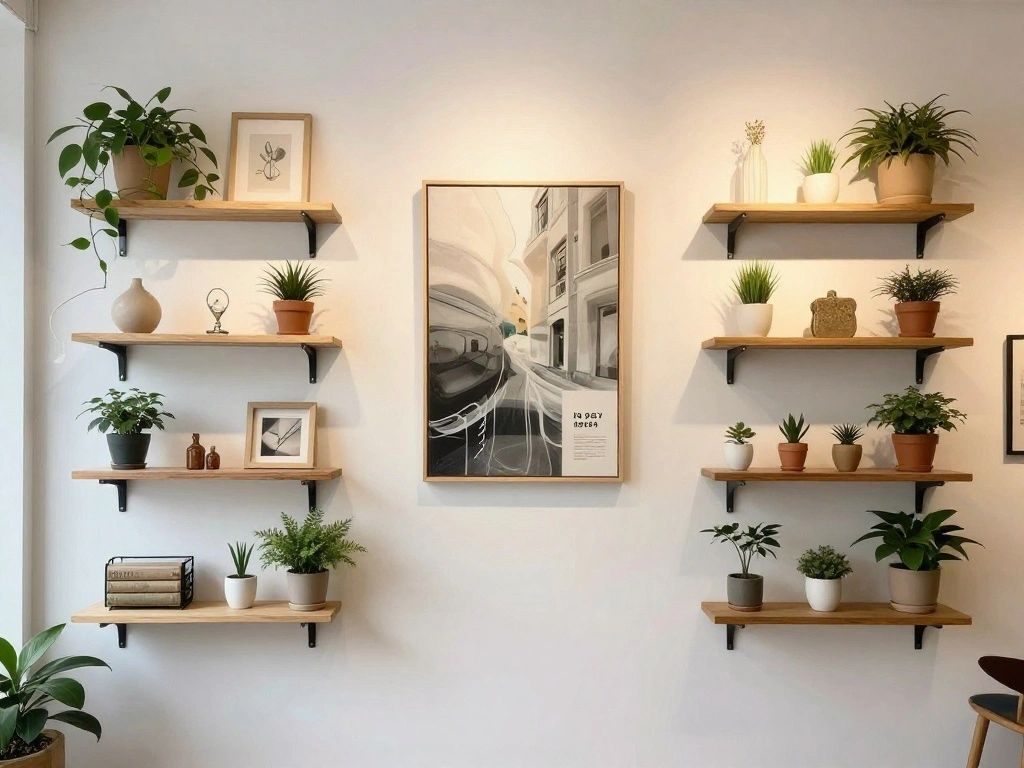
Enhance your gallery wall with decorative touches that complement your artwork. This adds personality and flair to your office. Follow these steps:
- Consider adding small shelves to display plants or decorative items.
- Incorporate lighting, like picture lights or string lights, to highlight your art.
- Add personal touches, like a small clock or inspirational quotes in frames.
Pro Tip: Use plants for a pop of color and vibrancy. Warning: Avoid overcrowding; each piece should have room to breathe. This step should take about 30 minutes.
Recommended Products

HOLDS UP TO 4 POUNDS: One package of the white Command Sawtooth Picture Hangers includes four picture frame hangers and eight large Command Strips; one adhesive picture hanger holds up to 4 lbs

HOLDS UP TO 8 POUNDS: One package of the Command Universal Frame Hangers includes three metal hangers and eight large Command Strips; one adhesive picture frame hanger holds up to 8 lbs

WHAT'S INCLUDED: You will receive 214 sets of picture hanging hardware, including 20 sets of 10lb picture hangers, 30 sets of 20lb picture hangers, 40 sets of 30lb picture hangers, 15 sets of 50lb picture hangers, 2 sets of 100lb picture hangers, 107 nails, and 1 mini gradienter. It's useful for different type of picture frames and the balance of picture frame.
Step 7: Add Decorative Touches
Editor’s Choice

Inspirational Wall Art for Bedroom, Motivational Office Wall Art Decor, …

Picture Light Battery Rechargeable, 3Pack Picture Light for Wall with Re…

YGYQZ Adjustable PVC Desktop Organizer Storage Rack – Black Desk Shelf f…
Step 8: Maintain Your Gallery Wall

Once your gallery wall is complete, maintain it to keep it looking fresh and inviting. Follow these steps:
- Regularly dust frames and artwork to prevent buildup.
- Change out artwork seasonally or when you find new pieces.
- Check hooks and nails periodically to ensure they are secure.
Pro Tip: Consider a rotating selection of art to keep the space dynamic. Warning: Avoid placing artwork in direct sunlight to prevent fading. This step should take about 15 minutes monthly.
Step 8: Maintain Your Gallery Wall
Editor’s Choice

184 Pieces Picture Hanging Kit, 20lb, 30lb, and 50lb Picture Hangers, Me…

17pcs Car Cleaning Kit, Pink Car Interior Detailing Kit with High Power …
ANERZA 16 PCS Framed Black Girl Wall Art Decor, African American Wall Pr…
Step 9: Gather Feedback
After your gallery wall is complete, gather feedback from family, friends, or coworkers. This helps you see your space from different perspectives. Follow these steps:
- Invite friends over to see your new setup.
- Ask for their thoughts on the arrangement and pieces.
- Take notes on any suggestions for improvement.
Pro Tip: Use feedback to inspire future art selections or adjustments. Warning: Don’t take criticism personally; it’s an opportunity for growth. This step should take about 20 minutes.
Step 9: Gather Feedback
Editor’s Choice

3 Pcs Elegant Woman Body Art Unframed Print Posters Wall Decor, Stylish …

Forever Friends Picture Photo Frame, Unique and Cute Picture Frame, Frie…

GAVVENN “Sit Like a Lady Framed Wall Art, Vintage Feminist Quote Art Pri…
Step 10: Enjoy Your New Space
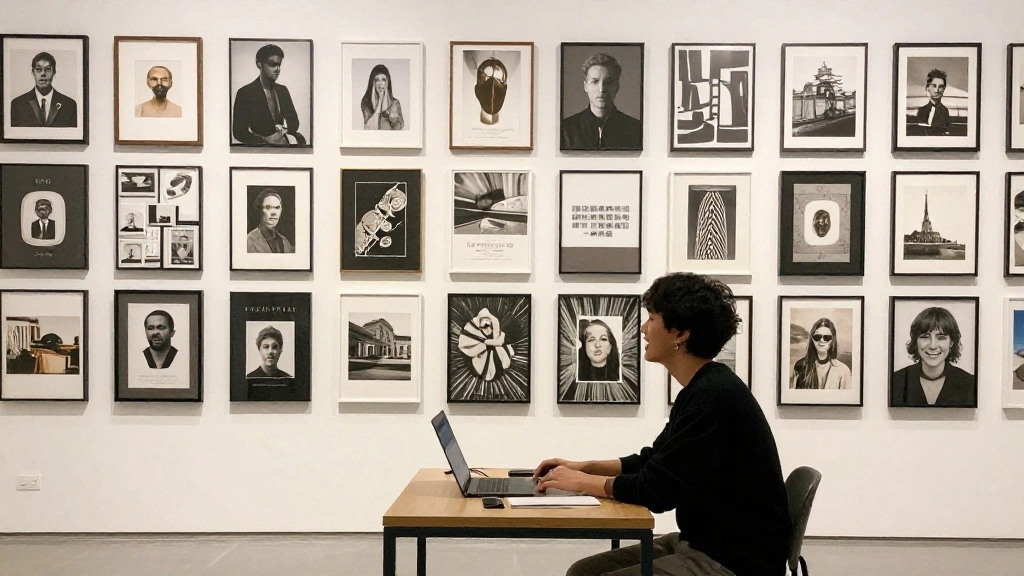
Finally, take a moment to enjoy your newly created gallery wall. Appreciate the hard work you’ve put into beautifying your home office. Follow these steps:
- Sit at your desk and observe how the wall enhances your workspace.
- Use the inspiration from your gallery wall as motivation during your work hours.
- Share your creation on social media or with friends for extra enjoyment!
Pro Tip: Create a workspace that inspires you daily. Warning: Don’t neglect your space; keep it organized and refreshed. This final step should take about 10 minutes.
Step 10: Enjoy Your New Space
Editor’s Choice

Outus 9 Pcs Inspiration Wall Decor for Women, Pink and Gold Makeup Lash …

GEMTEND 2026 Graduation Gift for Her Him, Behind You, All Your Memories-…

GRAPMKTG Home Decor Pulp Reading Women Thinker Statue Aesthetic Sculptur…
Pro Tips
- Tip 1: Color Coordination: Choose frames and artwork that complement your existing decor for a cohesive look.
- Tip 2: Layering: Layer smaller pieces in front of larger ones on shelves for added depth.
- Tip 3: Seasonal Updates: Change your artwork or decor with the seasons to keep the space fresh.
- Tip 4: DIY Artwork: Create your own art to personalize your gallery wall even more.
- Tip 5: Use Removable Hooks: For renters, removable hooks can prevent wall damage and allow easy repositioning.
Pro Tips
Editor’s Choice

Wiooffen 14Pcs Women in History Posters Classroom Decor: Motivational Qu…

Hula Home Stained Glass Mandala Art Kit – DIY Window Clings with Markers…
ANERZA 16 PCS Framed Black Girl Wall Art Decor, African American Wall Pr…
Common Mistakes to Avoid
Warning:
Common Mistakes to Avoid
Editor’s Choice

Zauly Best Friends Wood Picture Frame, Friendship Gifts for Women Men, F…
Pink Power 25ft Pink Tape Measure – Measuring Tape for Women’s Tool Kit …

3 Piece Inspirational Canvas Wall Art, Quotes Motivational Mindset Print…
Troubleshooting Section
Problem: Artwork looks uneven.
Solution: Adjust the frames by repositioning them as necessary, using a level for accuracy.
Problem: Wall damage from nails.
Solution: Use spackling paste to fill holes, or try removable hooks to avoid damage.
Problem: Artwork fades over time.
Solution: Use UV-protective glass or avoid direct sunlight on your artwork.
Troubleshooting Section
Editor’s Choice

Kate and Laurel Blake Woman Floating Framed Printed Glass Wall Art by Am…

Variations/Alternative Methods
Consider different styles for your gallery wall:
- Grid Layout: Perfect for a modern look; all pieces are evenly spaced and aligned.
- Salon Style: Mix various sizes and orientations for an eclectic vibe.
- Floating Shelves: Instead of hanging art, use shelves to display framed pieces and decorative items.
Variations/Alternative Methods
Editor’s Choice

BAYKA Pink Floating Shelves for Wall Set of 3, 15.7in Wood Wall Shelves …
Cindeer 6 Pcs Modern Minimalist Wall Decor Abstract Woman Wall Art Singl…
Family Picture Frame, Best Friend Picture Frame Gifts for Best Friend Wo…
FAQs
- What if I don’t have enough artwork? Consider printing quotes or using free online resources for printable art.
- How long should I wait to rearrange my gallery wall? Give it a few months, then refresh if you feel inspired.
- Is it safe to hang heavy frames? Use appropriate wall anchors for heavier pieces to ensure safety.
FAQs
Editor’s Choice
Vintage Gold Framed Ophelia Wall Art, Romantic Victorian Gothic Oil Pain…
ANERZA 16 PCS Framed Black Girl Wall Art Decor, African American Wall Pr…
Conclusion
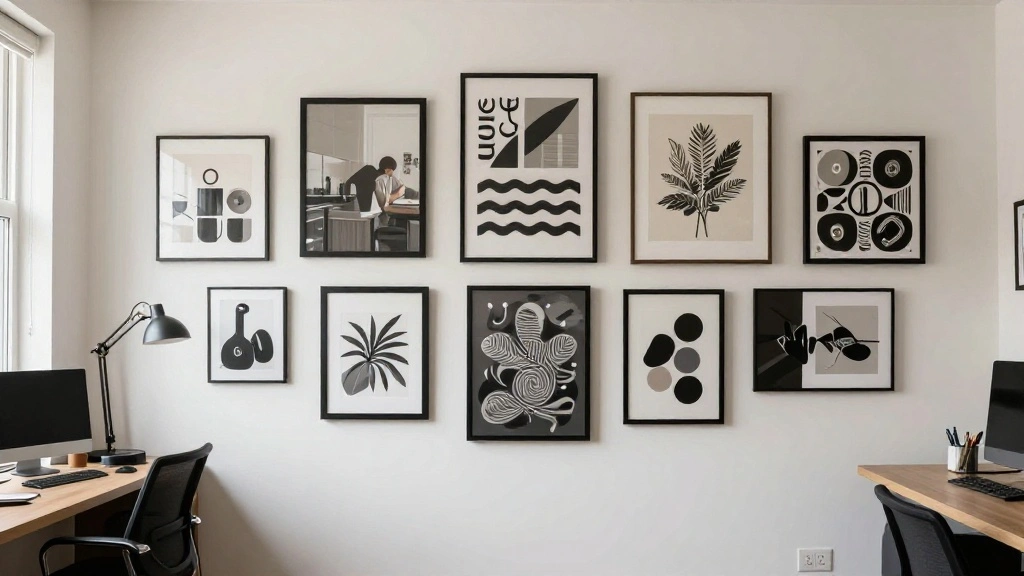
Congratulations! You’ve transformed your home office with a functional and beautiful gallery wall. Take pride in your creative space, and enjoy the motivation it brings to your work.
Consider sharing your gallery wall with friends or on social media to inspire others. Keep exploring new art and decor that speaks to you; your workspace should evolve with you!