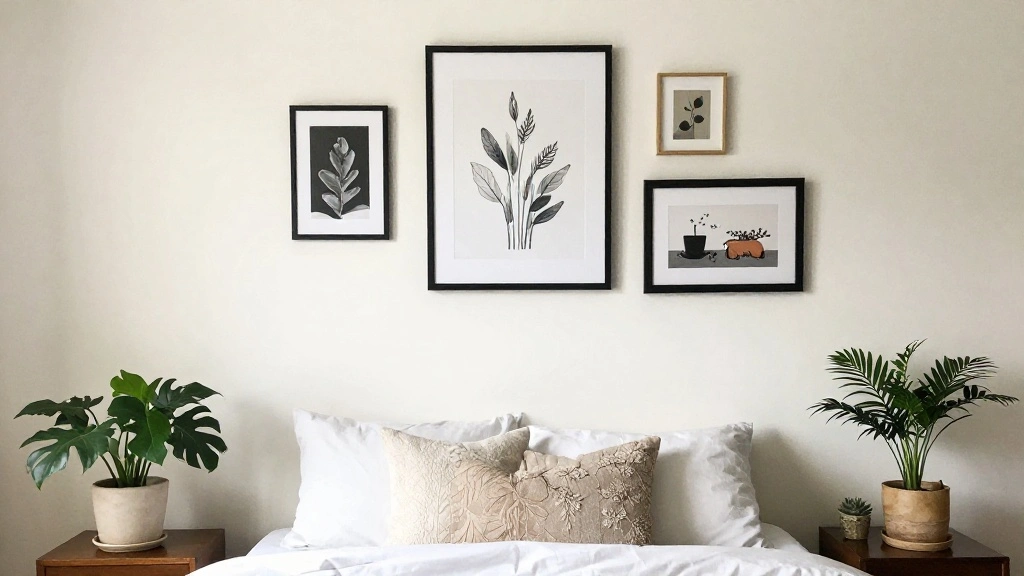
Are you staring at a blank wall above your bed and feeling uninspired? This often-overlooked space can completely transform the feel of your bedroom, yet many people leave it bare and uninviting. If you’re looking for a way to elevate your space, the wall above your bed is the perfect canvas for your creativity. In this guide, you will learn how to style this area effectively and confidently.
By following these simple steps, you’ll be able to create a stunning focal point that reflects your personality and enhances your room’s vibe. You’ll explore various design ideas, including artwork arrangements, shelving, and more. Difficulty Level: beginner
Estimated Time: 2-3 hours
Whether you prefer a minimalist look or something more eclectic, there are rules to guide you, and we’ll also cover when it’s okay to break those rules. Let’s dive in and make that wall a masterpiece!
TL;DR Summary
- Transform your blank wall into a stunning focal point.
- Learn design rules and when to creatively break them.
- Follow a step-by-step guide tailored for beginners.
- Complete your project in 2-3 hours.
TL;DR Summary
Editor’s Choice

Inspirational Women Empowerment Gifts Throw Pillow Covers 18×18, She is …
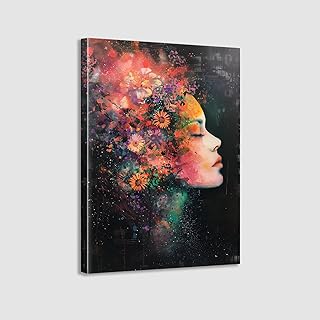
Framed Canvas Wall Art Beautiful Woman With Colorful Flowers, White Flow…

Besties Gifts Picture Frames Collage Hanging for Teen Girl, Hanging Phot…
Prerequisites/Materials Needed
- Art pieces (paintings, prints, or photographs) – 2-5 pieces depending on your layout
- Picture frames – matching or contrasting styles
- Wall shelves (optional) – 1-2 depending on space
- Wall hooks or nails – as needed
- Measuring tape – for accurate placement
- Level – to ensure alignment of frames
- Hammer or drill – for hanging items
- Artist’s tape or painter’s tape – for layout planning
Prerequisites/Materials Needed
Editor’s Choice

Outus 9 Pcs Inspiration Wall Decor for Women, Pink and Gold Makeup Lash …

Forever Friends Picture Photo Frame, Unique and Cute Picture Frame, Frie…

BAYKA Pink Floating Shelves for Wall Set of 3, 15.7in Wood Wall Shelves …
Skill Level & Time Estimate
Skill Level: beginner
Total Time Estimate: 2-3 hours
Breakdown:
– Planning and design layout: 30 minutes
– Gathering materials: 30 minutes
– Hanging and arranging: 1-2 hours
Skill Level & Time Estimate
Editor’s Choice

upsimples 19 Pack Picture Frames Collage Wall Decor for Mounting or Tabl…

Framed Colorful Floral Wall Art Set of 3, Abstract Scandinavian Flower C…

BAYKA Floating Shelves for Wall, Wall Mounted Rustic Wood Shelves for Ba…
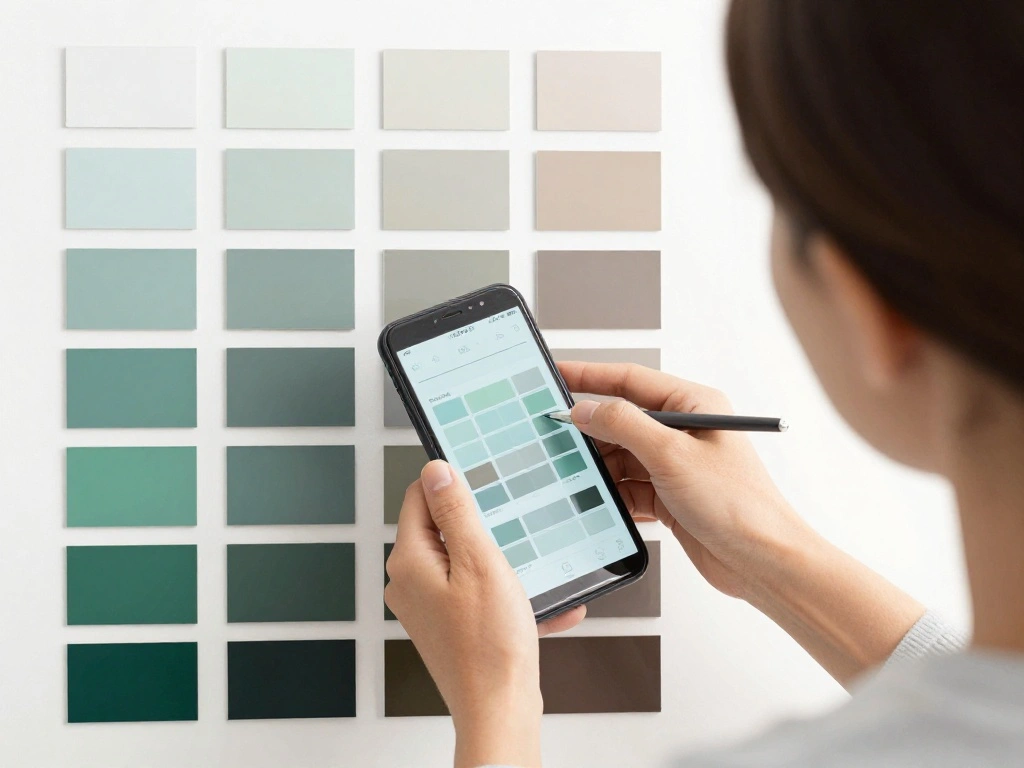
Step 1: Plan Your Design Layout
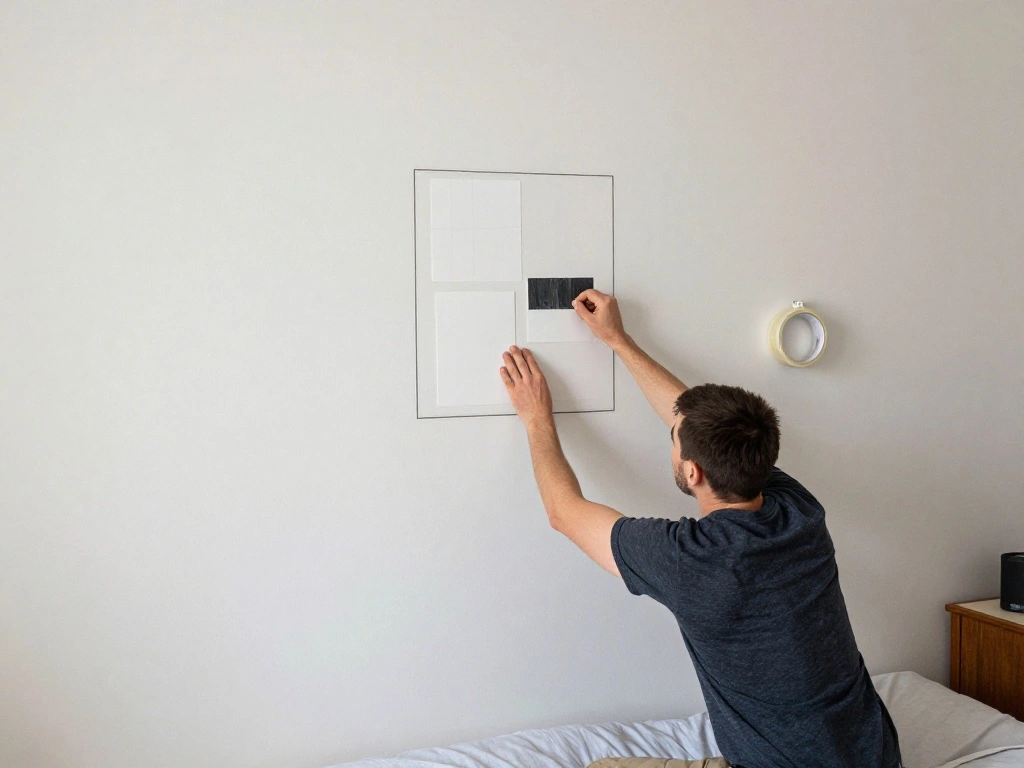
Start by planning your design layout. Take a moment to visualize how you want the wall to look. Why this matters: Having a clear plan helps avoid mistakes during installation.
1. Measure the wall space to determine dimensions.
2. Sketch a layout on paper or use painter’s tape on the wall to outline where each piece will go.
3. Consider balance and symmetry for a cohesive look.
Pro Tip: If you’re using multiple art pieces, lay them out on the floor first to see how they look together before committing to the wall.
Time estimate: 30 minutes
Step 1: Plan Your Design Layout
Editor’s Choice
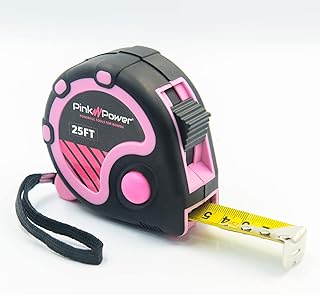
Pink Power 25ft Pink Tape Measure – Measuring Tape for Women’s Tool Kit …

Inspirational Wall Art for Bedroom, Motivational Office Wall Art Decor, …

Peryiter 3 Pcs Modern Minimalist Wall Decor Abstract Metal Wall Art Meta…
Step 2: Choose Your Art Pieces
Select art pieces that resonate with you. This is your opportunity to showcase your personality and interests. Why this matters: The right art can add warmth and character to your space.
1. Choose 2-5 pieces that you love.
2. Vary the sizes for visual interest.
3. Consider color themes that match your existing decor.
Warning: Avoid overcrowding the wall; too many pieces can create visual chaos.
Time estimate: 30 minutes
Step 2: Choose Your Art Pieces
Editor’s Choice

PHS T-Screw Security Picture Hanger Wrench – 3-Pack T Lock Anti Theft Ha…

16 PCS Framed Eclectic Wall Art Decor, Mid Century Modern Maximalist Hom…
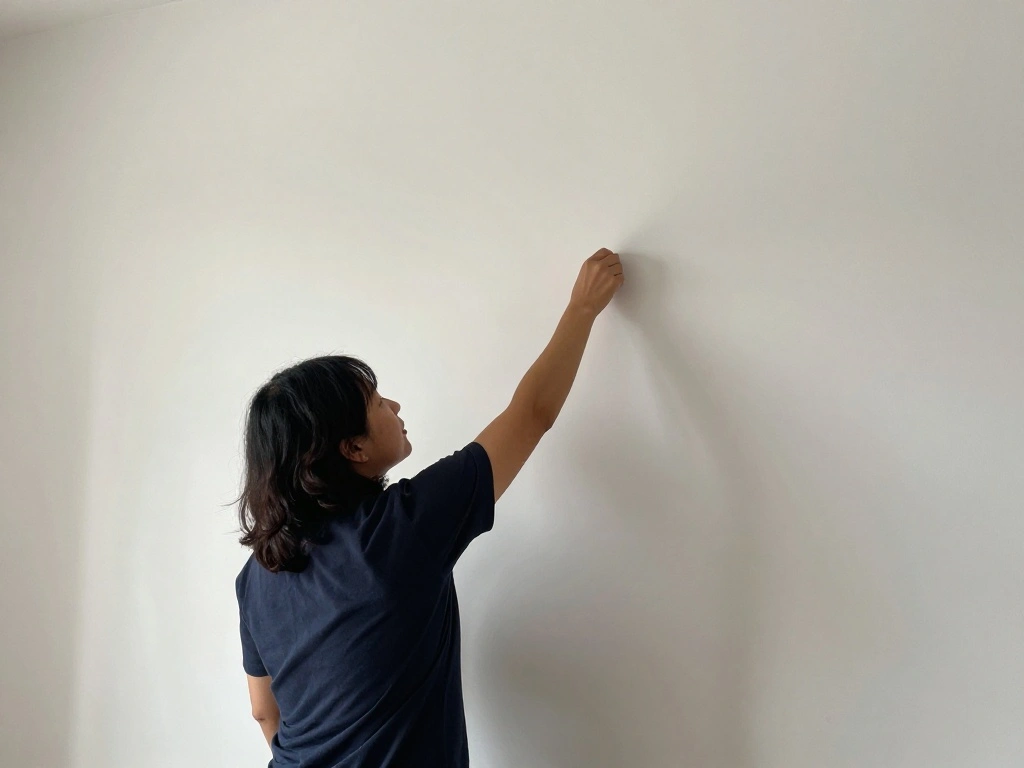
Step 3: Prepare the Wall Surface
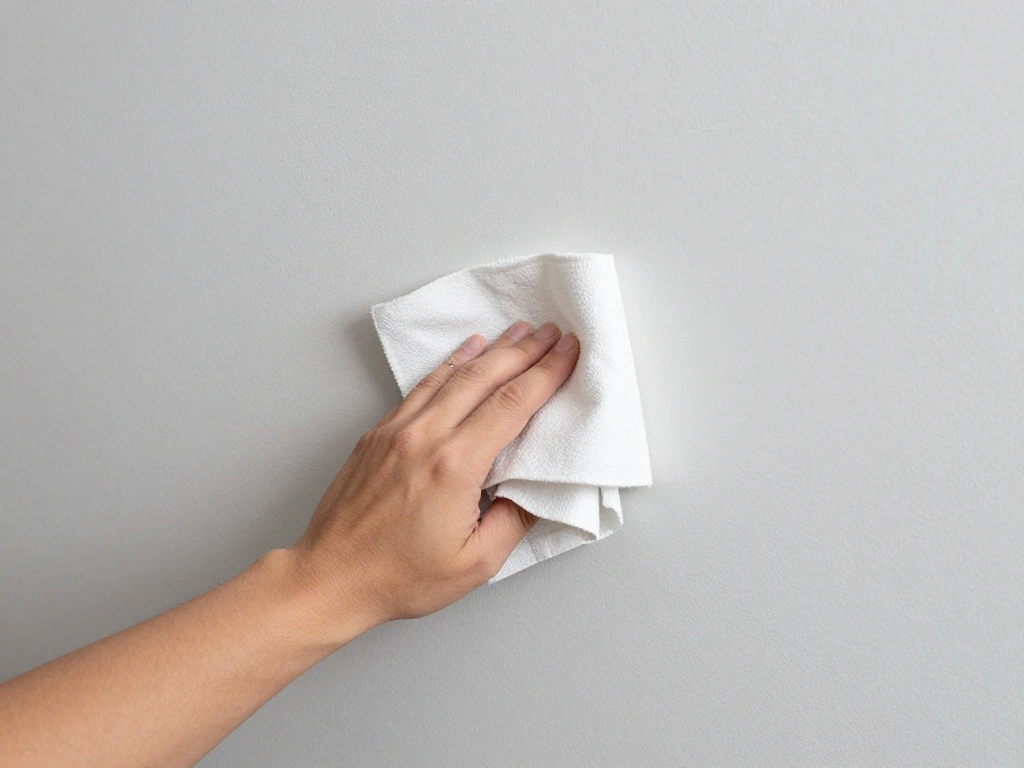
Before hanging any items, ensure that the wall is clean and ready. Why this matters: A clean surface ensures that hangings will stay secure.
1. Dust the wall with a cloth to remove debris.
2. If necessary, fill any holes or imperfections with spackle and sand it down.
3. Consider painting the wall if it’s looking dull.
Pro Tip: A fresh coat of paint can also serve as an excellent backdrop for your new decor.
Time estimate: 30-60 minutes
Step 3: Prepare the Wall Surface
Editor’s Choice

DAP DryDex Spackling Wall Repair Patch Kit, with Pink/White Dry Time Ind…

MOONQUEEN 12 Pack Microfiber Cleaning Cloth – Reusable Cleaning Rag, Fas…

10PCS Palette Knife, Stainless Steel Painting Knife Set, Flexible Spatul…
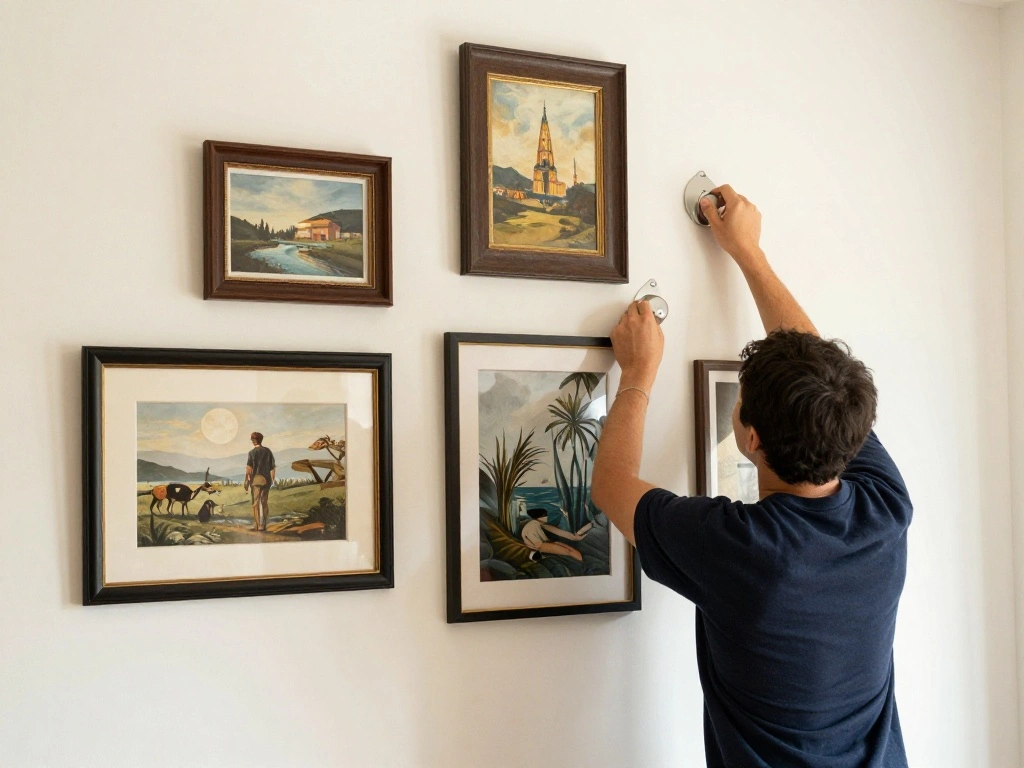
Step 4: Hang Your Art Pieces
Now it’s time to hang your chosen art pieces. Follow your layout plan closely. Why this matters: Proper placement ensures a balanced appearance.
1. Use a level to ensure each piece is straight.
2. Hammer nails or install wall hooks as needed based on the weight of each piece.
3. Hang the art and adjust as necessary.
Warning: Always check that your hangings are secure to prevent accidents.
Time estimate: 30-60 minutes
Step 4: Hang Your Art Pieces
Editor’s Choice

Sun Catcher Kits for Adults, 228pcs DIY Suncatcher Making Supplies Arts …


KURUI 700PCs Small Nails for Hanging Pictures & 8oz Small Hammer for Wom…
Step 5: Add Shelves (Optional)
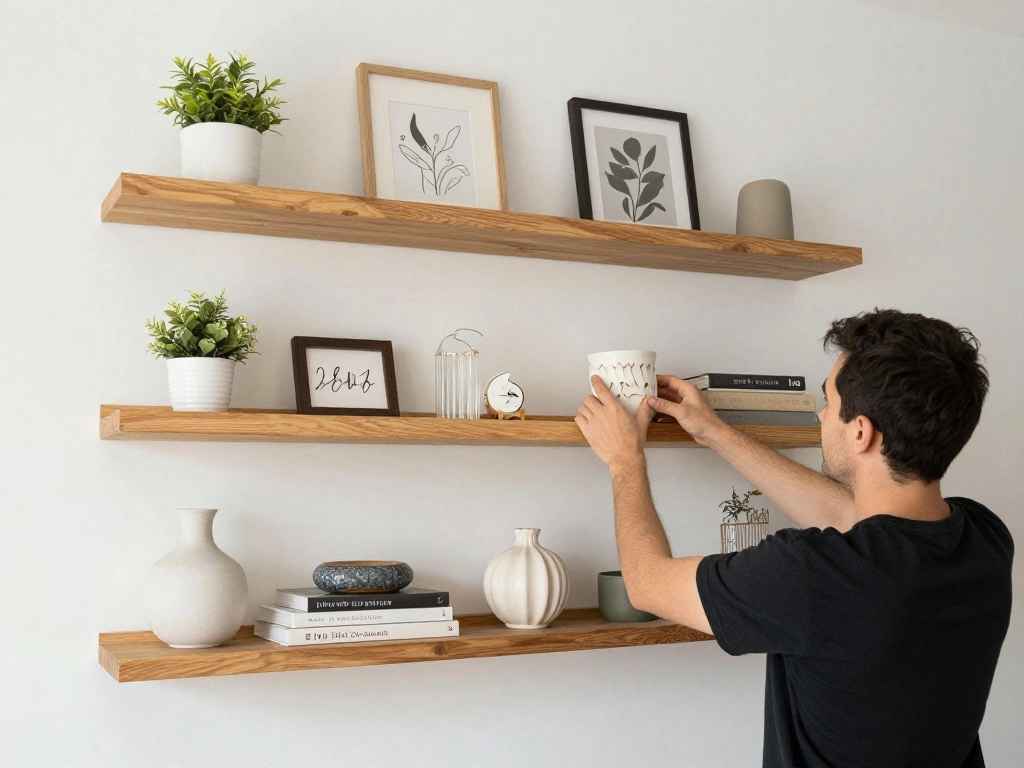
If desired, consider adding shelves for additional decor items. Why this matters: Shelves can provide depth and allow for more personalization.
1. Mark the positions for the shelves using a level.
2. Drill holes and secure brackets to the wall.
3. Place shelves and arrange decorative items like plants or books on them.
Pro Tip: Use varying heights for items on the shelves to create visual interest.
Time estimate: 30-60 minutes
Step 5: Add Shelves (Optional)
Editor’s Choice

Der Rose 1Pcs Fake Plants Hanging Artificial Potted Faux Eucalyptus Plan…

Step by Step Wedding Hairstyles: Best and Easy Step by Step Wedding Hair…
BAYKA Pink Floating Shelves for Wall Set of 3, 15.7in Wood Wall Shelves …
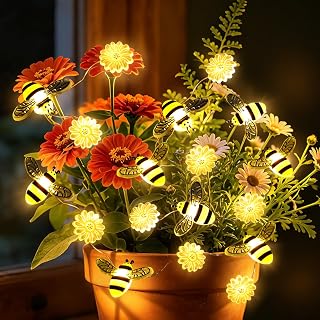
Step 6: Incorporate Lighting
Adding lighting can enhance the atmosphere of your newly styled wall. Why this matters: Proper lighting highlights your decor and creates a cozy environment.
1. Choose wall sconces or string lights to complement your design.
2. Install them at eye level for best effect.
3. Ensure they are functional and add to the overall theme of the space.
Warning: Avoid mixing too many types of lighting; stick to a cohesive style.
Time estimate: 30 minutes
Step 6: Incorporate Lighting
Editor’s Choice

Women Bedside Table Lamps for Bedroom, Cute Flower Desk Lamp With Adjust…
Coquimbo String Lights Decor, 10ft 30 LED Battery Operated String Fairy …

WOSHITU LED Wall Sconce Light: 19 Inch Black Modern Sconces Wall Lightin…
Step 7: Layer Textures
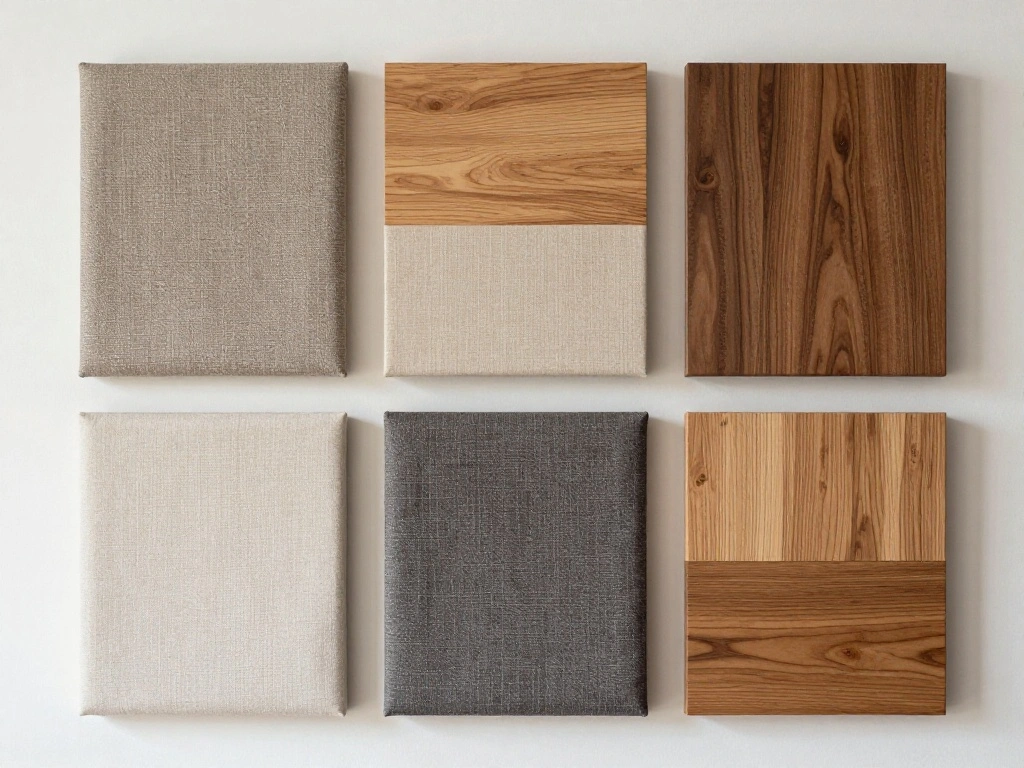
Introduce different textures to add depth to your wall. Why this matters: Textures create visual interest and make the space feel inviting.
1. Consider adding fabric elements like a tapestry or a woven wall hanging.
2. Mix materials like wood, metal, and fabric to enhance the aesthetic.
3. Place soft items like cushions or throws on the bed to complement the wall decor.
Pro Tip: Textured items can soften the overall look of the space.
Time estimate: 30 minutes
Step 7: Layer Textures
Editor’s Choice

Sunkifover Let’s Snuggle Decorative Lumbar Pillow Cover – 12×20 Inch Whi…

Tree of Life Macrame Wall Hanging Boho Dream Catcher Tapestry, Handmade …

Bedsure GentleSoft White Throw Blanket for Couch – Graduation Gifts Teac…
Step 8: Final Touches
After everything is placed, take a step back and assess your work. Why this matters: Final adjustments can make a significant difference in overall appeal.
1. Adjust any pieces that seem misaligned.
2. Add small items like candles or photos to the shelves for a personal touch.
3. Ensure everything feels balanced and cohesive.
Warning: Avoid overcrowding the wall; less is often more.
Time estimate: 30 minutes
Step 8: Final Touches
Editor’s Choice

Best Friend Picture Frame, Bff Gifts, Friendship Gifts For Women Friends…

A Cheerful Giver — Orange Cinnamon Clove – 34oz Papa Scented Candle Ja…
Framed Canvas Wall Art Beautiful Woman With Colorful Flowers, White Flow…
Step 9: Enjoy Your New Space
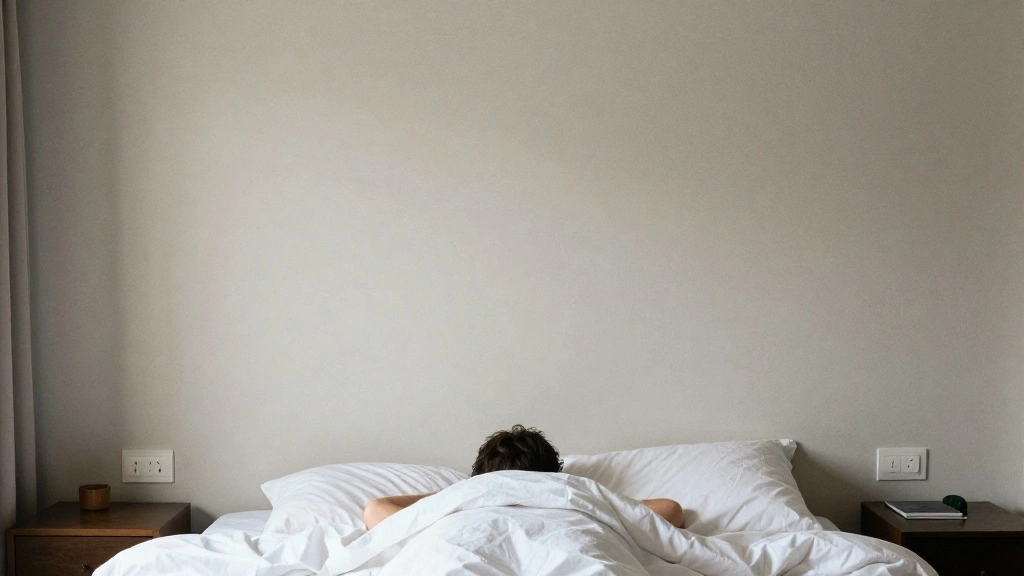
Take a moment to admire your newly decorated wall! Why this matters: Enjoying your space is the final reward for your hard work.
1. Sit or lie down on your bed and take in the entire room.
2. Reflect on how the space feels now and the ambiance you’ve created.
3. Share your achievement with family or friends!
Pro Tip: Consider changing the decor seasonally for a fresh look.
Time estimate: 15 minutes
Step 9: Enjoy Your New Space
Editor’s Choice

Pink Inspirational Decor Pray Over It Bible Verse Wall Art Christian Gif…

4Pcs Pink Pillow Covers, Fashion Woman Watercolor Perfume High Heels Lip…

JMEXSUSS USB Fairy Lights for Bedroom, 33ft 100 LED Twinkle Lights Plug …
Pro Tips
- Balance is Key: Ensure the weight of items on the wall is balanced visually to avoid clutter.
- Use Command Strips: For lighter pieces, use removable command strips to avoid wall damage.
- Mix Styles: Don’t shy away from mixing modern and vintage items for a unique look.
- Seasonal Decor: Change elements based on seasons to keep the space feeling fresh.
- Personal Touch: Include personal photographs or souvenirs for a more intimate feel.
Pro Tips
Editor’s Choice

Women/Wheelchair Restroom Sign by GDS – ADA Compliant, Wheelchair Access…

Her Vibe is Pretty Wall Decal Decor Vivid Butterflies Wall Sticker Inspi…

Dusty Rose Pink Throw Pillow Covers 12×20 Inch Set of 2 – Christian Gi…
Common Mistakes to Avoid
Warning: Hanging too high or too low can disrupt visual flow. Ensure your art is at eye level.
Warning: Overcrowding the wall with too many pieces can create chaos. Stick to a few key items.
Warning: Ignoring proportions can lead to a disjointed look. Consider the scale of your furniture relative to your art.
Warning: Not using a level may result in crooked art. Always check for straightness before securing pieces.
Warning: Forgetting to clean the wall before hanging can lead to peeling and damage. Always prepare the surface first.
Common Mistakes to Avoid
Editor’s Choice

Kathfly 4 Tie Pink Bow Corner Shelf Wall Mounted Pink Floating Wood Corn…

ANERZA 16 PCS Framed Black Girl Wall Art Decor, African American Wall Pr…
Outus 9 Pcs Inspiration Wall Decor for Women, Pink and Gold Makeup Lash …
Troubleshooting Section
Problem: Art pieces look crooked.
Solution: Use a level to adjust and ensure they’re straight.
Problem: Wall decor feels overwhelming.
Solution: Remove pieces until you find a balance that feels right.
Problem: Wall color clashes with decor.
Solution: Consider repainting or adding a complementary backdrop.
Problem: Items falling off the wall.
Solution: Use stronger hanging methods or check weight limits.
Problem: The overall look feels disjointed.
Solution: Reassess your color palette and item placement for cohesion.
Troubleshooting Section
Editor’s Choice

Laser Level, RockSeed Cross Line Laser with Self-Leveling, Vertical and …

Cindeer 6 Pcs Modern Minimalist Wall Decor Abstract Woman Wall Art Singl…
Framed Canvas Wall Art Beautiful Woman With Colorful Flowers, White Flow…
Variations/Alternative Methods
Gallery Wall: Instead of a single focal piece, create a gallery wall with varying-sized frames for a dynamic look.
Large Statement Piece: Opt for one large art piece that dominates the space for a bold effect.
Floating Shelves: Use floating shelves to display smaller art pieces or decor items for a modern feel.
Variations/Alternative Methods
Editor’s Choice
ANERZA 16 PCS Framed Black Girl Wall Art Decor, African American Wall Pr…
BAYKA Pink Floating Shelves for Wall Set of 3, 15.7in Wood Wall Shelves …
FAQs
What if I don’t have a large budget for art? Consider printing art from online sources or creating your own pieces.
How long should I wait before changing my decor? It’s up to you! Changing it seasonally can keep things fresh.
Is it safe to hang heavy pieces? Yes, just ensure you use appropriate wall anchors for heavy items.
How can I ensure my wall looks cohesive? Stick to a color palette and mix textures for a unified look.
Can I mix different styles of art? Absolutely! Mixing styles can create a more personalized and interesting display.
FAQs
Editor’s Choice

Floating Framed Floral Shower Wall Art, Vintage Botanical Flower Canvas …

180 Pcs 3 Sizes Self-Drilling Drywall Anchors with Screws Kit – Premium …
4Pcs Pink Pillow Covers, Fashion Woman Watercolor Perfume High Heels Lip…
Conclusion
Congratulations on styling the wall above your bed! You’ve not only enhanced your bedroom but also created a personal expression of your style.
As you step back to admire your work, think about how you can continue to evolve your space over time. Consider seasonal updates or adding new elements as your tastes change.
Feel free to explore related resources on interior design for more inspiration and ideas. Enjoy your beautiful new space!