
Are you struggling with clutter in your home office? A disorganized workspace can lead to decreased productivity and increased stress. Without proper storage solutions, essential tools and supplies can easily get lost amidst the chaos. Don’t let chaos rule your workspace any longer!
In this guide, you will learn how to hang a pegboard on your wall, creating a stylish and functional storage solution that not only organizes your office supplies but also adds a touch of personality to your space. You’ll accomplish a DIY project that enhances your workspace and makes it more inviting.
Specifically, you’ll learn how to gather your materials, select the right location for your pegboard, and securely mount it to the wall. This project is designed for beginners and should take around 2-3 hours to complete. Get ready to transform your home office into a tidy and inspiring environment!
TL;DR Summary
- Gather materials for your pegboard project.
- Choose a suitable wall location and mark the area.
- Drill holes and secure the pegboard to the wall.
- Add hooks and accessories to customize your storage.
Recommended Products

Package Including: each package includes 24 white pegboard hooks; Ensuring you have enough hooks to meet your storage needs; At a handy size of about 3.7 x 2.4 inch/9.5 x 6 cm, these pegboard hooks are appropriate for storage requirement.

【Transform Your Gaming Setup from Cluttered to Organized】The KDD RGB gaming desk organizer helps keep controllers, headsets, cables, phones, keys, and gaming accessories neatly organized in one place. Maximize vertical storage, free up valuable desk space, and create a cleaner, more professional gaming station for gaming, streaming, studying, or working

METAL NAILBOARD: Our peg board panels are made of high quality steel with a powder coated finish that is strong, scratch resistant and easy to clean. Each small pegboard has a weight capacity of up to 50 lbs. This is a favorite product for tool organizers, DIY enthusiasts, store owners and office workers.
TL;DR Summary
Editor’s Choice

SIAMESE Pegboard Hooks, 6 Pcs Colorful Pegboard Hooks, Fit 1/4″ or 1/5″ …


INCLY 278PCS Pegboard Accessories Organizer Kit, Peg Board Hooks Assortm…

G.CORE Pegboard Peg Hooks Accessories – 40 Set Pegs with Inserts and Scr…
Prerequisites/Materials Needed
- Pegboard: 2′ x 4′ sheet
- Wood screws: 1.25” screws (10-12 pieces)
- Wall anchors: (if mounting on drywall)
- Level: 1 piece
- Drill: 1 piece
- Stud finder: 1 piece
- Tape measure: 1 piece
- Pencil: 1 piece
- Hooks and accessories: various sizes
Recommended Products

More than 10 times stronger than conventional pegboard

High quality material, Strong construction- Our pegboard are upgraded with high quality ABS material, which is designed to be thicker and sturdier and not easy to break. The back of each Black pegboard features a sturdy skeleton strip to support the panel for better weight bearing. They hold a total of 200 lbs. when 4 are installed correctly. You can rest assured that your tools will be safe, reliable and rust-free for decades to come.

More than ten times stronger than conventional pegboard and 32in Tall x 16in
Prerequisites/Materials Needed
Editor’s Choice

Stud Finder Wall Scanner – 5 in 1 Stud Finder Tool w/Smart Chip and HD L…

KURUI Drywall Anchors Assortment Kit for Sheetrock Concrete Brick, 350Pc…

VOIMO Bamboo Pegboard Organizer Set, 6 Panels (16″x12″) with 48 Hooks ��…
Skill Level & Time Estimate
Skill Level: Beginner
Time Estimate: 2-3 hours
For this project, the estimated time can be broken down as follows: 30 minutes for gathering materials, 30 minutes for location selection and marking, 1 hour for installation, and 1 hour for organization and styling.
Recommended Products

COMPLETE KIT – Packed with 297 premium pieces, our peg board organizer accessories kit features 16 types of pegboard hooks including curved, angled, and straight hooks, along with 20 pegboard bins, a ring tool holder, a multi-tool rack, and peg locks to ensure secure, stable mounting for efficient garage organization

COMPLETE KIT – Packed with 260 premium pieces, our peg board organizer accessories kit features 17 types of pegboard hooks including curved, angled, and straight hooks, along with 12 pegboard bins, ring tool holder, multi-tool rack, stable mounting for efficient garage organization
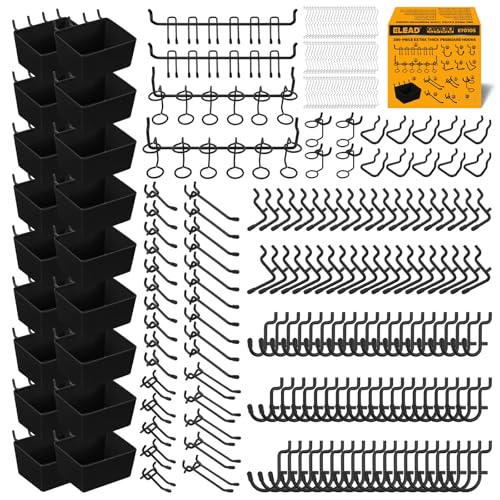
ULTIMATE VALUE PACK – A massive 286-piece bundle featuring 14 versatile hook types and 18 heavy-duty bins. Turn any pegboard wall into a fully equipped, clutter-free storage station—perfect for organizing tools, hardware, and small parts with ease.
Skill Level & Time Estimate
Editor’s Choice

300-Piece Pegboard Hook Set, Pegboard Organizer Accessories for Hanging,…

INCLY 30PCS Peg Board Organizer Accessories Kit, Pegboard Hooks Assortme…

Zinc Self-Drilling Drywall Anchors with Screws Kit, 25 Heavy Duty Metal …
Step 1: Gather Your Materials

Before you begin, it’s essential to gather all necessary materials and tools. This preparation will make your project smoother and more efficient. Here’s how to do it:
- Check your list of materials and ensure you have everything on hand.
- Organize your tools in one place for easy access.
- Consider additional accessories like bins or containers for smaller items.
Pro Tip: Having everything ready before starting will save you time and frustration during the installation process.
Why this matters: A well-prepared workspace sets the tone for a successful DIY project.
Time estimate: 30 minutes.
Recommended Products

FIVE ESSENTIAL SIZES FOR MULTIPLE PROJECTS: This dry wall anchors and screws kit comes with five of the most widely used sizes: #6 1", #7 1", #6 1-1/5", #8 1-3/5", and #8 2-2/5". It works for all types of hanging installation needs, and pairs great with a drywall repair kit, whether you’re mounting shelves, fixing curtain rods, or hanging bathroom living room wall decor.

Kit Includes: package comes with 30 sets of pegboard mounting kit, including 30 pieces screws, 30 pieces anchors, 30 pieces spacers and 30 pieces washers. Enough quantity to meet your daily use and replacement needs.

PREMUIM QUALITY ZINC ALLOY – This heavy duty drywall anchor made of high-quality zinc alloy is of high strength, high scratch resistance and rush resistance. We use superior heavy-duty steel for the galvanized screws set to ensure its strength. What’s more, the galvanized screws are corrosion resistant, which makes their service life even longer. The Zinc alloy wall anchor can load up to 50lbs.
Step 1: Gather Your Materials
Editor’s Choice

ELEAD 66-Piece 2/4/6 Inch Extra Thick Pegboard Hooks, Heavy Duty Peg Boa…
INCLY 278PCS Pegboard Accessories Organizer Kit, Peg Board Hooks Assortm…

WallPeg Pegboard Bins – 6 Each 7″ & 6 Each 5″ ORGANIZING Bins – Hooks to…
Step 2: Choose the Perfect Location
Selecting the right wall for your pegboard is crucial for both functionality and aesthetics. Follow these steps:
- Identify the wall space that’s free of obstructions.
- Use a stud finder to locate wall studs for secure mounting.
- Mark the desired height of the pegboard with a pencil.
Warning: Avoid choosing a wall that receives direct sunlight to prevent fading of your supplies over time.
Why this matters: Proper placement enhances accessibility and the overall look of your workspace.
Time estimate: 30 minutes.
Recommended Products

What You Get: You will receive 2 magnetic stud finders, specifically designed to locate screws and nail heads in drywall construction. They pinpoint their positions, significantly improving efficiency for wall installation and renovation
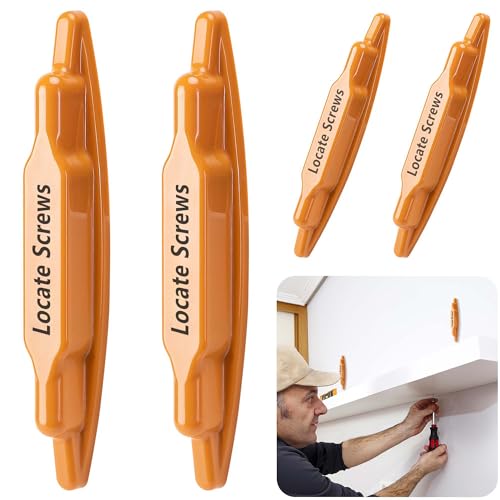
What You Get: You will receive 4 magnetic stud finders, specifically designed to locate screws and nail heads in drywall construction. They pinpoint their positions, significantly improving efficiency for wall installation and renovation

ACCURATE: More sensors = More accuracy. Conventional electronic stud finders have 1 or 2 sensors. The Sapphire 9000 has 9, making it the best stud finder on the market
Step 2: Choose the Perfect Location
Editor’s Choice

PBHEPJ 10 Pcs Metal Pegboard Panels, Heavy Duty Peg Boards for Garage an…
Stud Finder Wall Scanner – 5 in 1 Stud Finder Tool w/Smart Chip and HD L…

INCLY 330PCS Upgraded Pegboard Accessories Organizer Kit, Peg Board Hook…
Step 3: Mark and Drill Holes
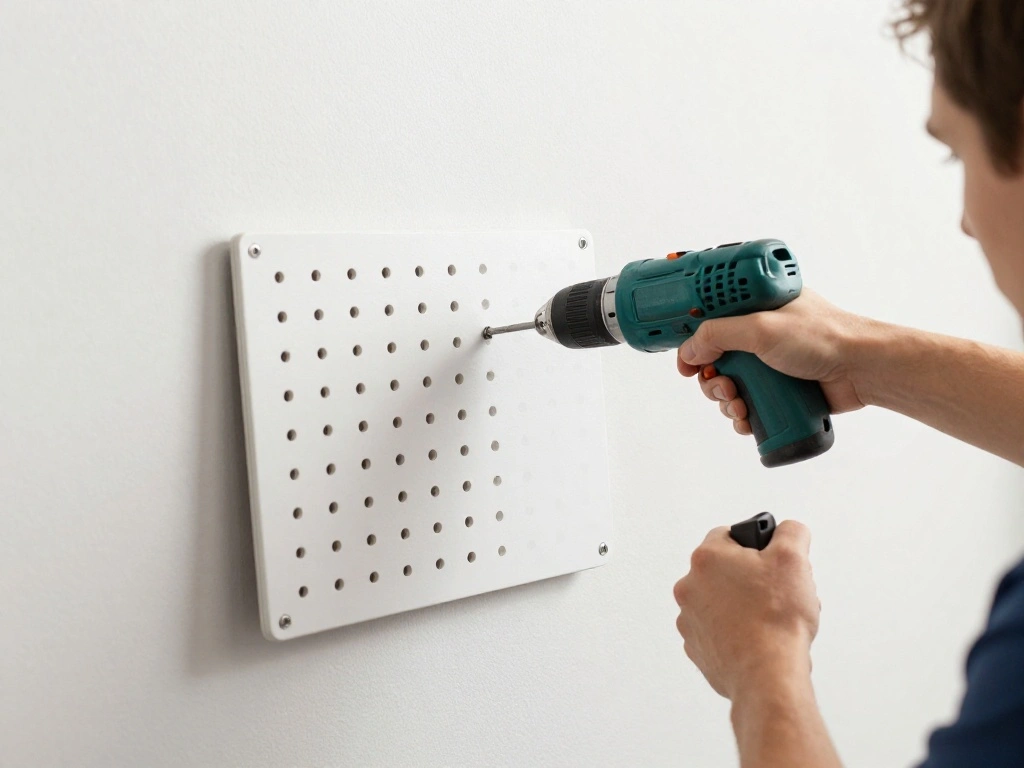
Once you’ve chosen your location, it’s time to mark and drill the holes for mounting:
- Hold the pegboard against the wall at the marked height.
- Use a level to ensure it’s straight, adjusting as needed.
- Mark the drilling points through the pegboard holes.
- Remove the pegboard and drill holes at the marked spots.
Pro Tip: Use a drill bit slightly smaller than your screws for a snug fit.
Why this matters: Accurate drilling ensures your pegboard is secure and level, which is crucial for hanging items efficiently.
Time estimate: 20 minutes.
Recommended Products

HEAVY DUTY PEG BOARD: Metal pegboards are made of heavy-duty, sturdy steel. We have 10 times the weight capacity and strength of plastic pegboards. Don't worry about the pegboard falling off. These metal pegboard panels won't bend or buckle under the weight of many tools and can accommodate thick, sturdy hooks, wire baskets, wrenches and drills.

Hang Tabs Size: The self adhesive hang tabs measure about 40mm x 27mm/ 1.57inch × 1.06inch(L*W), stiky area is about 40mm x 15mm/ 1.57inch × 0.59inch. This clear hanging tab is suitable for hanging small and light merchandise.
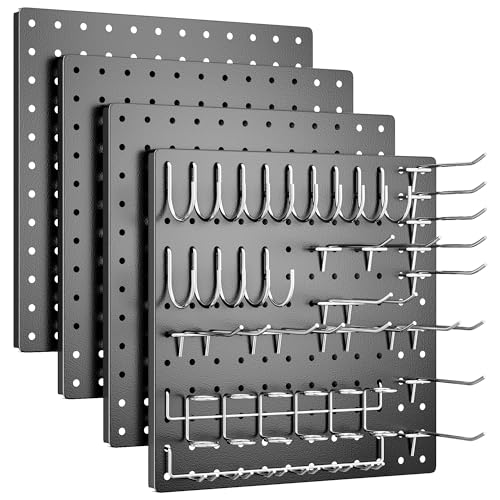
👍Durability and Strength - Our metal peg board set is crafted from thick, strong metal, designed for industrial-grade durability, it is rust-resistant and corrosion-resistant for long-lasting quality. The sturdy metal pegboard panels are ten times stronger than regular plastic pegboard, ensuring a long-lasting solution to your heavy-duty storage needs.
Step 3: Mark and Drill Holes
Editor’s Choice

Heavy Duty Pegboard Hooks 6 Inch – 50 pcs Peg Board Hooks for Hanging, B…

PULITUO’S 20V Cordless Drill/Driver, Electric Screwdriver – 2 Batteries,…

Torpedo Level Magnetic, Firecore 9 Inch Shockproof Small Leveler Tool wi…
Step 4: Install Wall Anchors
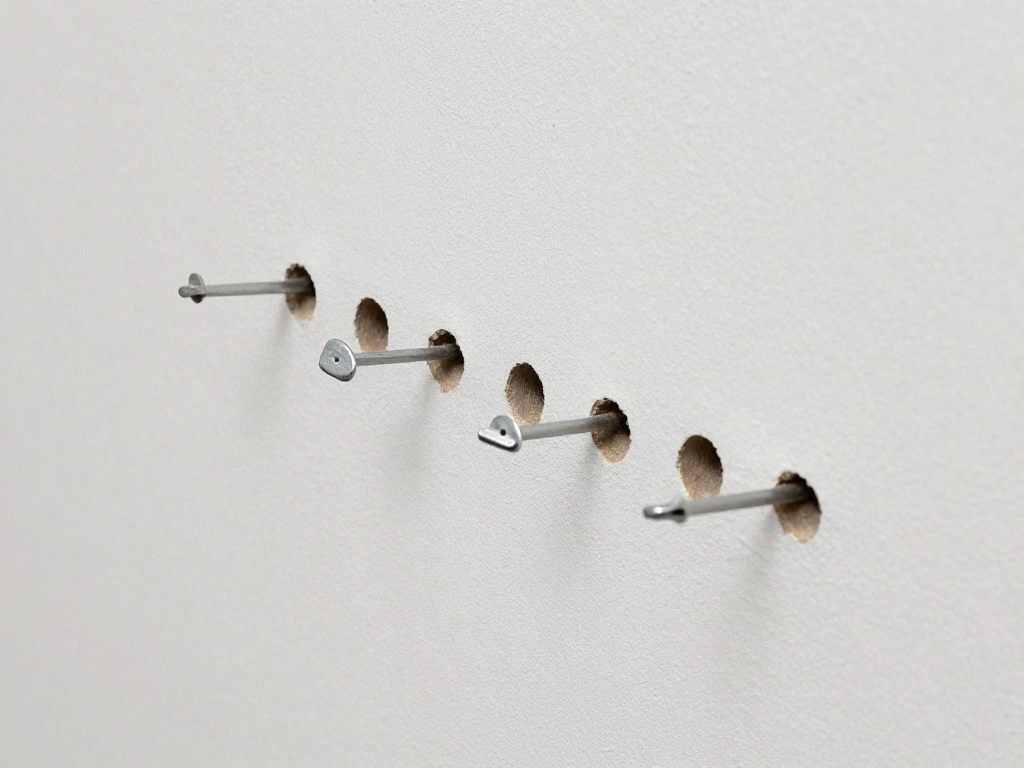
If you’re mounting your pegboard on drywall without studs, you’ll need to install wall anchors:
- Insert wall anchors into the drilled holes according to package instructions.
- Ensure they are flush with the wall surface.
- Double-check that they are secure to handle weight.
Warning: Not using wall anchors on drywall can lead to the pegboard falling off under weight.
Why this matters: Proper anchoring is essential for durability and safety.
Time estimate: 20 minutes.
Recommended Products

Mounting and Spacer Kit: Recommended to be used with our Triton 70016 mounting spacer kit for ideal board Pegboard stability. (Sold Separtely)

High quality material, Strong Construction- Our peg board are upgraded with high quality ABS material, which is designed to be thicker and sturdier and not easy to break. The back of each white pegboard features a sturdy skeleton strip to support the panel for better weight bearing. They hold a total of 200 lbs. when 4 are installed correctly. You can rest assured that your tools will be safe, reliable and rust-free for decades to come.
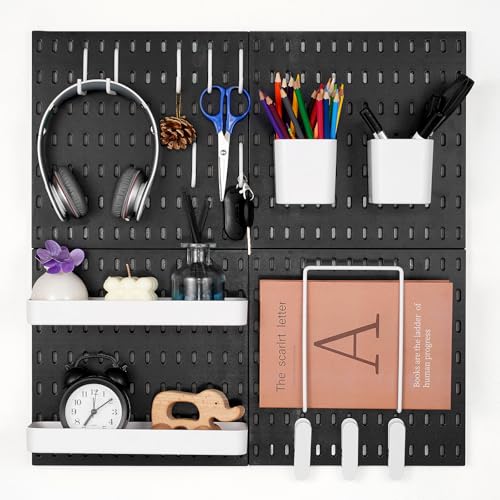
Versatile Functionality: This pegboard combination kit can serve multiple purposes, creating a personalized storage space to meet various needs. Whether it’s for displaying accessories in the bedroom or organizing spices in the kitchen, it handles it all with ease.
Step 4: Install Wall Anchors
Editor’s Choice

TOGGLER SNAPTOGGLE Drywall Anchor with Included Bolts for 1/4-20 Fastene…

DEWALT 20V Max Cordless Drill Driver Set, 2 Speed, High Performance Moto…
Step 5: Mount the Pegboard

Now that your holes and anchors are ready, it’s time to mount the pegboard:
- Align the pegboard with the installed anchors or studs.
- Use screws to secure the pegboard to the wall, starting from the top.
- Ensure each screw is tightened properly without over-torquing.
Pro Tip: Use a power screwdriver for faster installation and a more uniform look.
Why this matters: A securely mounted pegboard is vital for supporting the items you will hang.
Time estimate: 30 minutes.
Recommended Products

Value Package: Our pegboard tool organizer comes with 120pcs pegboard accessories,16 different type pegboard hooks including 5pcs pegboard bins, curved hooks, angled hooks, straight hooks, and ring tool holder, multi tool rack. 49pcs of them are peg locks for fixing hooks

Value Package: Our pegboard tool organizer comes with 278pcs pegboard accessories, 16 different type pegboard hooks including 12pcs peg board bins, curved hooks, angled hooks, straight hooks, and ring tool holder, multi tool rack. 109pcs of them are peg locks for fixing hooks

Includes 114 accessories and 72 non-marring plastic covers
Step 5: Mount the Pegboard
Editor’s Choice

300-Piece Pegboard Hook Set, Pegboard Organizer Accessories for Hanging,…

Fanttik E2 Ultra Mini Electric Screwdriver, Cordless Screwdriver, Max 0….
TOGGLER SNAPTOGGLE Drywall Anchor with Included Bolts for 1/4-20 Fastene…
Step 6: Customize with Hooks and Accessories

With the pegboard mounted, it’s time to personalize your storage:
- Select hooks and accessories that fit your needs.
- Arrange them on the pegboard to create an organized layout.
- Test the placement by hanging items to ensure they fit comfortably.
Pro Tip: Use a variety of hook styles to maximize versatility for different items.
Why this matters: Customization allows you to optimize your pegboard for your specific supplies, enhancing functionality.
Time estimate: 30 minutes.
Recommended Products

Anchor and screw Kit Includes: 25 Pcs Zinc Metal Drywall Anchors, 25 pcs #8 x 1-1/4'' Phillips Screws
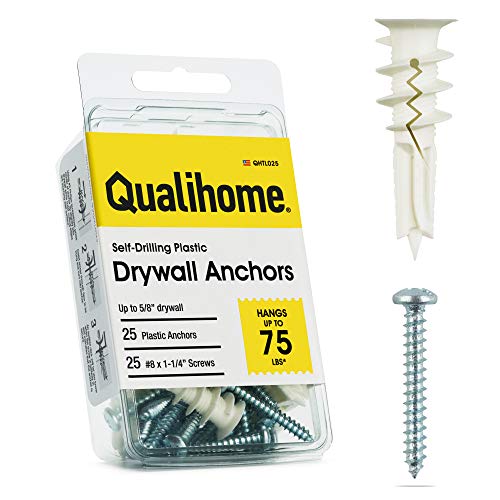
ANTI-SPIN GRIP FOR A SECURE HOLD Designed to grip firmly into drywall and help reduce spinning during installation for a more reliable and frustration-free hold.

🔩 264PCS Screws and Anchors Kit for Home Wall Mounting This screws and anchors assortment kit includes 132 stainless steel screws and 132 plastic wall anchors, providing a practical solution for everyday wall mounting, picture hanging hardware, and light home installation tasks.
Step 6: Customize with Hooks and Accessories
Editor’s Choice

INCLY 278PCS Pegboard Accessories Organizer Kit, Peg Board Hooks Assortm…
WallPeg Pegboard Bins – 6 Each 7″ & 6 Each 5″ ORGANIZING Bins – Hooks to…

INCLY 6″ Pegboard Shelf Hooks, 8 Pack Black Pegboard Shelf Brackets Hook…
Step 7: Organize Your Supplies

Finally, it’s time to add your supplies and organize your workspace:
- Hang your tools and supplies on the pegboard.
- Group similar items together for easy access.
- Consider adding labels if needed for quick identification.
Pro Tip: Regularly reassess your organization to ensure it meets your evolving needs.
Why this matters: A well-organized pegboard enhances your workflow and keeps your workspace tidy.
Time estimate: 30 minutes.
Recommended Products

【4 in 1 studfinder for walls】 Built-in an advanced deep scan stud sensor,it is a professional-grade stud-finder that accurately locates wood studs, metal,and AC wires behind drywall, this beam finder for walls save you from costly mistakes
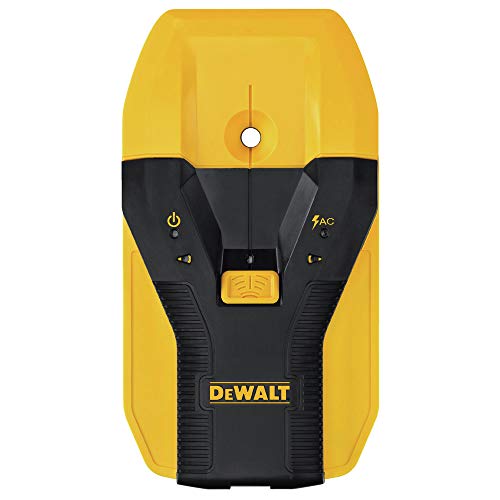
1-1/2 in. Stud Finder

Small and compact, easily fits in pocket
Step 7: Organize Your Supplies
Editor’s Choice

ELEAD Pegboard Bins Organizer Set 24-Pack – Durable Storage Tray for Scr…
ELEAD 66-Piece 2/4/6 Inch Extra Thick Pegboard Hooks, Heavy Duty Peg Boa…

SUPVAN E11 Bluetooth Label Maker Machine with 4 Tapes, Support Keyboard …
Pro Tips
- Mix and Match Accessories: Use a combination of hooks, baskets, and shelves to create a dynamic storage solution.
- Color Coordination: Organize items by color for a visually appealing setup.
- Seasonal Adjustments: Change the items on your pegboard with the seasons to keep your workspace fresh.
- Vertical Space: Utilize vertical space by hanging taller items if your pegboard allows.
- Regular Maintenance: Periodically check for loose screws and re-organize items as needed.
Pro Tips
Editor’s Choice

5-Piece Pegboard Baskets Set – Heavy Duty Peg Board Organizer Accessorie…

7 Sets Colorful Pegboard Cups with Rings Style Pegboard Hooks with Pegbo…
INCLY 278PCS Pegboard Accessories Organizer Kit, Peg Board Hooks Assortm…
Common Mistakes to Avoid
Warning: Not checking for studs can lead to an unsecured pegboard. Always locate studs or use wall anchors for drywall.
Warning: Overloading the pegboard can cause it to detach. Be mindful of the weight limit.
Warning: Forgetting to level the pegboard can lead to a crooked appearance. Always double-check with a level.
Common Mistakes to Avoid
Editor’s Choice
TOGGLER SNAPTOGGLE Drywall Anchor with Included Bolts for 1/4-20 Fastene…

Klein Tools 935AB4V Level, 6-Inch Magnetic Torpedo and Conduit Level wit…

Zircon MultiScanner™ A250 Stud Finder Wall Scanner, All-in-One Wood an…
Troubleshooting Section
Problem: Pegboard is sagging.
Solution: Check for loose screws and ensure proper weight distribution. Add additional support if necessary.
Problem: Items keep falling off.
Solution: Use the correct size hooks and ensure they are securely attached.
Problem: Wall anchors are not holding.
Solution: Ensure you are using the correct wall anchors for your wall type.
Troubleshooting Section
Editor’s Choice

Shimeyao 10 Pcs 12 Inch Pegboard Shelf Brackets, Sturdy Metal Peg Hook H…
300-Piece Pegboard Hook Set, Pegboard Organizer Accessories for Hanging,…
G.CORE Pegboard Peg Hooks Accessories – 40 Set Pegs with Inserts and Scr…
Variations/Alternative Methods
- Painted Pegboard: Consider painting your pegboard to match your office decor for a stylish touch.
- Framed Pegboard: Frame your pegboard with wood for a more polished look.
- Magnetic Pegboard: Use magnetic attachments for even greater flexibility in organizing small metal tools.
Variations/Alternative Methods
Editor’s Choice

HUHOLE 20 Pack Pegboard Picture Hangers Black Powder Coated Metal U-Shap…

Upgraded Metal Pegboard Wall Organizer Kit – Magnetic, Heavy-Duty Peg …

‘Just Hanging’ 1/4″ Pegboard Paint Holder Hook, Compatible with Citadel …
FAQs
What if I don’t have enough wall space? Consider using a smaller pegboard or a mobile pegboard that can be moved around the office.
How long should I wait before adding weight to the pegboard? Allow at least 24 hours for the screws and anchors to settle before hanging heavy items.
Is it safe to mount a pegboard on drywall? Yes, but use proper wall anchors or locate studs for secure mounting.
Conclusion
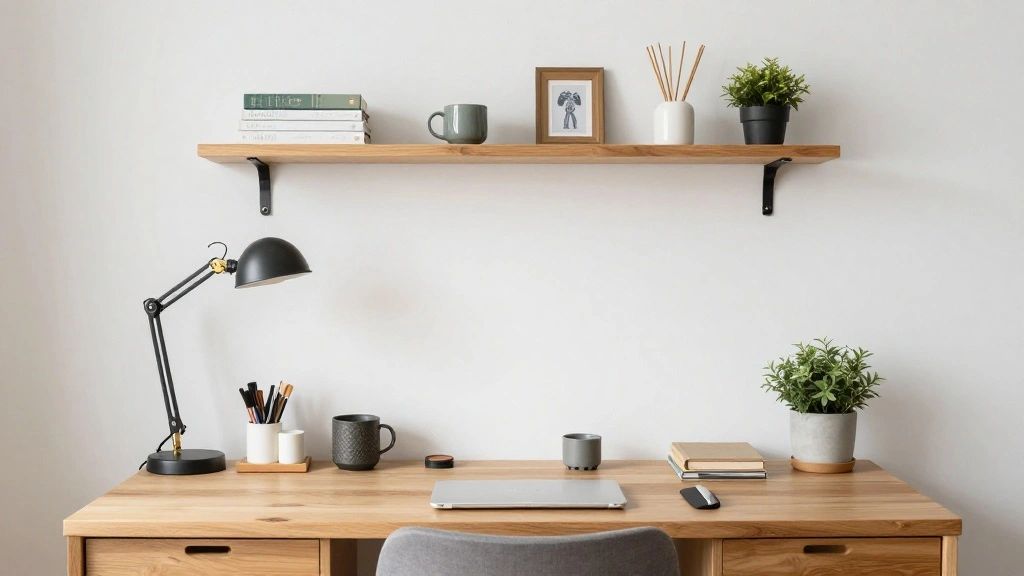
Congratulations on successfully hanging your pegboard! You’ve transformed your home office into a more organized and stylish space, perfect for enhancing productivity. As you enjoy your new setup, consider additional projects like creating matching storage solutions or adding decorative elements to your office.
Next, share your newfound skills with others or explore other DIY projects that can further improve your workspace. Keep your pegboard organized and adapt it as your needs change. You’ve taken a big step towards a clutter-free environment—well done!