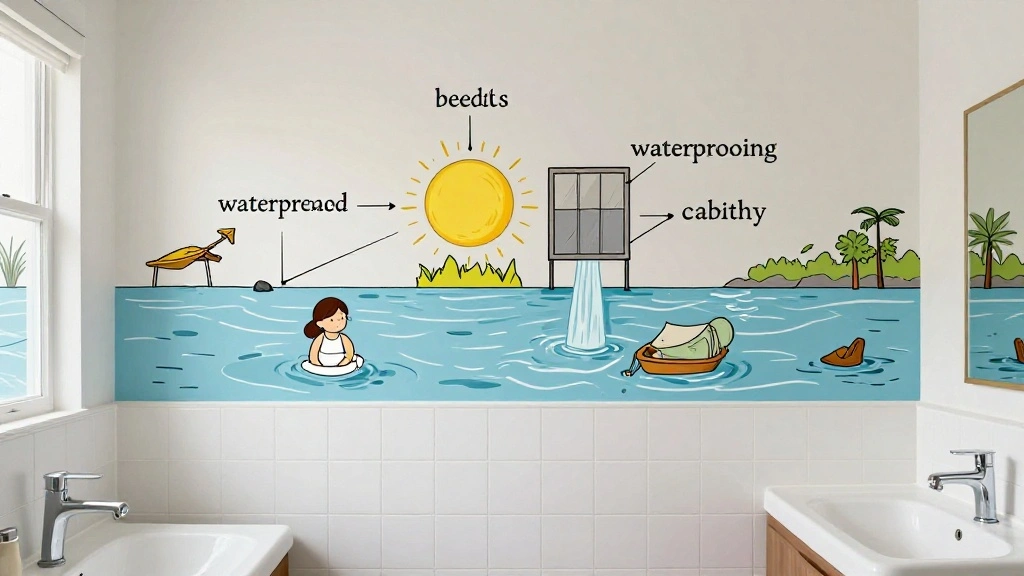
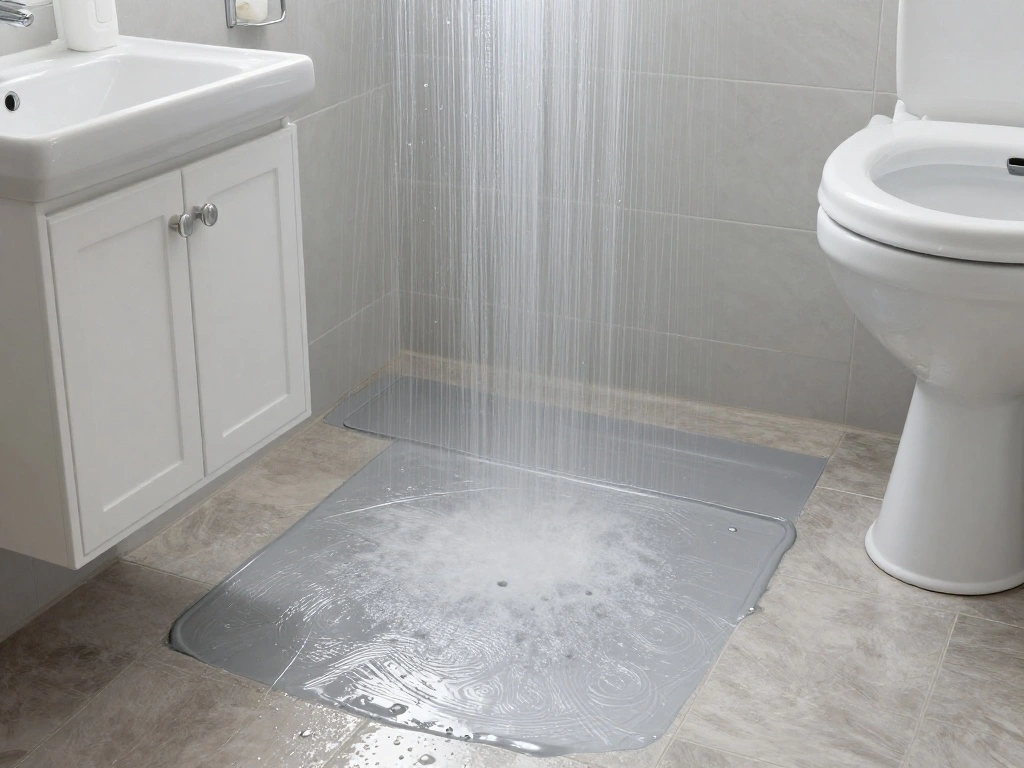
Bathrooms can be a tricky place for wall art. The high humidity and occasional splashes of water can cause damage to prints and frames, leading to fading, warping, and even mold growth. If you’re looking to enhance your bathroom’s aesthetic with beautiful art, it’s essential to take steps to protect those pieces from moisture.
This guide will help you waterproof your frames and prints effectively, ensuring they remain vibrant and intact despite the bathroom’s challenging environment. By following these steps, you’ll learn how to choose the right materials and apply waterproofing techniques that are both simple and effective.
Specifically, you will learn how to select appropriate sealants, prepare your frames and prints, and apply waterproofing layers. This guide is designed for beginners and can be completed in approximately 2-3 hours, depending on the number of pieces you plan to treat. Let’s dive in and protect your art!
TL;DR Summary
- Waterproof your bathroom art to prevent damage from humidity and water.
- Learn the steps to select materials and apply waterproofing sealants.
- This guide is beginner-friendly and takes about 2-3 hours.
- Follow detailed steps to ensure your prints and frames are protected.
TL;DR Summary
Editor’s Choice

Claude Monet Canvas Wall Art – Water Lilies Classic Artwork Picture Prin…

5×7 Waterproof Picture Frame for Grave – Acrylic Outdoor Memorial Cemete…

Gorilla Waterproofing Spray Clear, Flexible Rubberized Sealant Coating, …
Prerequisites/Materials Needed
- Frames (1 for each print)
- Waterproof sealant (e.g., spray or brush-on) – 1 can
- Clear acrylic sheets (if applicable) – size of your prints
- Protective gloves (1 pair)
- Drop cloth or old newspaper (to protect surfaces)
- Hanging hardware (if not included with frames)
Prerequisites/Materials Needed
Editor’s Choice

TKOnline 10 PCS Plexiglass Sheets, 8.5″ x 11″ x 0.02 Clear PET Sheet Pan…

ThxToms Heavy Duty Chemical Resistant Latex Gloves, Waterproof Rubber Gl…

Mod Podge Spray Acrylic Sealer that is Specifically Formulated to Seal C…
Skill Level & Time Estimate
Skill Level: beginner
Total time estimate: 2-3 hours
Breakdown: Gathering materials (20 minutes), preparing frames (30 minutes), applying sealant (1-2 hours depending on drying time), and installing artwork (30 minutes).
Skill Level & Time Estimate
Editor’s Choice
Gorilla Waterproofing Spray Clear, Flexible Rubberized Sealant Coating, …
Step 1: Gather Your Materials
Before you start the waterproofing process, gather all the materials you will need. This ensures a smooth workflow without interruptions. Follow these steps:
- Check your frames and prints to determine how many artworks you will waterproof.
- Collect all the items listed in the prerequisites.
- Set up a clean workspace, ideally in a well-ventilated area.
Pro Tip: Keep all materials organized to save time during the process. Why this matters: A tidy workspace allows you to focus on the task without distractions.
Time estimate: 20 minutes
Step 1: Gather Your Materials
Editor’s Choice

SnapeZo Weather Resistant Black Poster Frame 8.5×11 Inches, Outdoor Prof…
Uinkit 4mil Thicker Self-Adhesive Laminating Sheets, 10Pack Letter Size …
Mod Podge Spray Acrylic Sealer that is Specifically Formulated to Seal C…
Step 2: Prepare the Frames
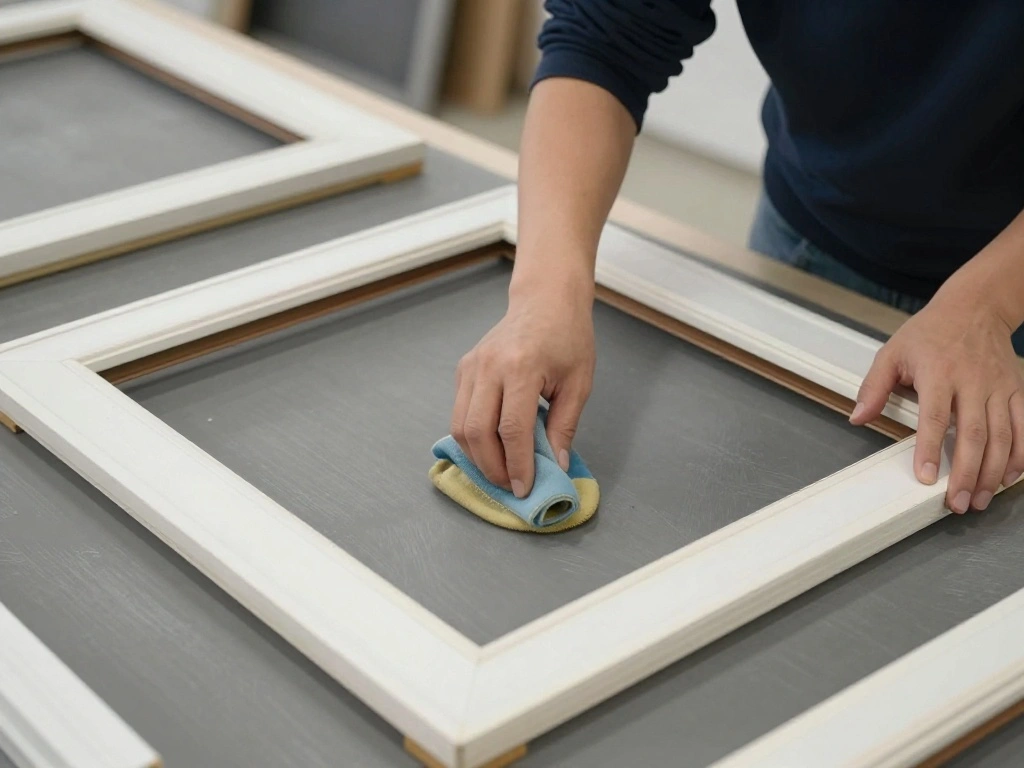
Next, prepare the frames for waterproofing. Proper preparation ensures that the sealant adheres effectively and protects your art. Follow these steps:
- Remove any existing art from the frames.
- Clean the frames with a damp cloth to remove dust and grease.
- Allow the frames to dry completely before proceeding.
Warning: Ensure frames are completely dry to avoid trapping moisture. Why this matters: Clean frames improve adhesion and the longevity of your waterproofing.
Time estimate: 30 minutes
Step 2: Prepare the Frames
Editor’s Choice

E-Cloth Window Cleaning Cloth Kit – Reusable Durable Towels, Washable & …
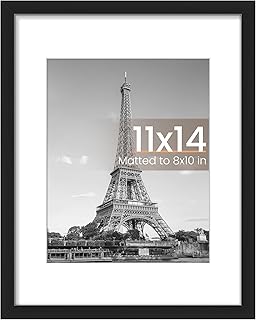
upsimples 11×14 Picture Frame, Display Pictures 8×10 with Mat or 11×14 W…
Step 3: Choose the Right Sealant
Selecting the right waterproof sealant is crucial for effective protection against moisture. Here’s how to choose:
- Look for a sealant that is specifically labeled as waterproof.
- Choose a spray sealant for an even coat, or brush-on for detailed application.
- Read the instructions to ensure compatibility with your frames and prints.
Pro Tip: Test the sealant on a small area first to check for adverse reactions. Why this matters: The right sealant will provide long-lasting protection without damaging your artwork.
Time estimate: 15 minutes
Step 3: Choose the Right Sealant
Editor’s Choice

Aleene’s 26412 Spray Gloss Finish, 6 Oz Acrylic Sealer, Original Version…

302151 Universal All Surface Clear Topcoat Spray, 11 oz, Dead Flat Clear

Step 4: Apply the Sealant to Frames
Now it’s time to apply the waterproof sealant to the frames. This step is essential for ensuring your frames are protected from moisture. Follow these steps:
- Put on protective gloves to keep your hands safe.
- Using the spray or brush, apply an even coat of sealant to the outer surfaces of the frame.
- Focus on corners and edges where water may easily seep in.
Warning: Avoid over-saturating the frames, which can lead to drips and uneven finishes. Why this matters: Proper application ensures that the sealant creates a barrier against moisture.
Time estimate: 30 minutes
Step 4: Apply the Sealant to Frames
Editor’s Choice

UPINS 30 Pcs Flat Paint Brushes, Small Brush Bulk for Detail Painting
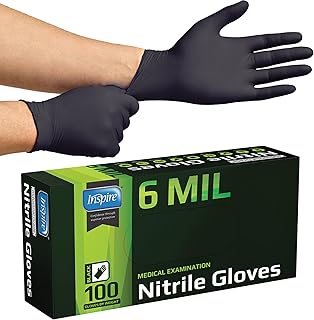
Inspire Black Nitrile Gloves HEAVY DUTY 6 Mil Nitrile Chemical Resistant…

Kraken Bond Gaps & Cracks Expanding Foam Sealant – (12x12oz) High Expans…
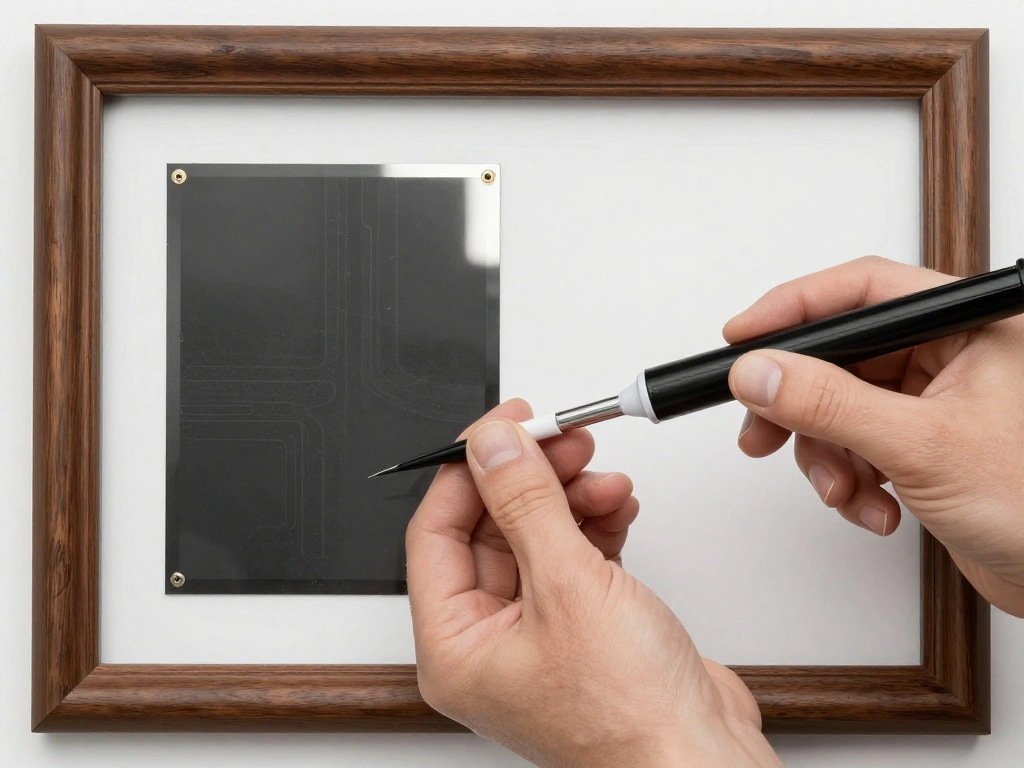
Step 5: Seal the Prints
Protecting the prints themselves is just as important as sealing the frames. Here’s how to waterproof your prints:
- Lay your prints flat on a clean surface.
- Using the same sealant, spray or brush a light coat over the front and back of each print.
- Ensure even coverage while avoiding puddles.
Pro Tip: Consider using a clear acrylic sheet over the print for added protection. Why this matters: This additional layer can help safeguard against humidity and accidental splashes.
Time estimate: 30 minutes
Step 5: Seal the Prints
Editor’s Choice

Egofine Plexiglass Sheets Acrylic Sheets 12 Pack of 5×7’’ 0.04 Thick…

RV & Automotive Foam 24 oz. Black Spray Foam Sealant, UV Resistant Spray…

Pro Grade Paint Brushes, 5-Piece Paint Brush Set, Flat & Angle Brushes f…
Step 6: Allow to Dry
After applying the sealant, it’s crucial to allow everything to dry properly. Follow these steps:
- Place the frames and prints in a well-ventilated area away from direct sunlight.
- Refer to the sealant instructions for specific drying times.
- Check periodically to ensure they are drying evenly.
Warning: Do not rush this step; applying pressure or moving the pieces too soon can damage the finish. Why this matters: Allowing adequate drying time ensures the sealant forms a strong protective barrier.
Time estimate: 1-2 hours (depending on sealant)
Step 6: Allow to Dry
Editor’s Choice
Gorilla Waterproofing Spray Clear, Flexible Rubberized Sealant Coating, …

Art Drying Rack with 25 Removable Shelves, Mobile Metal Paint Drying Sta…
Step 7: Reassemble Your Frames
Once everything is dry, it’s time to reassemble the frames with your waterproofed prints. Here’s how to do it:
- Carefully place the waterproofed print back into the frame.
- Secure the frame back together using the original clips or fasteners.
- Check for any gaps where moisture could enter.
Pro Tip: Use a backing board to add additional support to your prints. Why this matters: Properly reassembling ensures that your artwork is protected and looks professional.
Time estimate: 30 minutes
Step 7: Reassemble Your Frames
Editor’s Choice
National Artcraft 8 x 10 Replacement Picture Frame Easel Back for Frames…
RV & Automotive Foam 24 oz. Black Spray Foam Sealant, UV Resistant Spray…

20 Pack Canvas Frame Clips Picture Frame Clip Kit Black Finish Steel Pai…
Step 8: Install Your Artwork
Now that your frames are assembled, it’s time to hang your waterproofed art in the bathroom. Follow these steps:
- Choose a location that is away from direct water sources, such as the shower or sink.
- Use appropriate hanging hardware, ensuring it can support the weight of the frames.
- Hang the frames and step back to assess the arrangement.
Warning: Ensure the hanging hardware is secure to prevent falls. Why this matters: Proper installation protects your artwork from accidents and keeps it looking great.
Time estimate: 30 minutes
Step 8: Install Your Artwork
Editor’s Choice

Command 15 lb Large 4 Pairs Water-Resistant Picture Hanging Strips (8 St…

28×40 Inch LED Bathroom Mirror with Gold Frame,Front and Backlit Vanity …

KURUI Wall Anchors Kit for Hanging Wall Art Decor, 160Pcs Drywall Anchor…
Step 9: Maintain Your Artwork
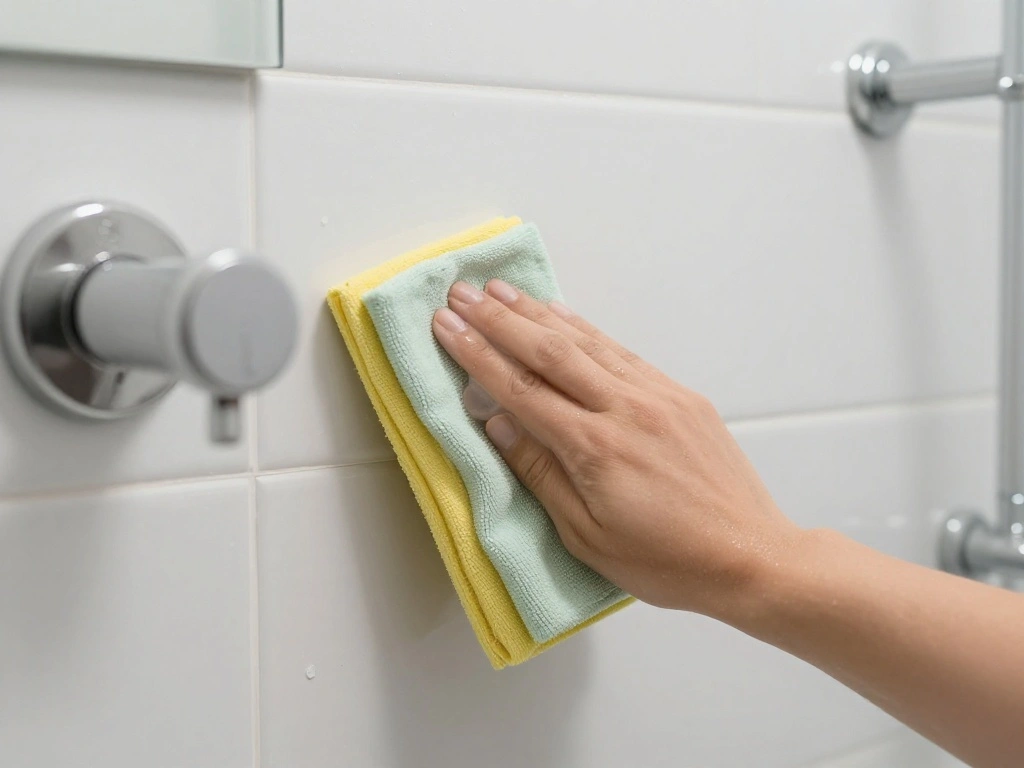
Regular maintenance helps keep your waterproofed art looking fresh and new. Here’s how to maintain your artwork:
- Wipe down the frames and prints with a damp cloth to remove dust.
- Check for any signs of moisture or damage periodically.
- Reapply sealant if necessary, following the product instructions.
Pro Tip: Schedule maintenance checks every 6 months to ensure lasting protection. Why this matters: Regular maintenance prevents damage and keeps your bathroom art looking vibrant.
Time estimate: 15 minutes
Step 9: Maintain Your Artwork
Editor’s Choice

USANOOKS Microfiber Cleaning Cloth Grey – 12 Pcs (12.5″x12.5″) – High Pe…
Kraken Bond Gaps & Cracks Expanding Foam Sealant – (12x12oz) High Expans…

15 Pcs 20 Gram Silica Gel Packs, Transparent Desiccant, Desiccant Packet…
Step 10: Enjoy Your Waterproofed Art
Congratulations! You have successfully waterproofed your frames and prints for your bathroom. Now, take a moment to enjoy your beautiful art. Here’s how to appreciate your hard work:
- Step back and admire your newly decorated bathroom.
- Share your accomplishment with friends or family who might benefit from this guide.
- Consider adding more art in the future with the same waterproofing techniques.
Pro Tip: Take photos of your art to document your project and inspire others. Why this matters: Celebrating your work encourages you to continue enhancing your space.
Time estimate: 10 minutes
Step 10: Enjoy Your Waterproofed Art
Editor’s Choice

Abstract Boho Black flowers Plant Poster Prints for Home Living Girl Roo…
Gorilla Waterproofing Spray Clear, Flexible Rubberized Sealant Coating, …

SimpleView 5×7 Waterproof Picture Frame | Memorial Gifts | Cemetery Deco…
Pro Tips
- Tip Name: Use UV Protection: Consider sealants with UV protection to prevent fading.
- Tip Name: Layering Technique: Apply multiple thin layers of sealant for better protection.
- Tip Name: Test First: Always test your materials on a small area before full application.
- Tip Name: Seasonal Checks: Check for any moisture issues seasonally, especially in humid months.
- Tip Name: Use a Dehumidifier: Install a dehumidifier in your bathroom to further protect your art.
Pro Tips
Editor’s Choice

Krylon K01305 Gallery Series Artist and Clear Coatings Aerosol, 11-Ounce…
Common Mistakes to Avoid
Warning: Applying sealant too thickly can lead to drips and an uneven finish. Ensure you apply thin, even coats.
Warning: Not allowing the sealant to dry completely can result in moisture trapping. Always follow drying times.
Warning: Using the wrong type of sealant can damage your prints. Always choose a sealant that is compatible with your materials.
Common Mistakes to Avoid
Editor’s Choice
Pro Grade Paint Brushes, 5-Piece Paint Brush Set, Flat & Angle Brushes f…
Mod Podge Spray Acrylic Sealer that is Specifically Formulated to Seal C…

U-Haul Bubble Corners for Picture Frame and Artwork Protection – 16 Corn…
Troubleshooting Section
Problem: Sealant drips on the frame
Solution: Wipe off excess sealant immediately with a cloth before it dries.
Problem: Prints warped after sealing
Solution: Ensure prints were completely dry before applying sealant. Consider using acrylic sheets for additional protection.
Problem: Sealant reacts with the prints
Solution: Test sealant on a small area first. If damage occurs, replace the print.
Troubleshooting Section
Editor’s Choice

Art3d 5-Pack of 8×10″ PET/Plexiglass Sheets, Transparent Clear Flexible…
Mod Podge Spray Acrylic Sealer that is Specifically Formulated to Seal C…

HOMEXCEL Microfiber Cleaning Cloth 12 Pack, 12.5 x 12.5 inch Microfiber …
Variations/Alternative Methods
You can also achieve waterproofing using these methods:
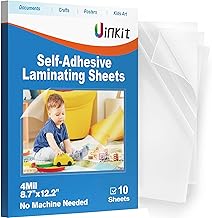
- Method 1: Laminating prints can provide waterproof protection, but be cautious of heat damage.
- Method 2: Use marine-grade varnish for frames, which can be more durable in humid environments.
- Method 3: Consider using a ready-made waterproof frame to simplify the process.
Variations/Alternative Methods
Editor’s Choice

Bonsaii Laminator Machine, 9 Inch Laminators Machine with 50 Laminating …
SimpleView 5×7 Waterproof Picture Frame | Memorial Gifts | Cemetery Deco…

FAQs
What if I don’t have waterproof sealant? You can use clear acrylic varnish as an alternative, but ensure it is labeled waterproof.
How long should I let the sealant dry? Follow the manufacturer’s instructions, but typically allow at least 1-2 hours.
Is it safe to hang art over the sink? It’s best to avoid direct water exposure; consider placing it nearby but not directly over water sources.
FAQs
Editor’s Choice
Kraken Bond Gaps & Cracks Expanding Foam Sealant – (12x12oz) High Expans…

Wall Art Moon Sea Ocean Landscape Picture Canvas Wall Art Print Painting…

Liquitex BASICS Gloss Varnish, 250ml (8.4oz) Bottle
Conclusion
You did it! Your bathroom wall art is now protected from moisture and ready to brighten up your space. By following this guide, you’ve learned valuable skills that can be applied to other areas of your home, as well.
As a next step, consider exploring more about decorating your bathroom or experimenting with different art styles. Keeping your space beautiful and personalized is a rewarding journey. Enjoy your newly waterproofed art and the fresh look it brings to your bathroom!