
Are you tired of blank walls in your home? Want to showcase your favorite photos and decor but lack the space? Floating shelves are an attractive and functional solution to display your cherished items while saving floor space! In this guide, you’ll learn how to create DIY floating shelves that can elevate your gallery wall display.
By following these steps, you’ll accomplish the creation of stylish floating shelves that not only add visual interest but also serve as a practical solution for displaying your treasures. You’ll learn about the materials needed, the tools required, and step-by-step instructions to successfully complete this project.
This project is suitable for beginners, and you can expect to spend approximately 2-3 hours from start to finish. Get ready to transform your space and impress your guests with your new floating shelves!
TL;DR Summary
- Learn to make DIY floating shelves for a stunning gallery wall.
- Materials and tools needed are simple and accessible.
- The project is beginner-friendly and takes about 2-3 hours.
- Step-by-step instructions guide you through the entire process.
TL;DR Summary
Editor’s Choice

Laser Level Line Tool, Multipurpose Laser Level Kit Standard Cross Line …


WOPITUES Wood Floating Shelves Set of 6, Shelves for Wall Decor, Farmhou…

18 Pack Slatwall Shelf Bracket 12 inch, Heavy Duty Metal Shelf Brackets …
Prerequisites/Materials Needed
- Materials:
- 1×6 inch wooden boards (3 pieces, 3-4 feet long)
- Wood glue
- Wood screws (1.5 inches)
- Wall anchors (if mounting on drywall)
- Sandpaper (medium and fine grit)
- Paint or stain (optional)
- Tools:
- Drill
- Level
- Stud finder
- Measuring tape
- Pencil
- Saw (hand saw or circular saw)
Recommended Products

【Easy 10-Min Install + Complete Hardware Included】Upgrade your walls in minutes. These floating shelves come with a full installation kit (metal brackets, anchors, screws, level & guide), making setup simple even for beginners. Designed for drywall, wood studs, and concrete walls—no extra trips to the hardware store.

LARGE SIZE DESIGN: This living room shelves each board measures 24in L x 8in W x 1.5in H,which means that compared with similar wall shelves, these floating shelves provide greater use space and possibilities.

【4 in 1 studfinder for walls】 Built-in an advanced deep scan stud sensor,it is a professional-grade stud-finder that accurately locates wood studs, metal,and AC wires behind drywall, this beam finder for walls save you from costly mistakes
Prerequisites/Materials Needed
Editor’s Choice

Zinc Self-Drilling Drywall Anchors with Screws Kit, 25 Heavy Duty Metal …

Franklin Sensors Prosensor M210 Stud Finder With 13-Sensors, Wood & Meta…

Titebond Original Wood Glue 5063, Industry Standard for Woodworking, Fur…
Skill Level & Time Estimate
Skill Level: beginner
Total time estimate: 2-3 hours
Breakdown of time by major steps:
– Gathering materials: 30 minutes
– Cutting wood: 30 minutes
– Assembly: 1 hour
– Mounting: 1 hour
Skill Level & Time Estimate
Editor’s Choice

BAYKA Floating Shelves Set of 2, 22.5 inches Farmhouse Rustic Wood Wall …
Step 1: Gather Your Materials

Start by collecting all necessary materials and tools. Having everything ready will streamline the process and prevent frustration.
Why this matters: A well-organized workspace encourages efficiency and reduces the risk of forgetting important items.
- Review the materials list above.
- Ensure you have all tools needed for cutting and mounting.
- Clear a workspace for assembly.
Pro Tip: Consider purchasing extra wood in case of mistakes during cutting.
Warning: Always double-check the amount of wood needed to avoid multiple trips to the hardware store.
Time estimate for completing this step: 30 minutes.
Recommended Products

【Sturdy & Durable】Made of sturdy particleboard and metal brackets for safe and durable uses. The metal support shelves of DINZI LVJ are thicker than others for added...
Step 1: Gather Your Materials
Editor’s Choice

Torpedo Level Magnetic, Firecore 9 Inch Shockproof Small Leveler Tool wi…

PULITUO’S 20V Cordless Drill/Driver, Electric Screwdriver – 2 Batteries,…

Starunder 6 Pack Floating Shelf Brackets, 6 Inch Heavy Duty Industrial S…
Step 2: Measure and Mark Your Wall
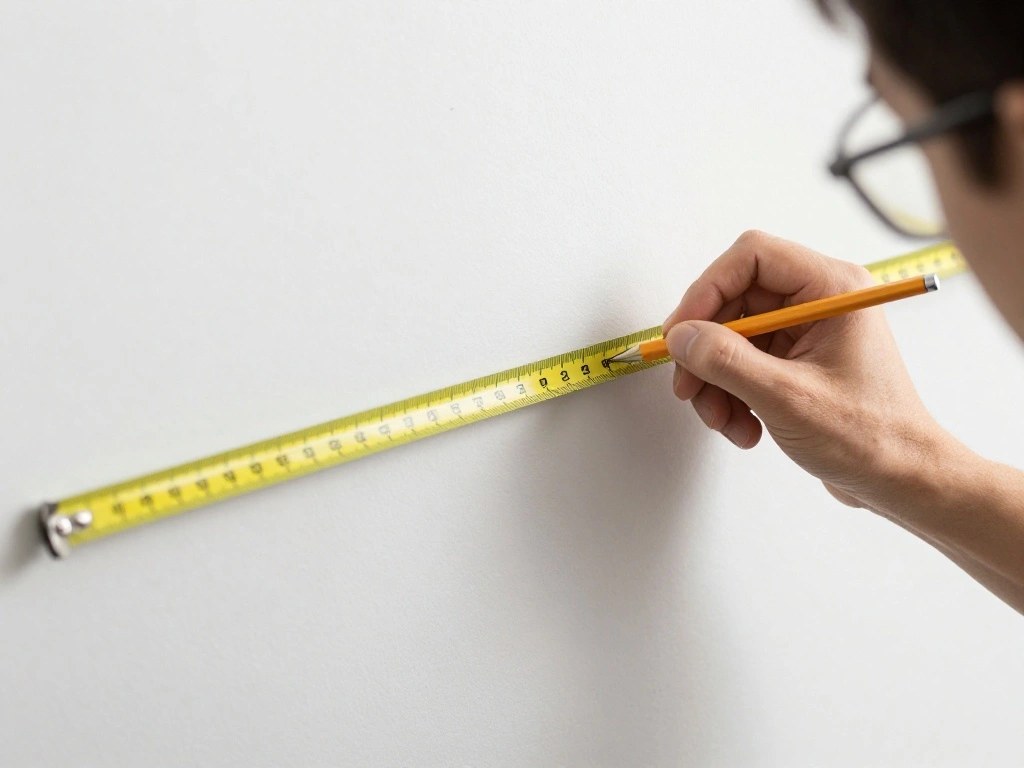
Before mounting your shelves, you need to determine where they will go. This step ensures that your shelves are level and evenly spaced.
Why this matters: Proper placement enhances aesthetics and functionality.
- Use a measuring tape to find the desired height for your shelves.
- Mark the spots on the wall with a pencil.
- Use a level to ensure each mark is straight.
Pro Tip: If you plan to have multiple shelves, measure the distance between each one to ensure uniform spacing.
Warning: Avoid placing shelves where they could obstruct light switches or outlets.
Time estimate for completing this step: 20 minutes.
Recommended Products
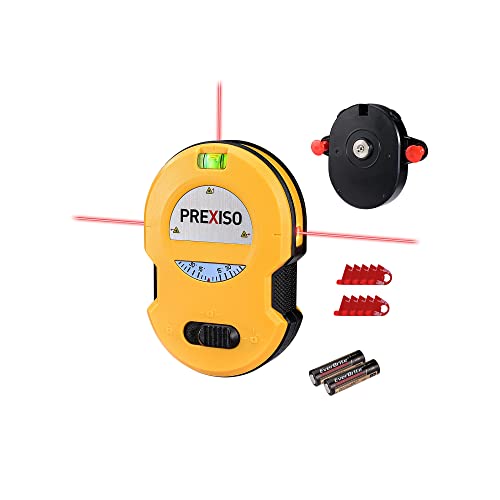
NOTE: This product is not a stud finder or a magnetic nail finder

【MULTIFUNCTION LASER LEVEL】Laser level tool cool gadgets for men Works For Indoor Designed for any situation where accurate measurements are needed, such as hang shelves, cabinets, tiles and picture frames with accuracy. All The Job That Requires A Straight Line Or Accurate Measurement.

★ DUAL MODES & SELF-LEVELING ★ The cross line laser with slide switch enable you to set 2 modes, self-leveling mode and manual mode. When working in self-leveling mode, the range of leveling and compensation is 4°± 1°and the laser level will automatically level for horizontal/vertical/cross line, otherwise the laser will flash to indicate thr out-of-level condition. In manual mode, the self-leveling function is deactivated and the cross is locked to use the device at any angle.
Step 2: Measure and Mark Your Wall
Editor’s Choice

Torpedo Level Magnetic, Firecore 9 Inch Shockproof Small Leveler Tool wi…

iBayam 2 Pack Tape Measure Measuring Tape for Body Fabric Sewing Tailor …

Carpenter Pencils with Sharpener, 2.8mm Mechanical Pencil Set with 26 Re…
Step 3: Cut the Wooden Boards
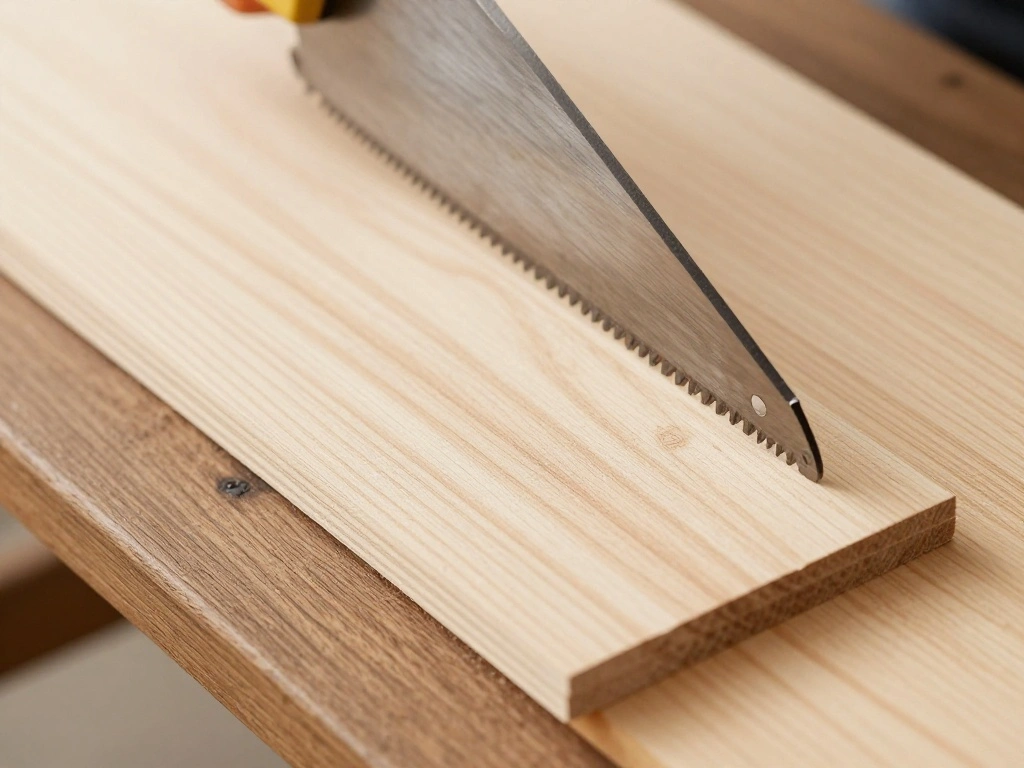
Now it’s time to cut your wooden boards to the desired length for your floating shelves. Ensure you take proper safety precautions during this step.
Why this matters: Accurate cuts provide a clean, professional look for your shelves.
- Using a saw, cut each wooden board to your measured length.
- Sand the edges to remove any splinters or rough spots.
- Optionally, paint or stain your boards as desired.
Pro Tip: Cutting boards at a slight angle on the ends can give a decorative edge.
Warning: Always wear protective gear when using power tools to avoid injuries.
Time estimate for completing this step: 30 minutes.
Recommended Products
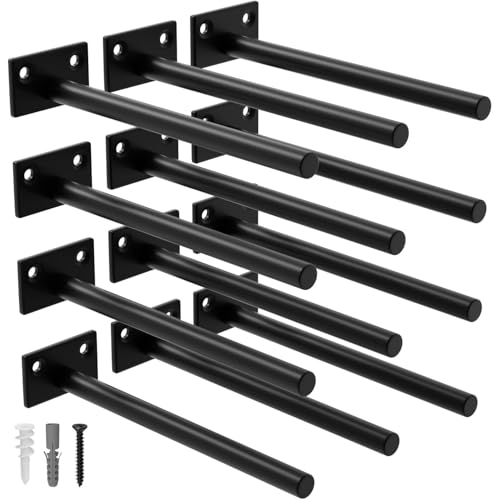
Superior Quality: Our floating shelf bracket is expertly crafted from premium steel, ensuring exceptional durability and an impressive weight capacity of 110lbs

Superior Quality: Our floating shelf bracket is expertly crafted from premium steel, ensuring exceptional durability and an impressive weight capacity of 110lbs.

【High Quality Metal】: This heavy duty shelf bracket is made of high-quality solid metal steel, coated with a matte black finish, with a sleek and modern look. Rust-proof, corrosion-resistant, and smooth edges to prevent scratches during installation. Suitable for all kinds of DIY projects and long-term use
Step 3: Cut the Wooden Boards
Editor’s Choice

Minwax 233334444 Polycrylic Protective Wood Finish, Clear Satin, ½ Pint


YNZDRWA 8 Pack Sanding Sponge, Washable and Reusable Sanding Blocks for …
Step 4: Assemble the Shelf Brackets
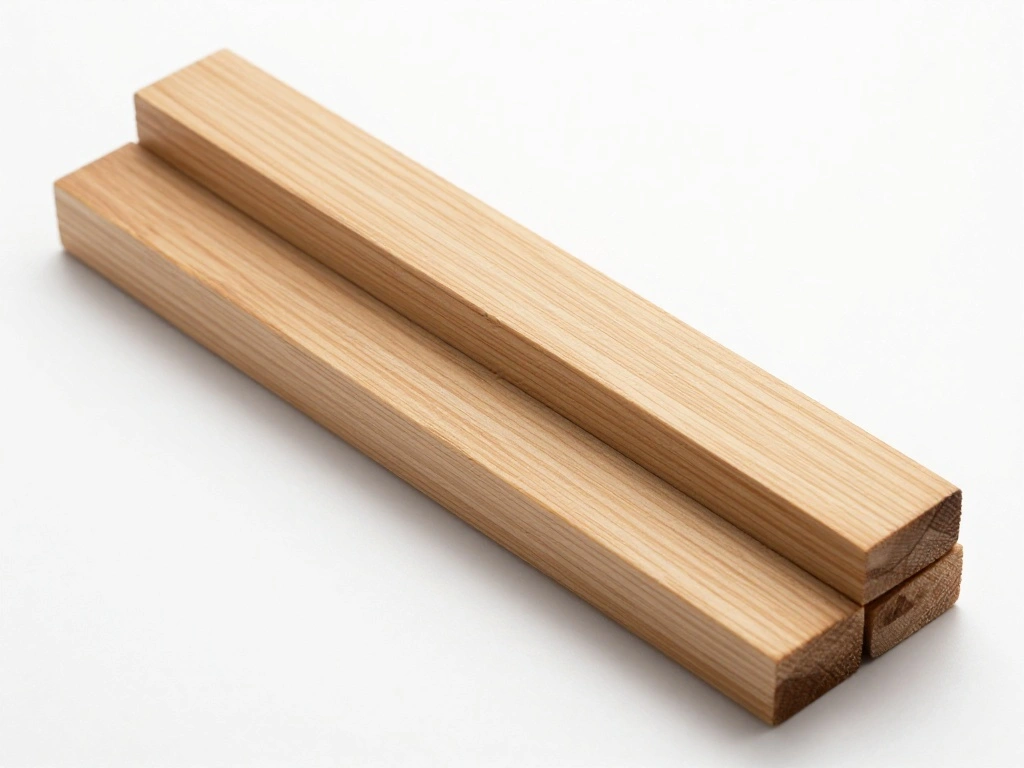
Before you can mount the shelves, you must create the brackets that will support them. These brackets are essential for stability and strength.
Why this matters: Properly constructed brackets ensure your shelves can hold weight without sagging.
- Cut smaller wooden pieces to create brackets (about 3-4 inches wide).
- Attach these brackets to the underside of the shelves using wood glue and screws.
- Ensure the brackets are evenly spaced and securely attached.
Pro Tip: Pre-drilling holes for screws can prevent the wood from splitting.
Warning: Ensure screws are tightened fully to avoid the shelves from wobbling.
Time estimate for completing this step: 30 minutes.
Recommended Products

Deep Shelves, Smart Storage: Eliminate counter clutter with these deep, practical shelves. Organize spices, jars, books, cosmetics, and decorative items efficiently.

Stylish Floating Shelves with Rustic Charm: Constructed from premium engineered wood and finished with a realistic wood grain veneer, these floating shelves bring a natural, rustic touch to your space. The textured wooden surface creates a cozy and warm atmosphere, making them a perfect addition to both contemporary and traditional interior designs. These sturdy shelves offer both beauty and practicality for your home.

【Easy 10-Min Install + Complete Hardware Included】Upgrade your walls in minutes. These floating shelves come with a full installation kit (metal brackets, anchors, screws, level & guide), making setup simple even for beginners. Designed for drywall, wood studs, and concrete walls—no extra trips to the hardware store.
Step 4: Assemble the Shelf Brackets
Editor’s Choice

HORUSDY 8-Pack Bar Clamps for Woodworking, 12″ and 6″ Bar Clamps, Wood W…

Gorilla Wood Glue, 8 oz., Water Resistant PVA Wood Glue for Indoor & Out…

FMhotu #14 Heavy-Duty Wood Screws, Star Drive Deck Screws, Rust Resistan…
Step 5: Locate Wall Studs
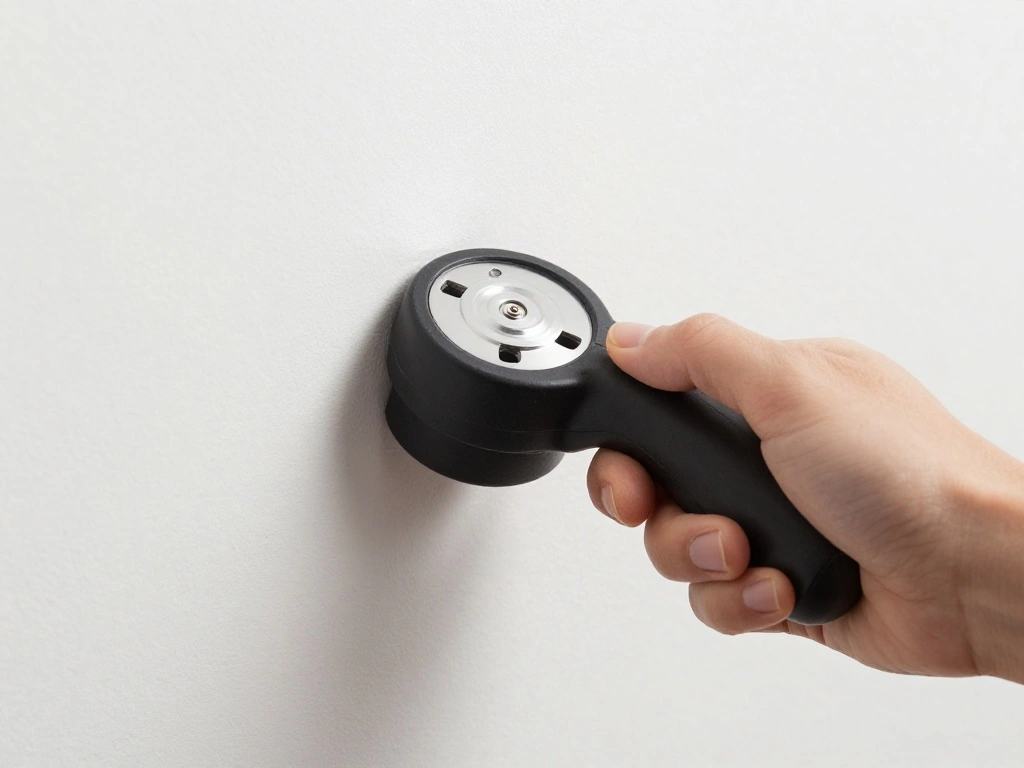
To ensure your shelves can support weight, you need to mount them into wall studs. This step is crucial for safety and durability.
Why this matters: Mounting into studs provides a strong anchor point for your shelves.
- Use a stud finder to locate the studs behind the drywall.
- Mark each stud’s location with a pencil.
- Double-check the marks with a level to ensure they are straight.
Pro Tip: If no studs are available where you want to mount, use heavy-duty wall anchors.
Warning: Avoid mounting shelves solely on drywall; this can lead to accidents.
Time estimate for completing this step: 20 minutes.
Recommended Products

PREMIUM NYLON MATERIALS PLUS GLASS FIBER – Made of high-quality hard nylon plastic mixed with highly robust glass fibers, these self drilling wall anchors are super hard, durable, anti-aging and wear resistant. They can hold objects with maximum weight of 75lbs and provide strong and sturdy grip into the wall, and the anchor will not damage the dry wall. 70 premium galvanized Phillips screws ensures reliable installation and hanging.

Complete 160-Piece Kit for All Your Hanging Needs: Includes 80 heavy-duty steel self drilling drywall anchors (0.47x1.18inch) and 80 hardened screws, all neatly organized in a durable plastic storage box. No more searching for mismatched hardware - everything you need is ready in one kit for picture frames, shelves, curtain rods, wall decor, and more

【100 Pcs Upgraded Quenched Dry Wall Anchors Kit】100pcs heavy-duty metal anchors and self-drilling screws quenched for higher hardness or strength, better toughness, longer durability, and more stable threads. As professional sheet rock anchors and metal wall anchors, they fit drywall, gypsum board, and lightweight bricks, eliminating the need for extra hardware in all your wall mounting tasks.
Step 5: Locate Wall Studs
Editor’s Choice

Motovera Self Leveling Laser Level 100ft, Green Cross Line with Tripod, …

Stud Finder Wall Scanner – 5 in 1 Stud Finder Tool w/Smart Chip and HD L…
Step 6: Mount the Shelf Brackets
It’s time to attach your brackets to the wall. This step ensures your floating shelves are securely in place.
Why this matters: Properly mounted brackets prevent your shelves from falling.
- Align the brackets with the marks you made on the wall.
- Use a drill to secure the brackets into the wall studs or wall anchors.
- Double-check with a level to ensure they are straight before tightening.
Pro Tip: Use screws long enough to penetrate through the drywall and into the studs for added security.
Warning: Always ensure brackets are securely fastened before placing items on the shelves.
Time estimate for completing this step: 30 minutes.
Recommended Products

【Sturdy & Durable】Made of sturdy particleboard and metal brackets for safe and durable uses. The metal support shelves of DINZI LVJ are thicker than others for added stability and stronger load-bearing capacity(up to 33lbs). Extra anti-toppling device ensures the wooden shelves without deformation

【Better Storage】Our floating shelves can be mounted on any flat wall without taking up horizontal floor space. It can perfectly store any messy items and decorate the room, so that your room is in order

Nice Floating Shelves - Nice looking Floating Shelves, rustic real wood wall shelves with an industrial style design, it will be a perfect match to your bathroom, living room, kitchen, bedroom.
Step 6: Mount the Shelf Brackets
Editor’s Choice
Torpedo Level Magnetic, Firecore 9 Inch Shockproof Small Leveler Tool wi…

COMOWARE 20V Cordless Drill, Electric Power Drill Set with 1 Battery & C…

Booda Brand Furniture Anchors (10 Pack) for Baby Proofing, Furniture Str…
Step 7: Place the Shelves on the Brackets
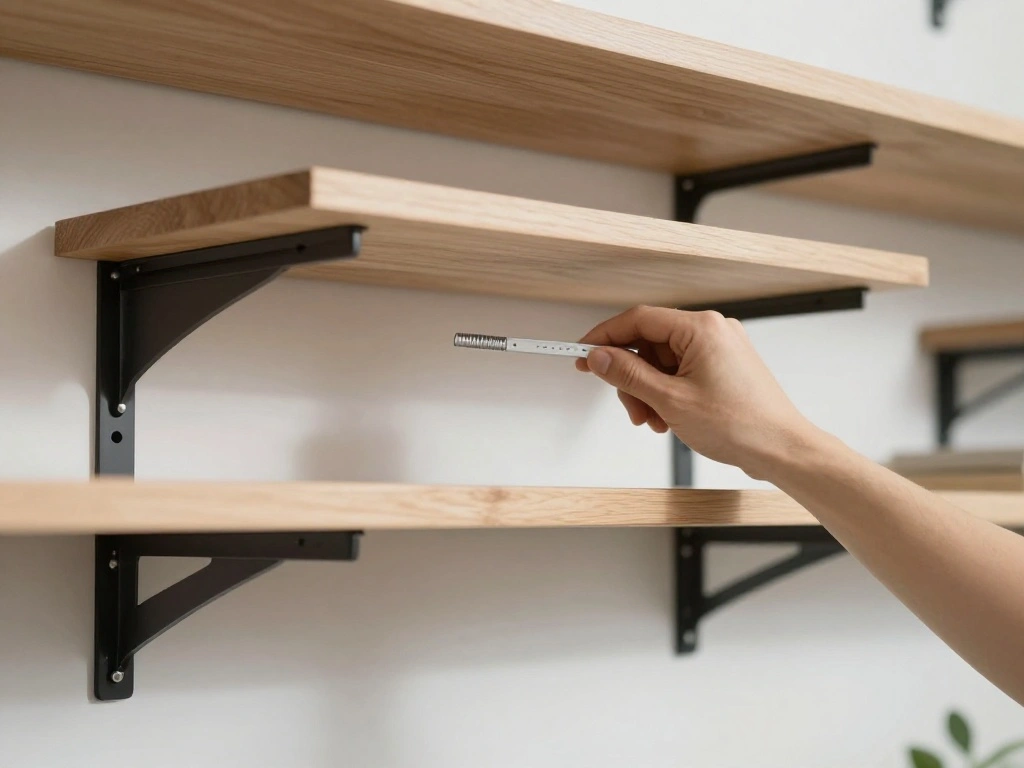
Now that the brackets are securely mounted, you can place your shelves onto them. This step completes the construction of your floating shelves.
Why this matters: Proper placement ensures that shelves are stable and visually appealing.
- Carefully lift each shelf and place it onto the mounted brackets.
- Adjust the position as needed to ensure it is centered.
- Press down gently to secure it in place.
Pro Tip: Consider using silicone adhesive for added stability.
Warning: Avoid placing heavy items on the shelves until you are sure they are secure.
Time estimate for completing this step: 20 minutes.
Recommended Products

NOTE: It does not measure distance!

【Post-sale reminder】: All users purchasing "weiddw" products enjoy a 12-month free warranty.

DEWALT laser level is durable and has over molded housing with a 1 meter drop rating
Step 7: Place the Shelves on the Brackets
Editor’s Choice
Torpedo Level Magnetic, Firecore 9 Inch Shockproof Small Leveler Tool wi…

LEOPO 12-Pack 8 inch Floating Shelf Brackets, Hidden Shelf Bracket for W…
Gorilla Wood Glue, 8 oz., Water Resistant PVA Wood Glue for Indoor & Out…
Step 8: Style Your Floating Shelves
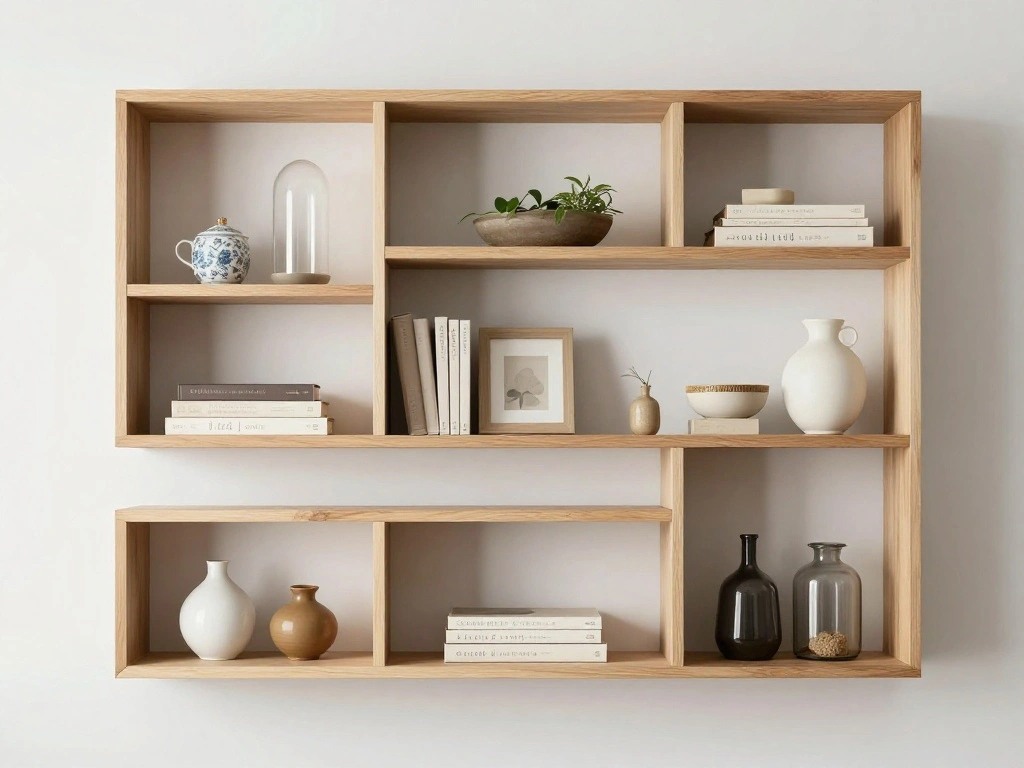
Your floating shelves are now installed! The final step is to style them with decor to create your gallery wall display.
Why this matters: Thoughtful styling enhances the aesthetics of your space and showcases your personal style.
- Select your favorite items to display: photos, plants, or books.
- Arrange the items on the shelves, considering height and color.
- Step back to evaluate the arrangement and make adjustments as needed.
Pro Tip: Group items in odd numbers for a more visually appealing display.
Warning: Avoid overcrowding shelves, which can make them look cluttered.
Time estimate for completing this step: 30 minutes.
Step 8: Style Your Floating Shelves
Editor’s Choice

LUCKYLIFE Picture Frames Collage Wall Decor 10-Pack, Gallery Wall Frame …

Bookends Decorative Metal Unique Office Desk Bookends Cute Book Ends Rea…

Der Rose Set of 6 Succulents Plants Artificial in Pots Small Fake Plants…
Step 9: Enjoy Your New Gallery Wall
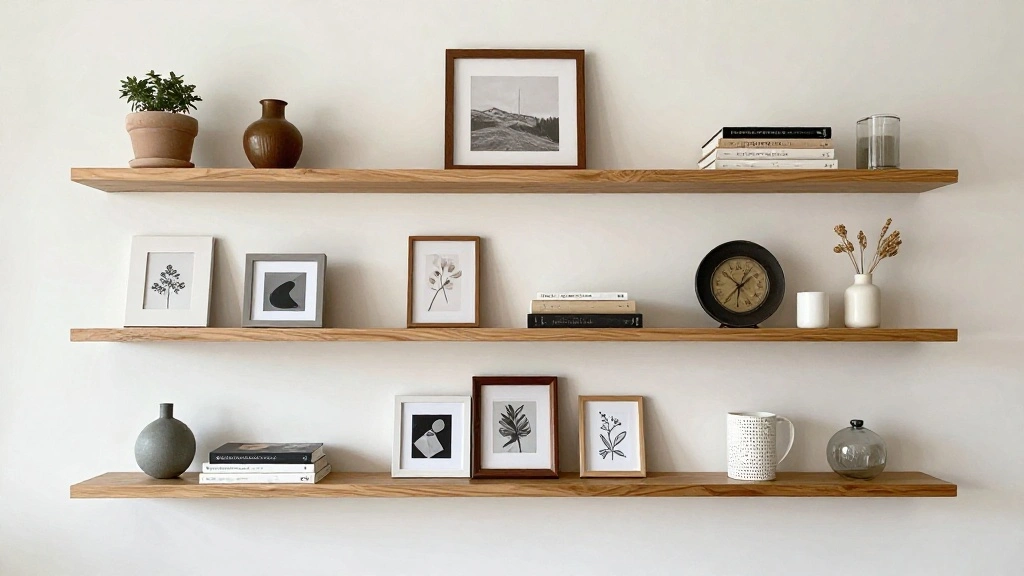
Your floating shelves are complete, and your gallery wall is now ready for admiration! Take a moment to step back and appreciate your handiwork.
Why this matters: Celebrating your achievements encourages you to tackle more DIY projects in the future.
- Invite friends or family to view your new display.
- Consider adding more shelves or items over time to keep the display fresh.
- Take photos to document your hard work!
Pro Tip: Regularly change the decor on your shelves to keep your gallery wall dynamic.
Time estimate for completing this step: 15 minutes.
Step 9: Enjoy Your New Gallery Wall
Editor’s Choice

Heavy Duty Shelf Brackets – 8 Pcs L Shaped Metal Wall Mount Shelves Supp…

Silver Plate Picture Frame 5×7 Mother of Pearl 5 by 7 Photo Frame Mosaic…

Baisuart S02250 Canvas Prints Wall Art Beach Sunset Ocean Waves Nature P…
Pro Tips
- Tip for Leveling: Always use a level when mounting shelves to avoid unevenness.
- Tip for Decor: Use a mix of vertical and horizontal items for visual interest.
- Tip for Maintenance: Regularly dust your shelves to keep them looking fresh.
- Tip for Color Coordination: Choose decor items that complement your room’s color scheme.
- Tip for Safety: Avoid placing heavy items on the outer edges of the shelves to prevent tipping.
Pro Tips
Editor’s Choice
Torpedo Level Magnetic, Firecore 9 Inch Shockproof Small Leveler Tool wi…
Heavy Duty Shelf Brackets – 8 Pcs L Shaped Metal Wall Mount Shelves Supp…

Der Rose 1Pcs Fake Plants Hanging Artificial Potted Faux Eucalyptus Plan…
Common Mistakes to Avoid
Warning: Placing shelves too high can make them difficult to access. Make sure they are at a comfortable height.
Warning: Not securing brackets into studs can lead to accidents. Always confirm stud locations.
Warning: Overloading shelves with too many items can cause sagging. Stick to a weight limit.
Common Mistakes to Avoid
Editor’s Choice
Stud Finder Wall Scanner – 5 in 1 Stud Finder Tool w/Smart Chip and HD L…
Motovera Self Leveling Laser Level 100ft, Green Cross Line with Tripod, …
Starunder 6 Pack Floating Shelf Brackets, 6 Inch Heavy Duty Industrial S…
Troubleshooting Section
Problem: Shelves sagging under weight.
Solution: Check if screws are secured properly and redistribute the weight of items.
Problem: Not level after installation.
Solution: Remove the shelf, adjust the brackets, and remount.
Problem: Wall damage from screws.
Solution: Use wall anchors to minimize damage if studs are not available.
Troubleshooting Section
Editor’s Choice
Torpedo Level Magnetic, Firecore 9 Inch Shockproof Small Leveler Tool wi…
Zinc Self-Drilling Drywall Anchors with Screws Kit, 25 Heavy Duty Metal …
Starunder 6 Pack Floating Shelf Brackets, 6 Inch Heavy Duty Industrial S…
Variations/Alternative Methods
Consider these variations to personalize your floating shelves:
- Use Different Materials: Consider using metal brackets for an industrial look.
- Floating Corner Shelves: Utilize corner spaces with triangular floating shelves.
- Adjustable Shelves: Use shelf pins to create adjustable shelving for flexibility.
Variations/Alternative Methods
Editor’s Choice

5mm Shelf Pegs Pins,60 Pieces Cabinet Furniture Spoon Shape Support Pegs…
Starunder 6 Pack Floating Shelf Brackets, 6 Inch Heavy Duty Industrial S…

evron Corner Mounting Shelf Set of 2 – Easy to Install Floating Wall S…
FAQs
What if I don’t have a stud finder?
You can knock on the wall; a solid sound indicates a stud. Use a magnet to find screws if needed.
How long should I wait before placing items on the shelves?
Wait at least 24 hours after installation to ensure everything is securely mounted.
Is it safe to drill into plaster walls?
Yes, just be cautious and use the appropriate drill bits for plaster.
FAQs
Editor’s Choice

12-PCS Masonry Drill Bit Set & Concrete Drill Bit Set, 1/8 to 1/2 inch P…
Torpedo Level Magnetic, Firecore 9 Inch Shockproof Small Leveler Tool wi…

The Original StudBuddy® Magnetic Stud Finder – Made in the USA – Easy t…
Conclusion
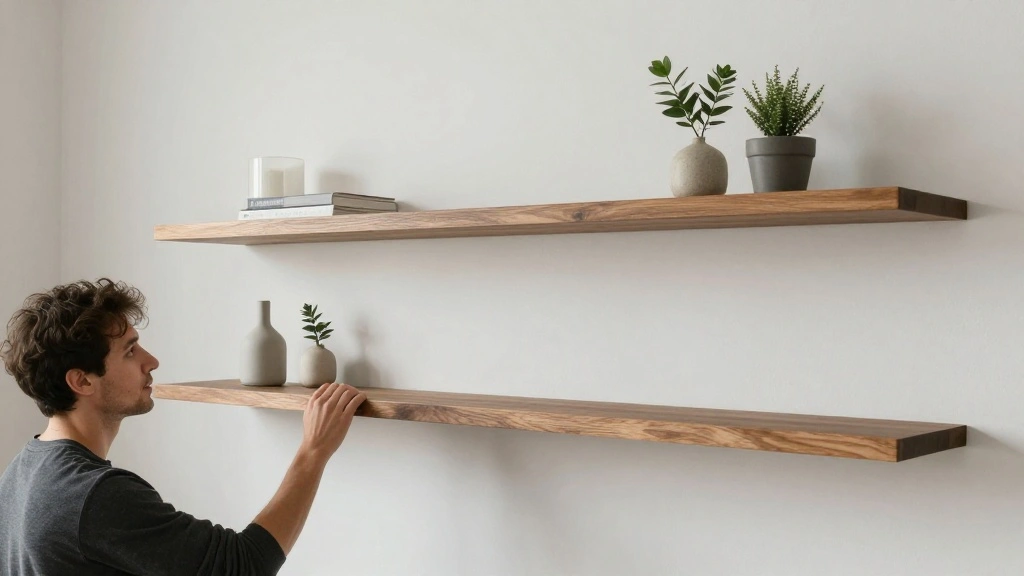
Congratulations on completing your DIY floating shelves! You’ve transformed your blank wall into a beautiful gallery display. Take pride in your handiwork and enjoy your newly styled space.
As you become more comfortable with DIY projects, consider exploring other home improvement tasks. The skills you learned here will serve you well, and you can tackle more ambitious projects in the future!