
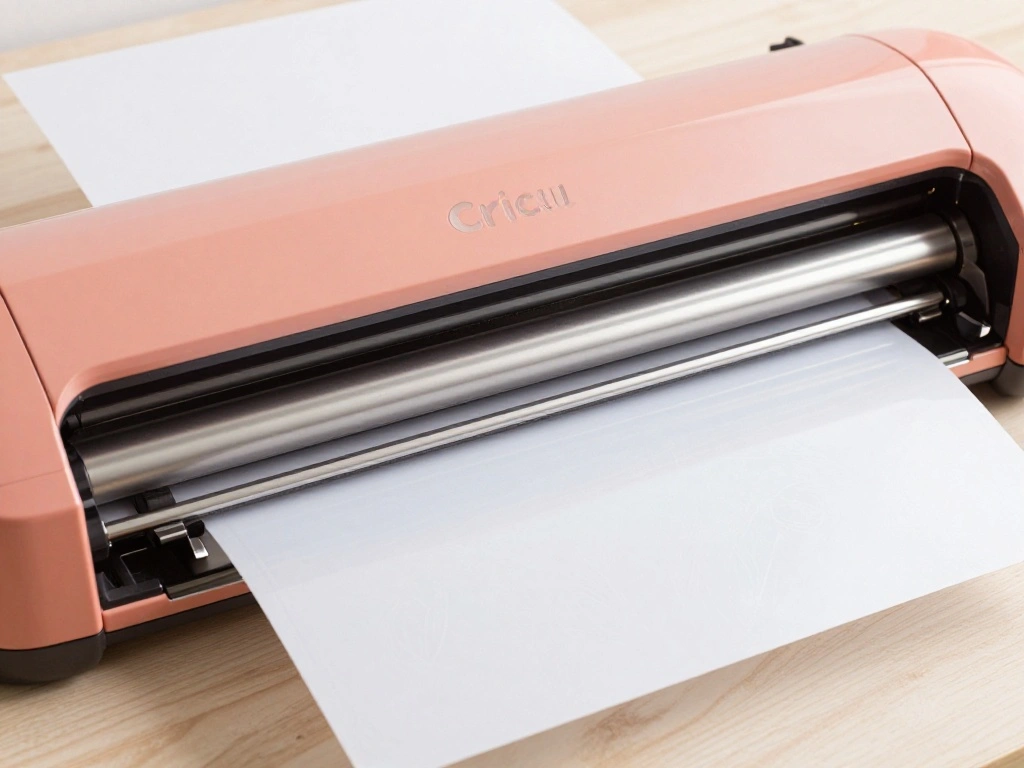
Are you tired of blank walls and looking for a creative way to express your personality? DIY wall art is a fantastic solution, but many people feel overwhelmed by the process. The good news is that with a Cricut cutting machine, you can easily create stunning pieces that reflect your style. This guide will walk you through the steps to make your own DIY wall art using your Cricut, so you can transform your space in no time.
By the end of this project, you will have a unique piece of wall art to proudly display in your home. You will learn how to select designs, prepare materials, and use the Cricut machine to cut and assemble your artwork. This guide is designed for beginners, so you don’t need any prior experience.
Estimated time to complete this project is around 2-3 hours, making it perfect for a weekend crafting session. Get ready to unleash your creativity and make something beautiful for your home!
TL;DR Summary
– Create stunning wall art using a Cricut cutting machine.
– Follow 7 simple steps to design and assemble your artwork.
– This guide is perfect for beginners and takes about 2-3 hours to complete.
TL;DR Summary
Editor’s Choice


Glitter Vinyl Permanent Adhesive Sheets (12″x10″, 12 Packs), 10pcs Shimm…

Vinyl Cutter Machine, AI Image Generation Cutting Machine Glee S501 for …
Prerequisites/Materials Needed
- 1 Cricut cutting machine
- Design software (Cricut Design Space)
- Adhesive vinyl (1 sheet)
- Transfer tape (1 roll)
- Weeding tool
- Scraper tool
- Canvas or wooden board (any size you prefer)
- Scissors
- Ruler
- Pencil
Prerequisites/Materials Needed
Editor’s Choice

Hula Home Stained Glass Mandala Art Kit – DIY Window Clings with Markers…

Skill Level & Time Estimate
Skill Level: beginner
Total time estimate: 2-3 hours
Breakdown:
- Designing: 30-60 minutes
- Cutting: 30 minutes
- Weeding: 15-30 minutes
- Applying: 30-60 minutes
Step 1: Select Your Design

Start by selecting the design you want to create for your wall art. Follow these sub-steps:
- Open Cricut Design Space on your computer or mobile device.
- Browse through the available designs or upload your own if you have something specific in mind.
- Choose a design that fits the size of your canvas or board.
Pro Tip: Use simple designs for your first project; intricate designs can be more challenging to weed and apply.
Why this matters: Choosing the right design sets the foundation for your wall art. A clear and simple design will enhance your final product. Estimated time for this step: 30-60 minutes.
Step 1: Select Your Design
Editor’s Choice

The Little Dictionary of Fashion: A Guide to Dress Sense for Every Woman

10Pcs Set Premium Fine Point Blade Compatible for Cricut Explore Air 2/A…
Step 2: Prepare Your Materials
Gather all the materials you will need for cutting your design. Follow these steps:
- Gather your adhesive vinyl, transfer tape, weeding tool, and canvas or wooden board.
- Measure and cut the adhesive vinyl to the size that fits your design.
- Ensure your workspace is clean and organized for easy access to materials.
Pro Tip: Always check that your materials are compatible with your Cricut machine for the best results.
Why this matters: Properly preparing your materials ensures a smooth cutting process and prevents any delays. Estimated time for this step: 15-30 minutes.
Step 2: Prepare Your Materials
Editor’s Choice

Grampa’s Weeder – The Original Stand Up Weed Puller Tool with Long Handl…

Cricut Value Transfer Tape (12in x 15ft Roll) – Easy Transfer for Vinyl …

Sooez Permanent Vinyl (75Pack, 12″x12″) – 70 Adhesive Vinyl + 5 Transfer…
Step 3: Cutting Your Design
Now it’s time to cut your design using the Cricut machine. Follow these steps:
- Load your adhesive vinyl onto the cutting mat, ensuring it’s positioned correctly.
- Select your design in Cricut Design Space and choose the appropriate settings for the type of vinyl you are using.
- Press the ‘Go’ button on your Cricut machine to start cutting.
Warning: Do not touch the blade while it is moving, as this can cause injury.
Why this matters: Accurate cutting is crucial for a professional-looking finish. If the design is not cut correctly, it may affect the application. Estimated time for this step: 30 minutes.
Step 3: Cutting Your Design
Editor’s Choice

Gardening Gifts for Women, Gardening Tools for Mom Grandma Wife, 10 Pcs …

Cutting Mat 12×12 Compatible with Maker/Maker 3/Maker 4/Air 2/Explore 3/…

50pcs Retro Girl Stickers for Laptop Water Bottles, Transparent PET Wate…
Step 4: Weeding the Design

After cutting, you need to weed your design to remove excess vinyl. Follow these steps:
- Use your weeding tool to carefully peel away the unwanted vinyl from around your design.
- Take your time to ensure you don’t damage the main piece of your artwork.
- Once done, check that all small pieces are removed for a clean finish.
Pro Tip: Use a lightbox or bright workspace to help see the vinyl better during weeding.
Why this matters: Weeding is essential to reveal the design accurately, ensuring your final product looks polished. Estimated time for this step: 15-30 minutes.
Step 4: Weeding the Design
Editor’s Choice
50pcs Retro Girl Stickers for Laptop Water Bottles, Transparent PET Wate…

Sooez Weeding Tools for Vinyl, 6PCS Basic Tools Set, Precision Craft Vin…
Step 5: Applying Transfer Tape
Now it’s time to apply transfer tape to your design. Follow these steps:
- Cut a piece of transfer tape slightly larger than your design.
- Carefully place the transfer tape over your weeded vinyl, pressing down to remove any bubbles.
- Use your scraper tool to ensure the vinyl adheres well to the transfer tape.
Pro Tip: Use a light touch when applying the transfer tape to avoid shifting your design.
Why this matters: Transfer tape helps you move your design from its backing to your canvas without damaging it. Proper application ensures your design stays intact. Estimated time for this step: 15-30 minutes.
Step 5: Applying Transfer Tape
Editor’s Choice

Kitsch Dermaplane Razor for Women Face – Face Razors for Women & Men, …
Value Transfer Tape (12in x 15ft Roll) – Easy Transfer for Vinyl Project…

Value Permanent Vinyl – 10ft Rainbow Sampler, 12in x 12in Sheets (10 Count)
Step 6: Positioning Your Design

With the design ready, it’s time to position it on your canvas or board. Follow these steps:
- Measure and mark the center of your canvas or board lightly with a pencil.
- Carefully peel the transfer tape away from the backing, keeping the design intact.
- Align the design with the center mark and press it onto the canvas, ensuring it’s straight.
Pro Tip: Use a level to ensure your design is perfectly straight when applying it.
Why this matters: Proper positioning is critical for visual appeal. A crooked design can detract from the overall look of your artwork. Estimated time for this step: 15-30 minutes.
Step 6: Positioning Your Design
Editor’s Choice

Glitter Vinyl Permanent Adhesive Sheets (12″x10″, 12 Packs), 10pcs Shimm…

Calogy Mini Heat Press, Heat Transfer Machine, Constant Temp Control, In…
Step 7: Finalizing Your Wall Art
Now it’s time to finalize your DIY wall art. Follow these steps:
- Once you’ve positioned the design, press down firmly on the transfer tape to secure the vinyl to the canvas.
- Carefully peel away the transfer tape, ensuring the vinyl remains adhered to the canvas.
- Inspect your artwork for any air bubbles or imperfections; fix them if necessary.
Warning: Avoid pulling the transfer tape too quickly, as this can lift the vinyl off the canvas.
Why this matters: Finalizing your art ensures that it looks professional and is ready to display. A well-finished piece will enhance your space significantly. Estimated time for this step: 30-60 minutes.
Step 7: Finalizing Your Wall Art
Editor’s Choice
Calogy Mini Heat Press, Heat Transfer Machine, Constant Temp Control, In…
Value Transfer Tape (12in x 15ft Roll) – Easy Transfer for Vinyl Project…
Cricut Value Permanent Vinyl – 10ft Rainbow Sampler, 12in x 12in Sheets …
Pro Tips
- Design Selection: Choose designs that fit your skill level to start, and gradually work up to more complex pieces.
- Material Quality: Invest in high-quality adhesive vinyl for better results and easier application.
- Workspace Setup: Keep your workspace organized to streamline the process and avoid misplacing materials.
- Practice Weeding: Before starting your project, practice weeding on a scrap piece of vinyl to get comfortable with the tool.
- Test Cuts: If unsure, do a test cut on a small piece to ensure your settings are correct for the vinyl type.
Pro Tips
Editor’s Choice

CUT50 Plasma Cutter Machine,50Amp Dual Voltage 110V/220V IGBT Inverter 1…


Basic Tool Set – 5-Piece Precision Tool Kit for Crafting and DIYs, Perfe…
Common Mistakes to Avoid
Warning: Not measuring your canvas before cutting can lead to designs that are too large or small.
Solution: Always measure your canvas before designing to ensure a proper fit.
Warning: Using the wrong blade setting can damage your materials.
Solution: Always check the recommended blade setting for the material being used.
Warning: Rushing the weeding process can result in ruined designs.
Solution: Take your time to weed carefully for the best outcome.
Common Mistakes to Avoid
Editor’s Choice

Maker 4 Card Making Bundle – Smart Cutting Machine with Card Mat, Card I…

Cricut StandardGrip Machine Mats, 12″ x 12″, Reusable Cutting Mats for C…

Cricut Deep-Point Blade + Housing,Cutting Blade with Deep Cut Housing,Cu…
Troubleshooting Section
Problem: The Cricut machine is not cutting through the vinyl.
Solution: Check the blade and ensure it’s clean and sharp. Adjust the settings in the software according to the type of vinyl.
Problem: The vinyl is not adhering properly to the canvas.
Solution: Ensure that the canvas surface is clean. Use a scraper tool to press down firmly.
Problem: There are bubbles in the vinyl after application.
Solution: Use a pin to pop the bubble and smooth it out with a scraper tool.
Troubleshooting Section
Editor’s Choice
Cricut Deep-Point Blade + Housing,Cutting Blade with Deep Cut Housing,Cu…

Vinyl Scraper Tools 2 Pack, Craft Weeder Kit with Scraper Spatula & Weed…
Value Transfer Tape (12in x 15ft Roll) – Easy Transfer for Vinyl Project…
Variations/Alternative Methods
There are several ways to create wall art:
- Stencils: Instead of vinyl, use stencils and paint for a different texture and look.
- Mixed Media: Combine paper, fabric, and other materials to create dimension.
- Framed Prints: Use your Cricut to create print designs and frame them for a simpler approach.
FAQs
What if I don’t have a Cricut machine? You can use other cutting machines or even hand-cut designs if you’re comfortable with that method.
How long should I wait before displaying my wall art? Allow at least 24 hours for the adhesive to set before hanging.
Is it safe to use vinyl on walls? Yes, if you use removable vinyl, it can be safely applied and removed without damaging the paint.
FAQs
Editor’s Choice

Craft Vinyl Weeding Tools Set, Precision Craft Tools Kit, Weeding Kits f…

Inspirational Quotes Bedroom Wall Stickers: Women Beautiful Home Positiv…

Conclusion
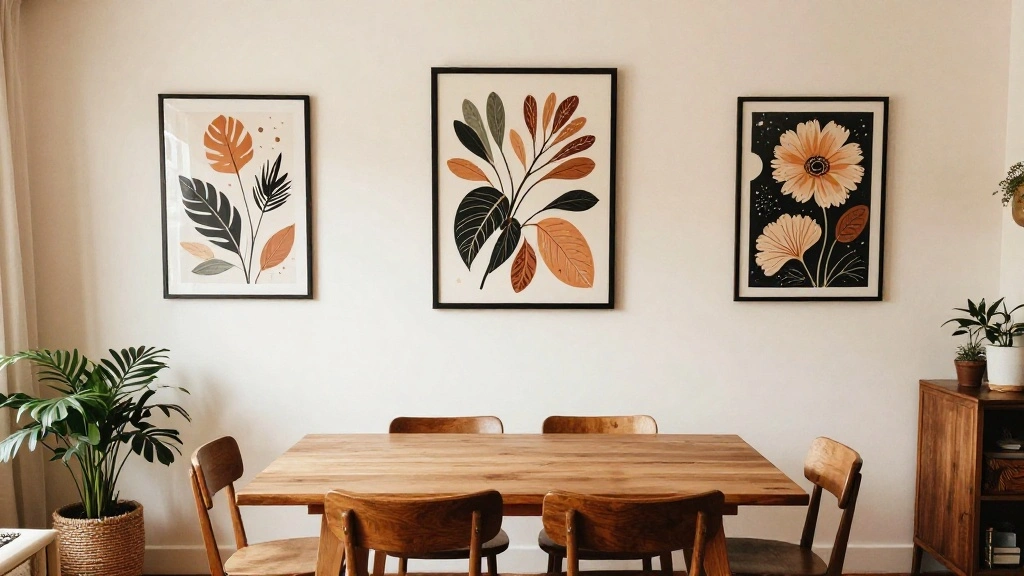
Congratulations on completing your DIY wall art! You should feel proud of your creative accomplishment. Now that you have the skills, consider trying different designs or materials for your next project.
Check out other crafting resources online to continue honing your skills. Your home is now a canvas for your creativity!